Archives

Crochet Heart Pattern Free ~ Updated

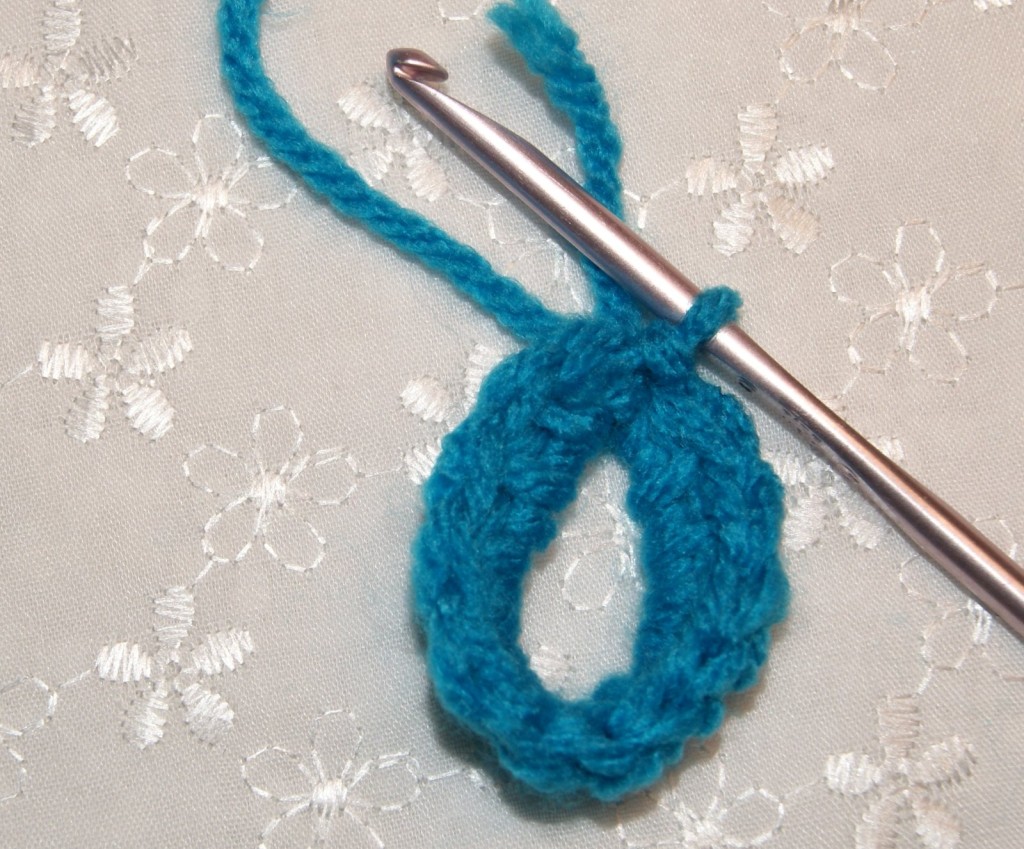
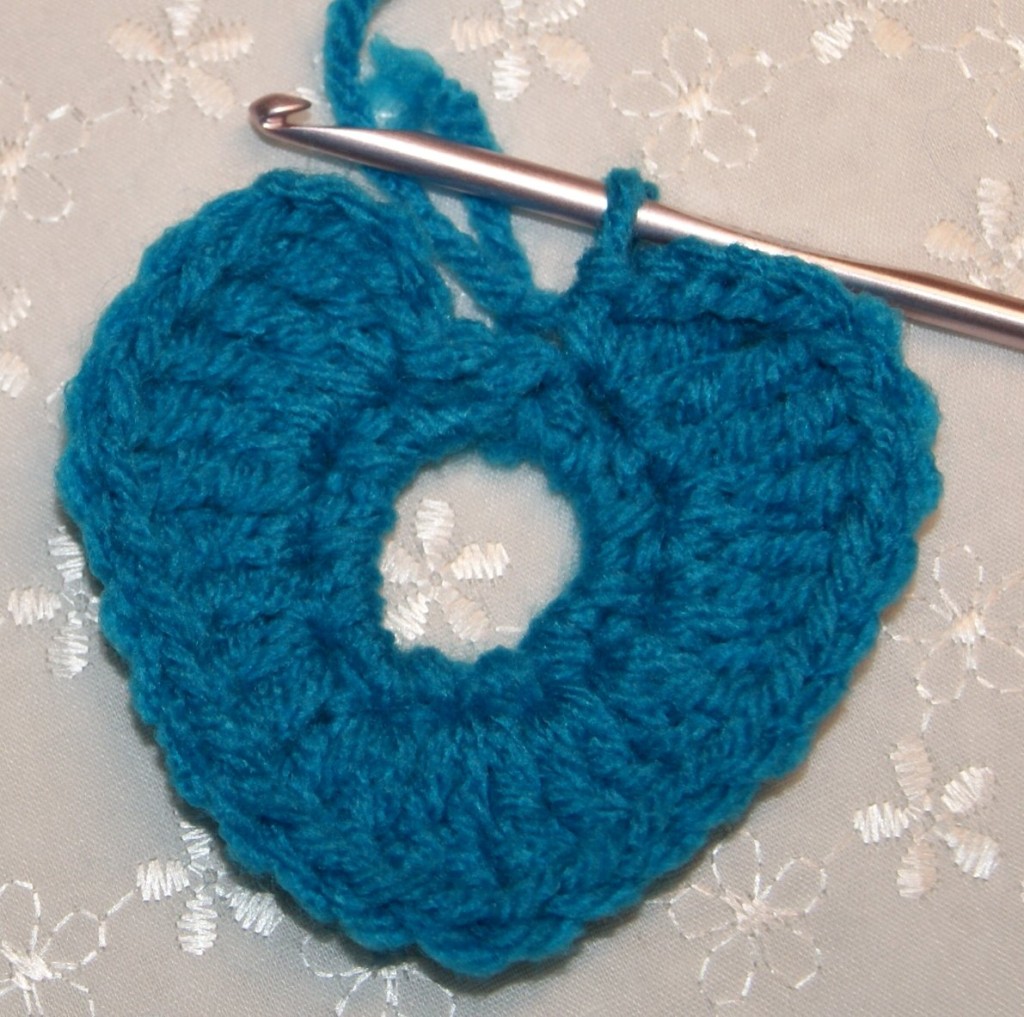
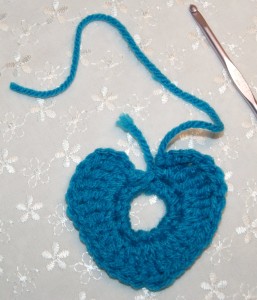
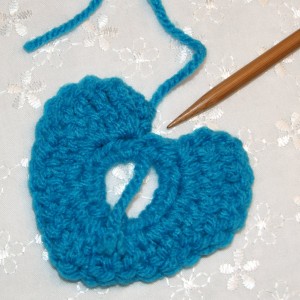
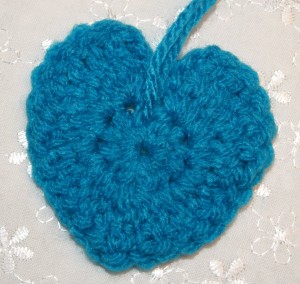
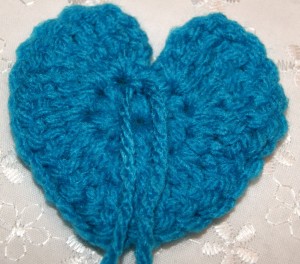
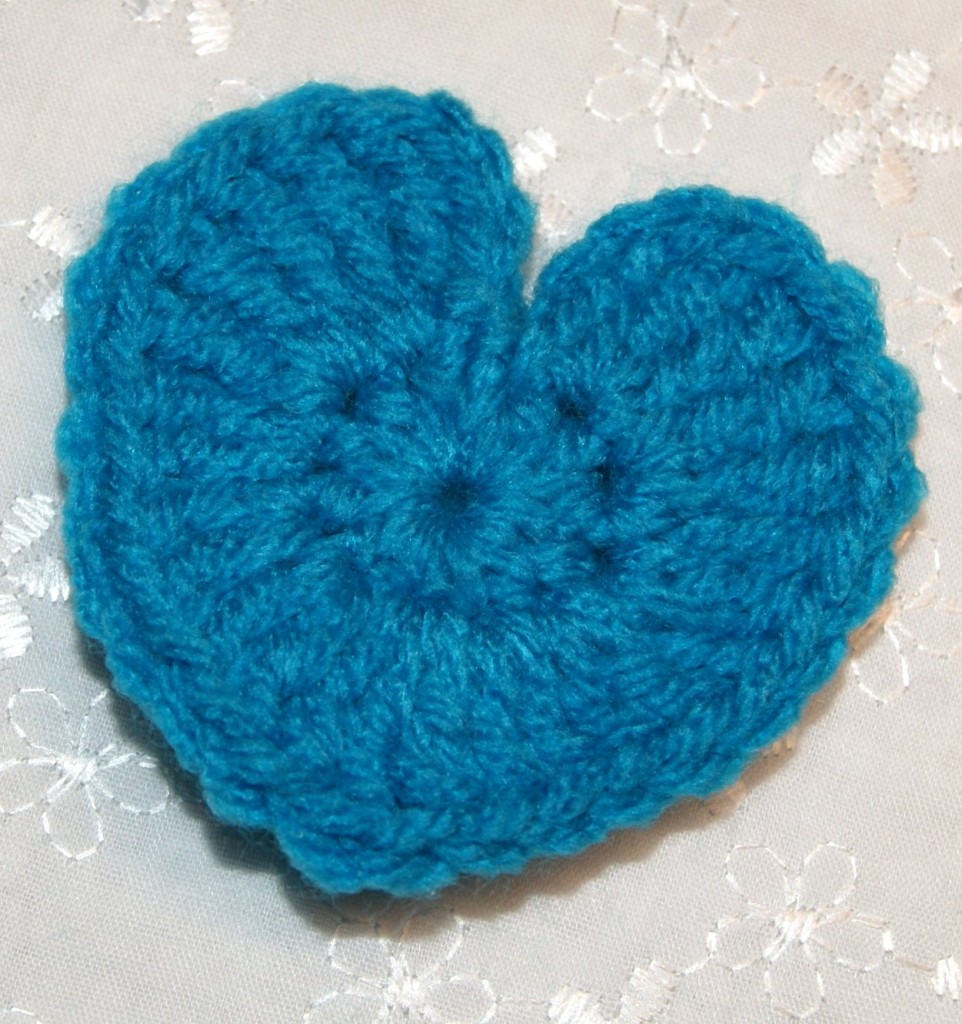
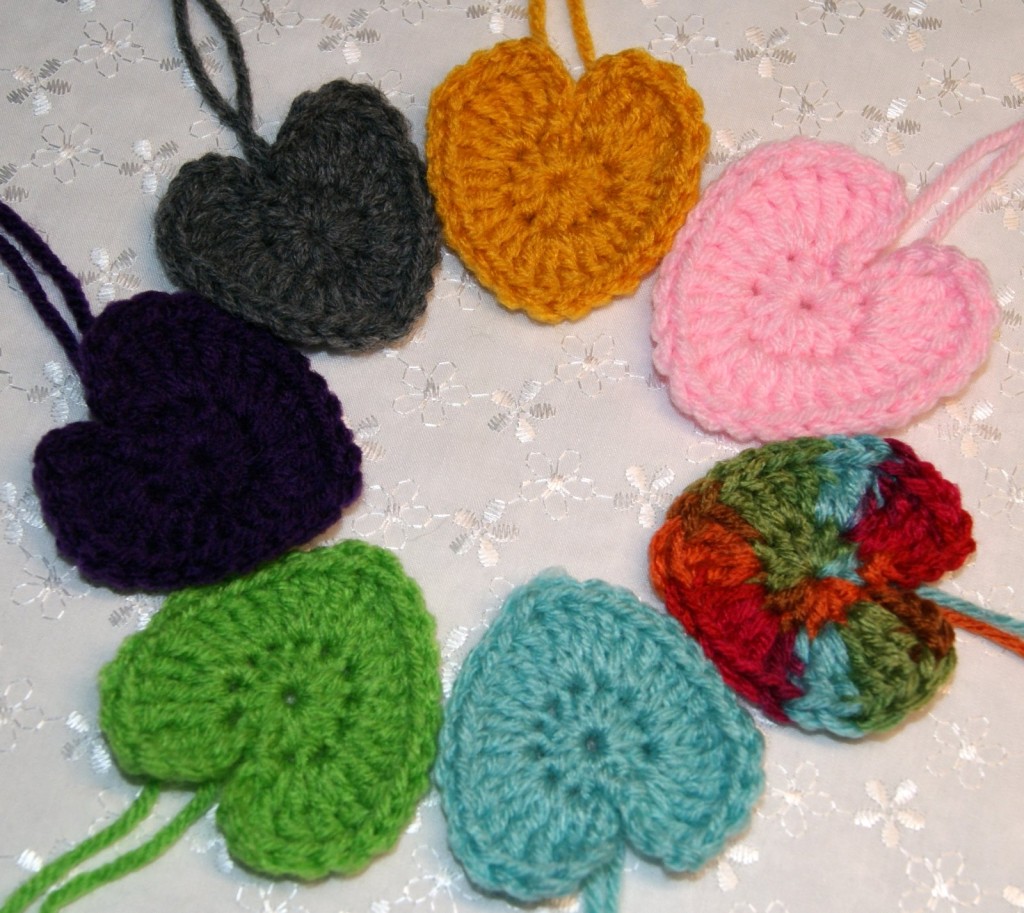
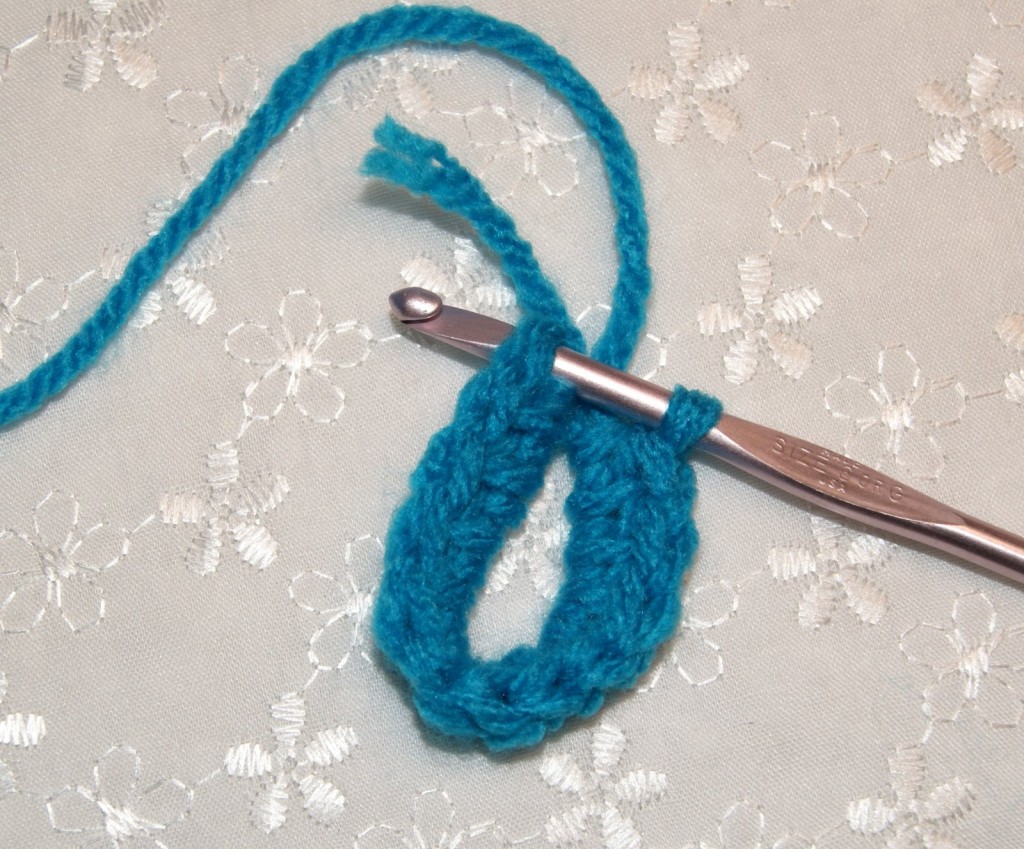
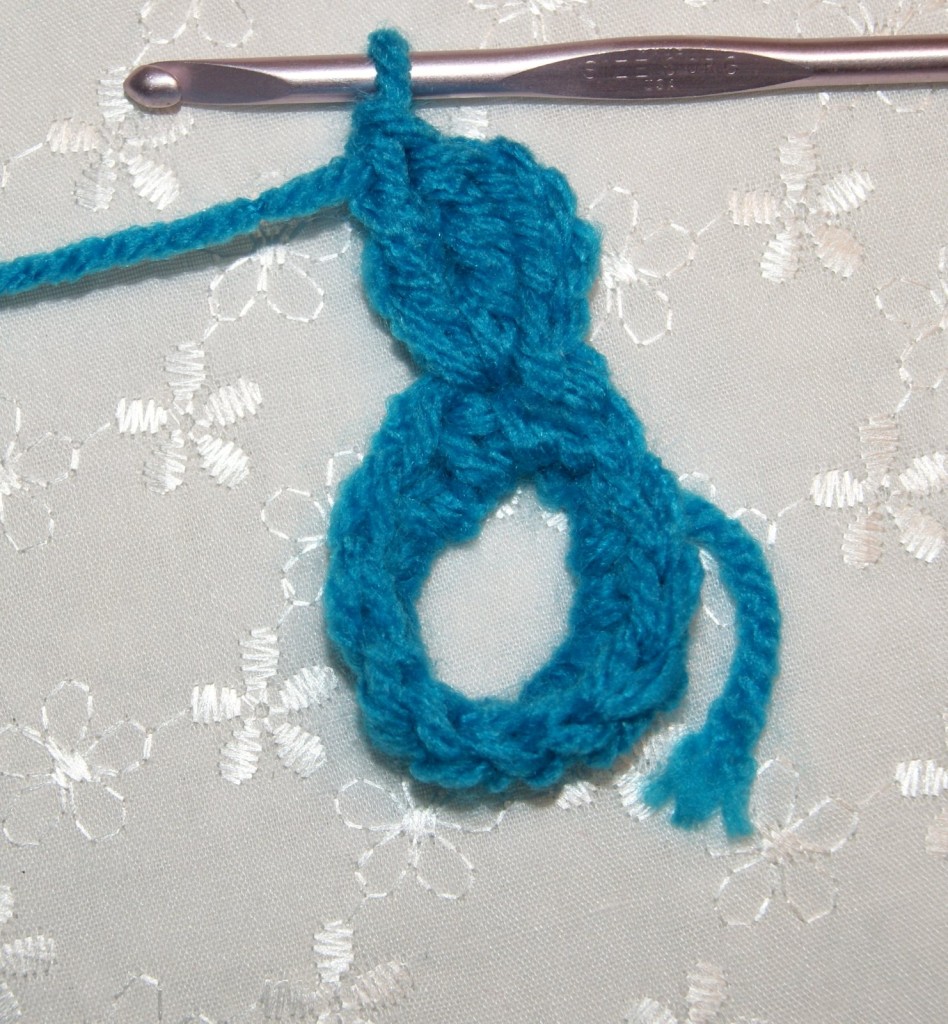
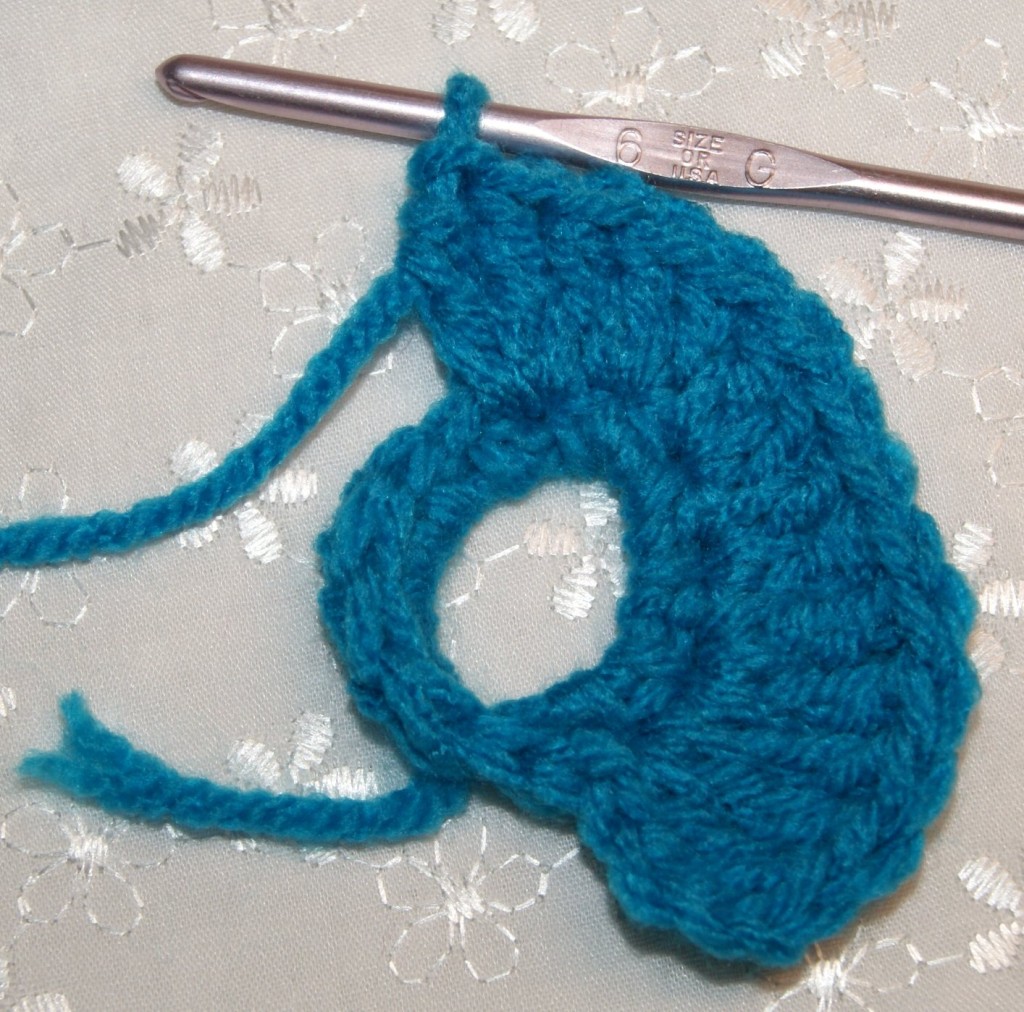
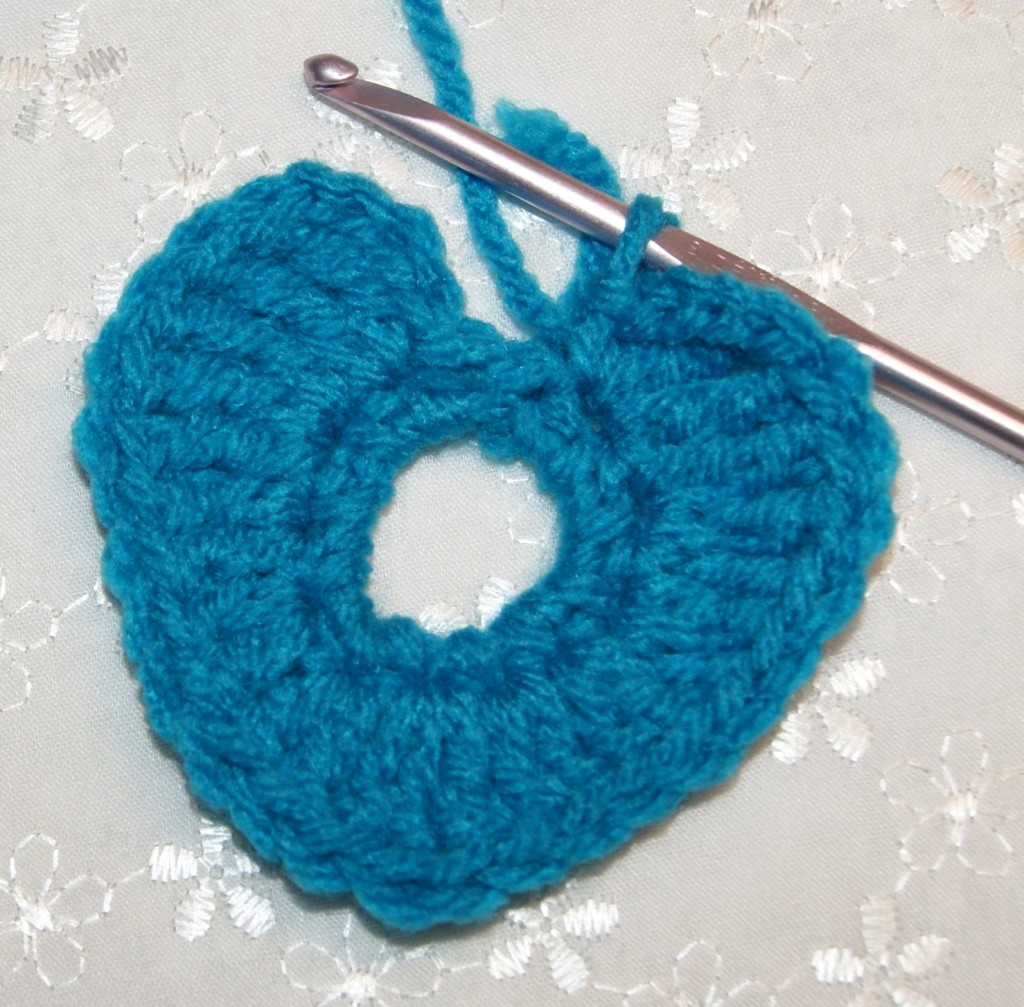
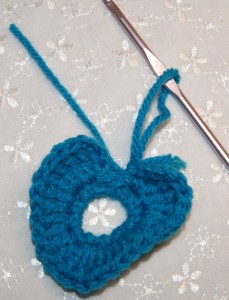
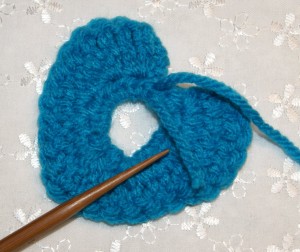
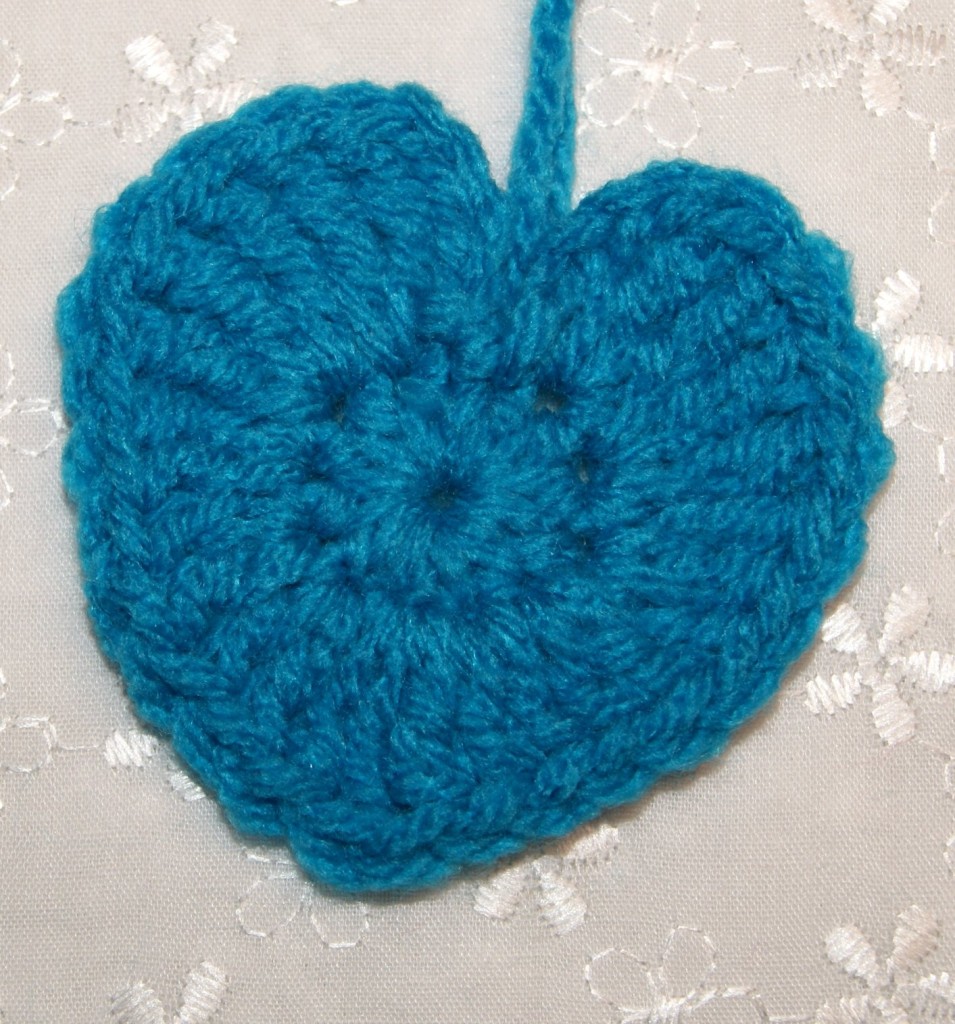
Here’s another quick (a little different) version to my fun, little crocheted applique heart pattern. SONY DSC My example here, I have used a size G crochet hook and some acrylic yarn. SONY DSC With this pattern, I began by crocheting the “magic loop” and making 12 HDC. SONY DSCSONY DSC Slip stitch in the 1st HDC to join your loop making a circle.  You can pull a little bit on the magic loop tail but don’t pull it totally closed until you  have completed your heart. SONY DSC Make another slip stitch (SL) in the next HDC stitch.  Chain 4 and crochet 2 treble crochets in that same space. In 3rd HDC ~~ crochet 3 treble crochets In 4th HDC ~~ crochet 1 half treble crochet then 1 double crochet In 5th HDC ~~ crochet 2 double crochets In 6th HDC ~~ crochet 2 double crochets SONY DSC In 7th HDC ~~ crochet 1 half treble stitch, 1 treble stitch, 1 half treble stitch (this creates the bottom point of the heart) In 8th HDC ~~ crochet 2 double crochets In 9th HDC ~~ crochet 2 double crochets In 10th HDC ~~ crochet 1 double crochet then 1 half treble crochet In 11th HDC ~~ crochet 3 treble crochets In 12th HDC ~~ crochet 2 treble crochets, chain 3 (this is one chain less than the beginning chain which will help create a better curve for the top of your heart), and 1 single crochet. SONY DSCSONY DSC Cut your yarn and pull it all the way through the stitch leaving a yarn tail on the right side of your heart.  Now flip your heart to the wrong side and slipping your hook through the very first slip stitch that you made, pull your yarn tail to the back. SONY DSCSONY DSCSONY DSCSONY DSC Now you want to take the tail from your magic loop and pull that tight to your liking.  Make a square knot with your two tails and weave in the ends. SONY DSCSONY DSCSONY DSC What I love about this pattern is that it lends itself to almost any time of yarn and size hook.  I hope you enjoy this pattern as much as I do and send some pictures of what you have done with your hearts 🙂 SONY DSCSONY DSC Please remember that this is my pattern not for your use to reproduce or redistribute in any way!!  Crocheting your own hearts can be used in any way you want but it would be greatly appreciated if you could give me credit for the design ~ www.stitch4ever.com.    Thanks so much 🙂
HAPPY CREATING!!

Disclaimer:  This post contains affiliate links – “Commissions Earned”  
A Wee Bit Irish

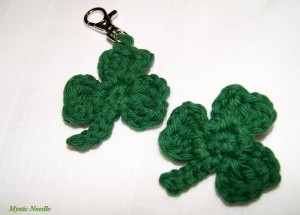
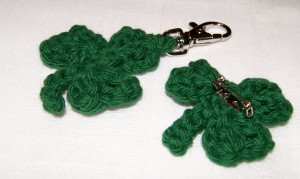
SONY DSC Almost Leprechaun time so I just wanted to share again my Shamrock pattern (free) since St. Patrick’s Day will be coming up soon.  This is a really easy pattern and is perfect to adhere a pin back for a cute clothing accessory or attach a small piece of a self-adhesive magnetic strip and you have a fun magnet for your refrigerator, etc. Turning it into a key chain charm with just a few extra chain stitches would be super so you could it hang from a backpack or zippered pouch.  Or just use it as a simple applique and sew it to a pillow, headband, cup cozy, napkin ring whatever you choose. SONY DSCSONY DSC Have fun with this design and I would love to see your pictures too.  Remember that the pattern is my own original design and selling it is not acceptable.  However, I have no problem with you sharing or selling your finished product.  It would be fantastic if you could refer back to this website if you post pictures on-line.  Thanks so much 🙂

HAPPY CREATING!!

Disclaimer:  This post contains affiliate links – “Commissions Earned”   
Blocking Crochet Snowflake

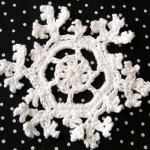
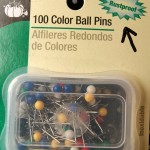
Goodness gracious I just can’t believe this is Christmas week!!  I know everyone’s  crafty fingers and hands are “busy little beavers” trying to complete those projects, wrap presents, bake cookies, mail notes and cards, finish shopping, and thinking about squeezing in one more handmade item.  🙂 If you do have the time to create one more gift giving item or something special for yourself, I think I have an answer for you.  Check out this link for a very lovely crocheted snowflake pattern if you haven’t come across it before: http://bobbilewin.com/?s=crochet+snowflake It works up in a couple of hours.  I basically followed her pattern but I did make one change and that was the 3 picots at the end of round 4 ~~ I alternated with a picot cluster ~~ I made the 3 picots, then the 3 stem snowflake arm, then a PICOT CLUSTER,  then the snowflake arm, then 3 picots, all the way around.  So I have (3) sets of picots and (3) sets of picot clusters between my snowflake picot cluster arms or branches. I used a size 4 (2.00 mm) metal hook and Aunt Lydia’s Fashion 3 100% mercerized cotton crochet thread ~~ making my snowflake finished size to be approximately 4 1/2″ across.   Just purchased 100% Egyptian cotton thread from Handy Hands and really looking forward to working with it too. Thought this snowflake would be an ideal item to show you how I block my finished cotton pieces. This picture shows the completed snowflake right off my hook. SONY DSC Since it is small, I just blocked it on my ironing board using a folded thick beach towel on the bottom, layered with 2 cotton napkins and a hand towel between the napkins.  Thickness for my pins and to help with the drying process. SONY DSC  SONY DSC SONY DSC I use RUST PROOF stainless steel pins and very thoroughly soak my item with my spray bottle of water.  I do not wring or twist or pat dry.  I just laid the snowflake on top of my fabric pallet and started shaping the picots with my pin points and began pinning in place.  I just about put a pin each picot and picot cluster so that the snowflake will really have definition once dried.  I don’t think I will have to use any type of stiffening agent either.  Will know better once totally dried. The drying process should only take about one day ~~ possibly only 4 or 5 hours.  Will share a picture with you once dried so you can see the finished product.   🙂 I think this snowflake will be perfect as a gift tag, ornament for your tree or I vision several hanging at different lengths from my bird watching window.  I might even try size 10 and size 20 thread with a 6 or 8 hook to create different sized snowflakes too.   And the best part is that I can enjoy them all winter and they won’t melt!!

HAPPY CREATING!!

Disclaimer:  This post contains affiliate links – “Commissions Earned”      
How to make a Half Treble stitch

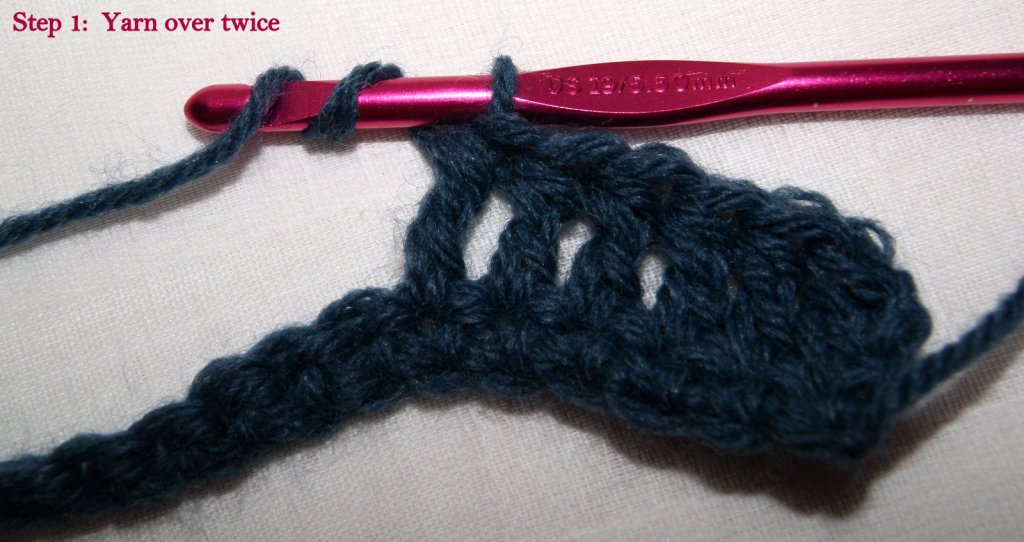
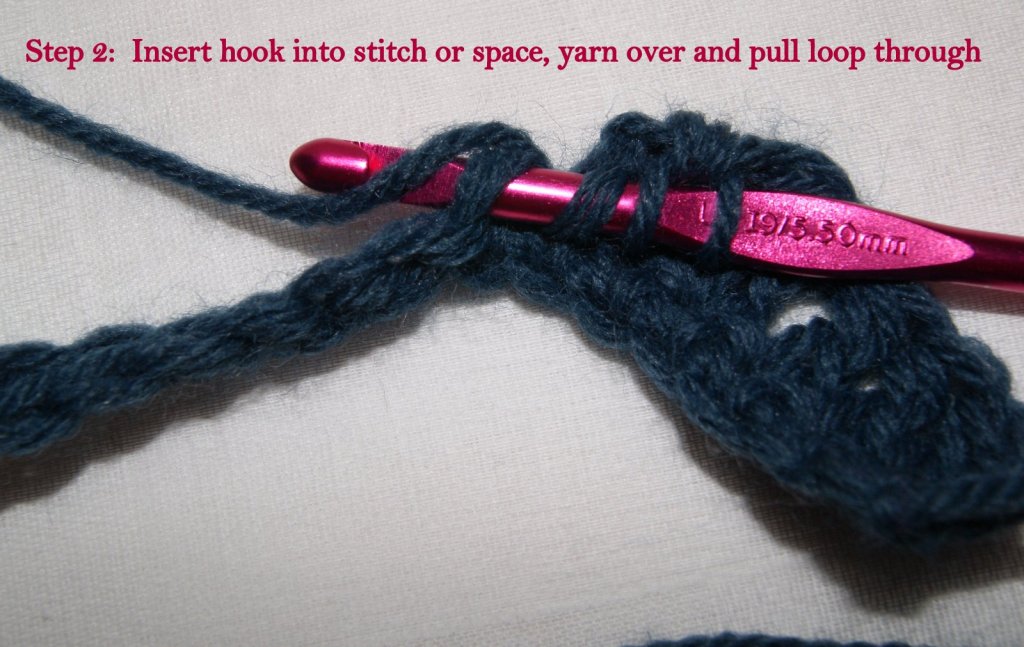
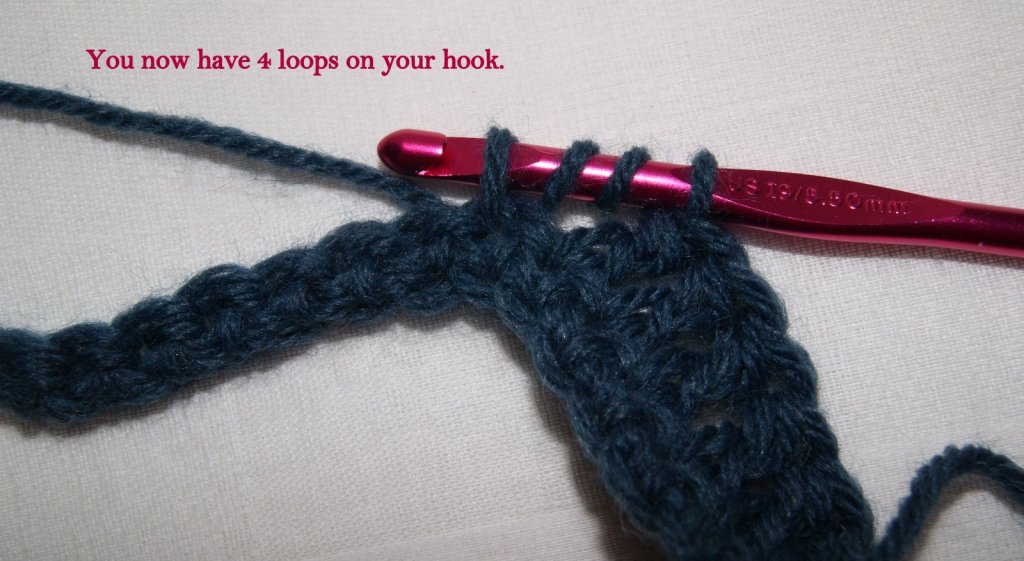
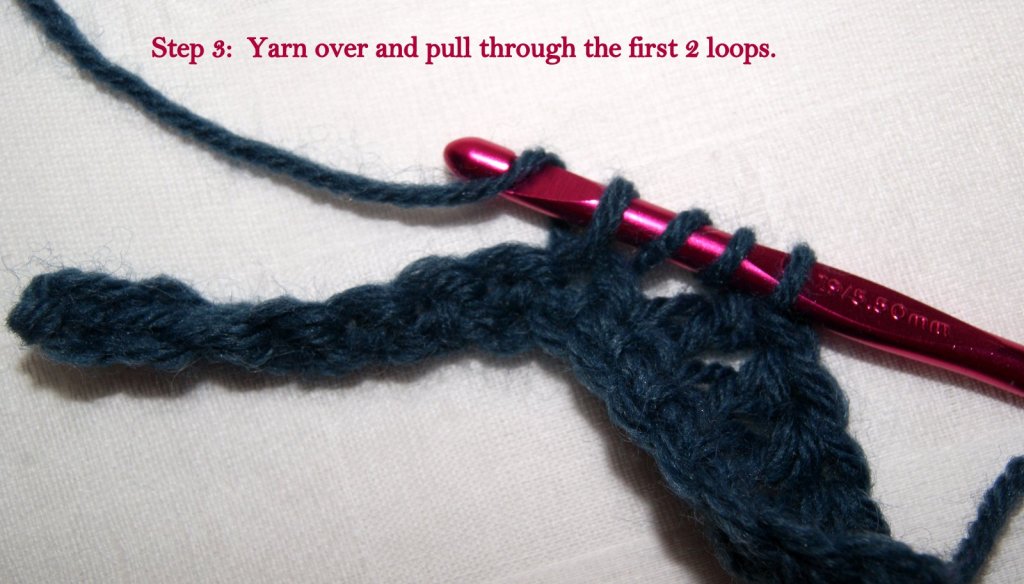
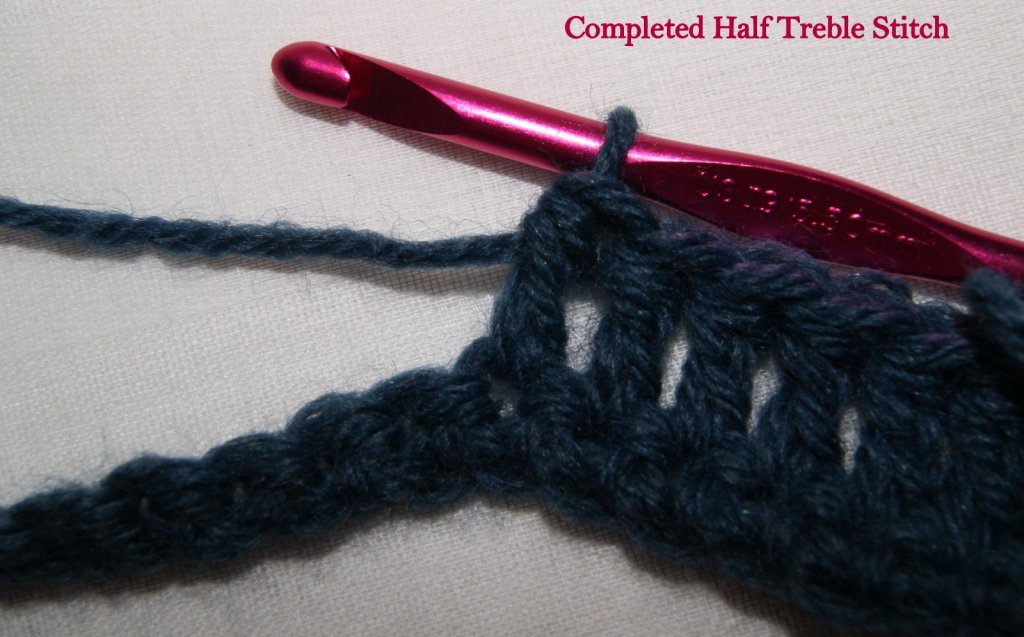
In my opinion this is not a very common crochet stitch but I like to use it when I really don’t want a sharp or deep drop between a double crochet and a treble crochet.  I use this stitch in my crochet pumpkin leaf tutorial and here is a tutorial on how to make this stitch: You will yarn over (yo) twice on your hook (just as if making a treble stitch)  ~~  then insert your hook into the stitch or space according to your pattern directions  ~~  now yarn over (yo) again and pull through that loop (at this point you will have 4 loops on your hook ~~  yarn over (yo) and pull through the first 2 loops on hook  ~~  yarn over (yo) again and pull through the last 3 loops on hook.  I’ve included some pictures too: SONY DSCSONY DSCSONY DSC SONY DSCSONY DSCSONY DSC It just makes a subtle difference in the look of your leaf or whatever you are crocheting. SONY DSC

HAPPY CREATING!!

Disclaimer:  This post contains affiliate links – “Commissions Earned”
Shaping Crochet Bowls

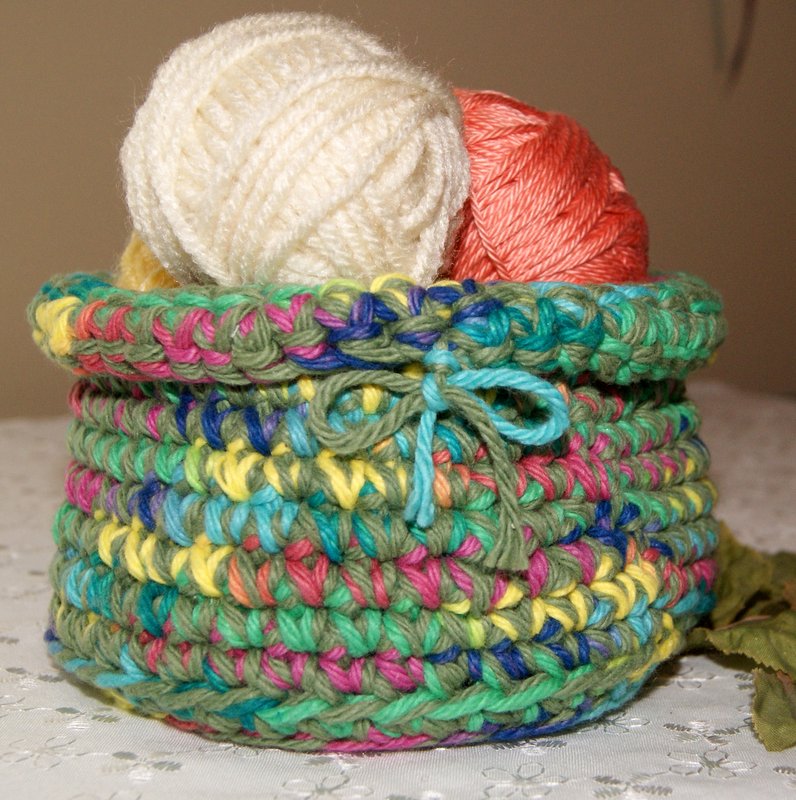
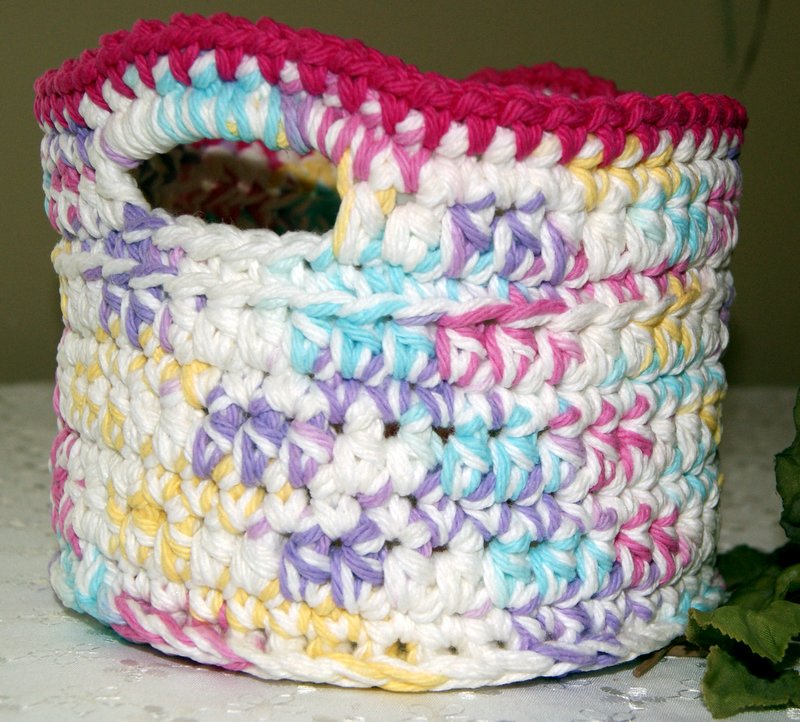
I enjoy making crocheted bowls.  I use them for many different purposes – in my guest bathroom for soaps, potpourri, hand towels; as a yarn holder for my SONY DSC crocheting projects, in my work space for paper clips, housewarming gift filled with cookies, etc. you get the picture. My yarn of choice is to crochet with two strands of 100% cotton for these fun bowls but sometimes they can be difficult to stay in their shape.  I have done research and looked up different ways to help a crochet item retain its desired shape.  Tried a few but not all.  Not really into cooking a mixture to put on my crochet project; like the sugar (afraid of attracting ants too) or cornstarch recipes. I have used water and Elmer’s glue which works good.  I use a mixture of about half water and half glue thinning to a paint consistency.   Works for me because I actually use a paint brush to apply the glue mixture.  Most of the time I don’t feel like my project needs to be dipped entirely into the glue mixture.  I will just paint the mixture on the inside bottom of the bowl to ensure that it stays flat.  I also will use a spray bottle with plain water in it and dampen the bottom first with water, then apply the glue mixture.  Air dry on waxed paper.  Just putting the glue stiffener on the inside of the bowl, keeps the entire outside of the bowl the same soft consistency of the yarn.SONY DSC Just made a clever medium-sized handled crochet basket.  This time I sprayed the entire basket with water then used regular spray starch (coated thoroughly) on the outside first, let dry and then repeated process for the inside of the basket.  If you want a stiffer basket, I would suggest using heavy-duty spray starch. SONY DSC One of the hardest parts is finding that right shaping container for the drying procedure.  I used a ceramic utensil keeper, covered it in plastic wrap and placed my basket on it to shape and dry.  You just have to be creative when looking through your cabinets for: bowls, Tupperware containers, measuring cups, plastic yogurt or cottage cheese containers, all potential drying shapers depending upon your specific project. SONY DSCSONY DSC The cotton basket that I just crochet was found on Ravelry as a free pattern, which took me to the designers blog, crochetincolor.com.  Really enjoyed her blog and liked the way she used the HDC (half double crochet) stitch to create a good flat bottom design.   Take a moment and click on the link to check it out!! I have also thought about taking a small piece of cardboard, covering it in coordinating fabric to match the yarn and placing it in the bottom of a bowl or basket for even more stability. Anyways, have fun creating your own bowls and baskets and using them around your home or giving them as gifts filled with little goodies.   Let me know your ideas for stiffening crochet projects too!!

HAPPY CREATING!!

Disclaimer:  This post contains affiliate links – “Commissions Earned”