What child doesn’t LOVE to toss around squishy little bean bags!! Here’s some quick tips on how to make these cute, fun bags.
I just use cotton fabric from my very large scrap bin but just about any type of fabric will work. I personally like to mix solids with prints because it gives more options to vary up game ideas.
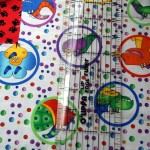
For my samples, I chose two solids that coordinated with two prints and stacked all four fabrics on top of each other. Then I measured a 5 1/2″ square that I drew on the fabric and with the help of my ruler, I rotary cut out these squares in one quick motion.
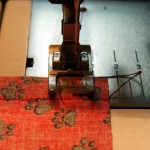
Now simply put right sides together and sew in a 1/2″ seam allowance leaving one side partially unsewn for turning. I like to sew about a 1″ seam on each side of the opening edge so I don’t have to mess with the corner. When I make my 1/2″ seam allowances, I sew off the end of the fabric, lift my pressure foot and turn the fabric and continue sewing my seams. Saves some time. I will also back-stitch across the seam that I just made to give extra strength to the corners.
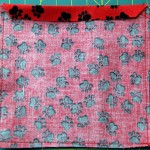
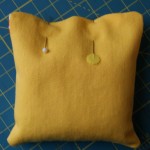
Once I have sewn around all the sides of the square, trim your seams and angle cut your corners. Before I flip to the right side, I like to press down the opening edge to make the closing seam easier to stitch. After I have ironed this edge, turn your square to the right side. Fill it with about 3/4 cup of rice and then sew your opening closed. I like to stitch a second row on my opening edge for reinforcement since this is an item that gets a lot of use.
Now have fun tossing them into buckets or just on the floor getting different points if your bean bag lands on a solid side or a print side.
- TIP: When using two different fabrics, I like to put a coordinating thread for one fabric in the bobbin and the other coordinating thread for the second fabric in the machine.
HAPPY CREATING!!
Leave a comment
