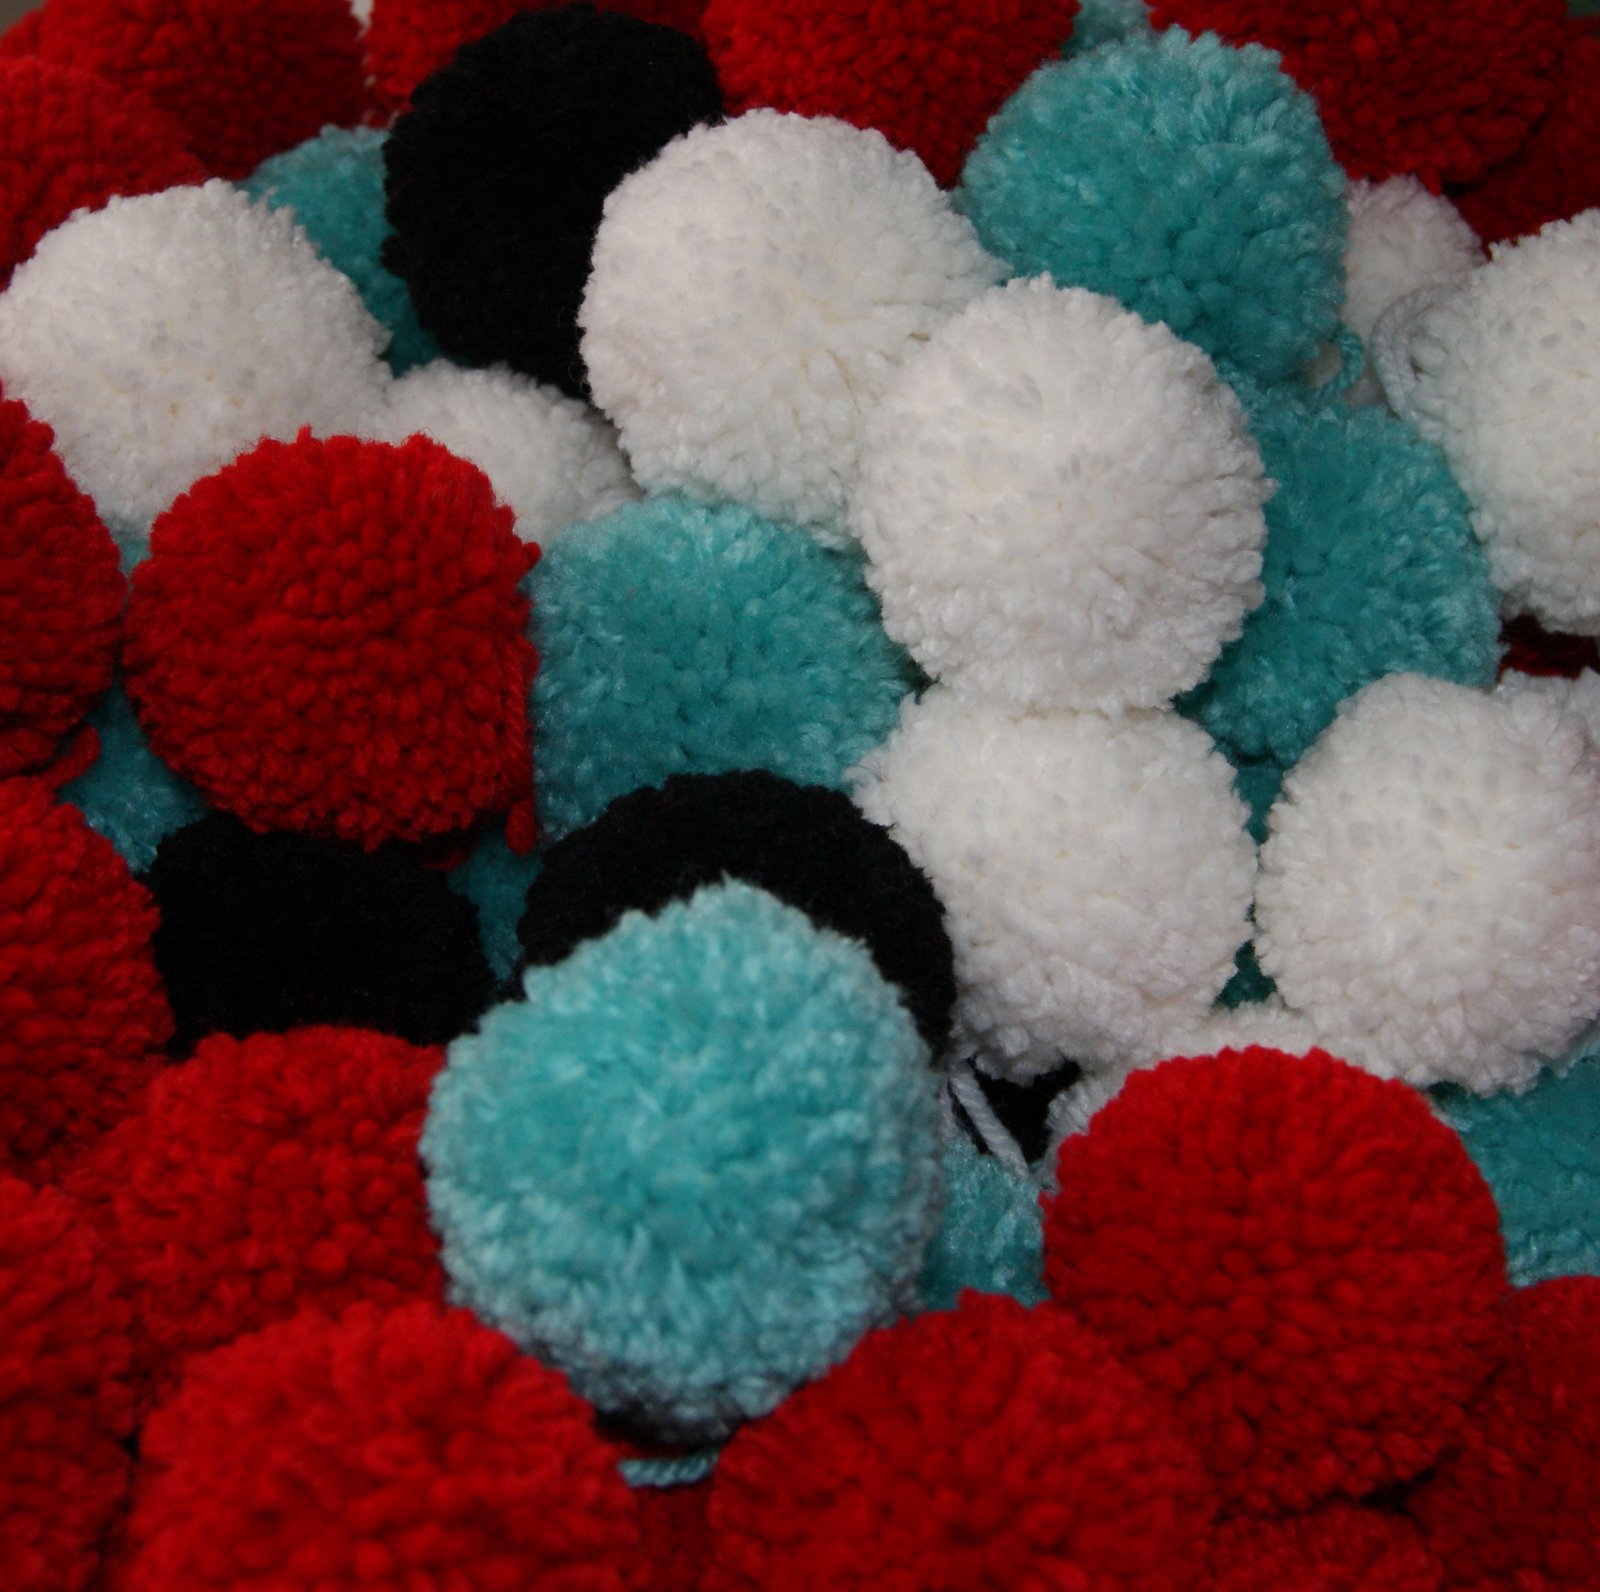
 I just completed a big order for a customer who purchased 100 2″ pompoms!! I used the Clover pompom maker and had great success. I know there are several types of pompom makers out there from different manufacturers, Lion Brand, Susan Bates, etc. plus what you can use at home from a cardboard circle, fork tines, your fingers and so on but, I thought I would share with you my technique that I used with the Clover brand.
My tutorial is done with pictures so I hope you can follow along without any problems. Also, please keep in mind that I am left-handed so how I make a pompom will be in reverse for a right-handed person.
The pictures are pretty self-explanatory and have been numbered as steps so you can follow along easily.
I just completed a big order for a customer who purchased 100 2″ pompoms!! I used the Clover pompom maker and had great success. I know there are several types of pompom makers out there from different manufacturers, Lion Brand, Susan Bates, etc. plus what you can use at home from a cardboard circle, fork tines, your fingers and so on but, I thought I would share with you my technique that I used with the Clover brand.
My tutorial is done with pictures so I hope you can follow along without any problems. Also, please keep in mind that I am left-handed so how I make a pompom will be in reverse for a right-handed person.
The pictures are pretty self-explanatory and have been numbered as steps so you can follow along easily.

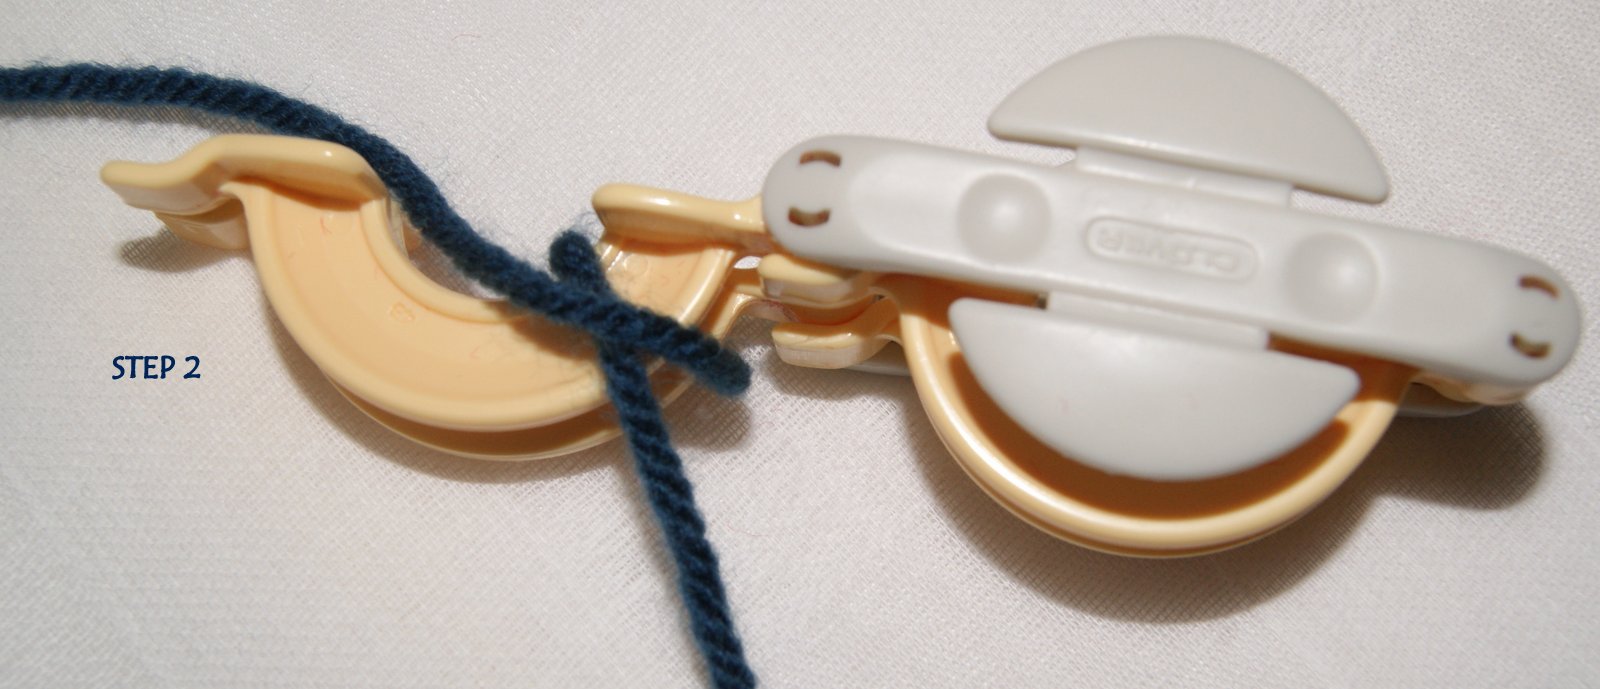
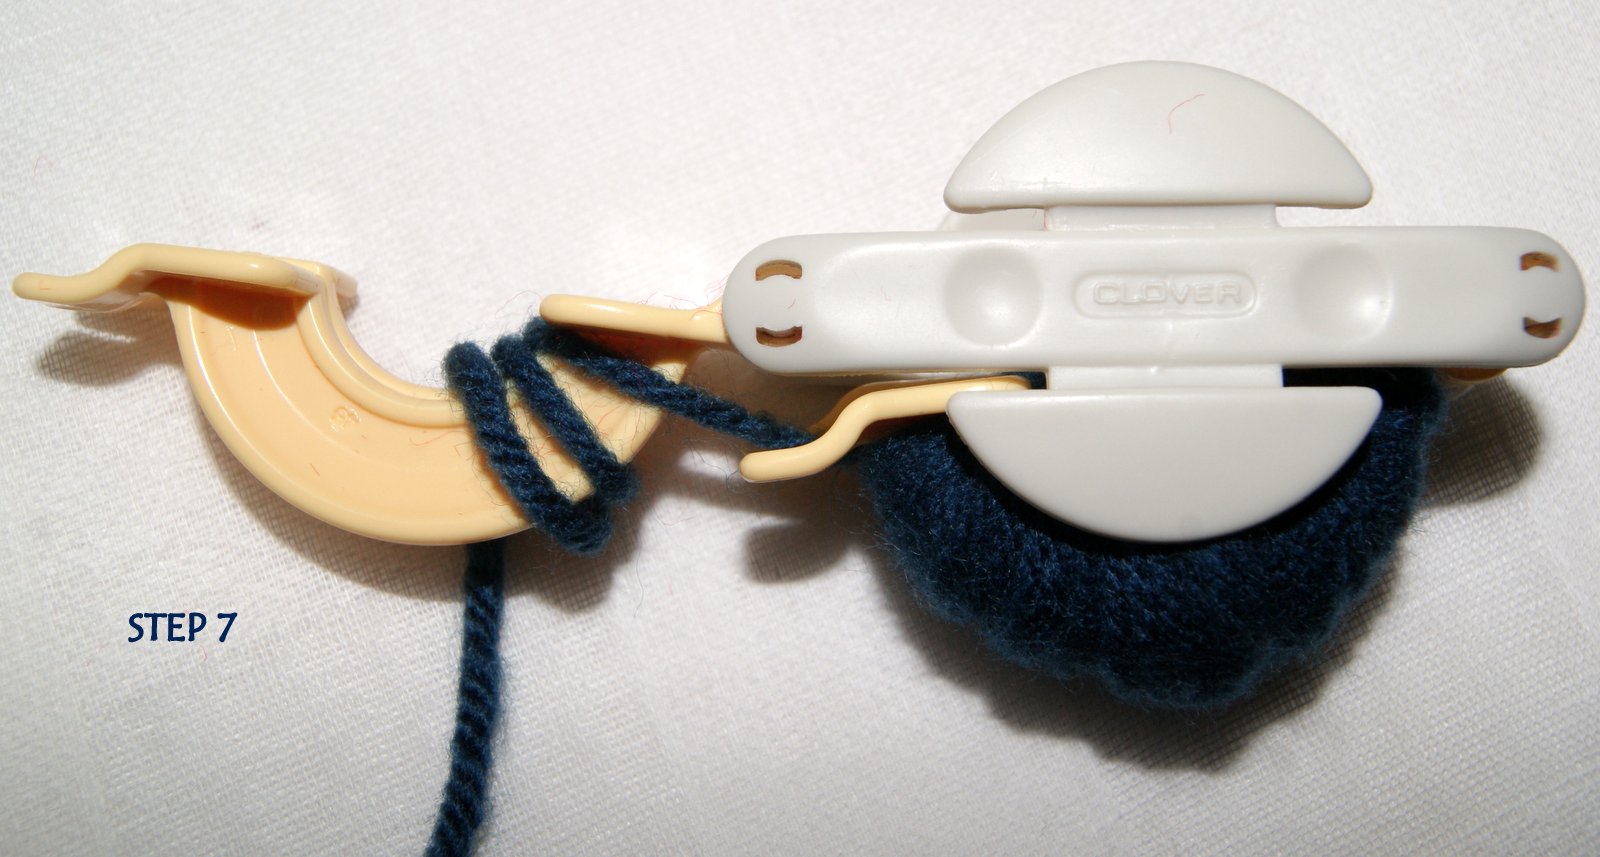
 As you can see, I begin by opening only one half of the pompom maker and place my yarn tail on top of the first two arches. I wind my yarn snuggly over top of the yarn tail and I slid the first few wraps up to the edge of the arch. Continue wrapping snuggly all along the arch and I fill it completely level ending with the yarn at the outside edge of the arch. Then I insert the yarn between the two arch pieces, close it and insert the yarn between the two arch pieces on the other side. Don’t pull the yarn too tight at this step because you want to have some slack for the finishing steps.

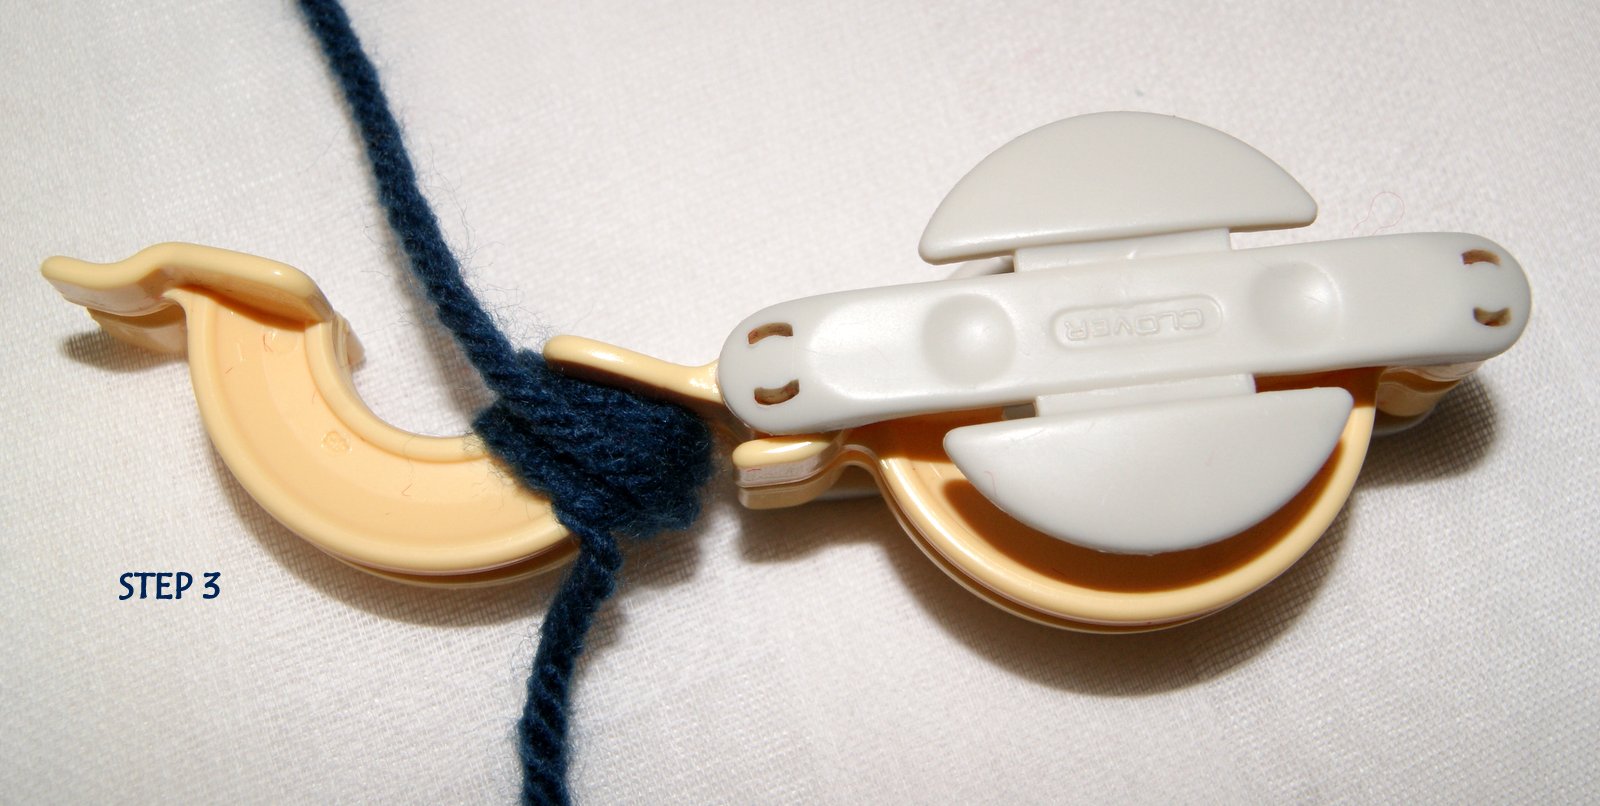
 Begin wrapping the second set of arches in the same manner as the first set. I again wrap my yarn snuggly around the second set of arches making it level.
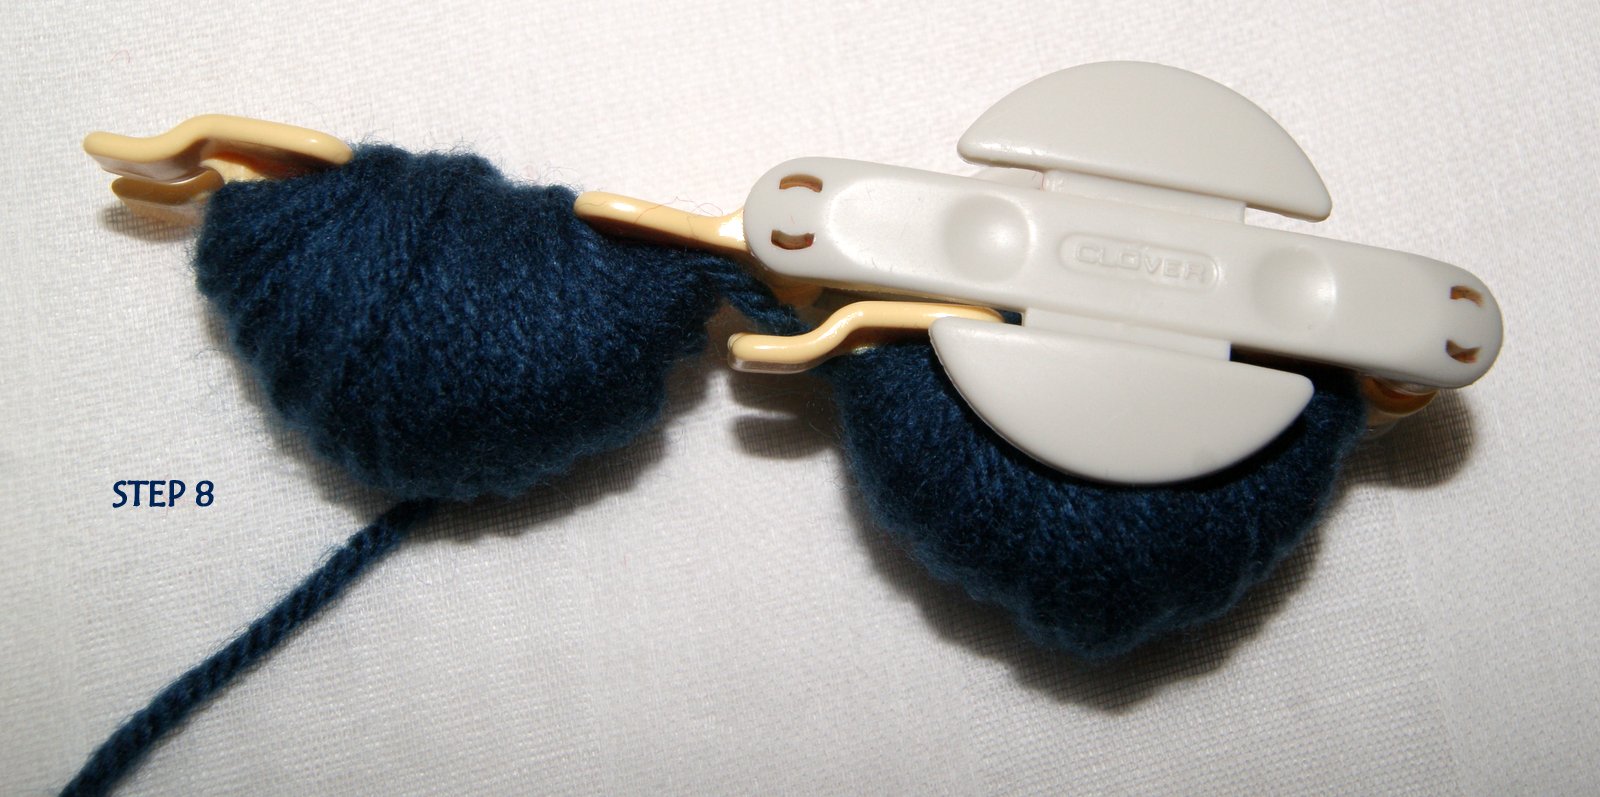
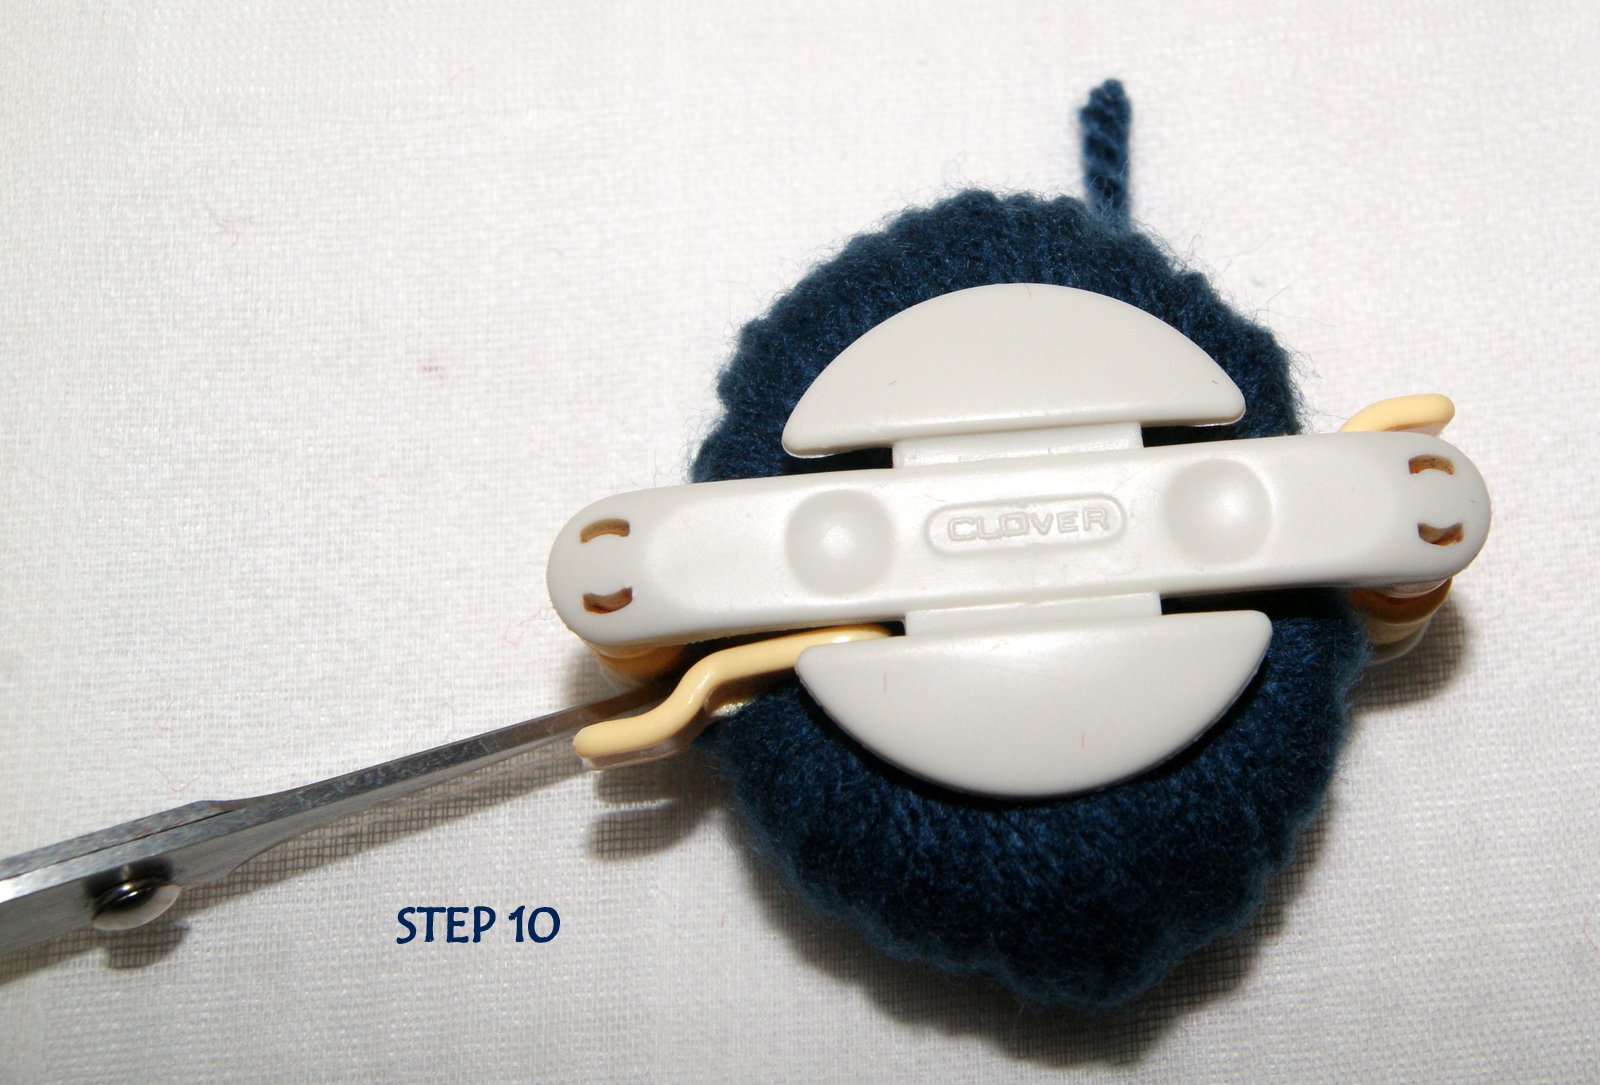
 I end the yarn in the center of the arch and cut if free from my skein. Now I use a pair of very sharp, narrow bladed scrapbooking style scissors. I first insert the points of the scissors between the arches where I carried over my yarn from one side to the other side and cut that piece of yarn in half.
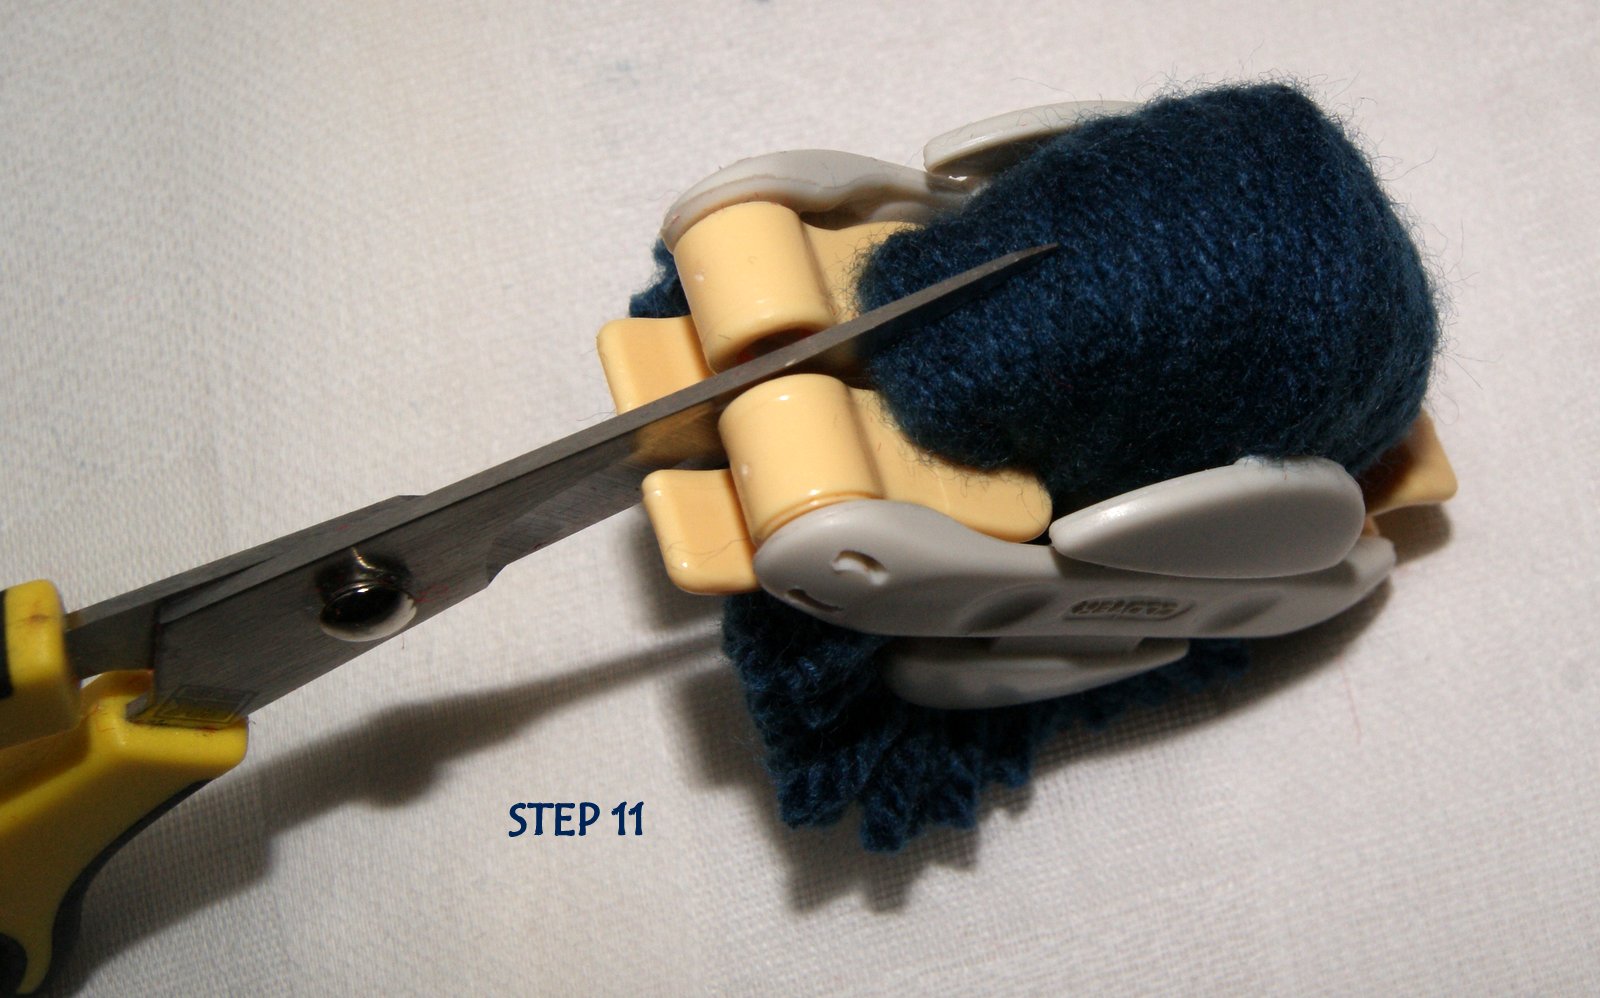
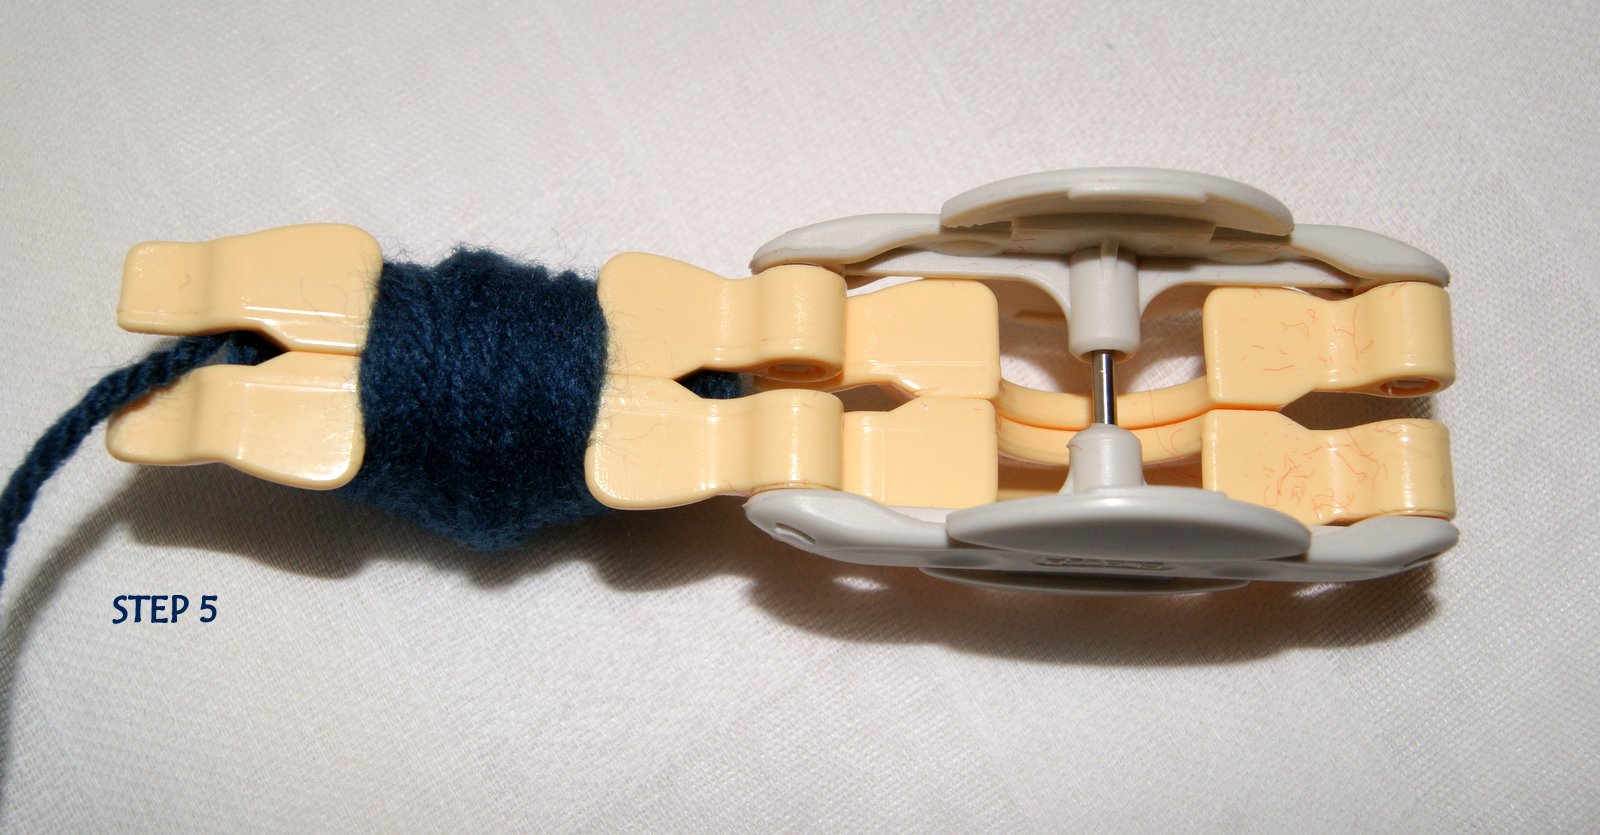
 Now I begin cutting the yarn from the rounded ends while holding down the lift ends the whole time I am cutting. Be very careful that you don’t snip your fingers when you get close to the end. You want to make sure too that the pompom maker DOESN’T COME APART especially when you begin cutting your arches!!! Now you are ready to tie all your little pompom threads together by slipping a thread between those two arches. I like to cut my tying thread about 18″-20″ long. Slip it between the two arches and give it a good tug. You want to feel that the yarn thread has pulled securely through the arches and it can’t move anymore. Now do a square knot which will create a strong and secure knot to keep your pompom together. Also, when you pull on your tied threads, pull securely so that knot goes down between the arches tightly.


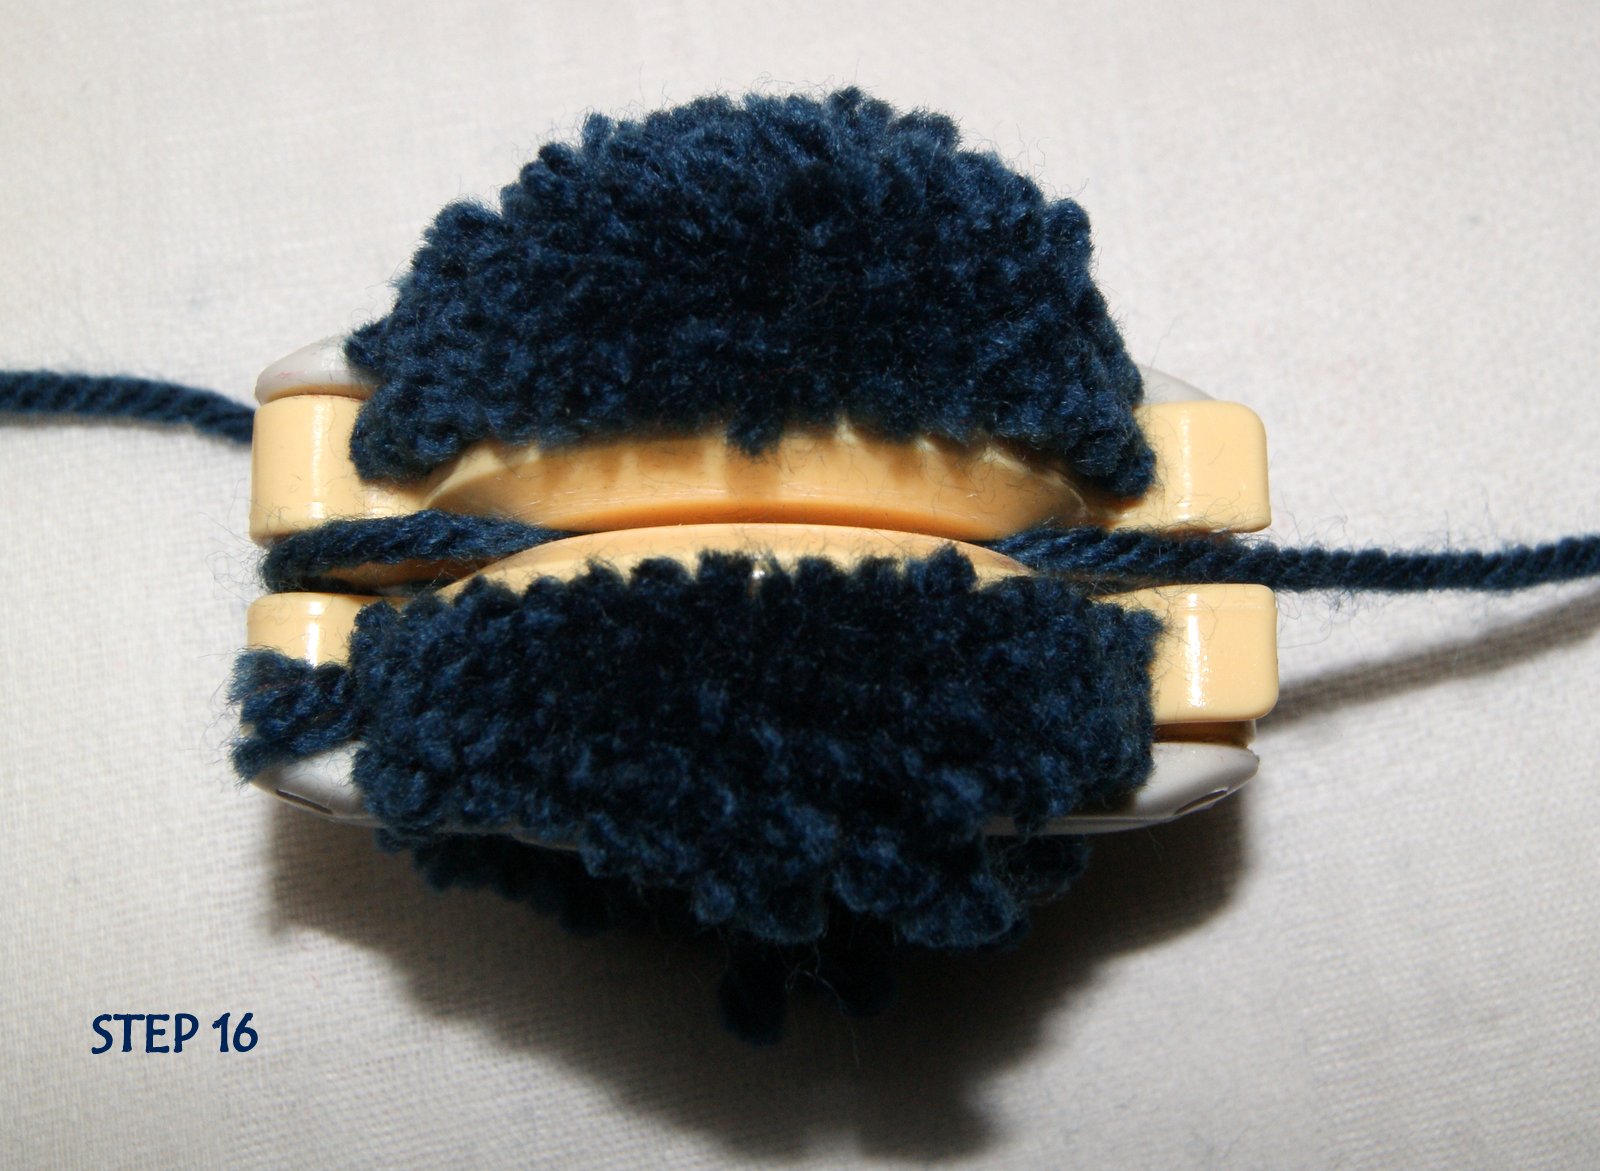
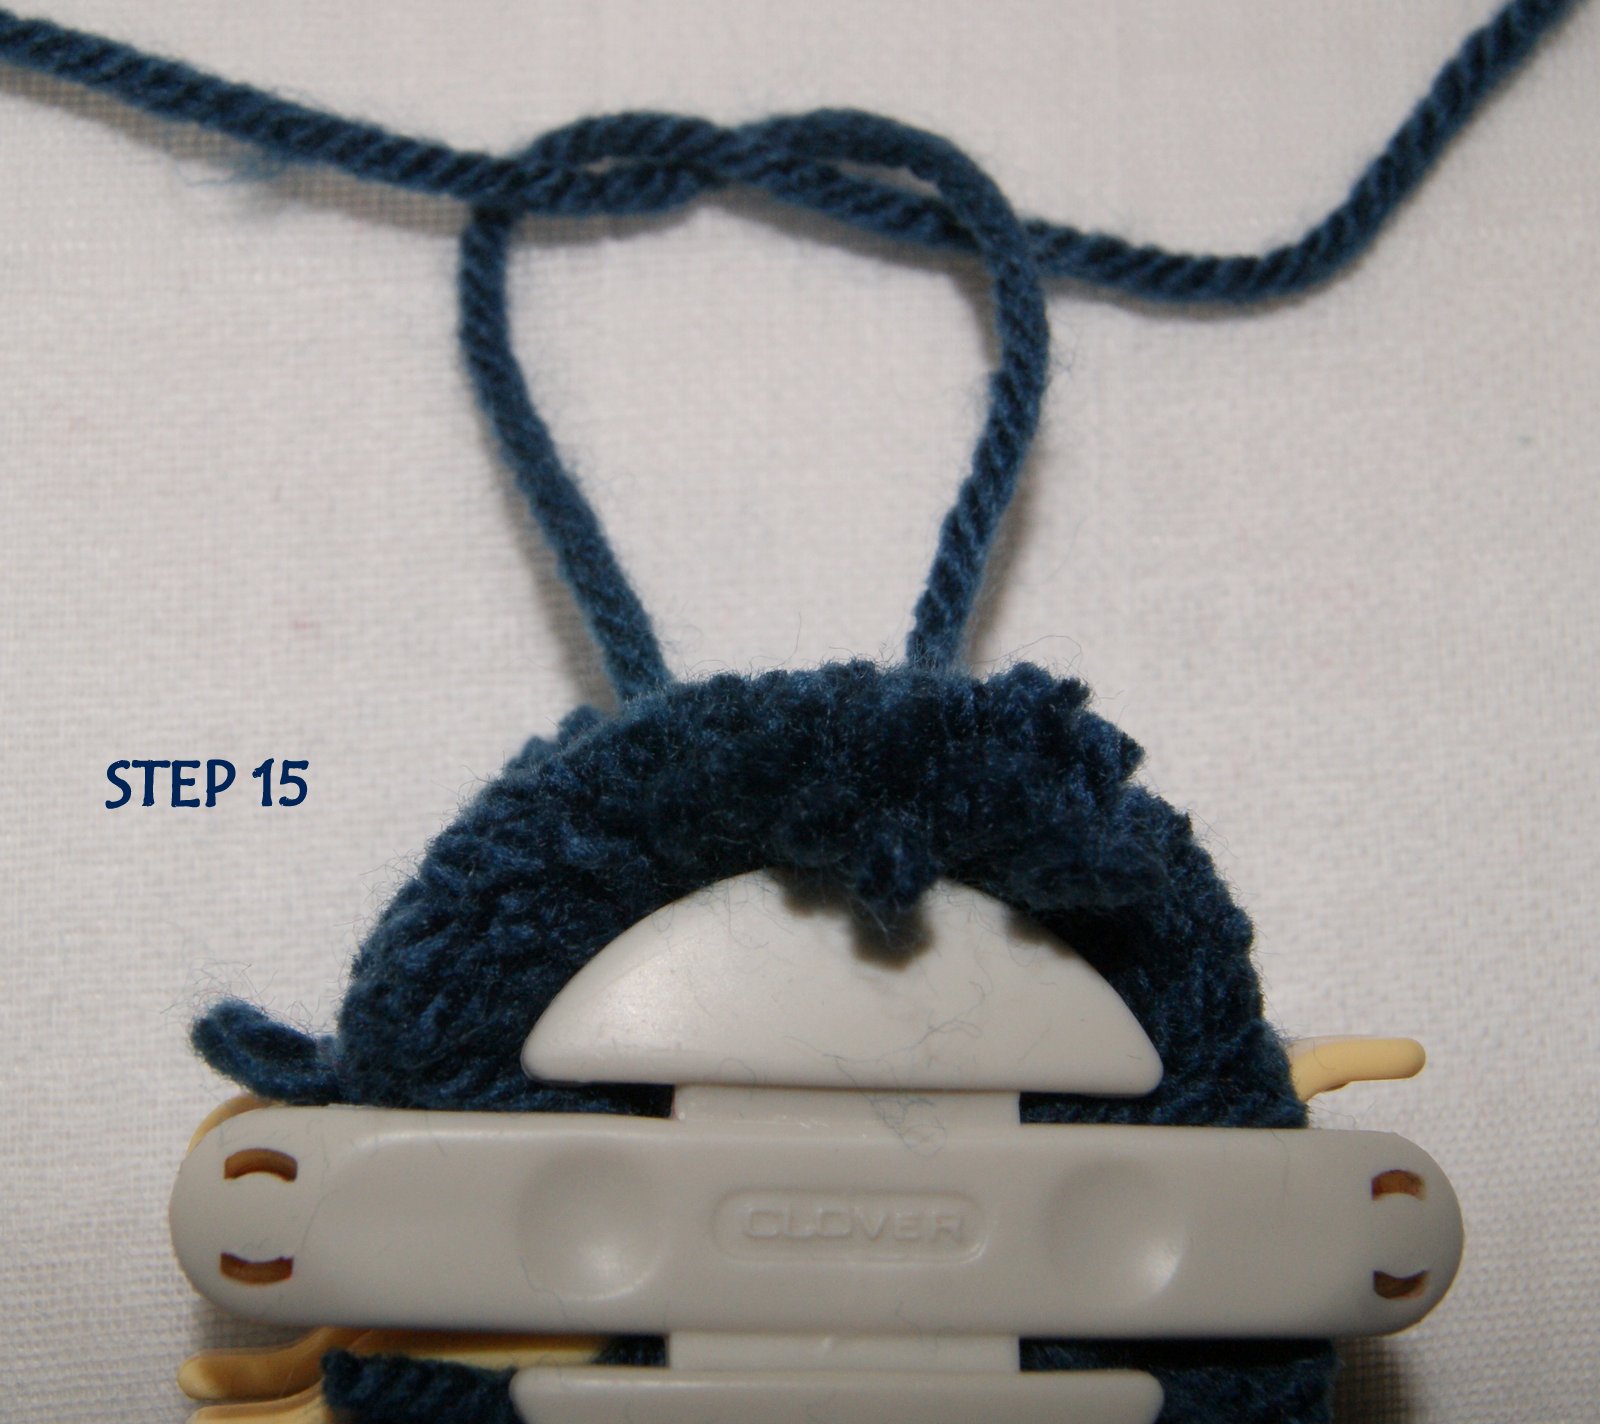 HOW TO DO A SQUARE KNOT: A square knot is basically taking the right thread and placing it over the left thread, make a tie and pull tightly. Then take the left thread and placing it over the right thread, make a tie and pull tightly. Or the opposite way, left over right and then right over left.

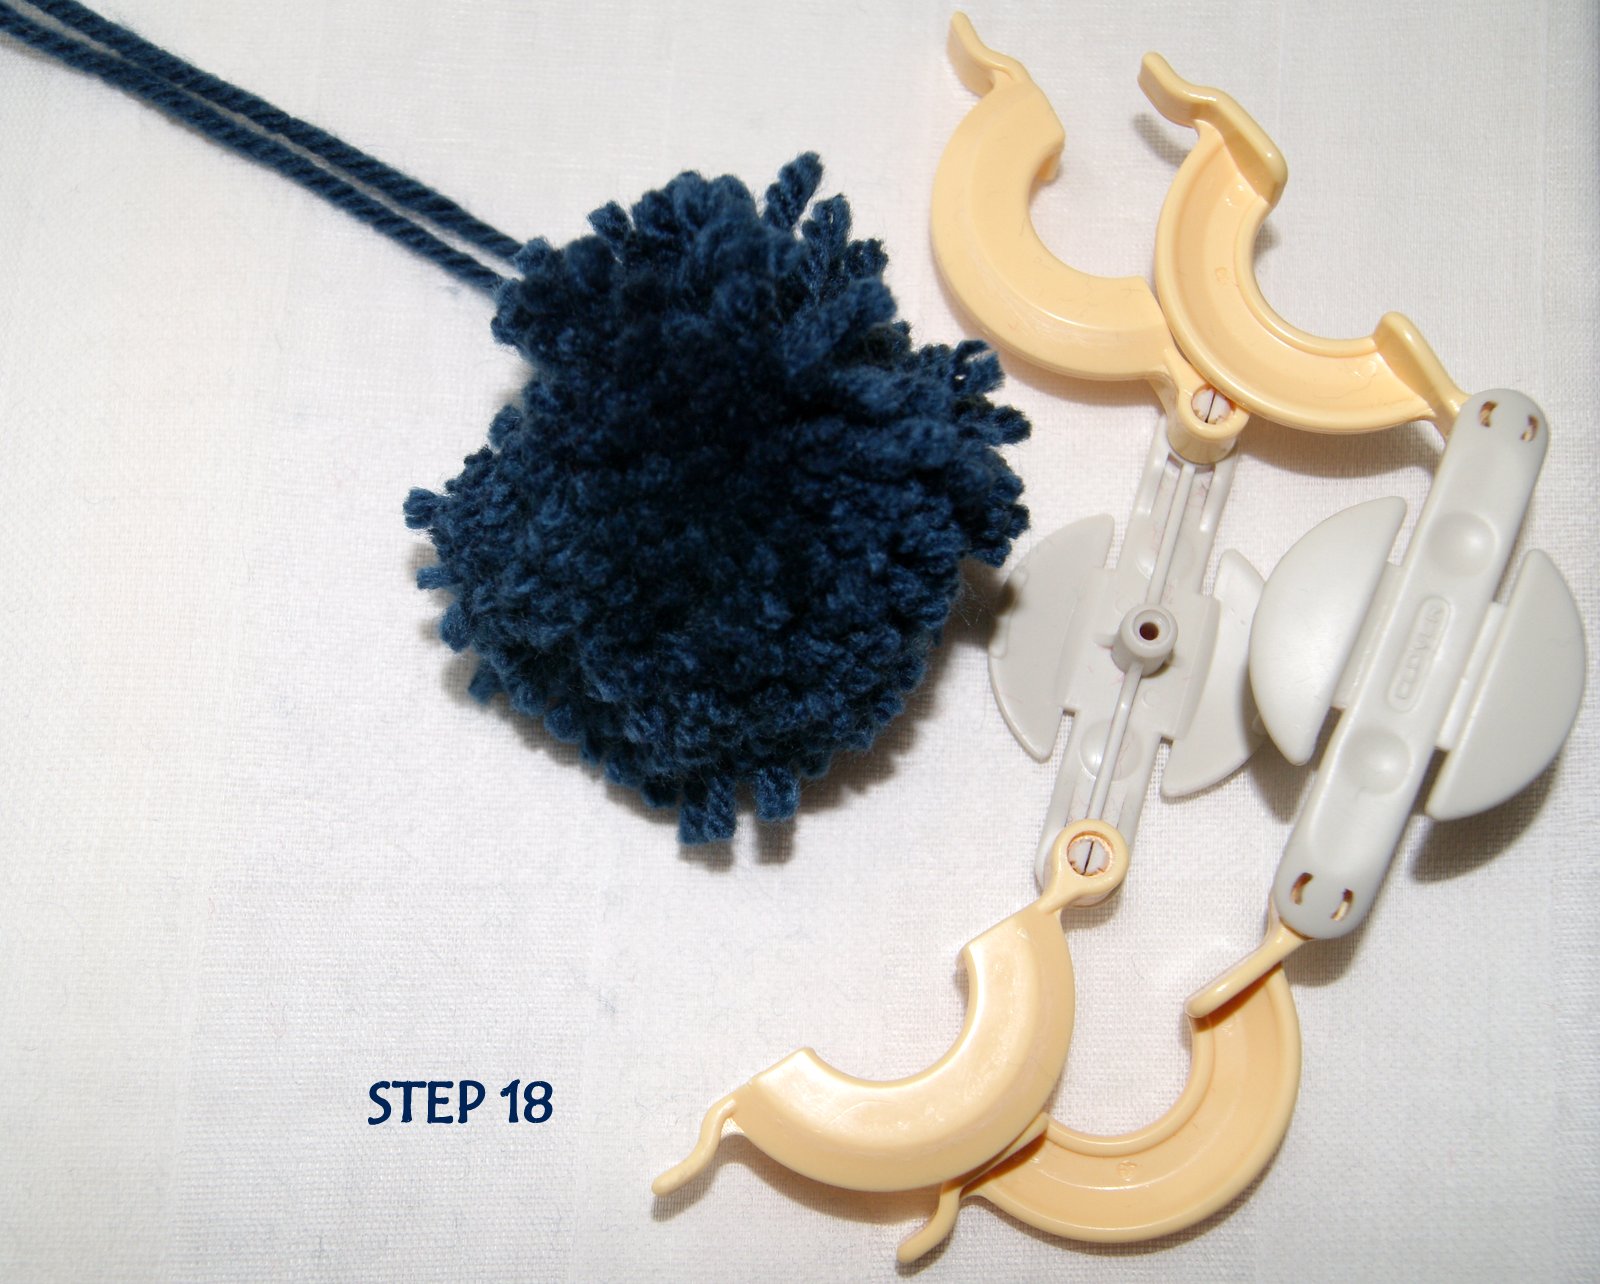 Once you have completed your square knot, you can remove the pompom tool. Just lift each arch piece and pull your spools apart and your pompom will just pop out. A little raggedly looking at this point, just needs a shaping trim.
To shape the pompom, I like to use just the tips of my good fabric cutting scissors which are really sharp and will give a clean, crisp cut. A tip I like to do is to hold the pompom at the very top of the thread tie and look down on top of the pompom itself so that I can see the circle being created. Turn it upside down too and look at it from the bottom up to see your circle shape. Helps with your trimming procedure. Give it a good hard shake to help remove some of the trimming wispys and you are ready to do creative things with your cute pompom!!!!
Once you have completed your square knot, you can remove the pompom tool. Just lift each arch piece and pull your spools apart and your pompom will just pop out. A little raggedly looking at this point, just needs a shaping trim.
To shape the pompom, I like to use just the tips of my good fabric cutting scissors which are really sharp and will give a clean, crisp cut. A tip I like to do is to hold the pompom at the very top of the thread tie and look down on top of the pompom itself so that I can see the circle being created. Turn it upside down too and look at it from the bottom up to see your circle shape. Helps with your trimming procedure. Give it a good hard shake to help remove some of the trimming wispys and you are ready to do creative things with your cute pompom!!!!


HAPPY CREATING!!
Disclaimer: This post contains affiliate links – “Commissions Earned” ,
Pingback: Crochet Outfit for 18″ doll | Stitch4eveR