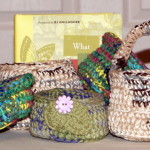
 I really “love” making these little crochet bowls or as I like to refer to them as my crochet pottery!! You have lots of creativity to give your finished bowl its own personality.
My yarn of choice is Lily Sugar ‘n Cream but any 100% cotton yarn will work. To give some added durability, I crochet with two strands of cotton yarn. Either two different colors or two strands of the same color depending on the look I want. And sometimes when using two different colors, I end up with a combo totally unexpected!! I like to crochet with a size H or I hook when making these little gems.
Because of the thickness of the yarn, I begin by crocheting 2 chains and in the 2nd chain from the hook, I will make 6 SC stitches. Then I continue with the circle pattern (2 SC in each stitch, next row – 1 SC in next stitch, 2 SC in next stitch; next row – 1 SC, 1 SC, 2 SC continue increasing in this format) until my circle is to the finished diameter that I want for my bowl.
Once I have my diameter, I no longer make any increases, just SC around the diameter until I reach my desired height, your work will begin to curl up. If you want a little separation between the bottom and the bowl sides, then the first crochet row of no increases, make your stitches in the back loop only. This will give you a slight ridge that you can use to shape the bottom of your bowl. Then continue making your stitches in both loops for the rest of your bowl.
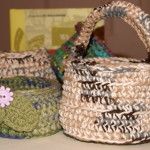
After you have reached the desired height of your bowl, on the last row use a one size larger hook and do SL stitches all around the edge and then fasten off. Weave in your ends. You might need to turn your bowl right side out. You want the thread ends from your beginning 2 chains to be on the inside of your bowl. Anyways, that is the look I like so that my outside bottom is smooth.
Now the fun begins!! You can decorate your bowl with buttons, ribbons, lace, crochet leaves and flower appliques, etc. Also, you can be creative in using different stitches within your bowl itself.
These are super little gift items too. Great for keys, cell phones, coasters, potpourri, paper clips, cotton balls, hair barrettes, yarn ball holder, etc. 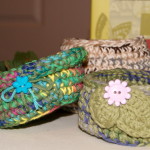
It is really a super easy pattern and perfect for a beginner. Hope you will share some pictures as I would love to see some of your “crochet pottery”!!
HAPPY CREATING!!
Disclaimer: This post contains affiliate links – “small commission earned”
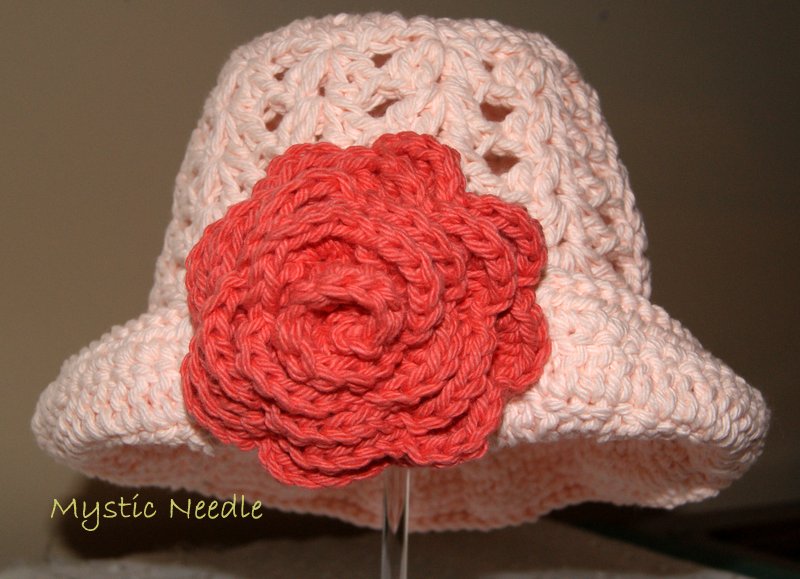 I found a free Easter crochet pattern beanie that I liked and thought I would crochet it in a toddler’s size.
I used 100% cotton yarn and a size H hook for the hat. I made mine all in one color and pulled up the front edge of the beanie and attached a big, funky rose. I might have added an extra row or two for the brim but was enjoying a glass of wine while crocheting and forgot exactly what I did.
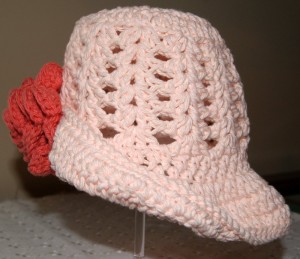
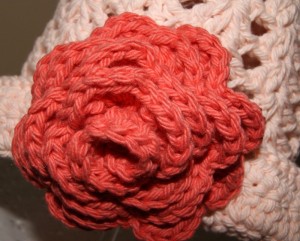 I used a size G hook and same type of cotton yarn for the big rose.
Anyways, check out her blog and all that is offered there, I know you will enjoy it as much as I did.


