Archives

DIY Yarn Holder

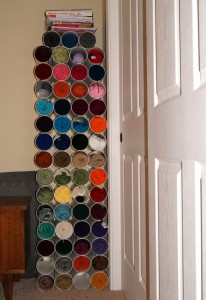
Found this idea on Pinterest and revamped it to fit my space and the yarn that I wanted it to hold.  This was a really quick project to complete and I love it.  Filled a relatively useless space to store tons of yarn and it is very easy to see the color I want at a glance. SONY DSC I purchased 4″ diameter PVC pipes and cut them into 11″ long tubes.  Sanded the edges smooth and glued them together using PVC contact cement/glue.  Was a little wobbly so I used a small L bracket/angle iron and attached to the inside of one tube and then attached to the wall.  Try to find a stud in the wall to make it very secure. Then the fun began, stuffing the tubes with the acrylic yarns that I use.  This idea is very versatile and can be designed in many ways to fit your space and store your goodies 🙂

HAPPY CREATING!!

Disclaimer:  This post contains affiliate links – “Commissions Earned”

Whoooooo Goes There??

Wow, Summer is moving right along.  Actually starting to make some stocking stuffers !!!
SONY DSC

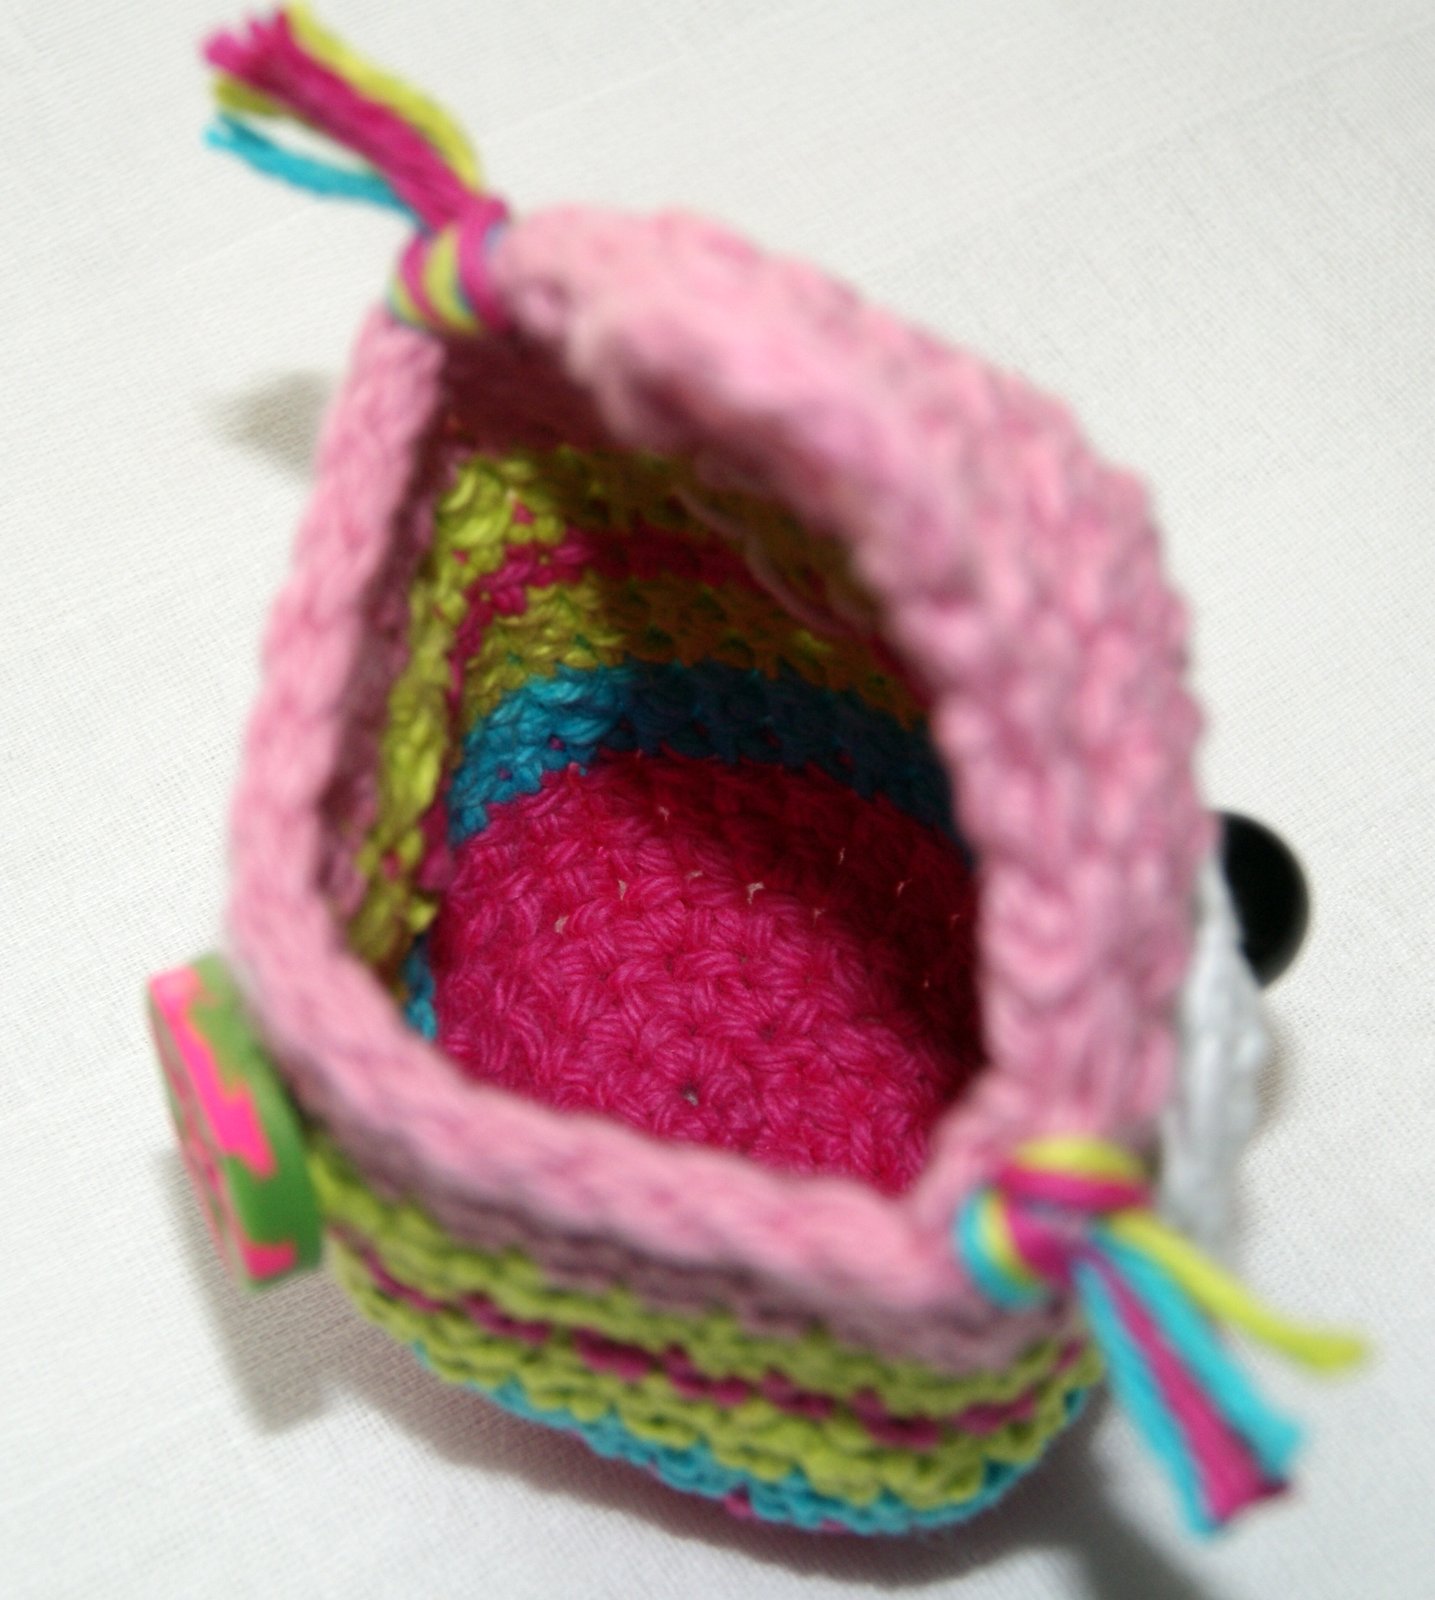
Crochet Owl Pouch

I did come across a really cute little owl pouch pattern, which I found at 1dogwoof.com.  Here’s one of mine!!  Makes up fast but best of all, I came across the best striping techniques for crochet to keep those stripes looking nice and even when you are joining. One of my favorite websites, PlanetJune has a couple of videos  you can watch to see her striping techniques.  I really like the invisible joining method as the outcome is fantastic.  It also makes for a wonderful fastening off technique so that you have a continuous looking stitch edge. SONY DSC SONY DSC If you are wanting to perfect your crochet striping, take a moment and check out these websites.  I know you won’t be disappointed 🙂

HAPPY CREATING!!

Disclaimer:  This post contains affiliate links – “Commissions Earned”

                                Nancy

Baby Blanket Finished

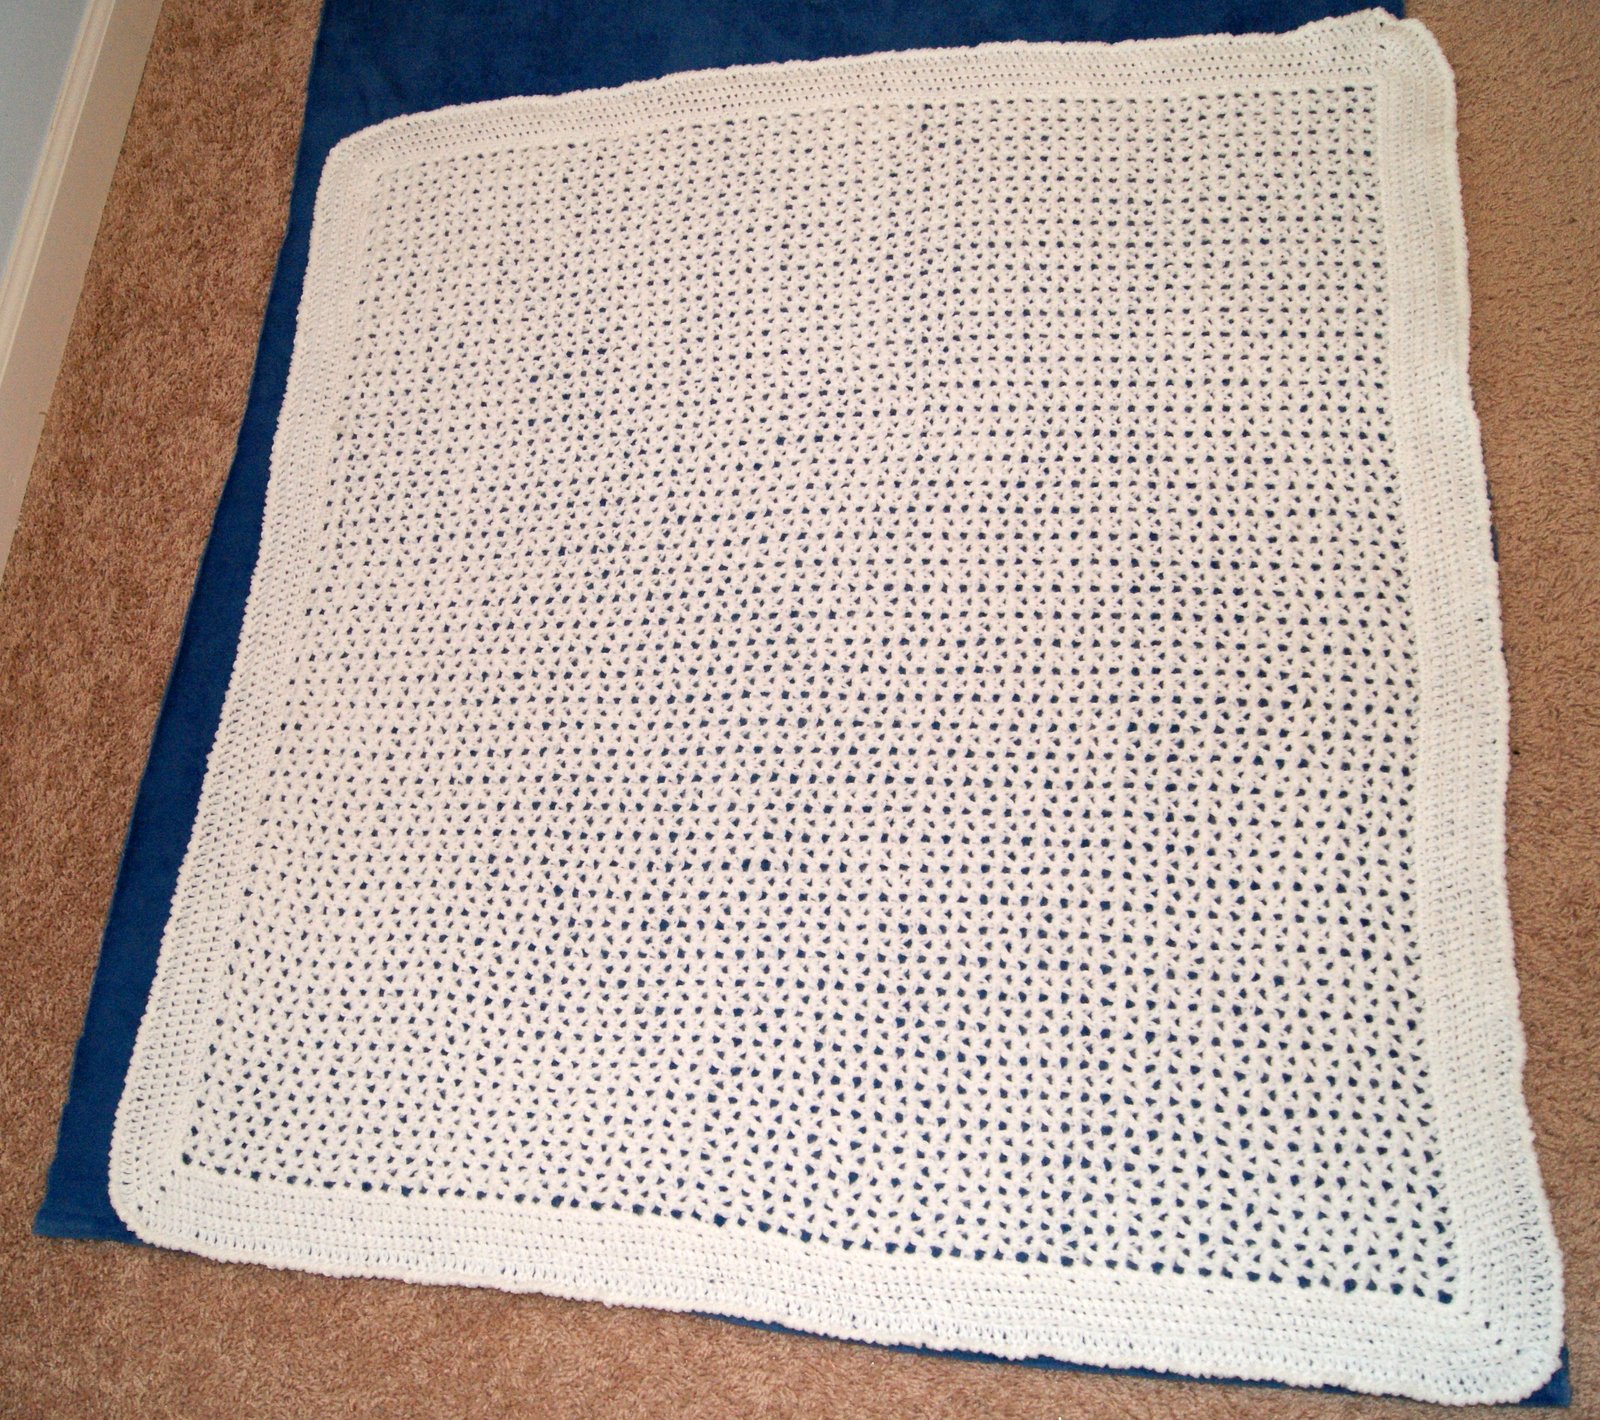
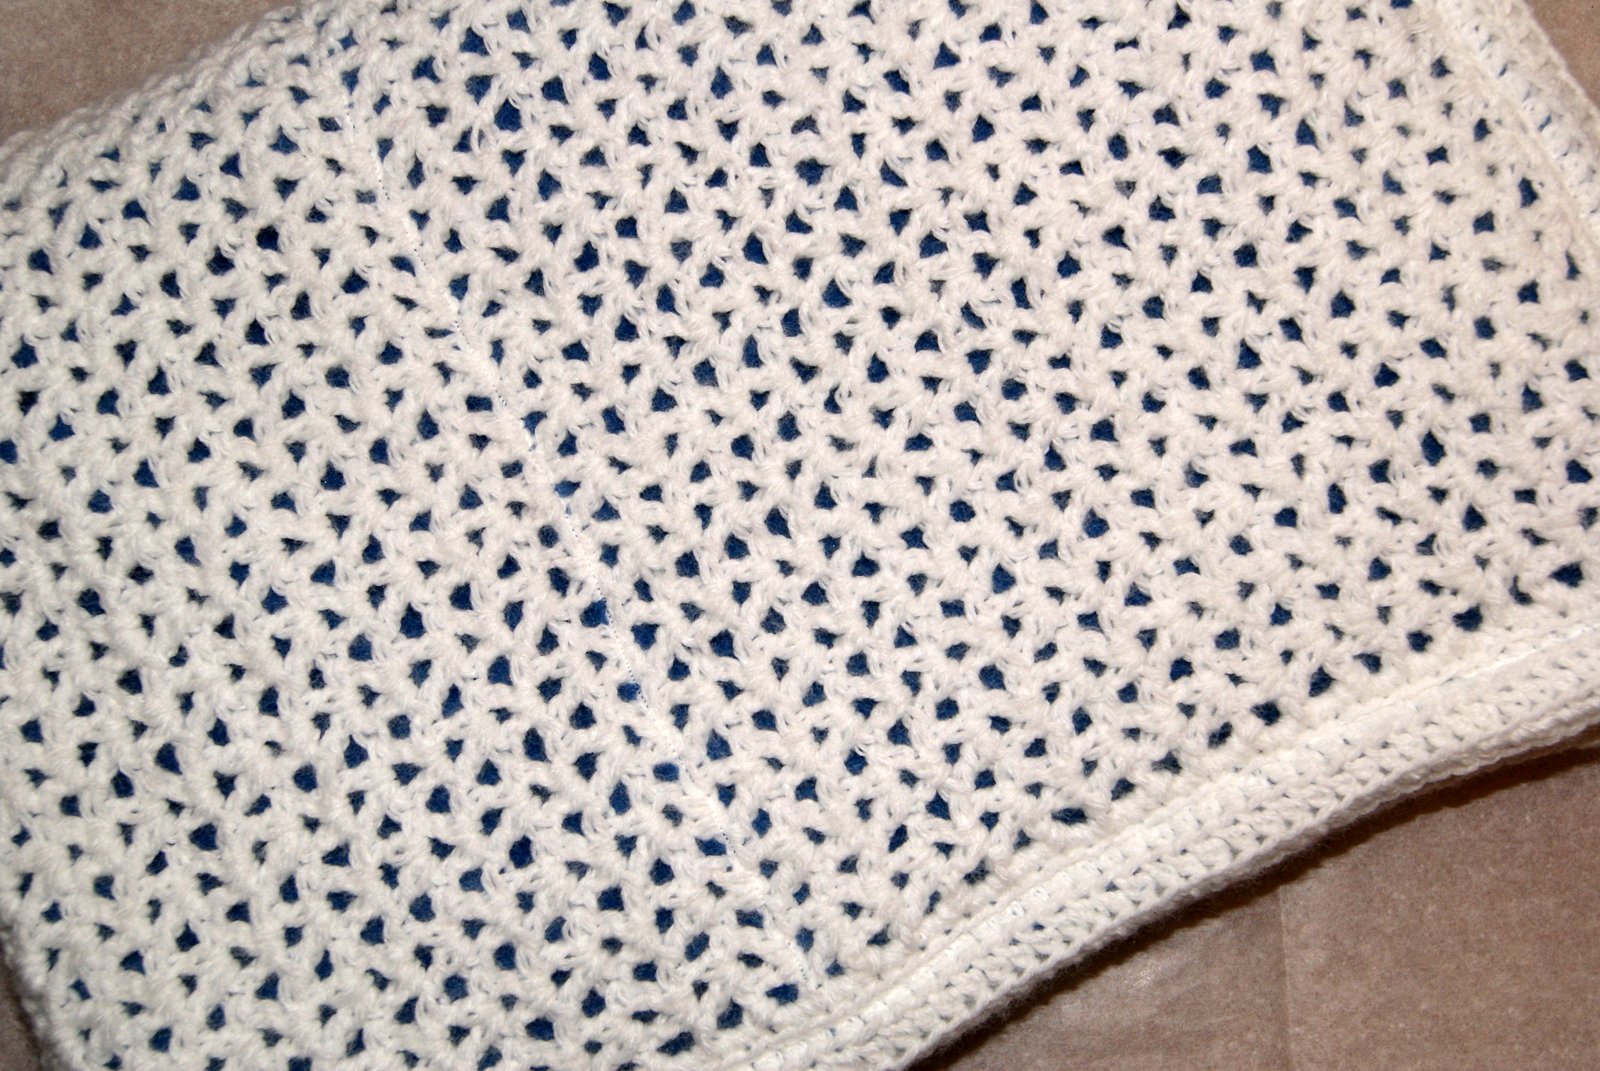
Well I finally finished the baby blanket adding the Ultra Comfy fabric to the back.  First time that I ever “quilted” a crochet project. I thought it came out very nice and will be perfect to use as a cover for the car carrier or a good, thick and soft blanket to lay the little guy on the floor so he can stretch or sleep to his heart’s content and when he is about 2,  I can see him running around using it as a cape 🙂
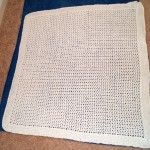
SONY DSC

Finished blanket on top of wrong side of blue backing.
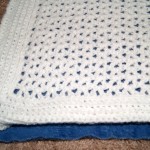
This is where I folded over the edge of crochet to create binding

This is where I folded over the edge of crochet to create binding

I’ve included some pictures on how I trimmed the backing fabric in the corners and did the machine stitching.  I did use a regular sized zigzag stitch length and stitch width for the edging.
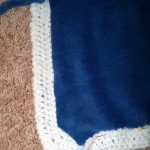
How I trimmed the edge of blue fabric and the corners.
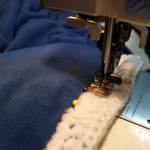
How I trimmed the edge of blue fabric and the corners.

Stitching

Stitching

Also, something to keep in mind should you try this technique, I only pinned and sewed 2 sides at a time.  Because the backing fabric was extremely soft and somewhat stretchy, I wanted to make sure that I got it smooth and somewhat taut to fit my crocheted blanket.
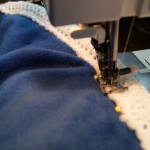
More stitching

More stitching

This way I stitched 2 sides and relaid it on the floor and pinned the other 2 sides and finished my zigzag stitching.  Once all the zigzag stitching was completed, I did make two stitching lines down the center of the blanket to hold both pieces together.  I just divided my blanket into thirds and used a longer stitch length than normal but not as big as a basting stitch and sewed it all together.  Also, I did change to blue thread in the bobbin to match the comfy fabric and continued using the white thread to match the top.
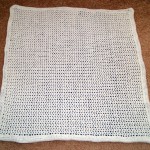
Completed blanket
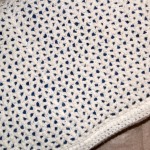
Completed blanket

Ready for shipping

Ready for shipping

Now it has been wrapped and shipped along with several different sized beanies and a pair of thumbless mittens!!  

HAPPY CREATING!!

Disclaimer:  This post contains affiliate links – “Commissions Earned”
Progress Pictures for Baby Blanket

Well, I did find an awesome blue Ultra Comfy fabric (similar to a Minky fabric) to use as my backing for this baby blanket. Oh it is just so soft and comfy!!  It is all machine washable and tumble dry low which is perfect for a baby because you know how messy they can be.  🙂 I have already washed and dried the blue fabric and it came out wonderful.  It is just waiting for me to finish my crocheting. Here are some updated pictures on my crochet progress for my special baby blanket.  Currently, my blanket measures 36″ wide x 28″ long~~adding another 5″ to the length. SONY DSCSONY DSCSONY DSC I’ve decided that the edge of the blanket needs a little something.  I am going to crochet a small border of HDC (half double crochet) stitches around the entire blanket probably stitching in the BLO (back loop only) to give a nice finished appearance. Then I’m planning to do 1 row of SC (single crochet)  join, chain 2, 1 row of DC (double crochet) BLO (back loop only) and then fasten off.  The SC and DC rows will become my binding edge that I will fold over the raw edge of the blue fabric. I am planning to machine stitch the blanket to the crocheting to make it really secure.  I’ve also decided to make some small white hearts trimmed out in blue to randomly place across the top of the crocheting to help hold both pieces of fabric together. Goal is to have everything completed within the next 10 days and will try to post some more pictures of the finished blanket.  I will probably make a little white beanie too!!

“HAPPY CREATING”

Disclaimer:  This post contains affiliate links – “Commissions Earned”

Crochet Hearts

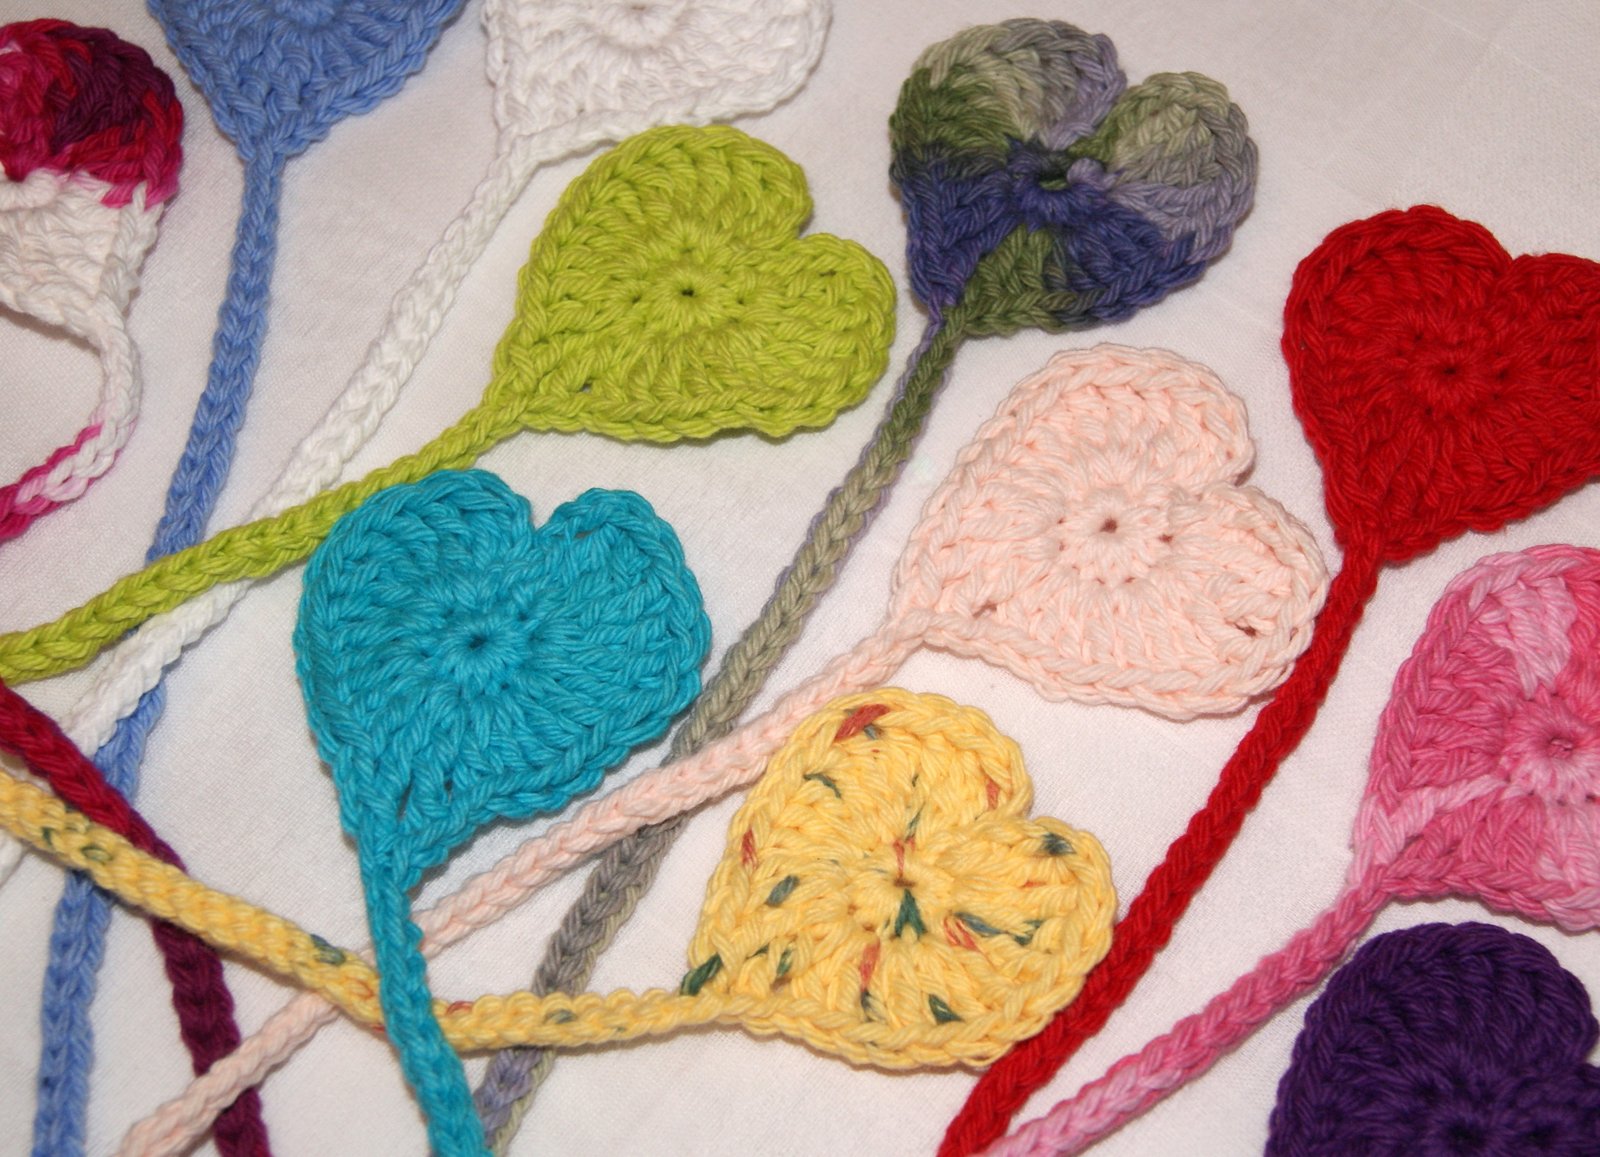
Just sharing some more ideas from my free pattern the “Fun, Little Crochet Heart Applique”.  SONY DSCSONY DSCSONY DSC Showing that changing the yarn type and weight and using a different sized crochet hook gives a whole different look to this pattern.  Actually, changing up your yarn and hook size is a creative way to experiment with patterns to see what happens. SONY DSCSONY DSCSONY DSC For the heart pattern, I added a chain loop and slide on a swivel hook to create a fun key charm.   For the bookmark, I added a chain tail to the heart.  These items were made using a size G hook and cotton yarn but try them out using what you have on hand.  I think a chunky yarn with a size I hook would be another fun look for this heart ~~ add it to a beanie!! Would love to see what you all create using this pattern and how this heart looks using different yarn/thread and hook sizes  🙂

HAPPY CREATING!!

Disclaimer:  This post contains affiliate links – “Commissions Earned”