Knowing how to make a crochet iCord is another great technique to have within your stitch file. It is a pretty simple repeat stitch pattern and you will find many uses for an iCord for your clothing, accessories, appliques, etc.
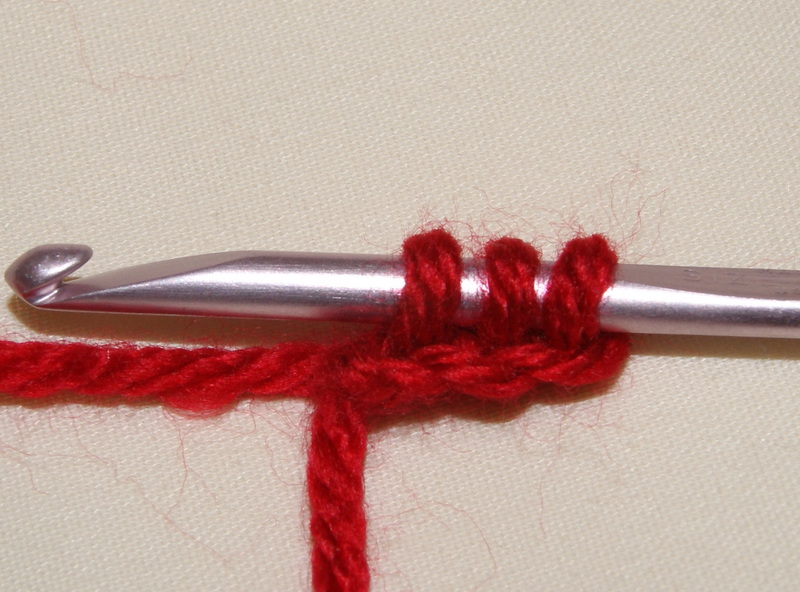
The basic concept is working with three chain stitches to form a tube. So to begin you would crochet three chains stitches, then insert your hook in the second chain from hook, yarn over (yo) and pull through loop. Repeat this step in the third chain from hook.

Made 3 chains, ready to insert into 2nd n 3rd chains from hook
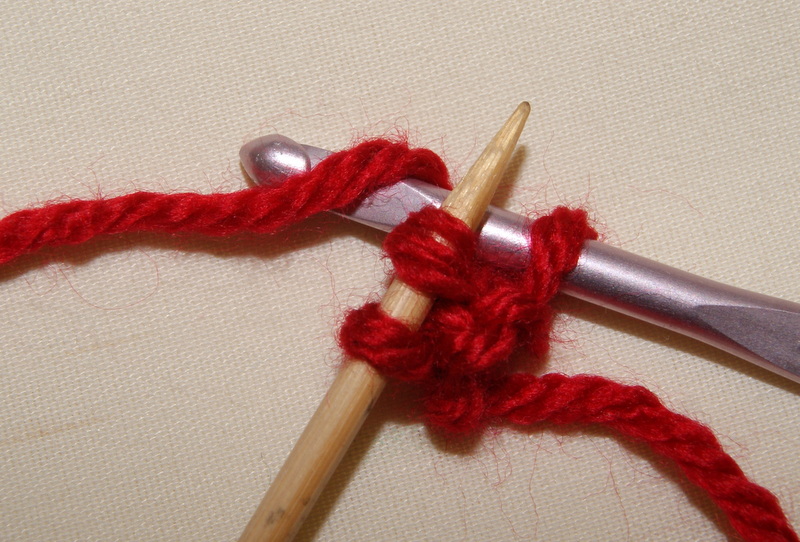
3 loops on hook, ready to begin making iCord
Now you want to slide off the first two (2) chains from your hook onto another holder like a knitting needle, chop stick, or a large tapestry needle. I personally have success using a bamboo knitting needle.

Sliding on to your holder, knitting needle

Two stitches on holder and one on crochet hook
Once you have those two chains placed on your holder, you will begin making a chain stitch (*yo and pull through the loop) with the remaining loop on your crochet hook. Now slide your 1st chain stitch loop back onto your crochet hook, make a chain stitch (*) and then slide your 2nd chain stitch loop back onto your crochet hook, and again make a chain stitch (*).
Ready to make 1st chain with loop on hook, YO pull through loop

Sliding 1st chain stitch loop back onto crochet hoo
You just keep repeating this process until your cord is the length that you want. To fasten off, just do a yarn over and pull through the three loops on your hook, now cut your yarn and pull it through the last remaining loop on your hook.

First row completed
You can create different size iCords by varying your yarn weight and hook size.
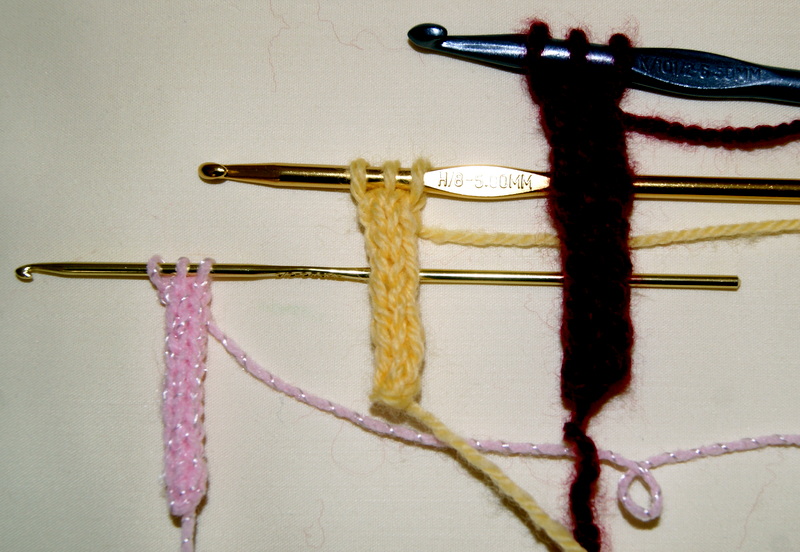
Various sizes of iCords you can make
HAPPY CREATING!!
Disclaimer: This post contains affiliate links – “small commission earned”