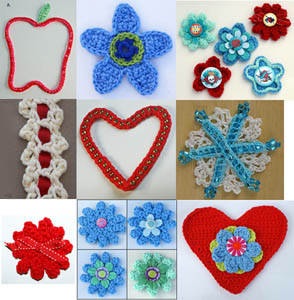
Doing the BACK STITCH is another method for joining seams as well as for adding decorative appliques or pockets to your crochet project. This is also a great opportunity to use a contrasting color of yarn to make your applique or pocket designs really stand out. 
To do the Back Stitch for a seam, you will need to place your two pieces that need joining with the right sides together and hold it with one side (called the front) facing you and the other side (called the back) facing away from you. Thread your yarning needle and pull the needle through both loops on both pieces leaving about a 4″ tail, I like to insert my needle again in that first stitch to help secure my thread. Stitching from the front of your joining seam that would be facing you, insert your needle into the next stitch going through both loops on both pieces, pull snuggly. Skip the next stitch and insert from the back to the front through both loops on both pieces and pull your needle to the front. Now, insert your needle from the front to the back through both loops on both pieces through the skipped stitch. Continue this pattern until you have completed your joining seam.
Preparing your crochet project for a decorative applique or outer pocket remember to place your applique/pocket with the wrong side down onto the right side of your crochet project. Figure out where you would like the applique/pocket to be placed or follow recommended directions from your pattern and pin your applique/pocket into place. I use long-stemmed quilting pins with the round, glass ball ends (not with the flower end because the flower design will catch onto your yarn and maybe pull it). Of course, if you have a very small item you are attaching to your piece, use smaller stemmed pins with the round ball tops.
Once you have your applique/pocket pinned to your project, you can begin doing the back stitch but this time you will need to insert from the back of your project leaving a 4″ tail, coming out the front of your applique/pocket. Insert your needle from the front to the back in the very next stitch. Now you will skip the next stitch, insert needle from the back to the front. Now insert again from the front going through the stitch that you just skipped. Continue with this process until you are done. Don’t knot, leave a tail and weave both beginning tail and ending tail through your crochet stitches.
You can always attach your applique/pocket with a straight running stitch or whip stitch too. It all depends upon the look you are achieving and how durable your item needs to be held in place.
*TIP: Update an old sweater or hat with a funky crochet applique. Teach a simple crochet motif to a youngster and let them update a piece of clothing or attach to a headband or barrette. Adding your own personal touches to a store-bought item definitely makes it uniquely yours.
HAPPY CREATING!!!
Disclaimer: This post contains affiliate links – “small commission earned”