Goodness gracious I just can’t believe this is Christmas week!! I know everyone’s crafty fingers and hands are “busy little beavers” trying to complete those projects, wrap presents, bake cookies, mail notes and cards, finish shopping, and thinking about squeezing in one more handmade item. 🙂
If you do have the time to create one more gift giving item or something special for yourself, I think I have an answer for you. Check out this link for a very lovely crocheted snowflake pattern if you haven’t come across it before:
http://bobbilewin.com/?s=crochet+snowflake
It works up in a couple of hours. I basically followed her pattern but I did make one change and that was the 3 picots at the end of round 4 ~~ I alternated with a picot cluster ~~ I made the 3 picots, then the 3 stem snowflake arm, then a PICOT CLUSTER, then the snowflake arm, then 3 picots, all the way around. So I have (3) sets of picots and (3) sets of picot clusters between my snowflake picot cluster arms or branches.
I used a size 4 (2.00 mm) metal hook and
Aunt Lydia’s Fashion 3 100% mercerized cotton crochet thread ~~ making my snowflake finished size to be approximately 4 1/2″ across. Just purchased 100% Egyptian cotton thread from
Handy Hands and really looking forward to working with it too.
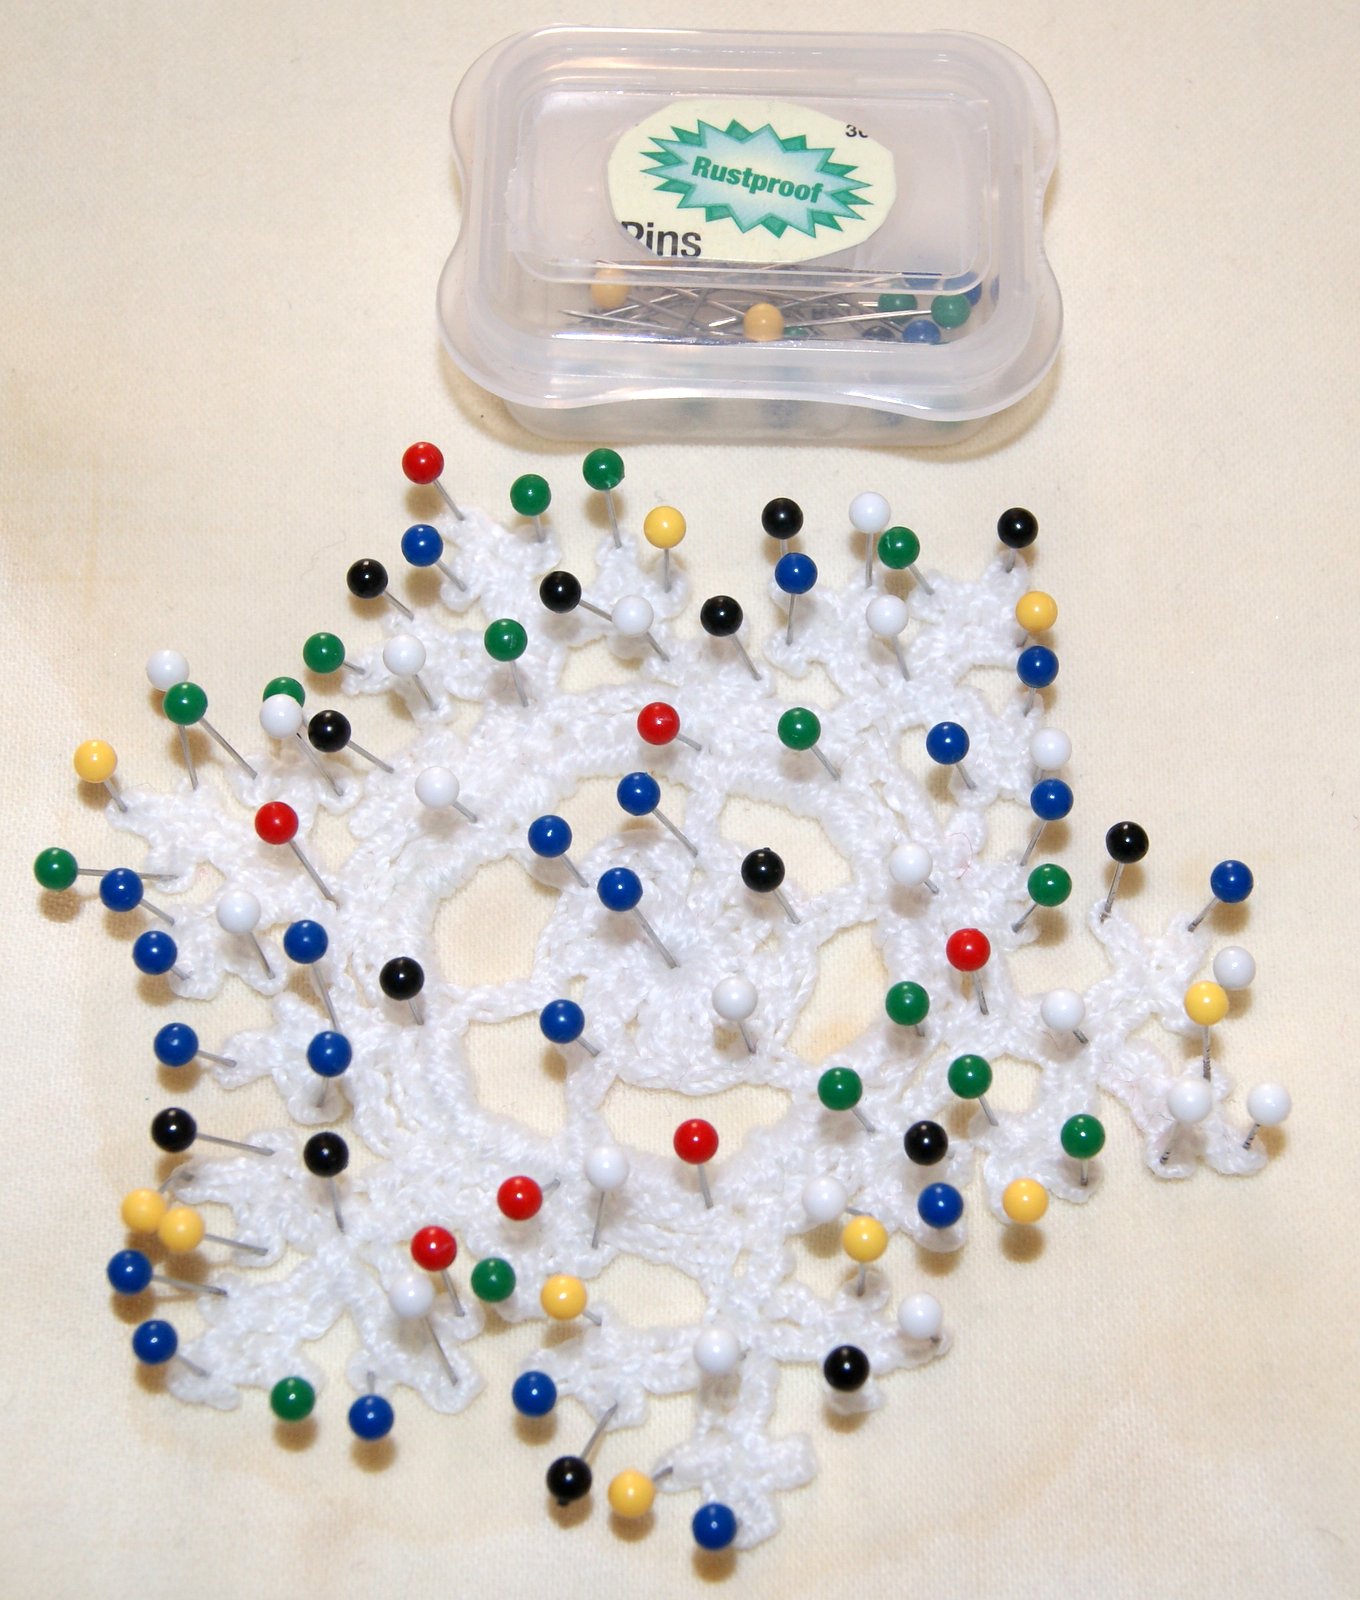
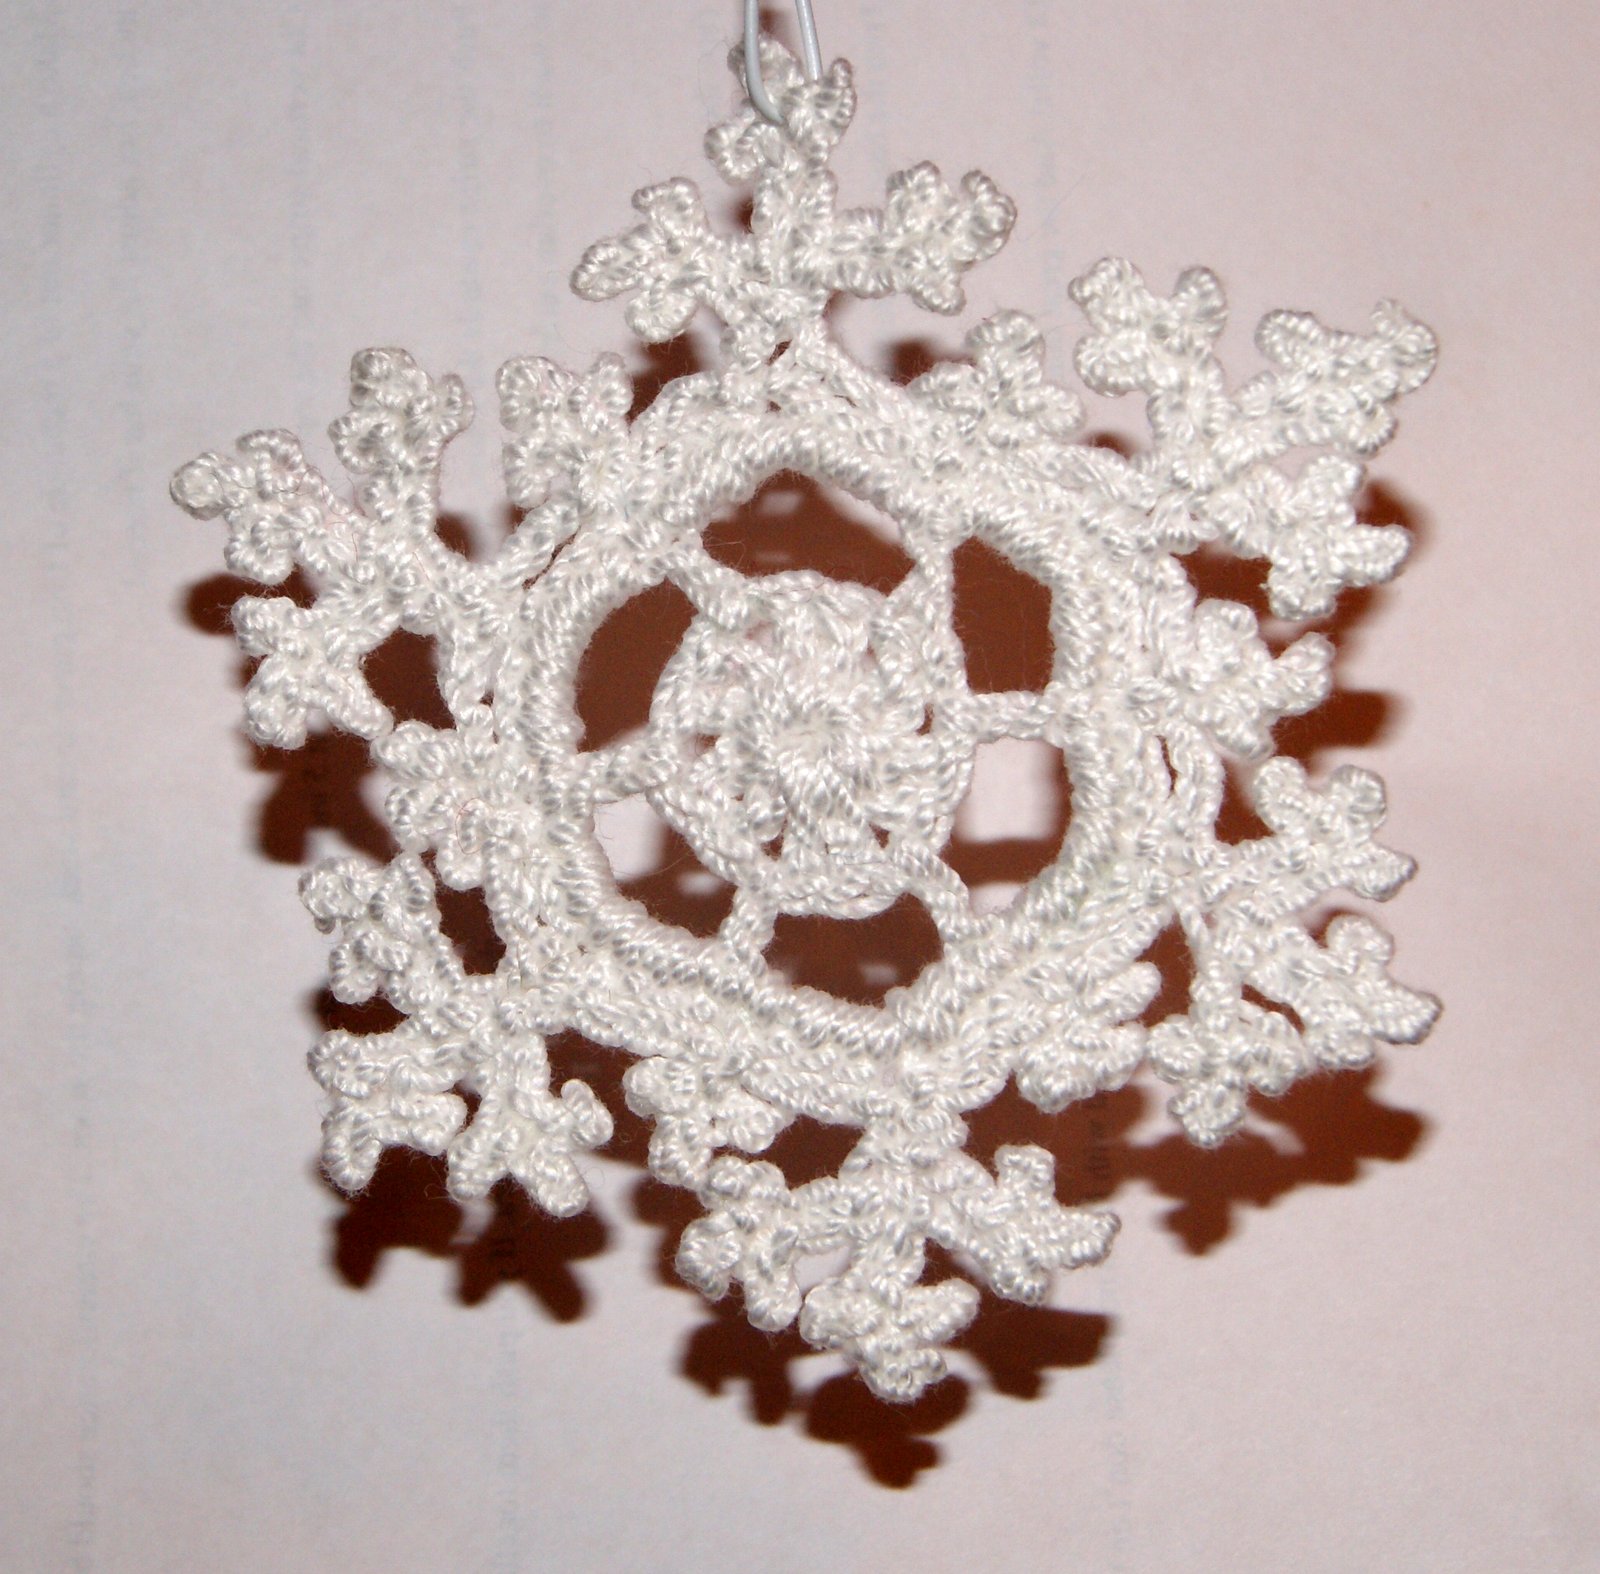
Thought this snowflake would be an ideal item to show you how I block my finished cotton pieces. This picture shows the completed snowflake right off my hook.
Since it is small, I just blocked it on my ironing board using a folded thick beach towel on the bottom, layered with 2 cotton napkins and a hand towel between the napkins. Thickness for my pins and to help with the drying process.


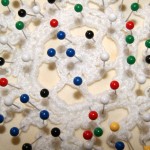
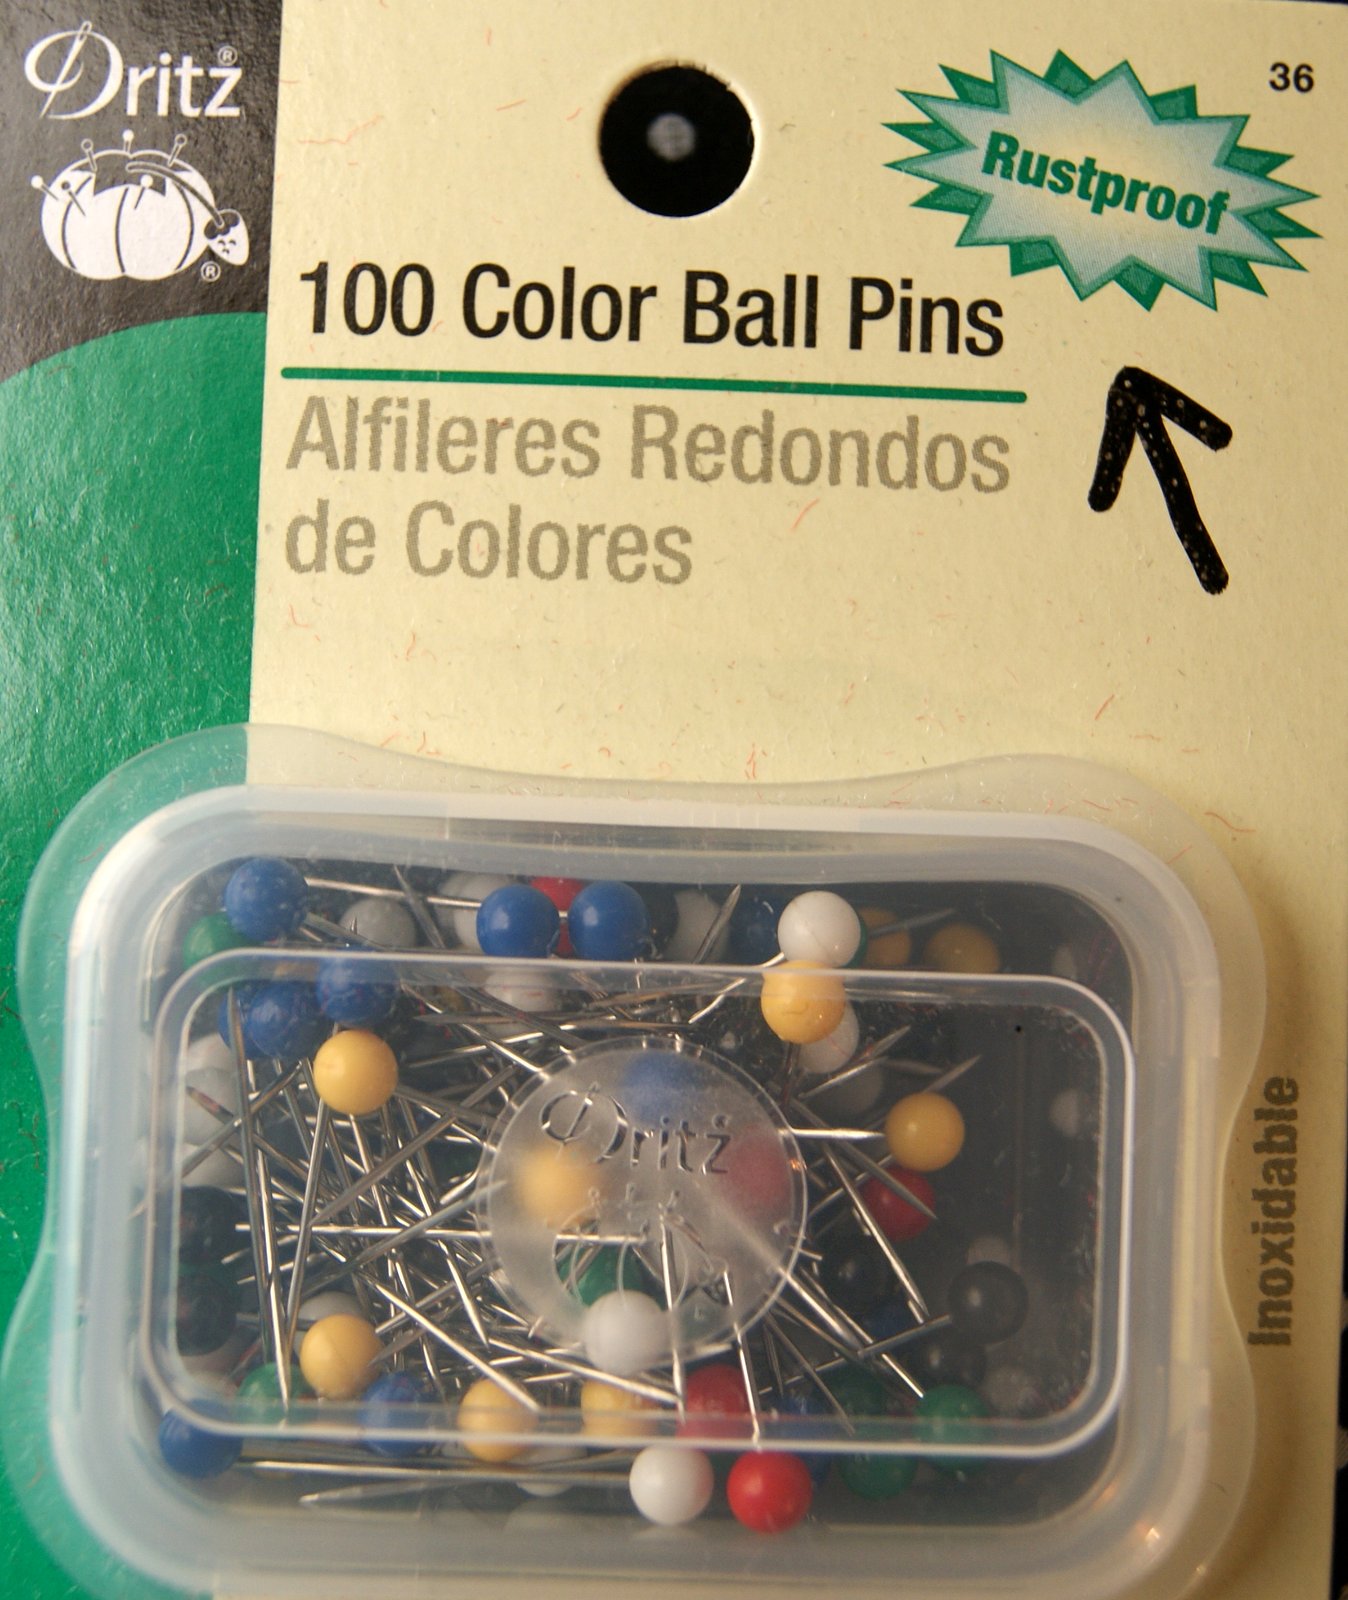
I use RUST PROOF stainless steel pins and very thoroughly soak my item with my spray bottle of water. I do not wring or twist or pat dry. I just laid the snowflake on top of my fabric pallet and started shaping the picots with my pin points and began pinning in place. I just about put a pin each picot and picot cluster so that the snowflake will really have definition once dried. I don’t think I will have to use any type of stiffening agent either. Will know better once totally dried.
The drying process should only take about one day ~~ possibly only 4 or 5 hours. Will share a picture with you once dried so you can see the finished product. 🙂
I think this snowflake will be perfect as a gift tag, ornament for your tree or I vision several hanging at different lengths from my bird watching window. I might even try size 10 and size 20 thread with a 6 or 8 hook to create different sized snowflakes too. And the best part is that I can enjoy them all winter and they won’t melt!!
HAPPY CREATING!!
Disclaimer: This post contains affiliate links – “Commissions Earned”

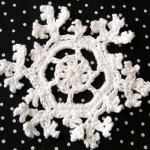
 Here are a few different pictures of the same snowflake that I blogged about yesterday after completing the blocking process. The first two pictures are showing it hanging from my shelf with just an ordinary paper clip. But this nice thread and blocking procedure keeps it from needing any type of stiffening agent.
As you can see all the little snowflake arms keep their shape perfectly. The picture on the black fabric is laying flat. This size would make a cool coaster or mug rug for that warm cup of tea during the winter months!!
Now you can be creative and add some pretty, tiny pearl beads as accents. Use a transparent/nylon beading thread and hang several from your windows or add to your Christmas tree as an ornament or an awesome gift tag. Would make a lovely applique for a pillow or on the front of a little girl’s jumper. The possibilities are endless.
I am going to make several more ~~ maybe a winter garland to decorate my mantel. Have fun with your snowflakes and would love to see a “snow and tell”!! 🙂
Here are a few different pictures of the same snowflake that I blogged about yesterday after completing the blocking process. The first two pictures are showing it hanging from my shelf with just an ordinary paper clip. But this nice thread and blocking procedure keeps it from needing any type of stiffening agent.
As you can see all the little snowflake arms keep their shape perfectly. The picture on the black fabric is laying flat. This size would make a cool coaster or mug rug for that warm cup of tea during the winter months!!
Now you can be creative and add some pretty, tiny pearl beads as accents. Use a transparent/nylon beading thread and hang several from your windows or add to your Christmas tree as an ornament or an awesome gift tag. Would make a lovely applique for a pillow or on the front of a little girl’s jumper. The possibilities are endless.
I am going to make several more ~~ maybe a winter garland to decorate my mantel. Have fun with your snowflakes and would love to see a “snow and tell”!! 🙂