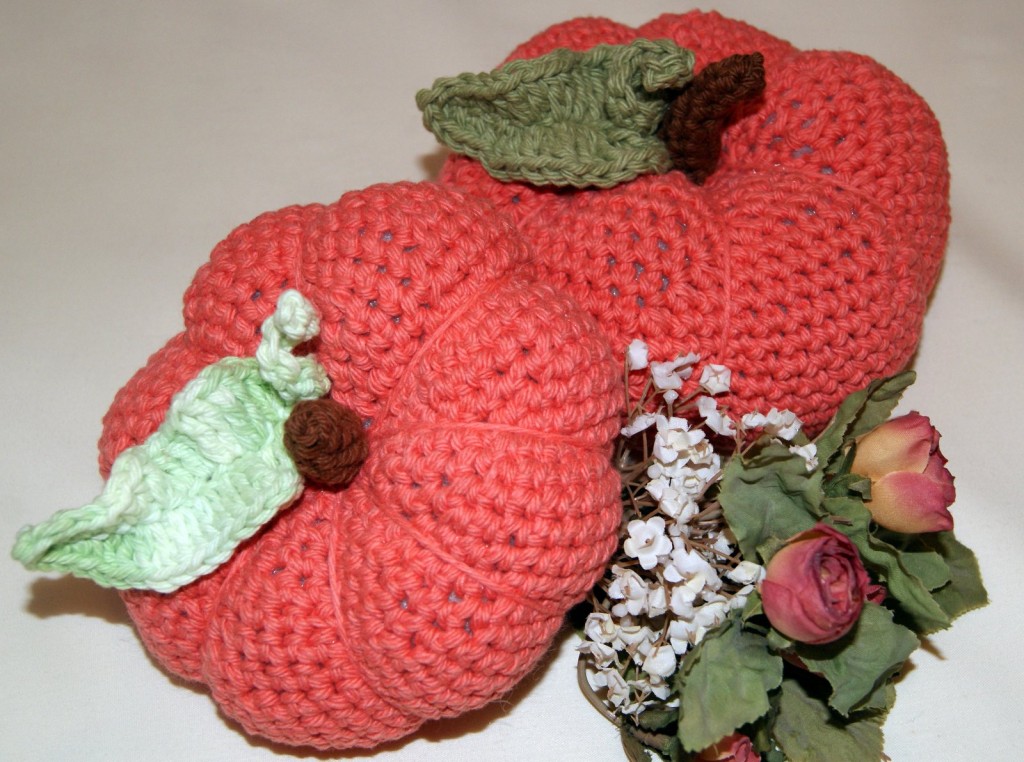
I found this fantastic free pattern on Knit Picks by Hannah Maier, I believe it can be found also on Ravelry. It is actually two patterns – one for knitting and one for crocheting.
I created the crochet version, which was called the Clove Pumpkin. The yarn that I chose was Lily, The Original Sugar ‘n Cream cotton. I crocheted one using a Size H hook and the other one I used a Size E. I didn’t vary from the directions given but wanted to add a leaf to my pumpkin as well as that little curly Q feature you sometimes see on a real pumpkin. So I spent an evening designing this little leaf that I really like.
Here are the directions for the leaf: I used the same yarn type as I did for the pumpkin and made my leaf with a Size H crochet hook. In the smaller version, I used a Size E hook for my leaf.
Chain 22, skip first two chains then SL (slip stitch) in next 9 chains. In next chain complete 1 HDC, 1 DC, 1 TRB, in next chain – 2 TRB, next chain – 2 TRB, next chain – 2 HTRB, next chain – 2 HTRB, next chain – 2 DC, next chain – 2 DC, next chain – 1 HDC, next chain – 1 HDC, next chain – 1 HDC, last chain – 3 SC.
Now you want to basically reverse that stitch pattern on the back side of the chain stitches. 1 HDC, 1 HDC, 1 HDC, 2 DC, 2 DC, 2 HTRB, 2 HTRB, 2 TRB, 2 TRB, last chain 1TRB, 1DC, and 1 HDC. Viola, you end up with this really cute leaf. I just stitched it to the center of the pumpkin along with the stem. 
Also, in my smaller version, I created 8 pumpkin ridges just for some variations. I have been placing them around my house and will use some for a table centerpiece for Thanksgiving!!
Thank you Hannah Maier so much for sharing such a cute pumpkin pattern. Love it 🙂
HAPPY CREATING!!
Disclaimer: This post contains affiliate links – “small commission earned”

