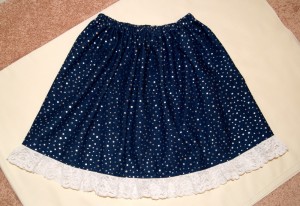
This is an update to my free child’s gathered skirt pattern. I have included lots of 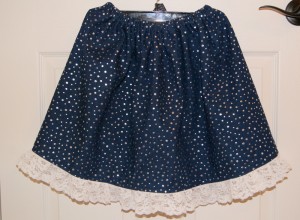 pictures and my sample shows how to attach a lace ruffle to the bottom edge of my denim skirt. The lace I am working with has a finished edge on both sides, no hemming necessary.
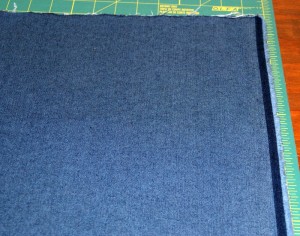
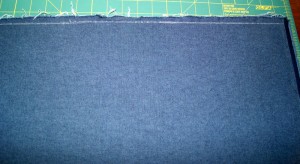
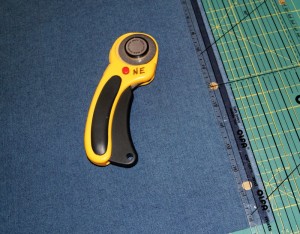
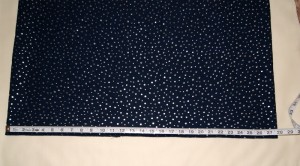
On my pattern page, you will find directions on how to determine your cut width and cut length. STEP 1: Be sure to match up the selvage edges together and place that edge along a straight ruler line so that your top and bottom cuts will be even.
If using a 100% cotton fabric, you can make a small cut along the top and bottom edges and just rip your fabric to get that nice straight of grain edge to work with.
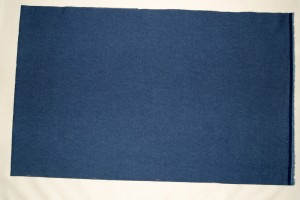
STEP 2: Once you have your fabric cut, I like to serge all the fabric edges. I cut off the selvages with my straight ruler before I do the serging. If you don’t have a serger, you can always do a close zigzag stitch along the raw edges.
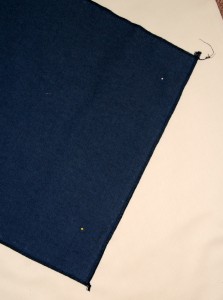
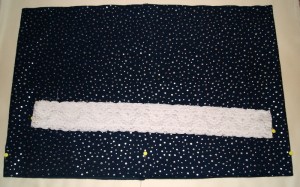
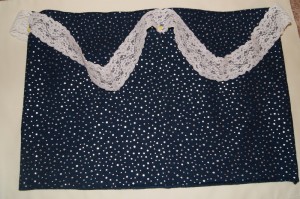
STEP 3: With right sides together, sew a 1/2″ seam allowance. Press your seam open. STEP 4: Lay out your skirt and measure from side seam to side seam. You will want to double that measurement so you have the total circumference of your skirt. Take that measurement and multiple it by 1.5 up to 2 times to determine how long to cut your lace.
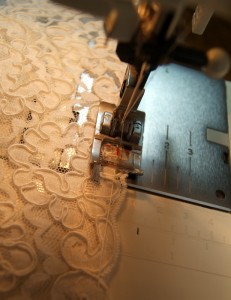
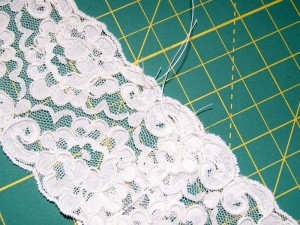
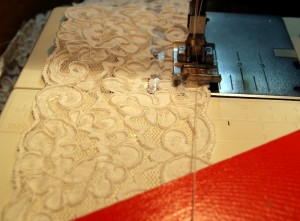
STEP 5: Cut your lace to the pre-determined measurement and sew it together with right sides matching. Make a gathering seam by sewing a loose zigzag stitch over top of a heavy-duty (dual duty) thread on the wrong side of the lace. This makes for a very strong gathering thread that you can pull on very tightly and it will not break.
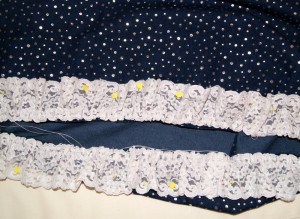
STEP 6: Divide your skirt into fourths, placing a pin at the center back seam, center front seam and both sides. You will also fold your lace into fourths and place pins at each fold. Now with right sides together, pin your lace markings to the skirt markings. Pull snuggly on one heavy duty gathering thread and pin your gathers from center back to center front on one side. Now repeat that step for the other side, pulling snuggly using the other heavy duty gathering thread to gather up the lace and pin to the skirt. Stitch in place.
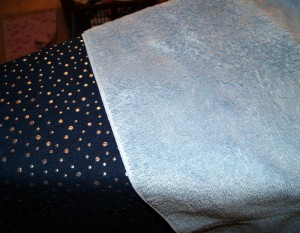
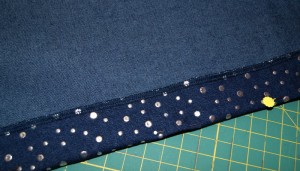
STEP 7: You want to press that seam up towards the top of the skirt. Because my denim had painted silver dots on it and the lace was somewhat delicate, I used a terry cloth towel as my pressing cloth so as not to have any damage (melted dots or lace)!! STEP 8: After the seam is pressed up, stitch that seam in place. I made two (2) rows of stitching because I like that look. One row of stitching is sufficient.
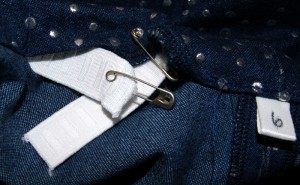
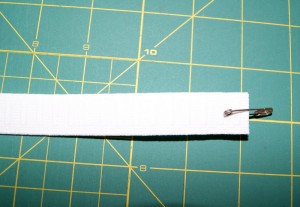
STEP 9: Make the casing for the elastic by folding down the top edge of the skirt 1 1/2″. Pin in place at the folded edge and turn under the serged edge as you stitch leaving about a 2″ opening to pull your elastic through. Attach a safety-pin to one end of your 3/4″ non-roll elastic and begin pulling it through the casing. So I wouldn’t pull the end of the elastic into my casing, I pinned it to the opening. Once you have pulled the elastic through the entire casing, over lap it about 1/2″ on each side and stitch securely into place. Make sure you haven’t twisted the elastic before sewing. After stitched, pull on the waist band so the elastic is nicely tucked inside and stitch close your opening.
STEP 10: To help keep your gathers in place, make a stitching line at the center back, center front, and both sides. Stitch from the top of the waist band to the stitching line of the casing (sewing through all thicknesses).
HAPPY CREATING!!
Disclaimer: This post contains affiliate links – “small commission earned”
