Archives

Spool Knitting Finished Project

Well, I finally finished my “cattail” and bound it off from my 4 pronged spool.  My cord is 195″ long or almost 5  1/2 yards.  I am planning to roll my cord into a circle and use it as a trivet for my kitchen. SONY DSC 
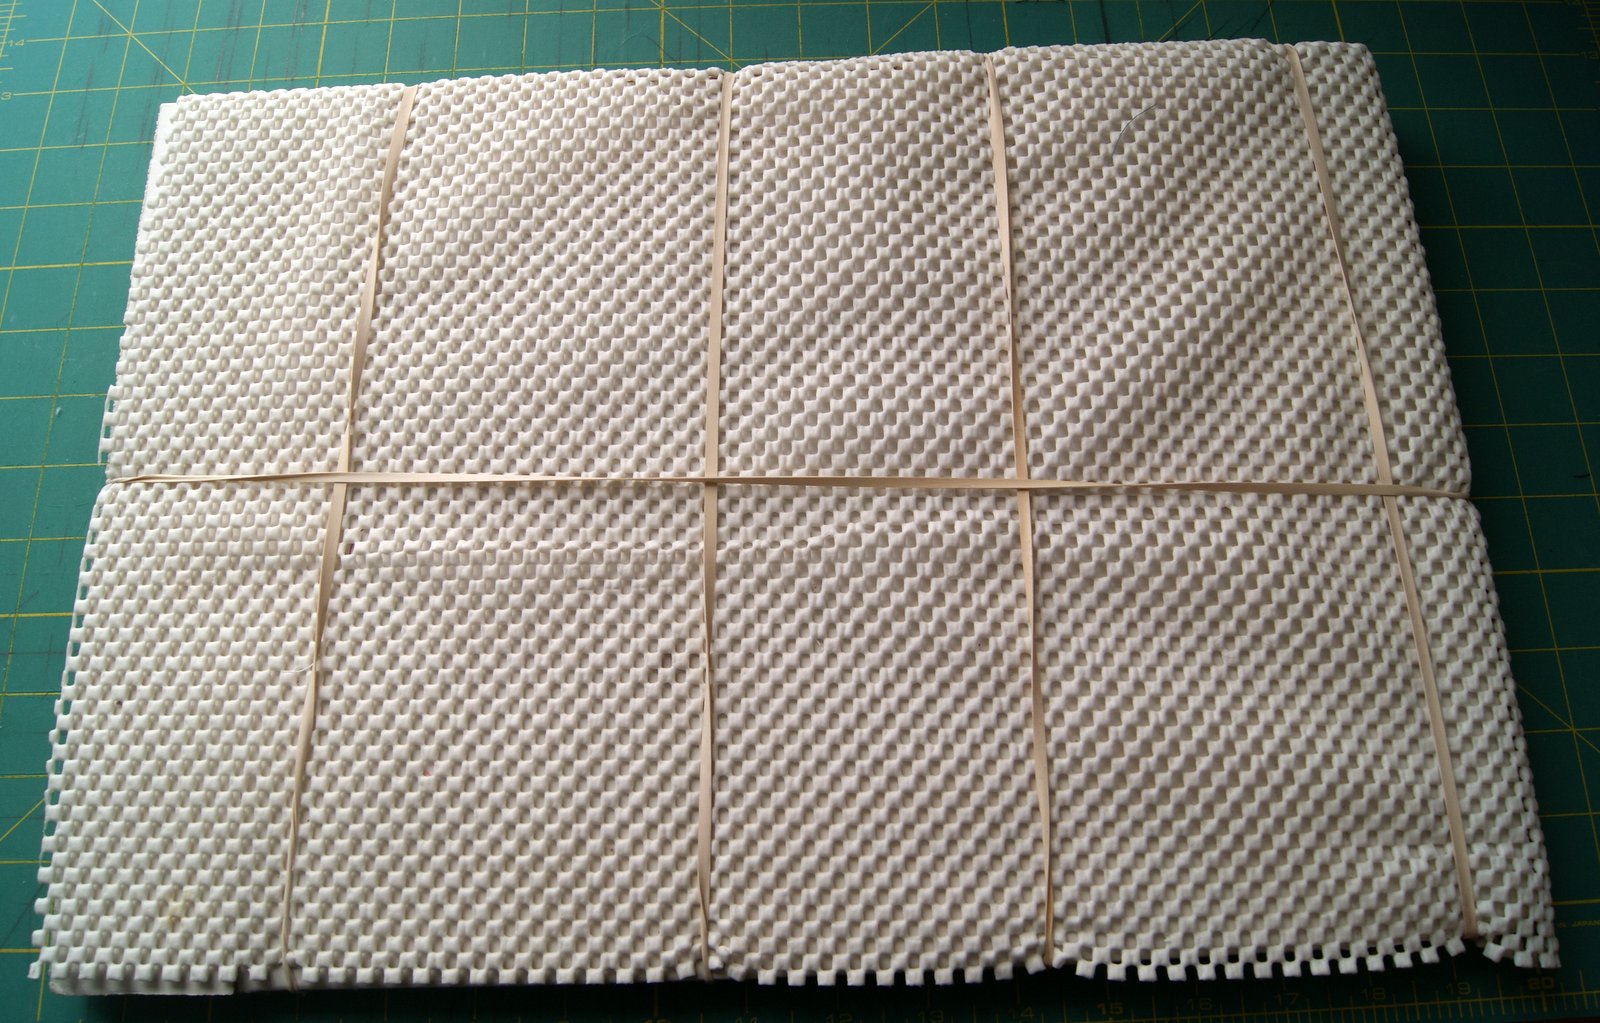
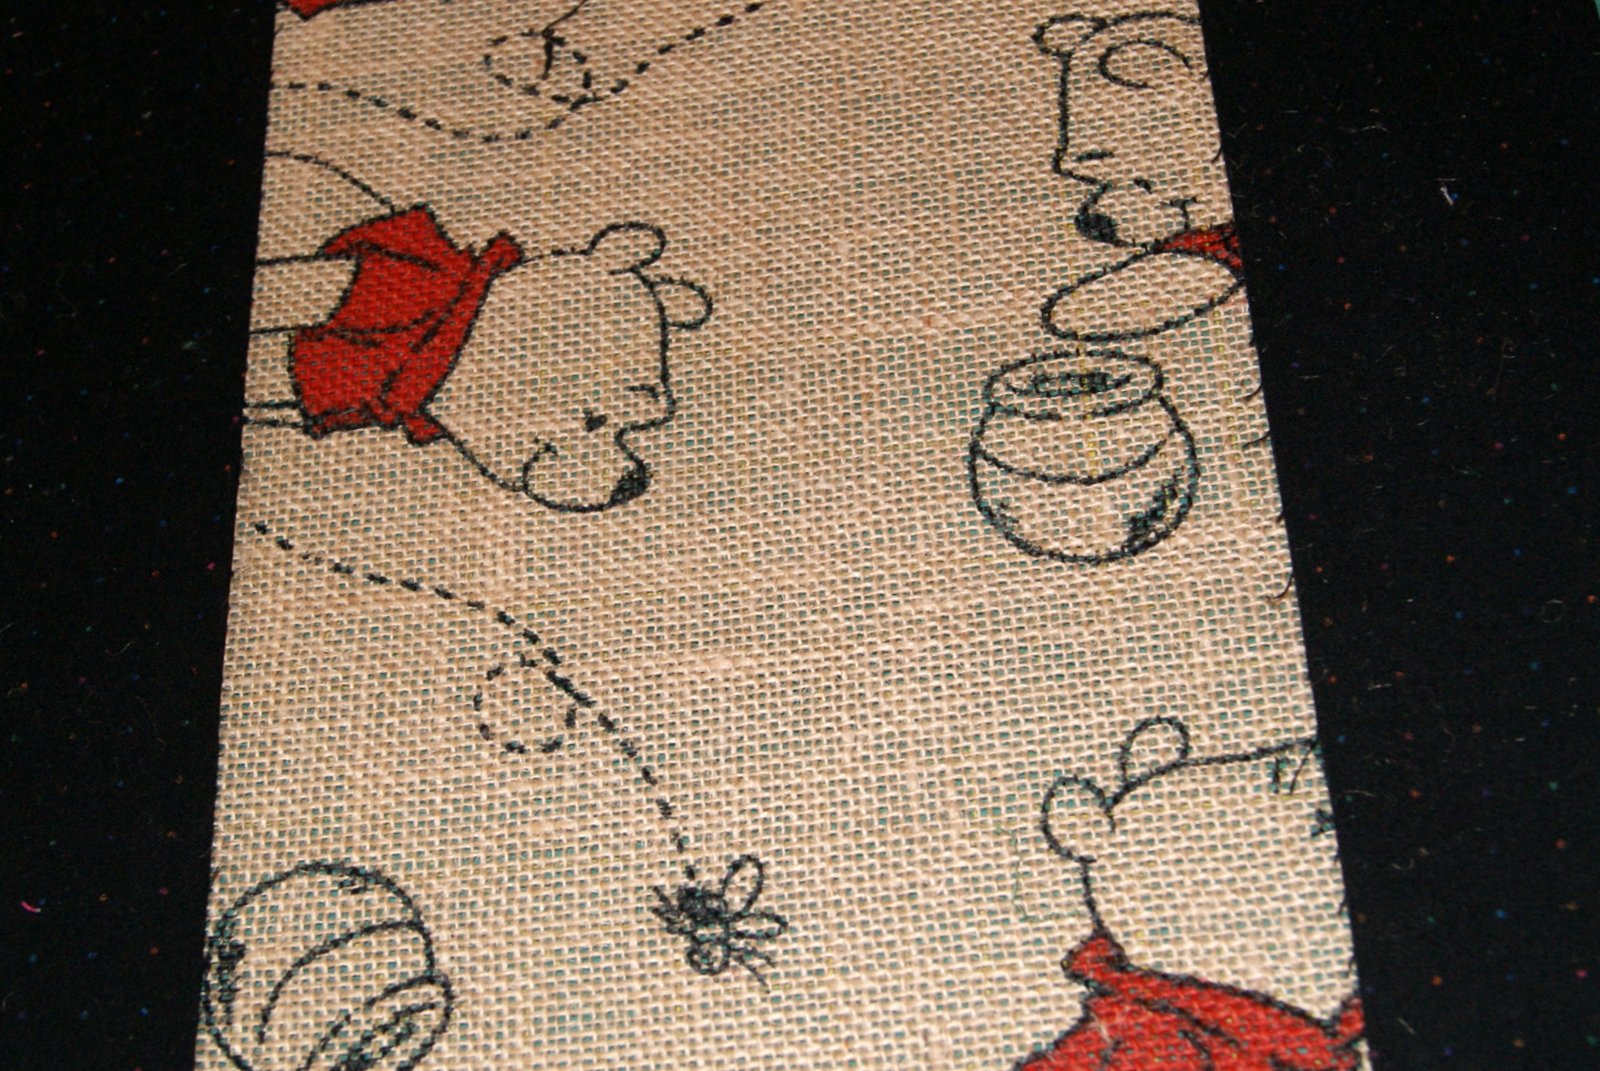
When rolled, the trivet will measure 9″ across which will be a perfect size for plates or bowls to keep the heat directly off my table.  It will also look great as a decorated piece under my kitchen centerpiece. SONY DSC SONY DSC       
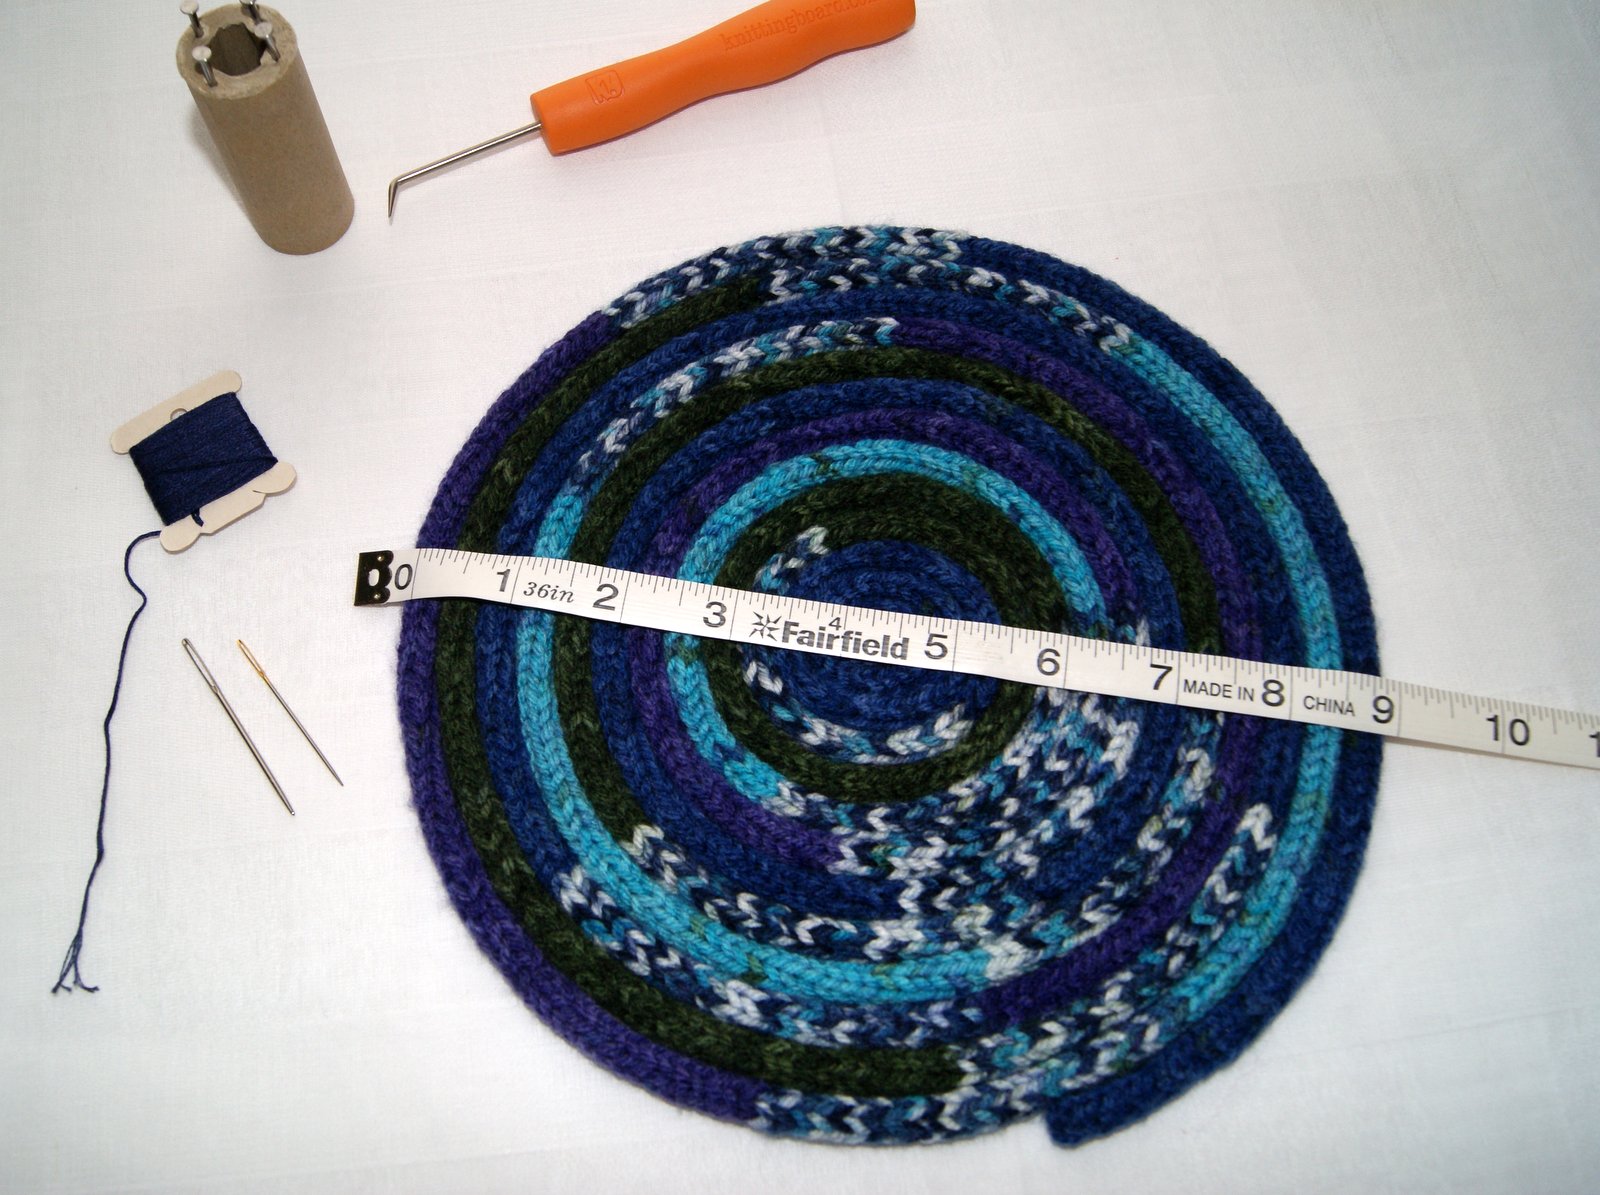
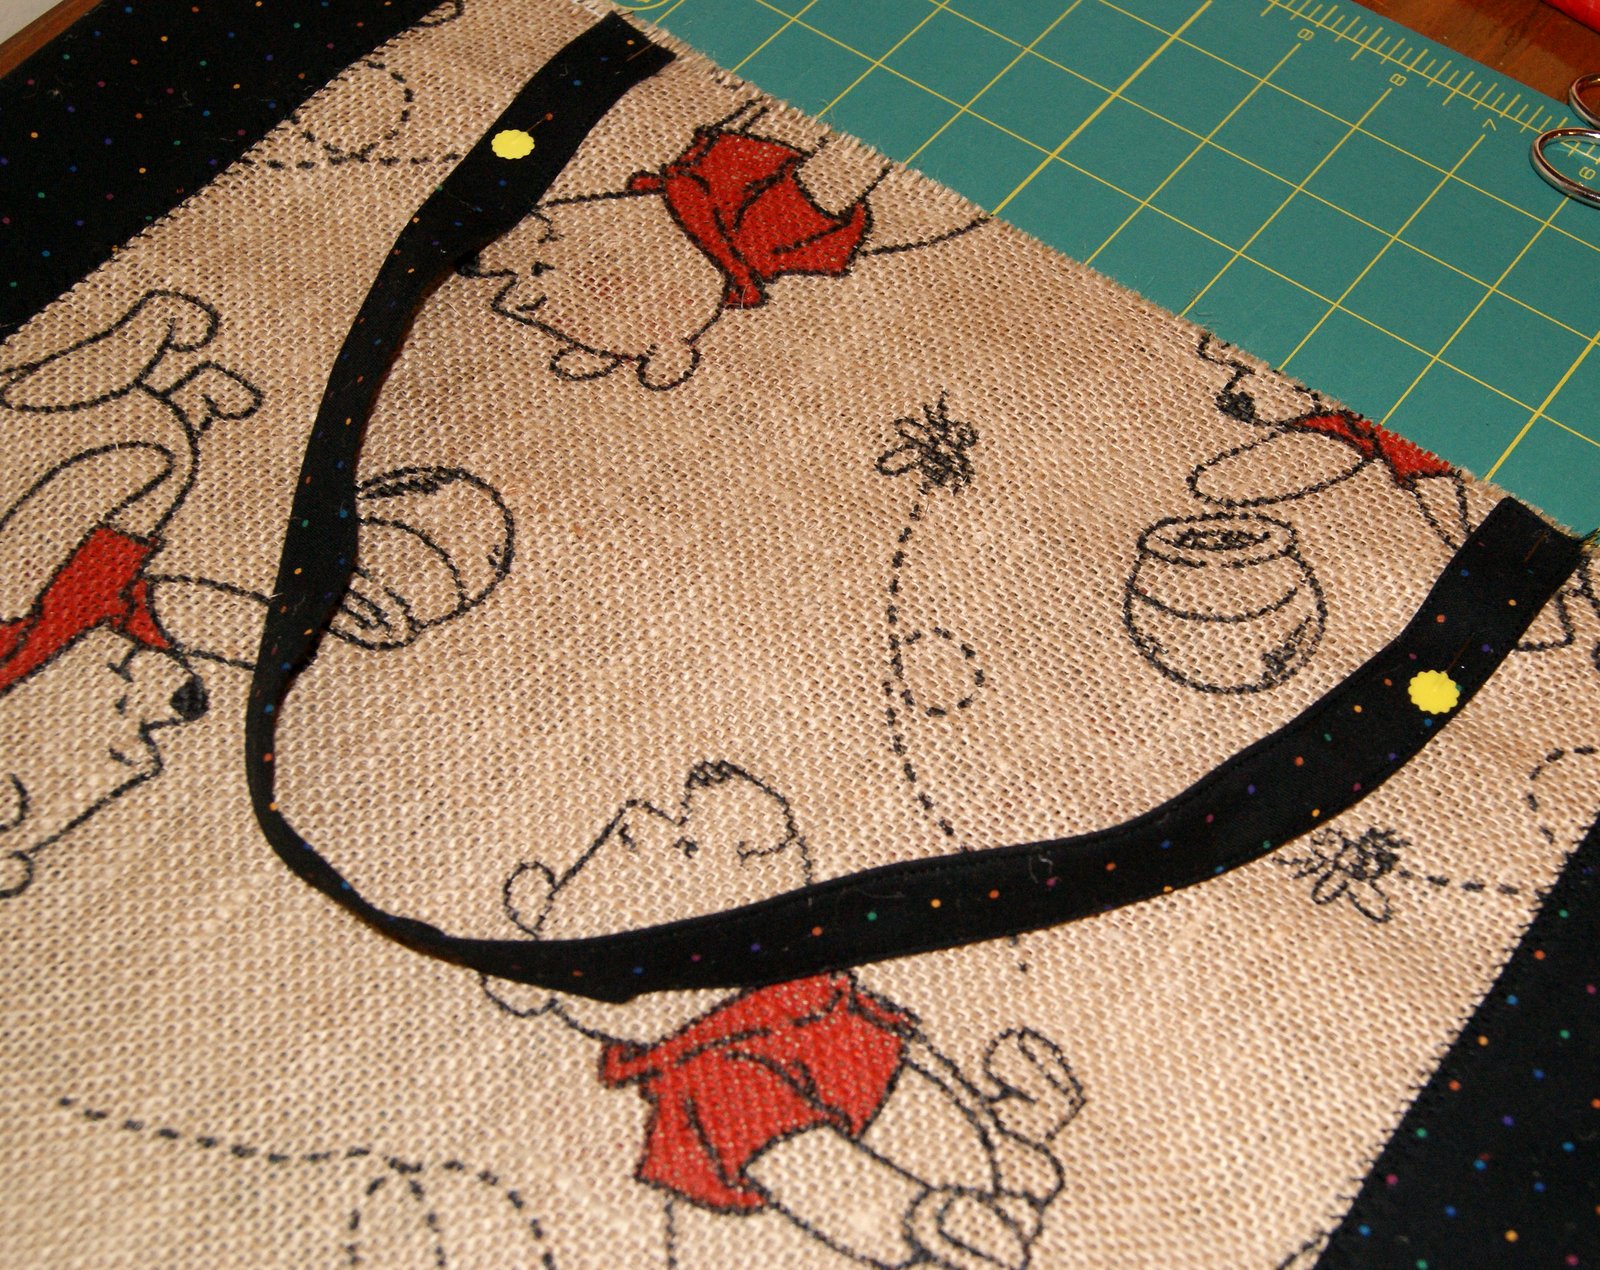
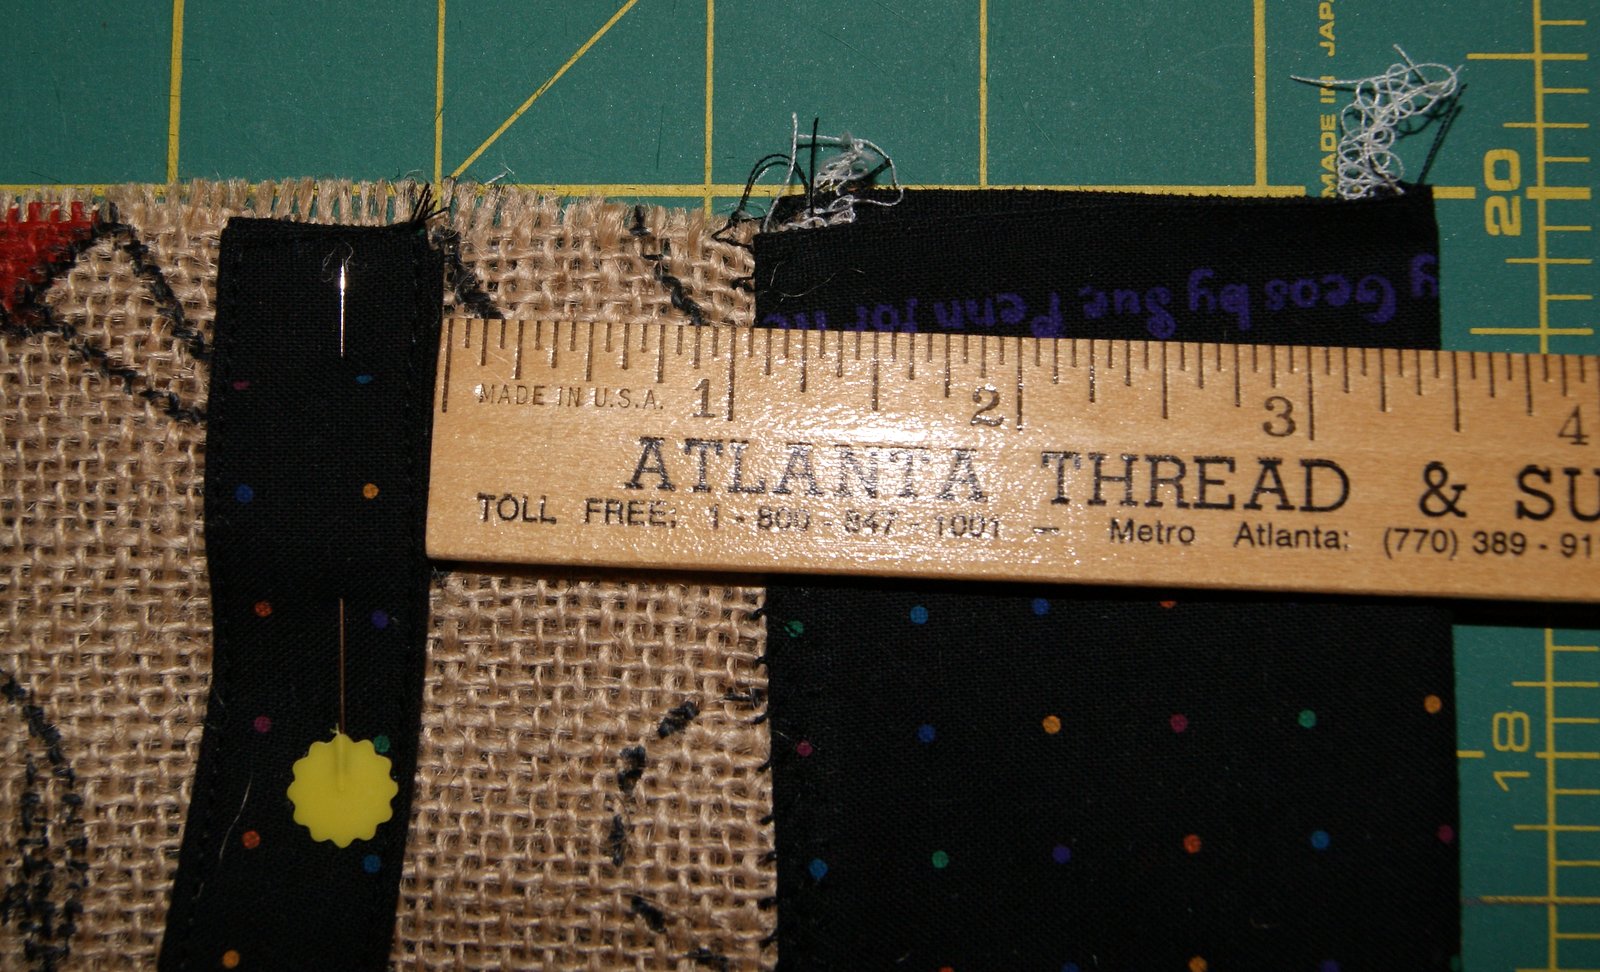
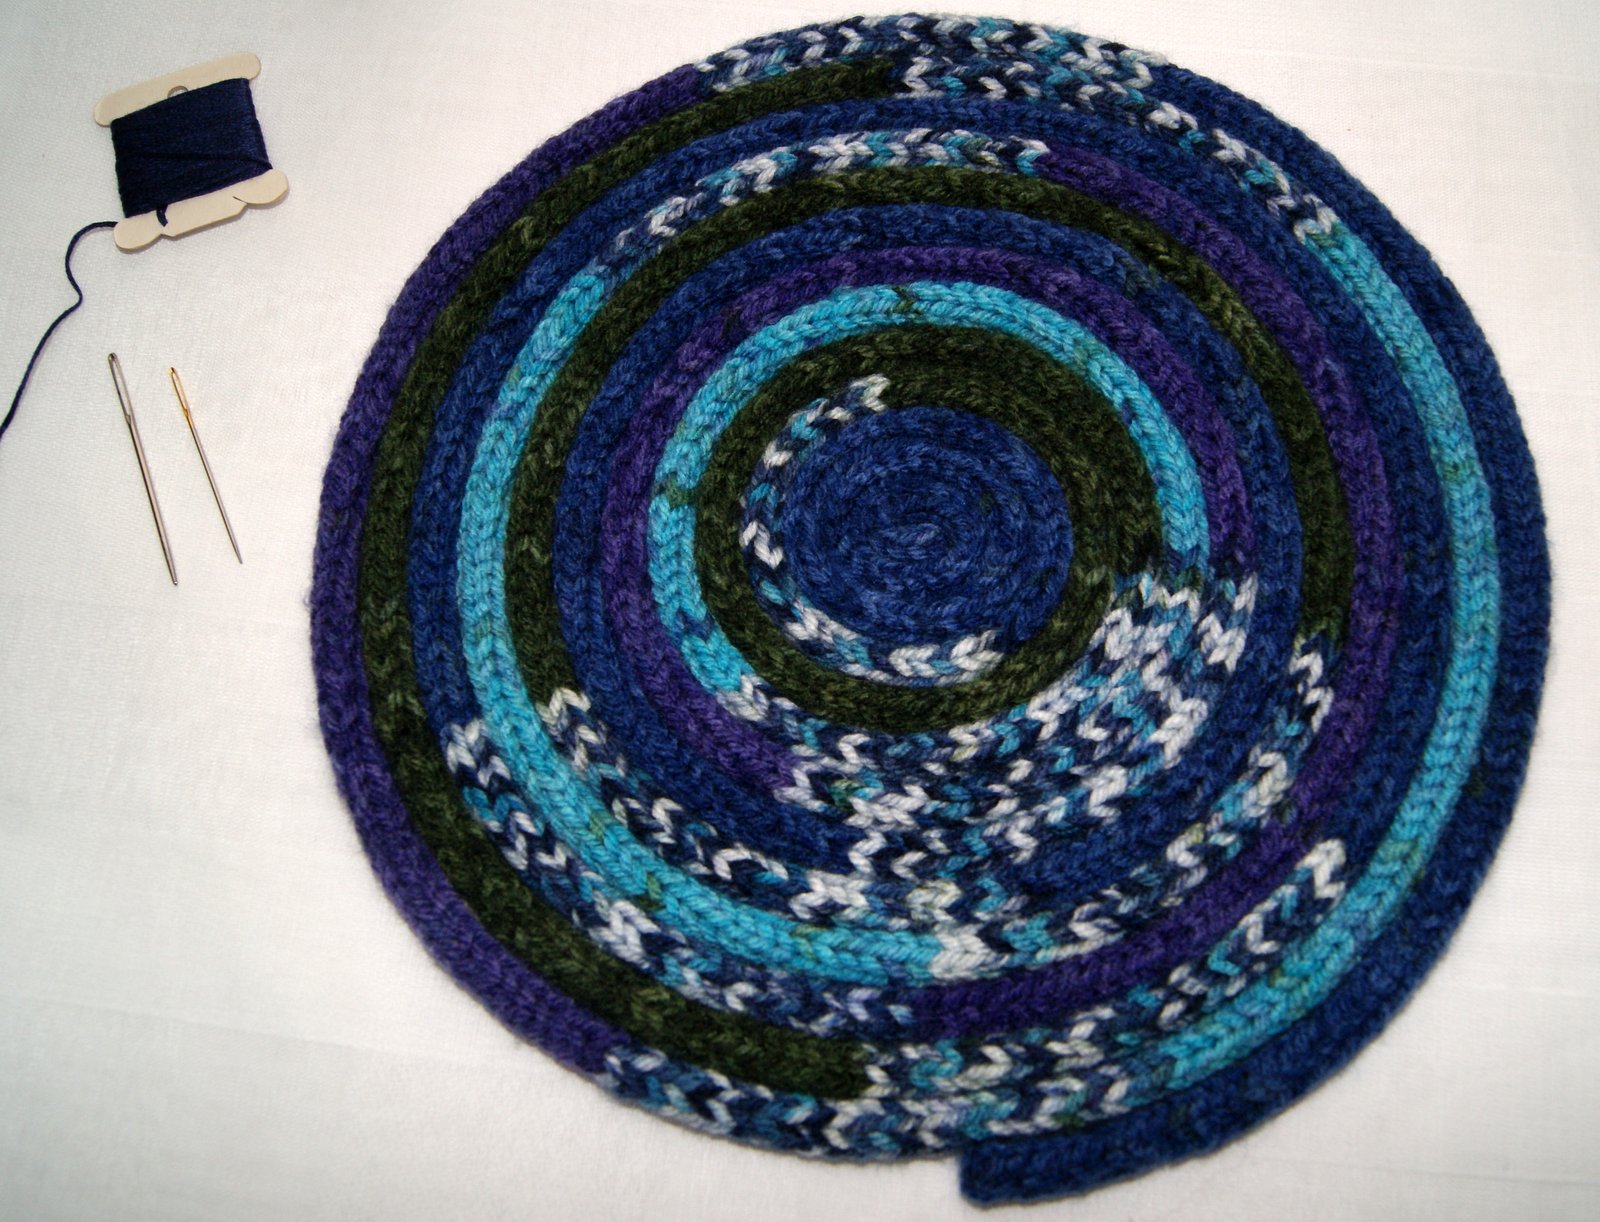
Because I used up all the thread that I had to make the cord, I am going to whip stitch it together using all 6 strands of a coordinating DMC floss.  Beginning in the center and rolling as I go, I will whip stitch it together using a cross stitch type needle which has a little bit of a blunt tip so that I don’t snag any of my threads. SONY DSC 
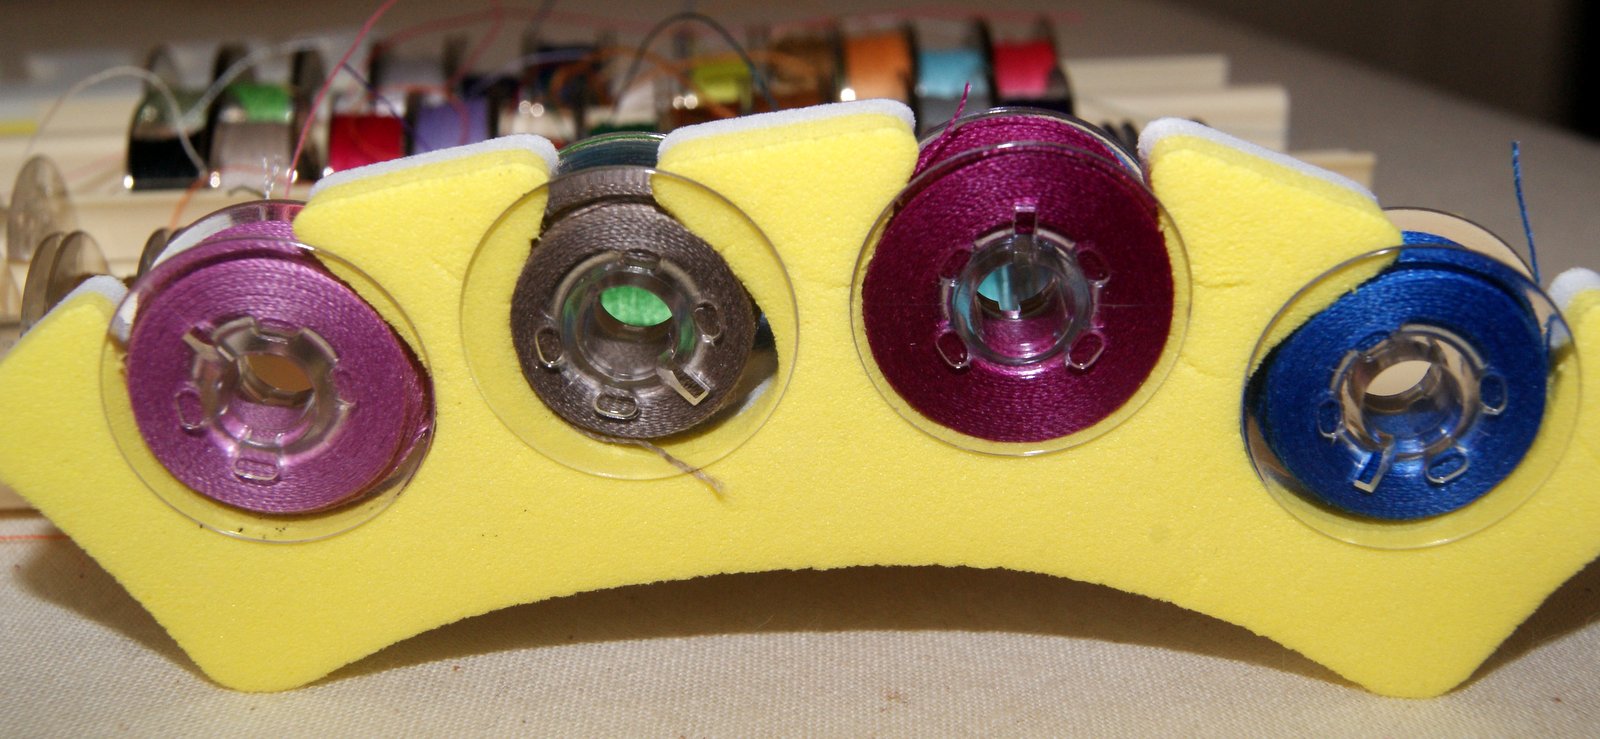
This is a wonderful activity for a child to do and a super way to use up all those “little balls” of yarn leftover from other knit or crochet projects.  As you collect your bits and pieces of leftover yarn, just tie them together with a secure square knot (right over left and left over right) and keep adding to make a big multi-colored skein.  I would try to keep your category of yarn about the same; that is, I wouldn’t tie a chunky (category 5) to a sock weight (category 2).  How fun to see all the different colors come together!! SONY DSC Enjoy making your own “cattail” ~~ you can find more information on using knitting Nancy’s here.  FYI: I did purchase a super little tool from my local big box store (knittingboard.com) which worked great to lift my lower loops easily over the upper loops on my spool.  🙂

HAPPY CREATING!!

Disclaimer:  This post contains affiliate links – “Commissions Earned”  

Keeping your Sewing Foot Pedal in place

If you are like me, I do a TON of sewing especially this time of the year!!  One thing that always seems to happen to me is that I am forever chasing my sewing machine foot pedal all around because it is ALWAYS moving out of my comfort zone for sewing!! I have tried placing self-adhesive felt pads on the bottom of my pedal without much success and have even used sandpaper stickers on the underneath side of the pedal and I am still always having to move it back into place.  However, these sandpaper stickers work super on your quilting rulers to help keep them from sliding around!!  Sorry, I digress. Anyways, I have designed a platform that I place my sewing machine foot pedal on and it really seems to help keep it from moving all around.  Believe you me it is nothing fancy and you probably have these items around your house so NO COST which is right up my alley.  This is what I presently use: SONY DSCSONY DSC         See I told you it is nothing fancy  ~ ooooh and pardon all my thread explosions LOL!!  I have taken a couple of card board mailing boxes and covered them in the rubberized shelf lining material with some extra-large rubber bands to hold it all together.  The boxes I used are about 16″ wide by 11″ long and I covered three of them for some thickness and height.  You see I am also vertically challenged so it works better for me to have my foot pedal raised up a little bit. My foot pedal will still move around ever so slightly but it doesn’t travel way out of reach. This works for me and keeps me from getting frustrated 🙂 It would be great if you could share your ideas that you use to help with this issue!!

HAPPY CREATING!!

Disclaimer:  This post contains affiliate links – “Commissions Earned”


Storing Bobbins

Came across this super inexpensive and clever idea on Pinterest showing an easy and neat way to store your bobbins using pedicure forms.  So I went to the blog site, Manoa Road, to get further information. Myself I have these plastic snap cases that I use and I do really like them because the bobbins are quick and easy to pull out and put back away ~~ especially since I seem to do this procedure one-handed.  However, they tend to get messy with the threads having a mind of their own and they get stringy even in the case.  So I thought I would give the pedicure forms a try!! SONY DSCSONY DSC Now I didn’t actually go and buy anything at this point just used a couple of pedicure forms that I had on hand.  Voila, it seems to work nicely and threads are all tucked away neatly but not sure if it is the way to go for me. As I mentioned earlier, I tend to grab and replace my bobbins using only one hand (probably why my threads get unruly but is a timesaving process for me and my sewing needs). This solution needs two hands to replace the bobbin back into the pedicure form.  Also,  my bobbins seem to make the form curve a bit ~~ not sure if my bobbins are larger/smaller or my forms are not new and maybe too soft and flexible.  Brand new forms are probably a little sturdier and might not curve. SONY DSCSONY DSCSONY DSC For me I’m not sure if I will change my current bobbin storage system, however, I still think this is a grand idea worth looking into and maybe will work for you and how you sew with your tools. Hmm ~~ probably next time I am shopping I just might have to pick up a couple of new pedicure forms though!!  Let me know if you have success with this idea 🙂

HAPPY CREATING!!

Disclaimer:  This post contains affiliate links – “Commissions Earned”      

Repurposed Keepsake

Here’s an idea to keep on your bulletin board or where ever you might have future projects waiting to be made (under fabric and yarn, taped to a calendar, in a drawer, etc.)  Always working hard at staying organized but some of you know how that is!! IMG_20110831_183900

 Take a moment to click on the picture to see the entire Cat family!!

Anyways, I was working my booth at a craft show and got to talking with a very nice woman who had lost her husband about a year ago.  Some of my handmade merchandise is made from 100% cotton and she wondered if I would be willing to sew for her using fabrics provided by her.  To make a long story short, she wanted to give her children and grandchildren a keepsake made from her husband’s shirts.  In particular, she wanted cats. IMG_20110828_155918 So I found this cat pattern and she gave me several 100% cotton dress shirts as well as polo style and T-shirts.  I used her husband’s clothing to make these really adorable cats.  She said that some of the shirts were gifts given to her husband by their children and grandchildren.  So she was going to give back to them this remembrance cat made from the gift they had given to her husband.  What a touching keepsake!! Ribbon was added as a cute accent.  She was thrilled with how they turned out and I was touched each time I sewed one.  What a beautiful repurposing memory for all of them to treasure!!

HAPPY CREATING!!

Disclaimer:  This post contains affiliate links – “Commissions Earned”

Sewing a Tote Bag: PART ONE

I found a remnant of burlap fabric with inked pictures of Winnie the Pooh on it and thought “Oh how cute!” bought it and got it home and then thought “What was I going to do with it?”  It was only about 13 1/2 inches wide but a nice long length of about 50 inches.SONY DSC Now that the Christmas holidays have past, I again looked at that remnant and imagined a very nice large toy tote bag, PERFECT!   So here are my directions for sewing the tote bag. PART ONE: What I needed to do first was make the burlap fabric wide enough so I added a 3 inch wide strip of black cotton fabric from my stash to each side of the burlap.  I only sewed a 1/4 inch seam allowance because I wanted a maximum width of about 17 or 18 inches.  After stitching on both strips, I then serged them and pressed the seam towards the black fabric.  Next I sewed a decorative fagoting stitch as a top stitch to keep that seam permanently in place.  Now my finished piece of fabric is approximately 19″ wide by 45″ long.  Sorry, lots of shedding from the burlap!! SONY DSC SONY DSC SONY DSCSONY DSC       Now I took that piece of fabric and laid it on top of another cotton fabric (right sides together) that I used as my guide to cut out a lining for the tote – so now I have 2 pieces of fabric 19″ wide x 45″ long.SONY DSC       Next I made the straps, using the same black cotton fabric for them.  I cut my straps 3 inches wide by 21 inches long.  I folded the straps in half (wrong sides together) and pressed with the iron.   This is for a registration/reference line.  Open up your strap and with wrong sides facing you, fold each side in to the pressed line.  Iron in place, then fold so that your two non-raw side edges meet and press again.   Sew close to the edge, turn and stitch along the narrow edge, turn and stitch close to the opposite edge to create a nice top stitching effect for your strap. SONY DSC SONY DSC     Now your straps are ready to be sewn onto your main fabric tote.  Strap placement is a personal option but you want to make sure they will provide good balance and support for whatever you put inside your tote.  For this toy tote, I placed my straps 3 1/2 inches in from the side seam on the right side of the main fabric.  Do a baste stitch to hold the straps in place.  Make 2 straps and attach at each end of your long fabric piece. SONY DSC SONY DSC       Continue by going to Sewing a Tote Bag PART TWO blog.  I know this is a long post but wanted to describe thoroughly.

HAPPY CREATING!!

Disclaimer:  This post contains affiliate links – “Commissions Earned”