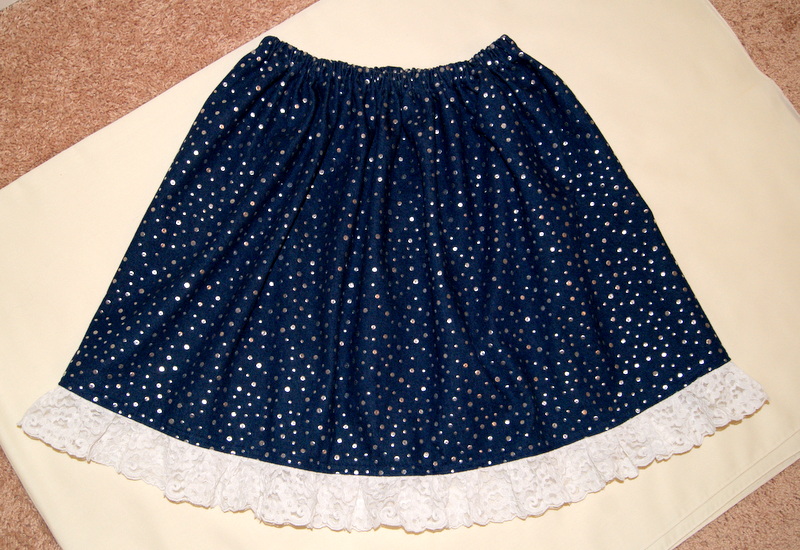
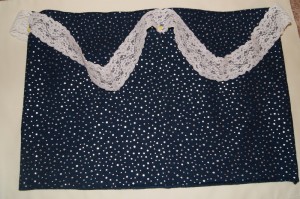
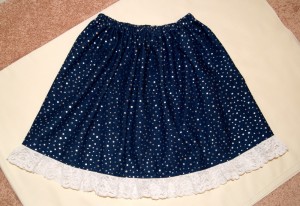
This is an update to my free child’s gathered skirt pattern. I have included lots of 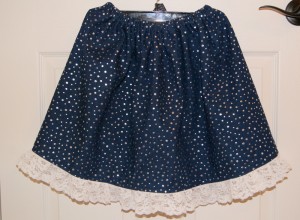 pictures and my sample shows how to attach a lace ruffle to the bottom edge of my denim skirt. The lace I am working with has a finished edge on both sides, no hemming necessary.
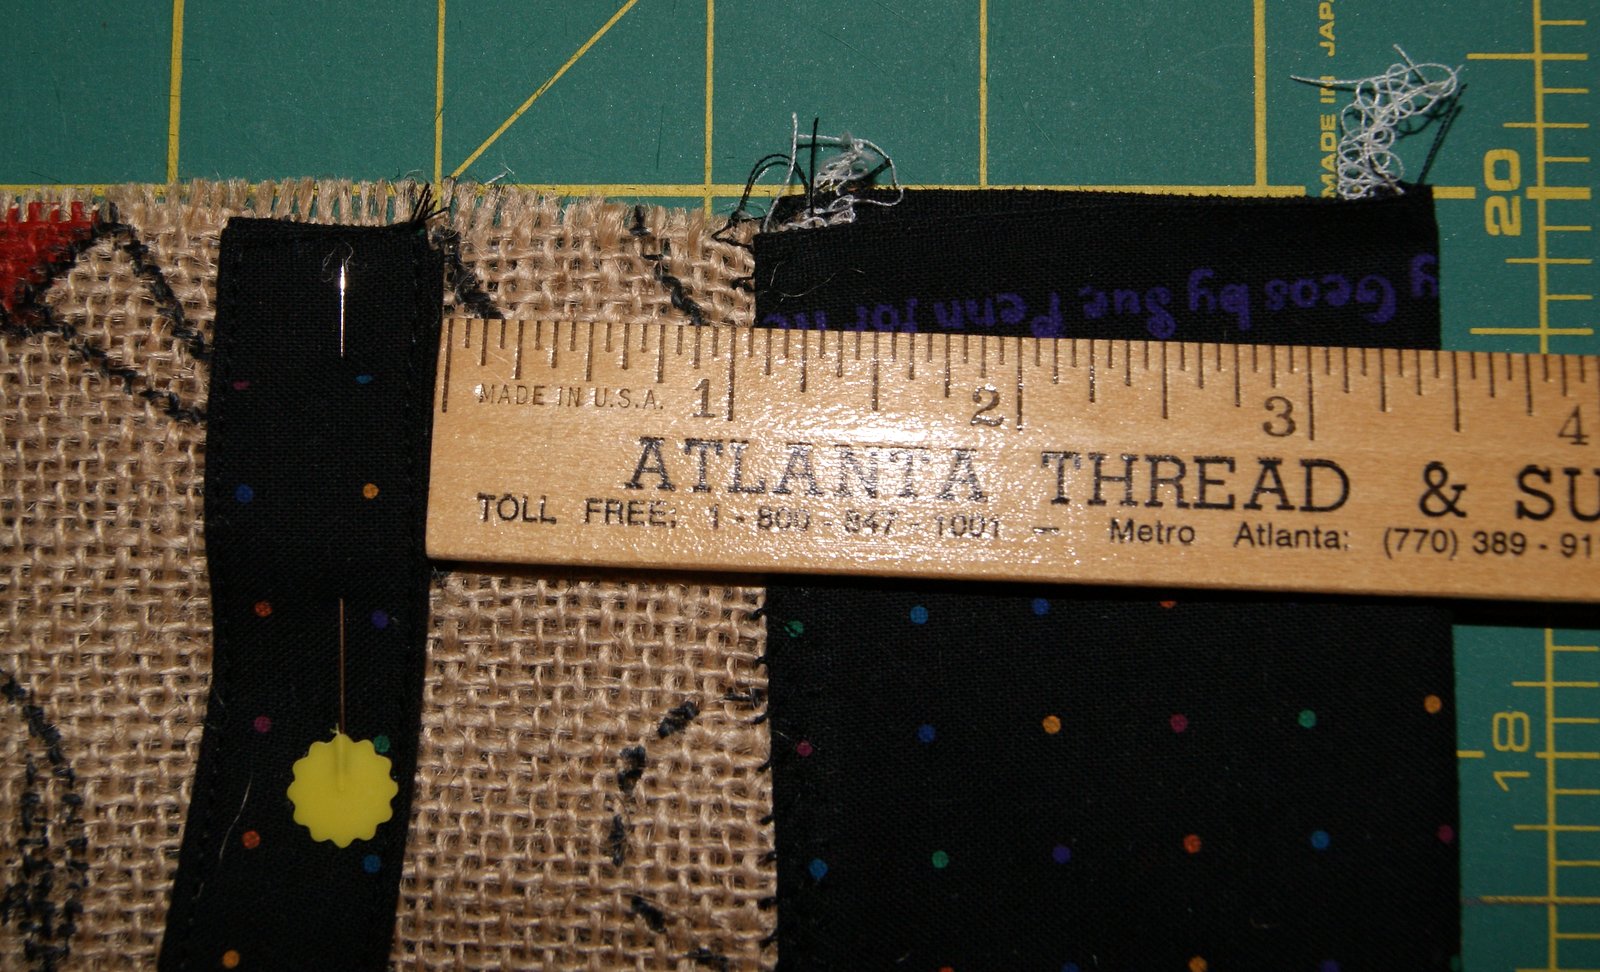
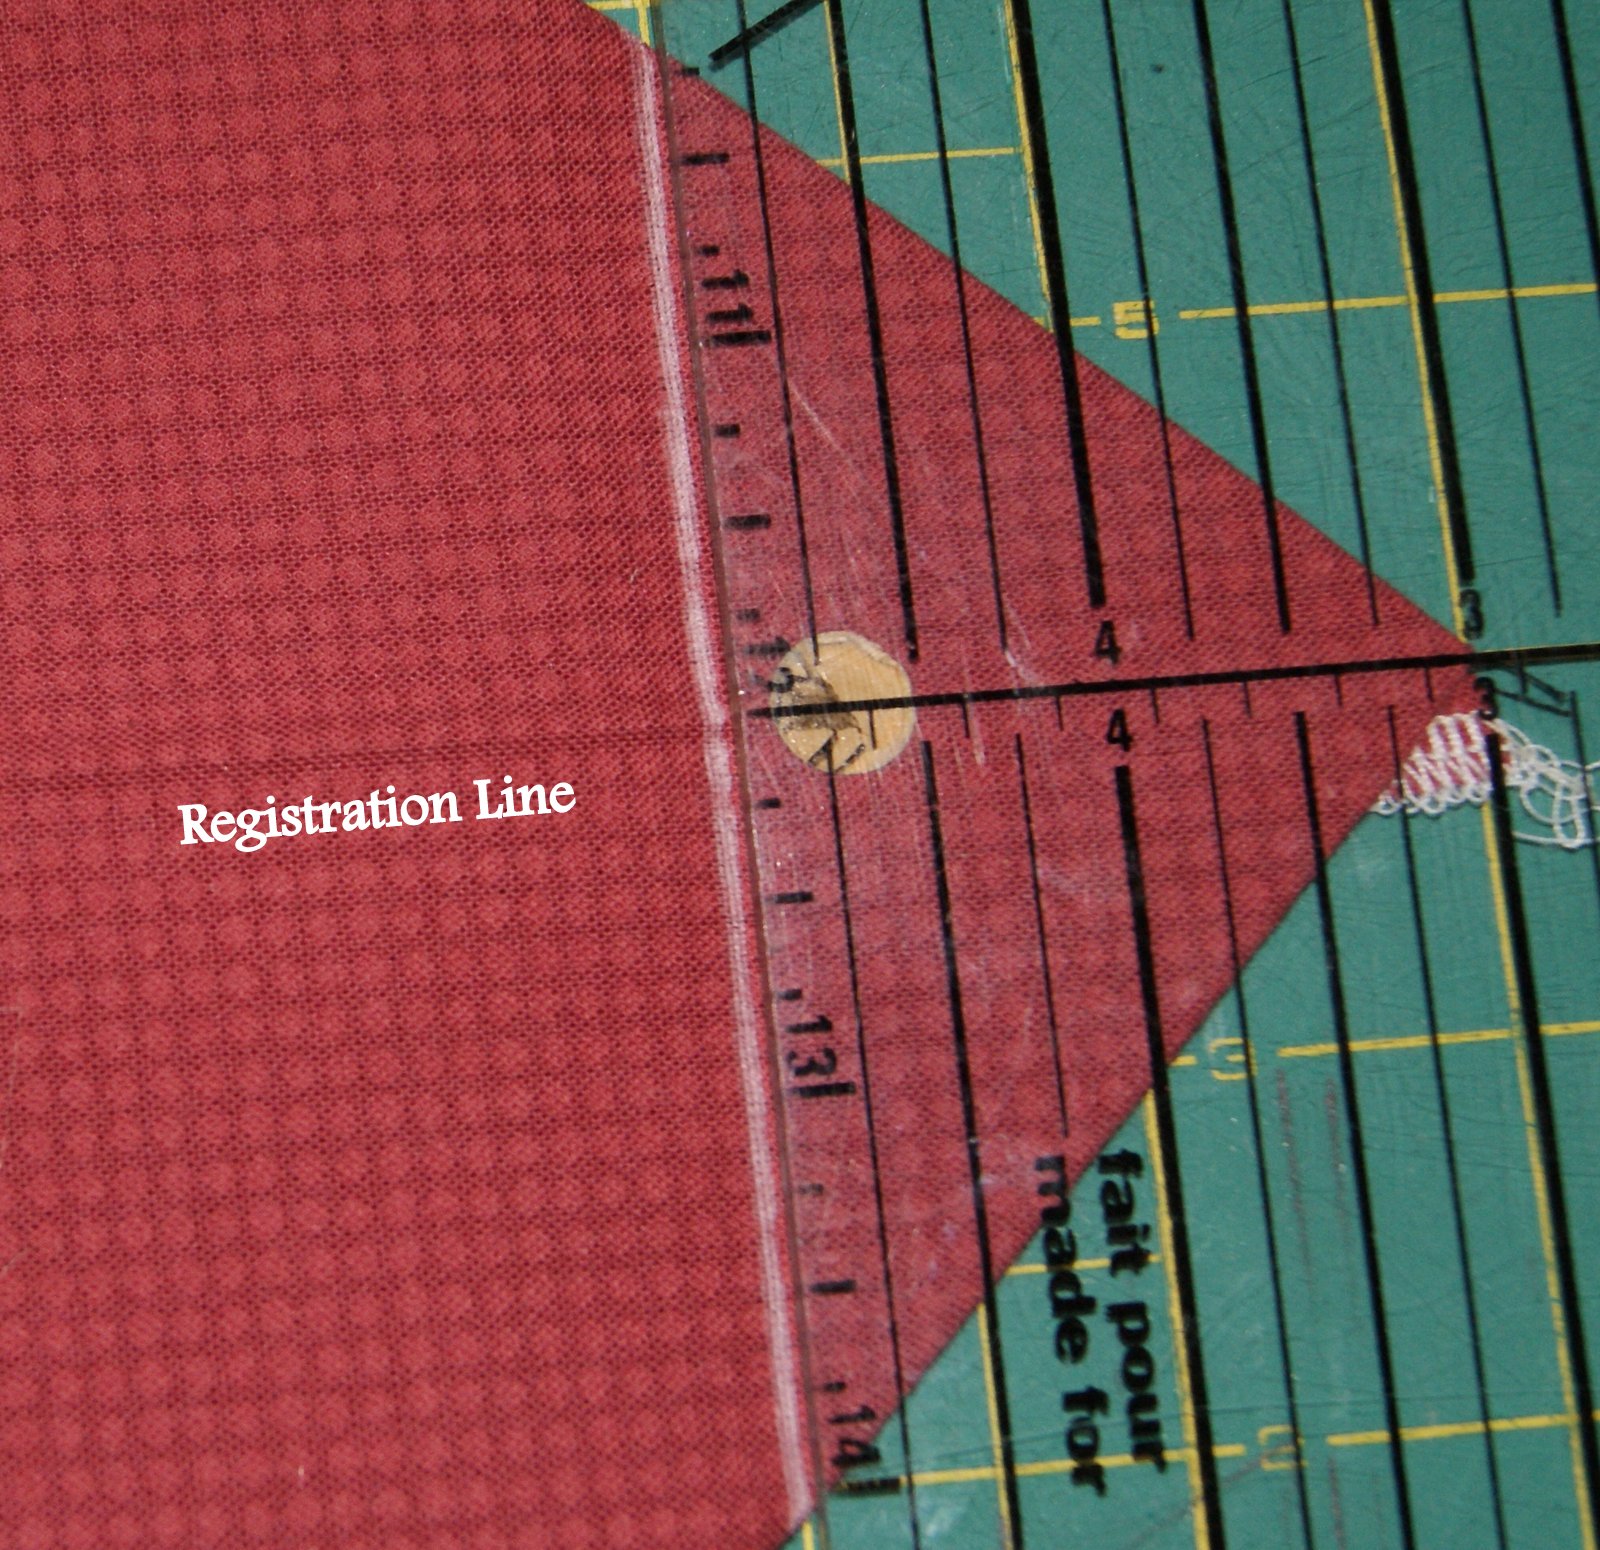
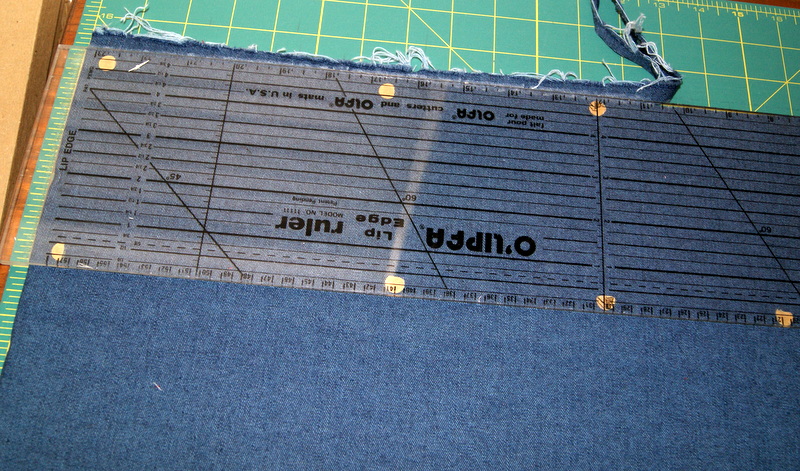
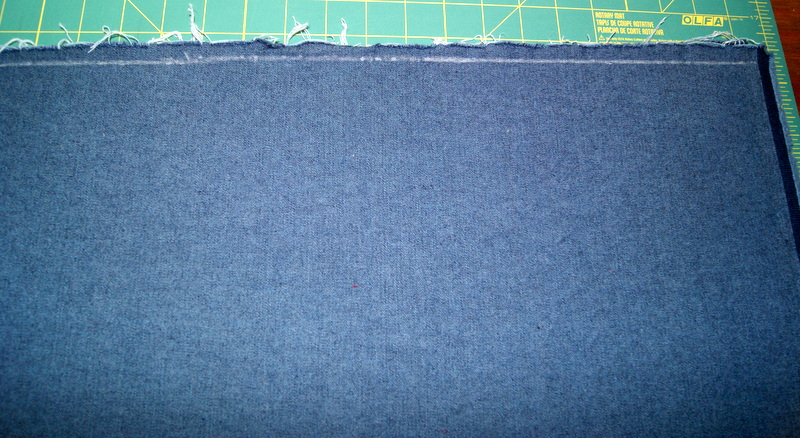
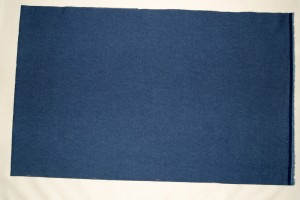
On my pattern page, you will find directions on how to determine your cut width and cut length. STEP 1: Be sure to match up the selvage edges together and place that edge along a straight ruler line so that your top and bottom cuts will be even.
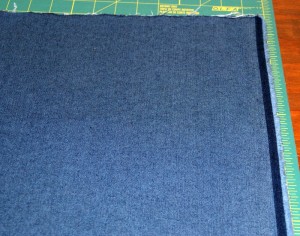
Lining selvages, right sides together, along right edge

Line up center fold along straight ruler line for left side.
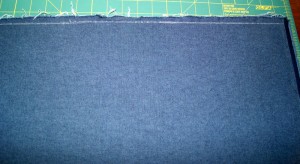
Marking top edge to get ready to cut evenly.
If using a 100% cotton fabric, you can make a small cut along the top and bottom edges and just rip your fabric to get that nice straight of grain edge to work with.
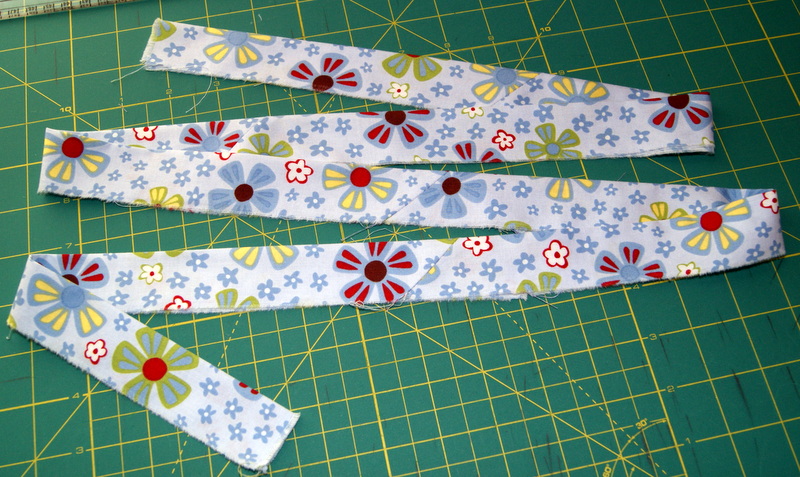
Fabric cut and ready to be sewn.
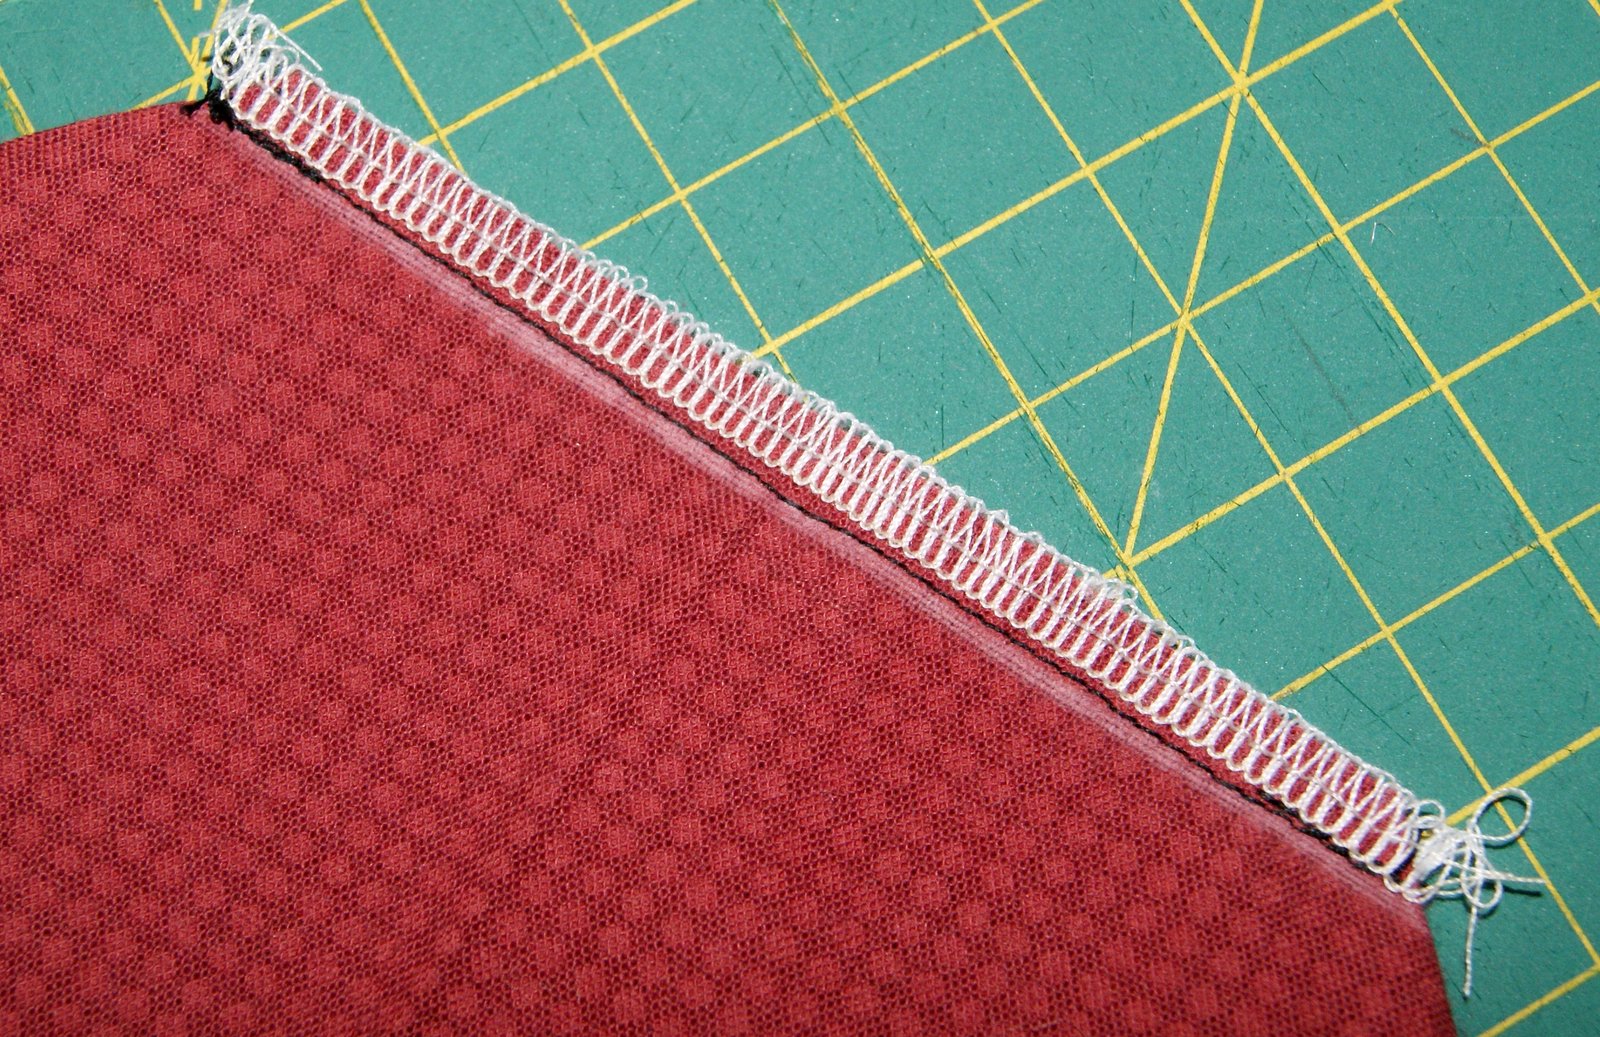
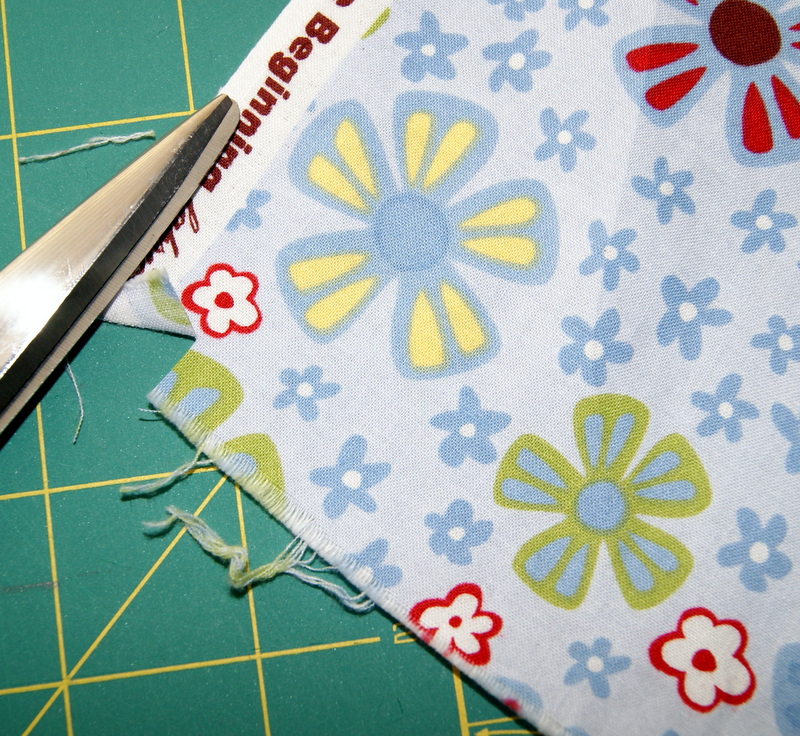
STEP 2: Once you have your fabric cut, I like to serge all the fabric edges. I cut off the selvages with my straight ruler before I do the serging. If you don’t have a serger, you can always do a close zigzag stitch along the raw edges.

Serged edges
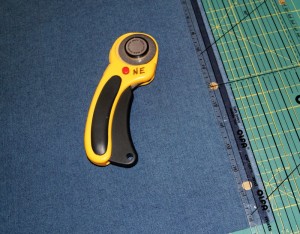
Cutting of the selvage edge to avoid puckering
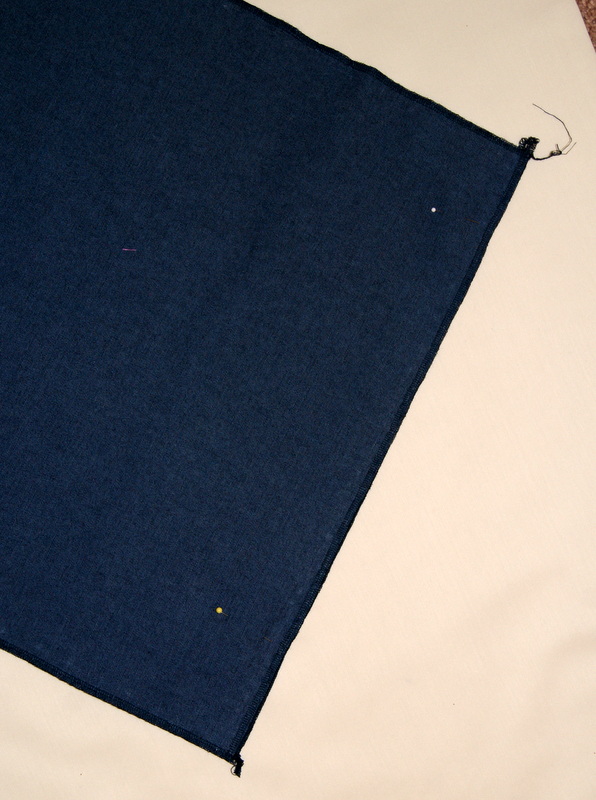
STEP 3: With right sides together, sew a 1/2″ seam allowance. Press your seam open. STEP 4: Lay out your skirt and measure from side seam to side seam. You will want to double that measurement so you have the total circumference of your skirt. Take that measurement and multiple it by 1.5 up to 2 times to determine how long to cut your lace.
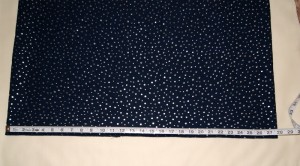
Determining skirt circumference
STEP 5: Cut your lace to the pre-determined measurement and sew it together with right sides matching. Make a gathering seam by sewing a loose zigzag stitch over top of a heavy-duty (dual duty) thread on the wrong side of the lace. This makes for a very strong gathering thread that you can pull on very tightly and it will not break.
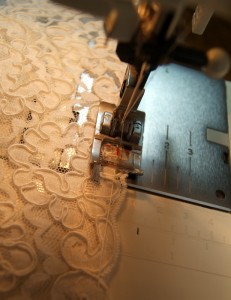
Sewing a zigzag stitch over heavy duty thread
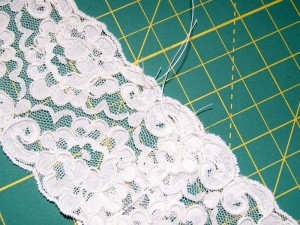
Lace ready to be gathered
Showing how close to the edge of lace I sewed gathering thread
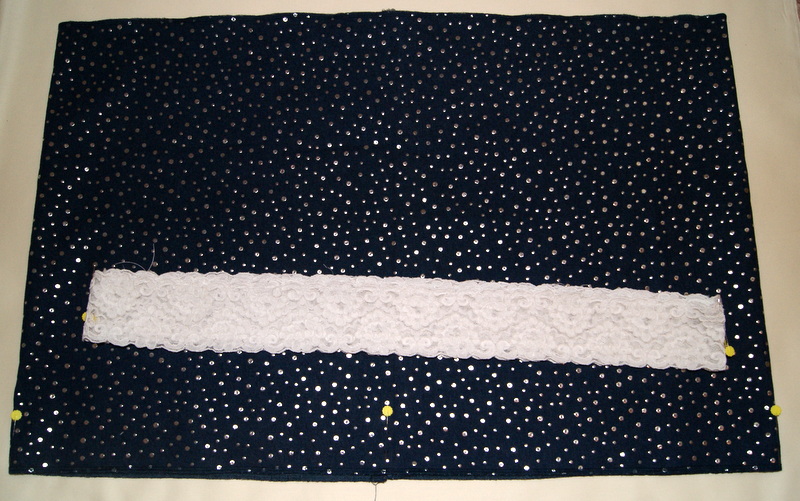
STEP 6: Divide your skirt into fourths, placing a pin at the center back seam, center front seam and both sides. You will also fold your lace into fourths and place pins at each fold. Now with right sides together, pin your lace markings to the skirt markings. Pull snuggly on one heavy duty gathering thread and pin your gathers from center back to center front on one side. Now repeat that step for the other side, pulling snuggly using the other heavy duty gathering thread to gather up the lace and pin to the skirt. Stitch in place.
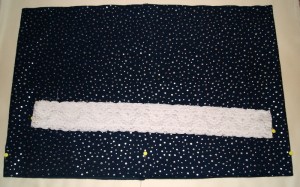
Marking for lace placement
Gathered lace ready to be sewn
Attaching lace to pin markings before gathering
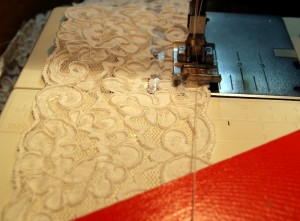
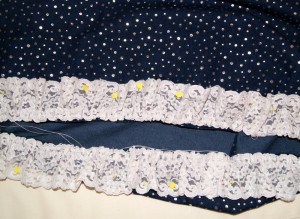
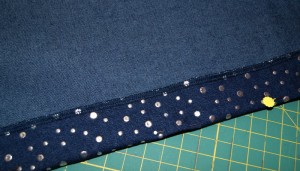
STEP 7: You want to press that seam up towards the top of the skirt. Because my denim had painted silver dots on it and the lace was somewhat delicate, I used a terry cloth towel as my pressing cloth so as not to have any damage (melted dots or lace)!! STEP 8: After the seam is pressed up, stitch that seam in place. I made two (2) rows of stitching because I like that look. One row of stitching is sufficient.
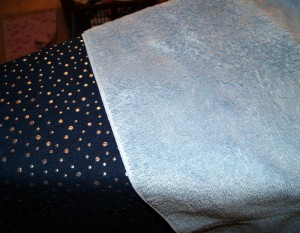
Using a pressing cloth

Double stitched row
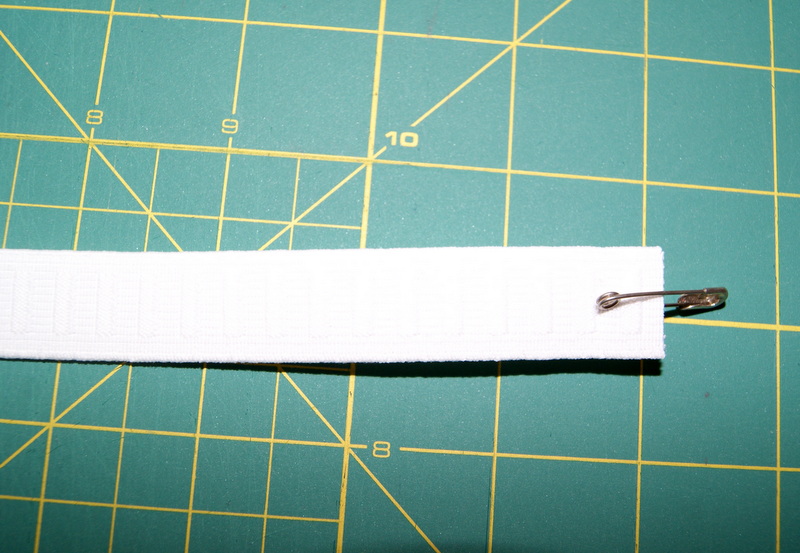
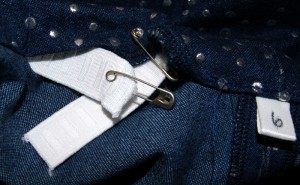
STEP 9: Make the casing for the elastic by folding down the top edge of the skirt 1 1/2″. Pin in place at the folded edge and turn under the serged edge as you stitch leaving about a 2″ opening to pull your elastic through. Attach a safety-pin to one end of your 3/4″ non-roll elastic and begin pulling it through the casing. So I wouldn’t pull the end of the elastic into my casing, I pinned it to the opening. Once you have pulled the elastic through the entire casing, over lap it about 1/2″ on each side and stitch securely into place. Make sure you haven’t twisted the elastic before sewing. After stitched, pull on the waist band so the elastic is nicely tucked inside and stitch close your opening.
Folding down your casing
Beginning elastic meeting pulled through elastic

Attach safety-pin as your gathering tool
STEP 10: To help keep your gathers in place, make a stitching line at the center back, center front, and both sides. Stitch from the top of the waist band to the stitching line of the casing (sewing through all thicknesses).
HAPPY CREATING!!
Disclaimer: This post contains affiliate links – “small commission earned”
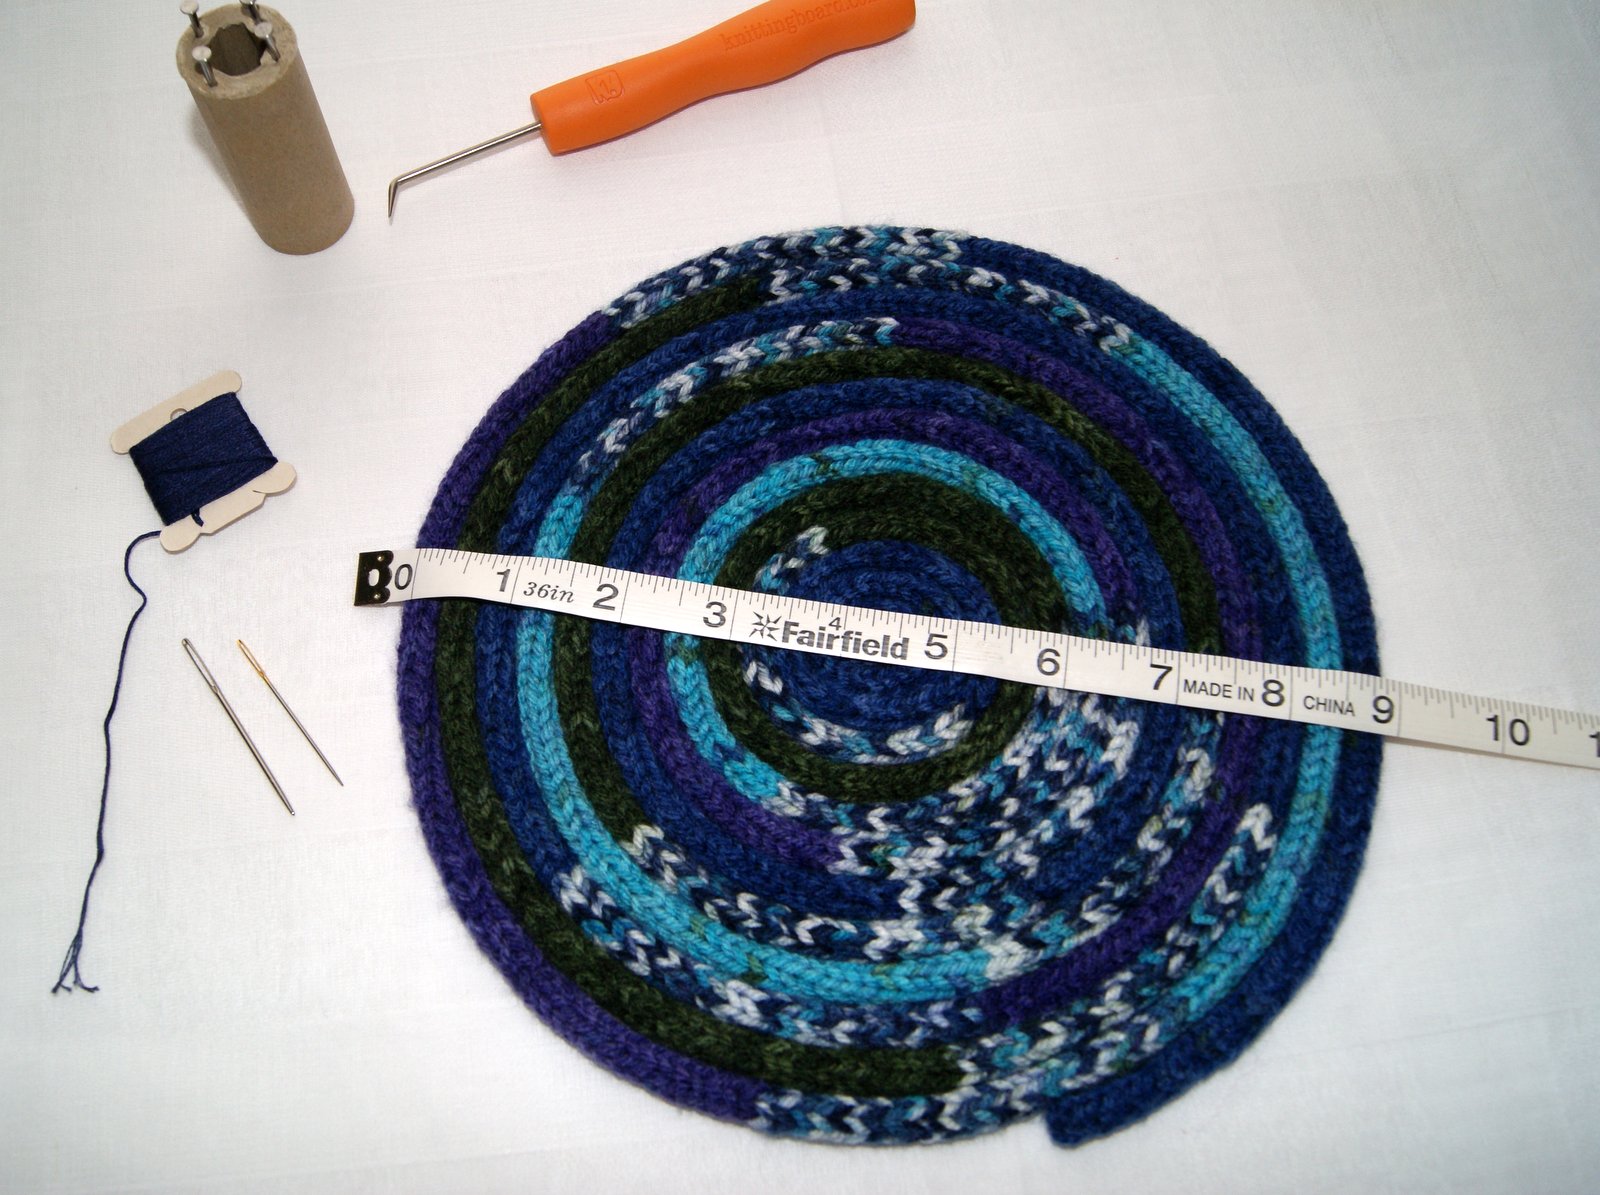
 When rolled, the trivet will measure 9″ across which will be a perfect size for plates or bowls to keep the heat directly off my table. It will also look great as a decorated piece under my kitchen centerpiece.
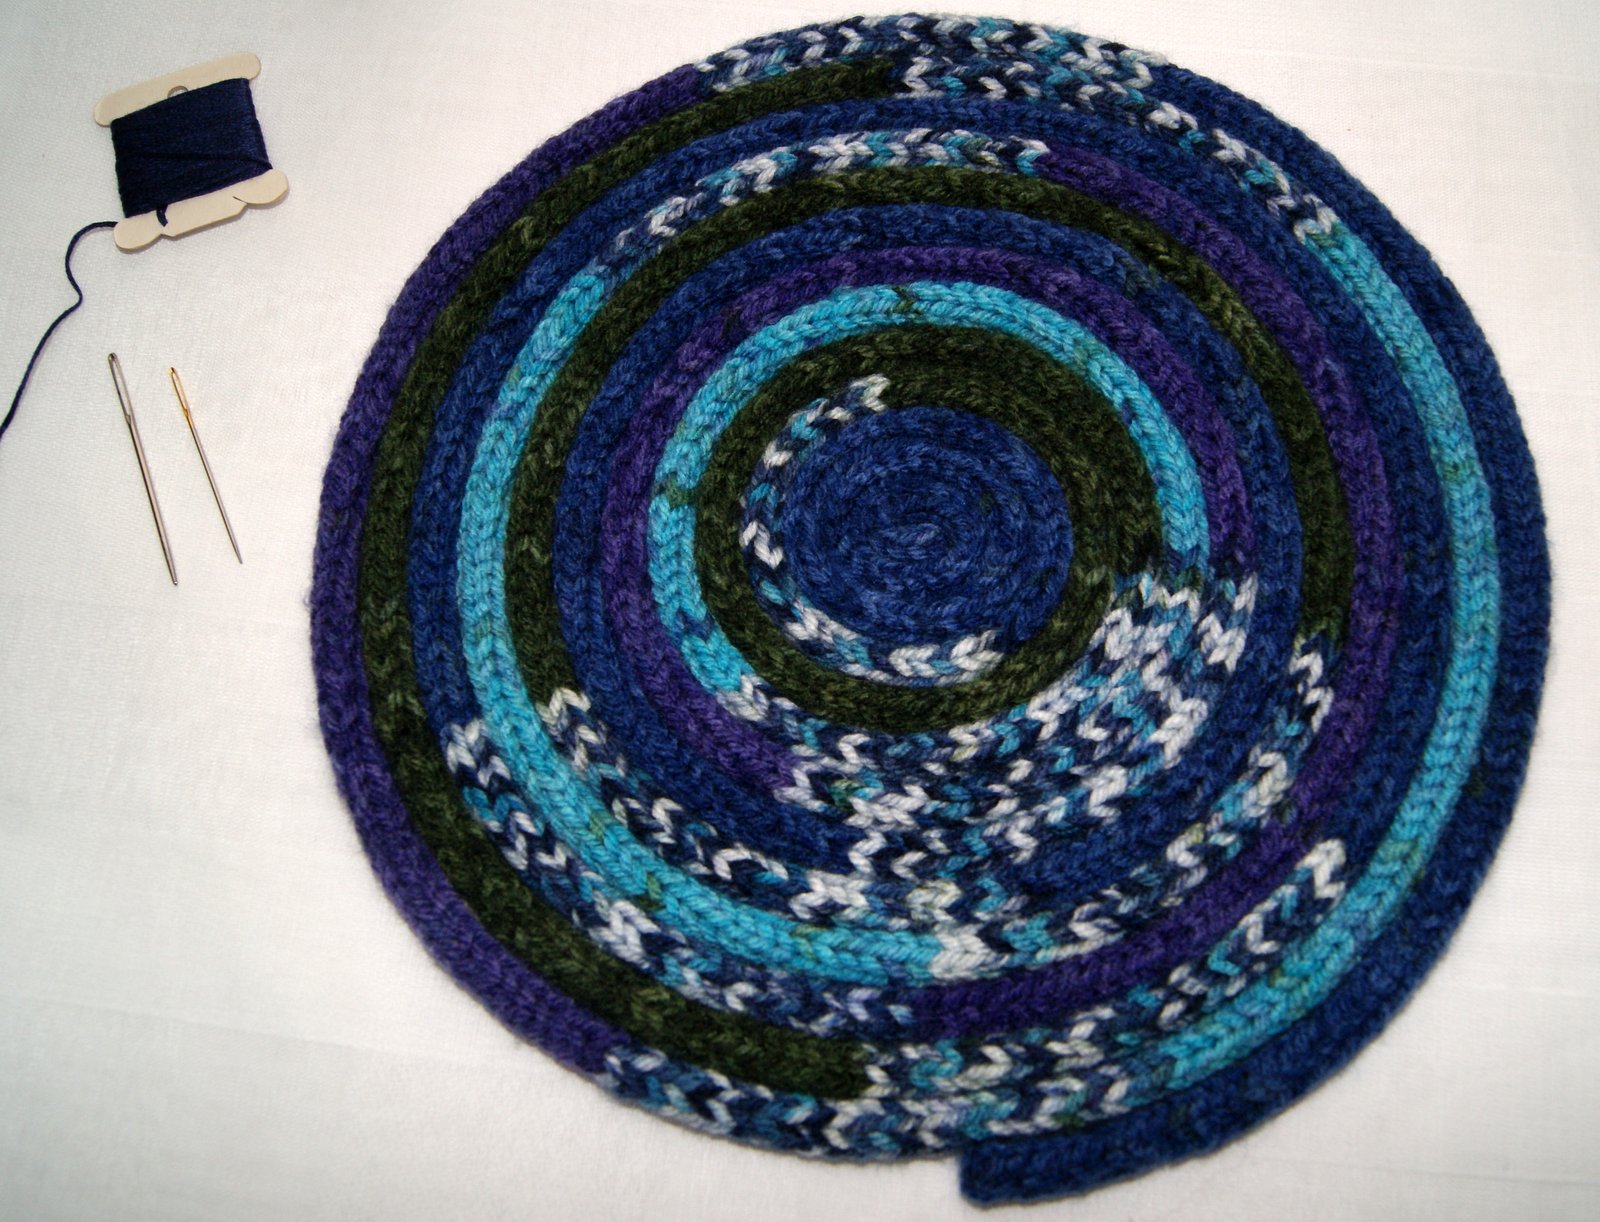 Because I used up all the thread that I had to make the cord, I am going to whip stitch it together using all 6 strands of a coordinating DMC floss. Beginning in the center and rolling as I go, I will whip stitch it together using a cross stitch type needle which has a little bit of a blunt tip so that I don’t snag any of my threads.
 This is a wonderful activity for a child to do and a super way to use up all those “little balls” of yarn leftover from other knit or crochet projects. As you collect your bits and pieces of leftover yarn, just tie them together with a secure square knot (right over left and left over right) and keep adding to make a big multi-colored skein. I would try to keep your category of yarn about the same; that is, I wouldn’t tie a chunky (category 5) to a sock weight (category 2). How fun to see all the different colors come together!!
 Enjoy making your own “cattail” ~~ you can find more information on using knitting Nancy’s here. FYI: I did purchase a super little tool from my local big box store (knittingboard.com) which worked great to lift my lower loops easily over the upper loops on my spool. 🙂