 Now you can turn your MAIN fabric to the right side, DON’T turn out the lining yet.
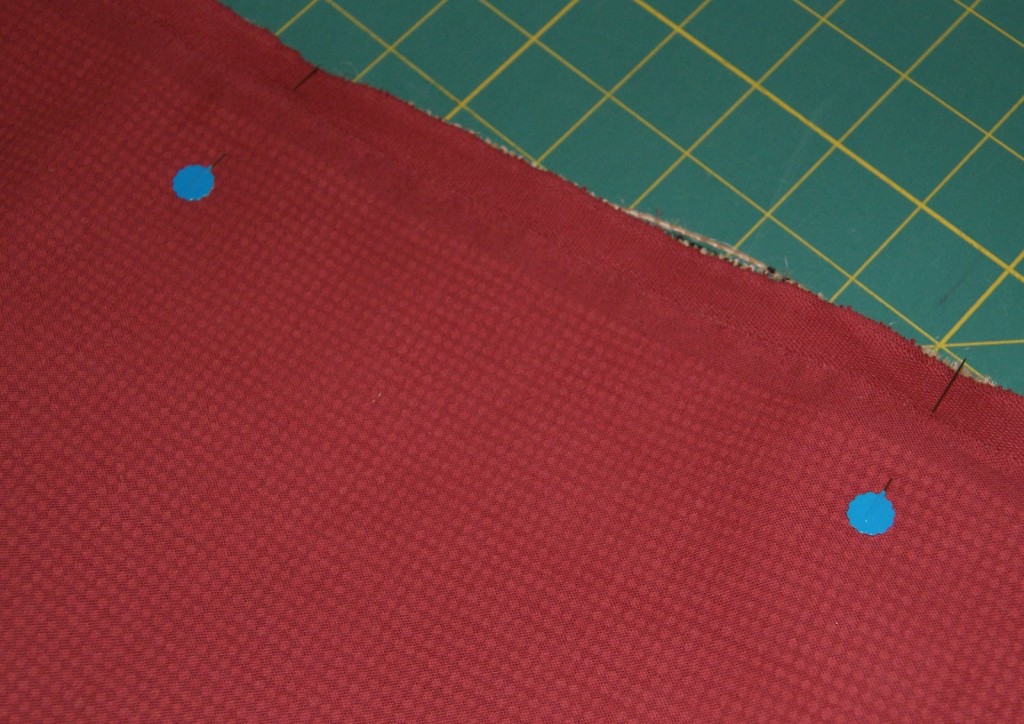
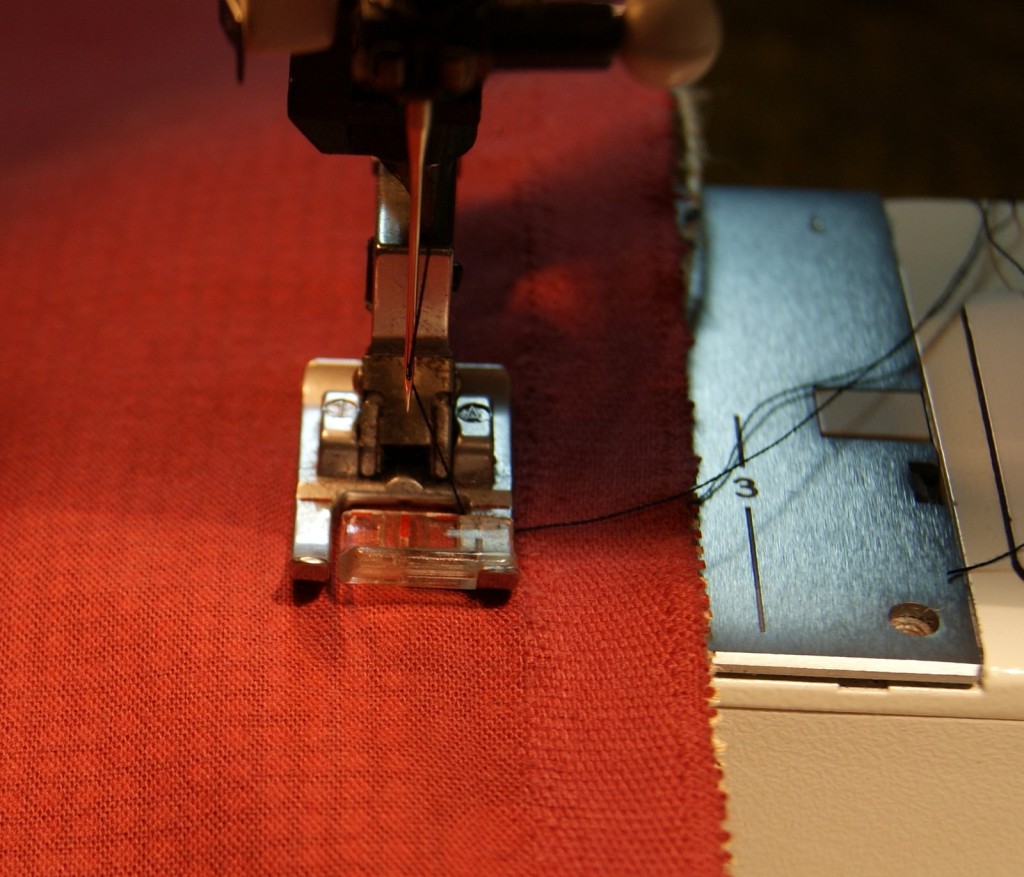
At this point, you are ready to attach your main fabric to the lining fabric with right sides together. Slide your main fabric which should be on the right side, inserting it into the lining which should have the wrong side facing out (check that you have right sides together). Make sure your straps are hanging towards the bottom of the bag on the inside (sandwiched between your fabric and lining). Now pin your top edges leaving an opening of about 6 inches between the straps for turning purposes. Stitch around in a 1″ seam. Sometimes it is helpful to use the same color pin head for your beginning stitching and ending stitching which is different from your other pins. Just a visual reminder to leave an opening for turning.
 Turn your tote to the right side, pulling your straps through the opening too. Push your lining down into your tote. Press down the opening so that it is even with your top edges. Sew a top stitch row around the entire bag, stitching shut your opening and making sure it is close to the edge.
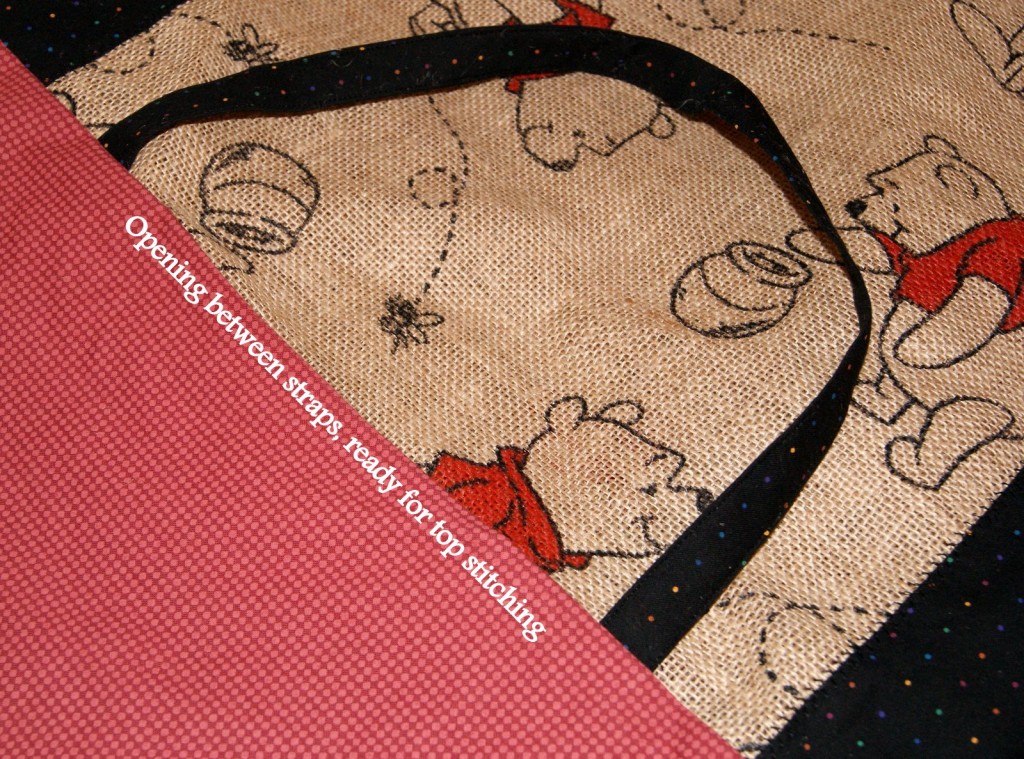 Now make another row of stitching around the entire top of the bag. Finish it off with a good pressing and get ready to fill it full of goodies. Mine will be used for Lego blocks!!!
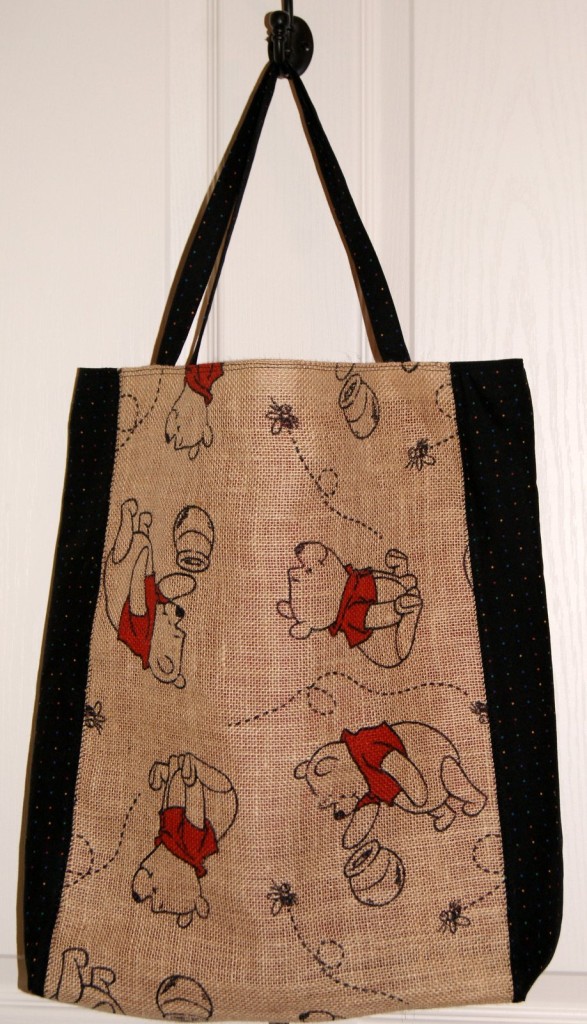 My toy tote finished size is 17 1/2 inches wide by 18″ long with a 4 inch wide bottom.
A half yard of fabric and a half of yard of lining will make a very nice size tote bag. You wouldn’t even need to do the contrasting sides. I needed this to get the width I want.
This style of tote making is a good one for a beginner sewer. Even a young child who is familiar with a sewing machine could make this pattern. Lots of flexibility too within the design, size and width of bag, size and width of straps, to pocket or not to pocket. Think about whether you want to use an interlining fabric for added strength or a denim/canvas fabric for the straps. Let those creative juices flow and design something that is unique and special for you!!
HAPPY CREATING!!
Disclaimer: This post contains affiliate links – “Commissions Earned”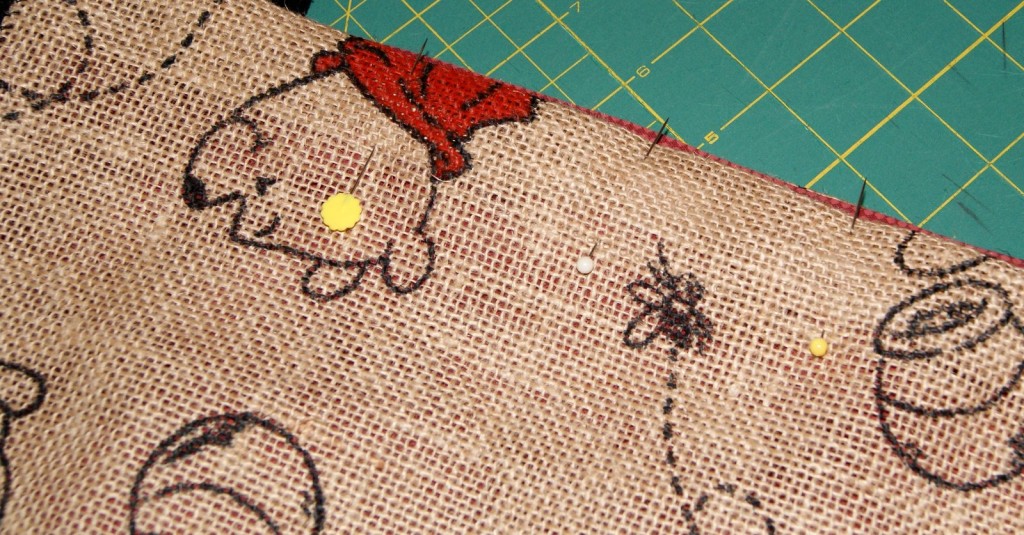

Pingback: Sewing a Tote Bag: PART ONE | Stitch4eveR