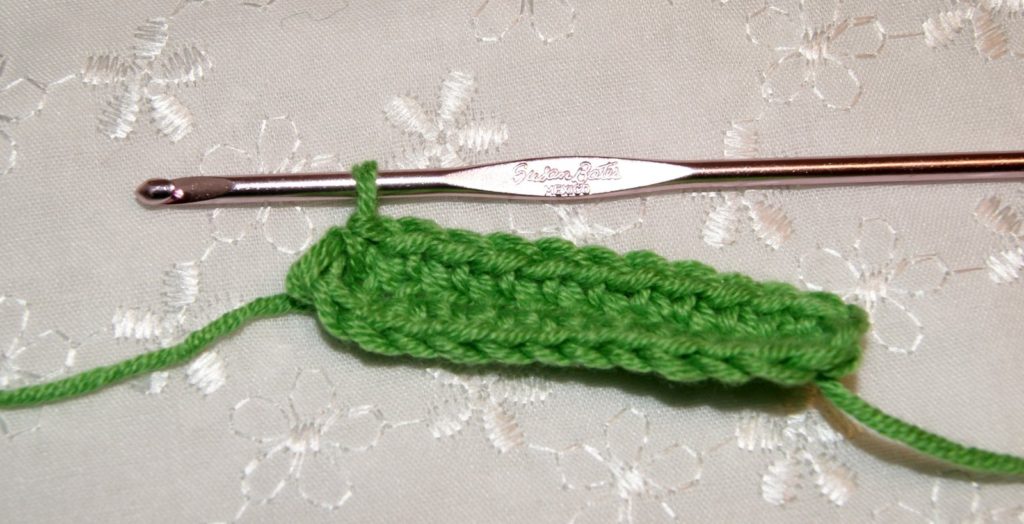
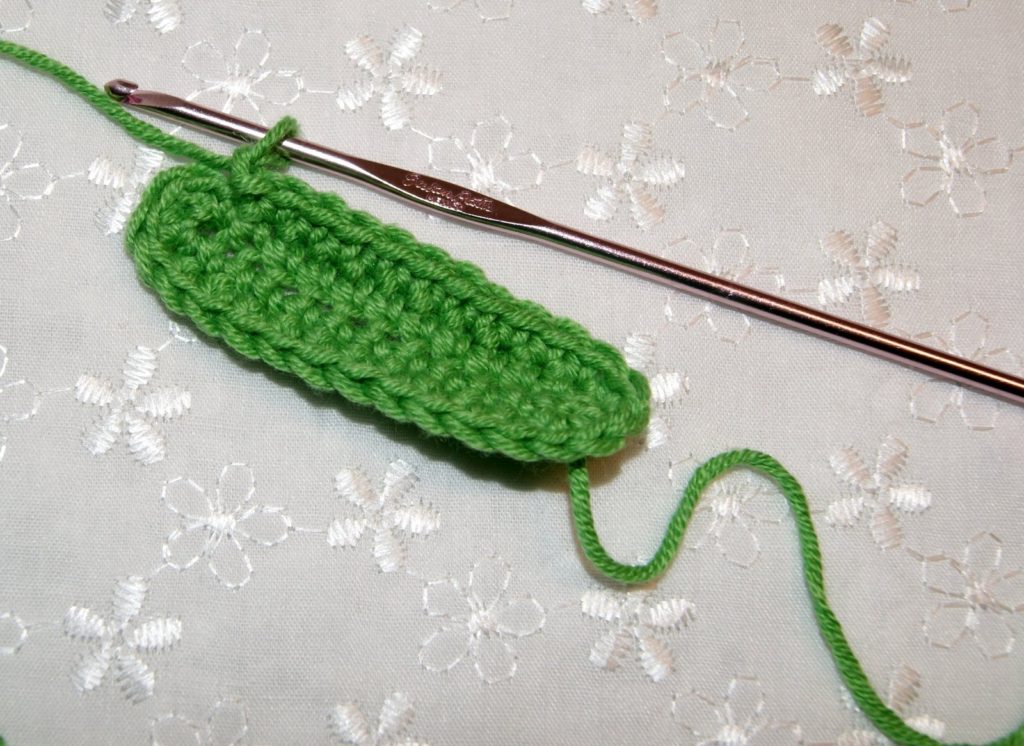
My left-hand thread tension is this: wrap the yarn under my pinkie finger, over my ring finger, under Mr. Tall Man (the middle finger) and over my index finger. I hold my work with my left hand using my middle finger and thumb and extend my index finger away from my hook to keep it slightly taut as I use that yarn to make my crochet stitches.
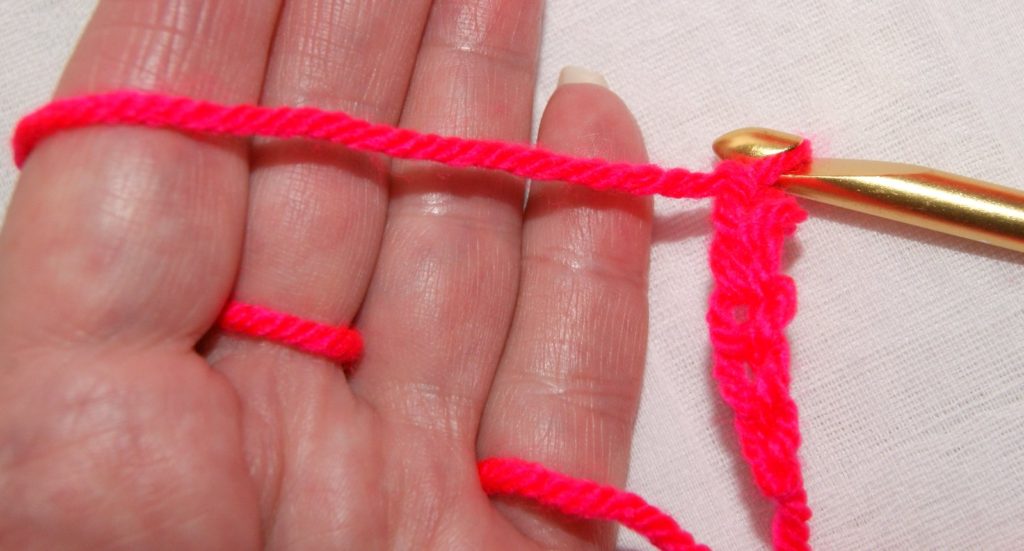 I do not vary from this setup whether I am using a steel hook with thread or a super bulky yarn with a Q hook.
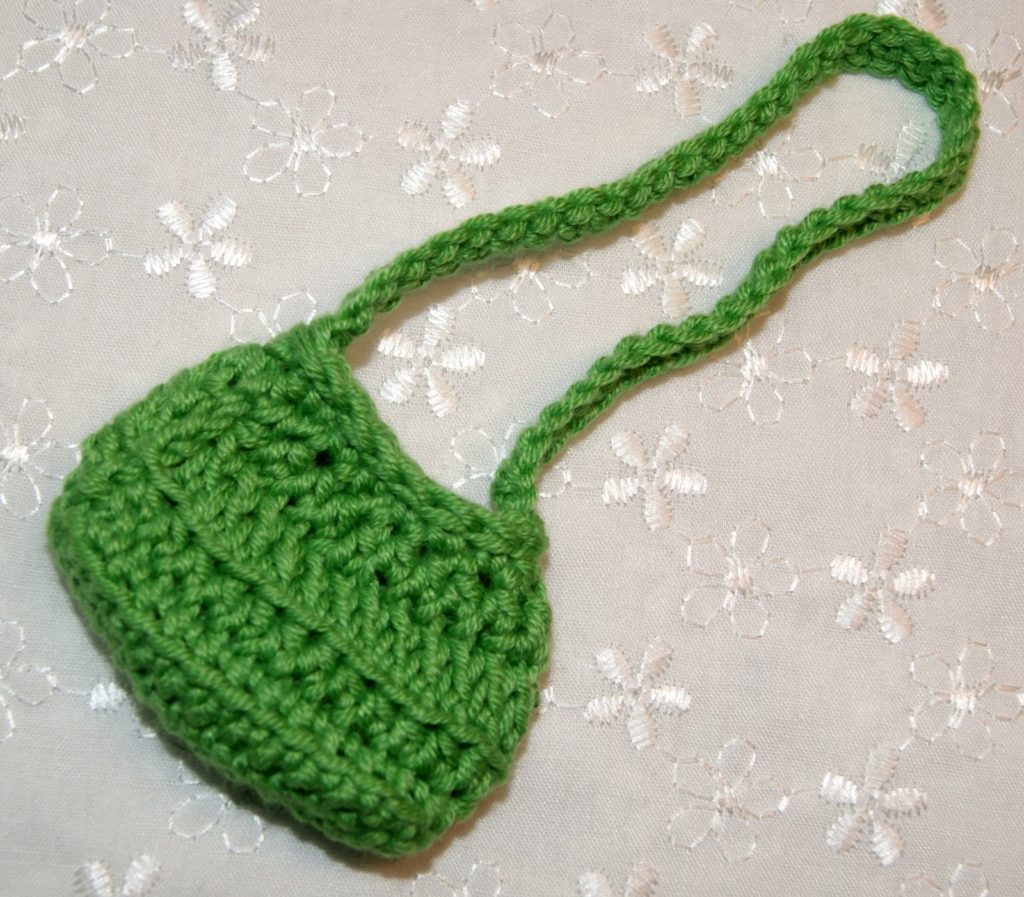
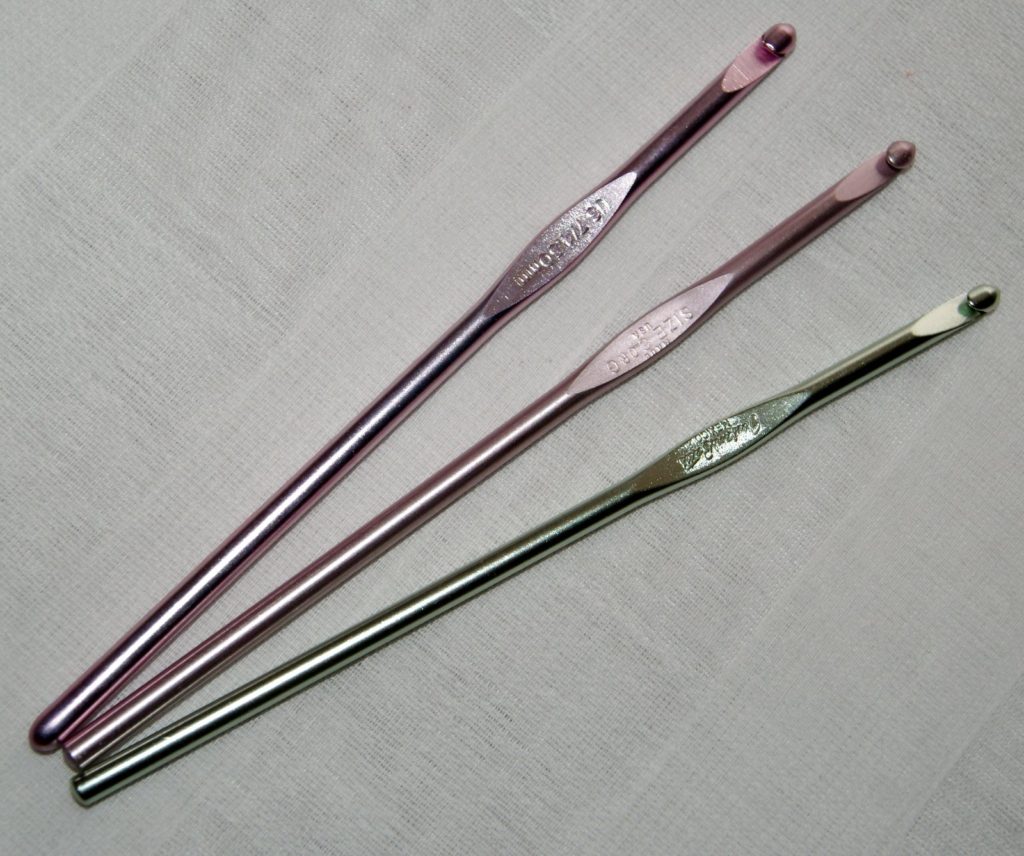
Also, I have found the Susan Bates hooks to be my personal favorites. I like to work with the in-line style hook versus the tapered hook that you find on a Boye design. I have just been introduced to the Clover Soft grip style hooks and I think I’m going to like them a lot too especially when working with thread designs for doilies, etc. Experiment and find the type of hook that works the best for you and feels the most comfortable in your hand. There are tons of choices available.
I do not vary from this setup whether I am using a steel hook with thread or a super bulky yarn with a Q hook.
Also, I have found the Susan Bates hooks to be my personal favorites. I like to work with the in-line style hook versus the tapered hook that you find on a Boye design. I have just been introduced to the Clover Soft grip style hooks and I think I’m going to like them a lot too especially when working with thread designs for doilies, etc. Experiment and find the type of hook that works the best for you and feels the most comfortable in your hand. There are tons of choices available.
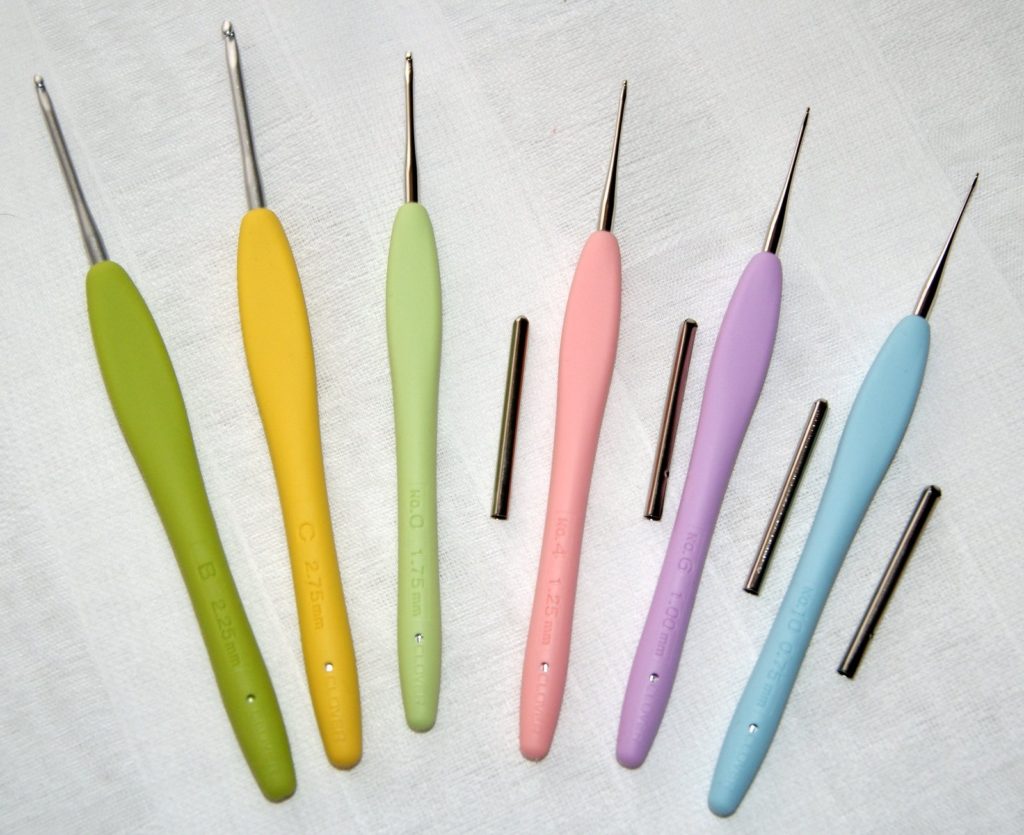 If you are new to the crocheting bug or teaching someone, maybe begin with a larger hook like a size J or size K. The fatter hook might help you not to grip too hard and make your stitches too tight.
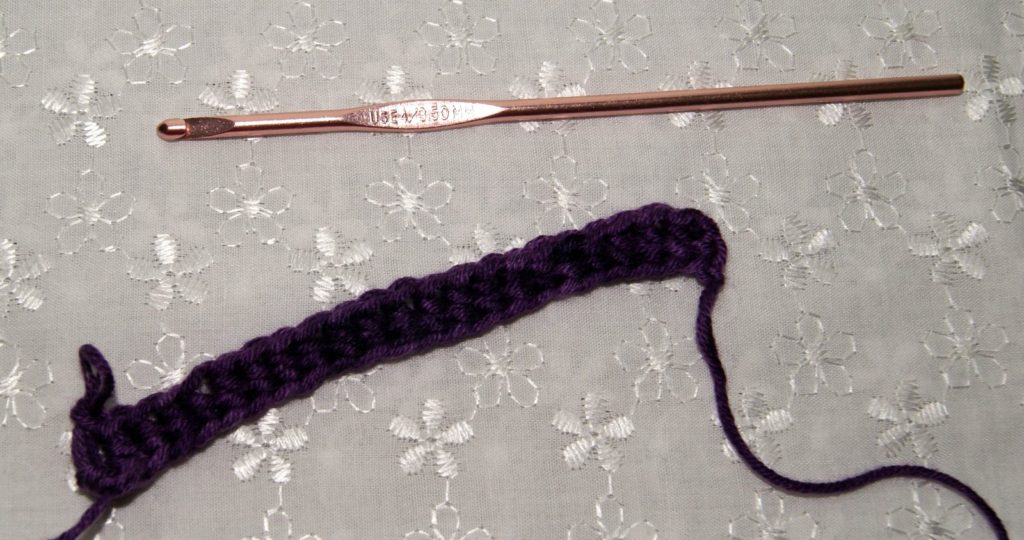
I still have my very first crochet hook which I believe is a Susan Bates, just is marked as a size 6 or size G. With some research, I actually believe it is a 4.25 mm as I have the latest size G6/4.00 mm and the size 7/4.50 mm and the shaft is really in between these two hook sizes. It is always my “go to” hook for most of my projects!!
If you are new to the crocheting bug or teaching someone, maybe begin with a larger hook like a size J or size K. The fatter hook might help you not to grip too hard and make your stitches too tight.
I still have my very first crochet hook which I believe is a Susan Bates, just is marked as a size 6 or size G. With some research, I actually believe it is a 4.25 mm as I have the latest size G6/4.00 mm and the size 7/4.50 mm and the shaft is really in between these two hook sizes. It is always my “go to” hook for most of my projects!!
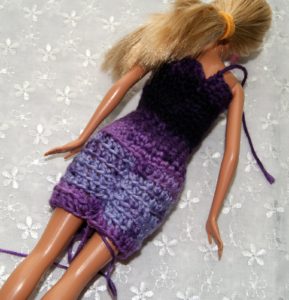
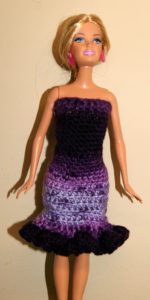
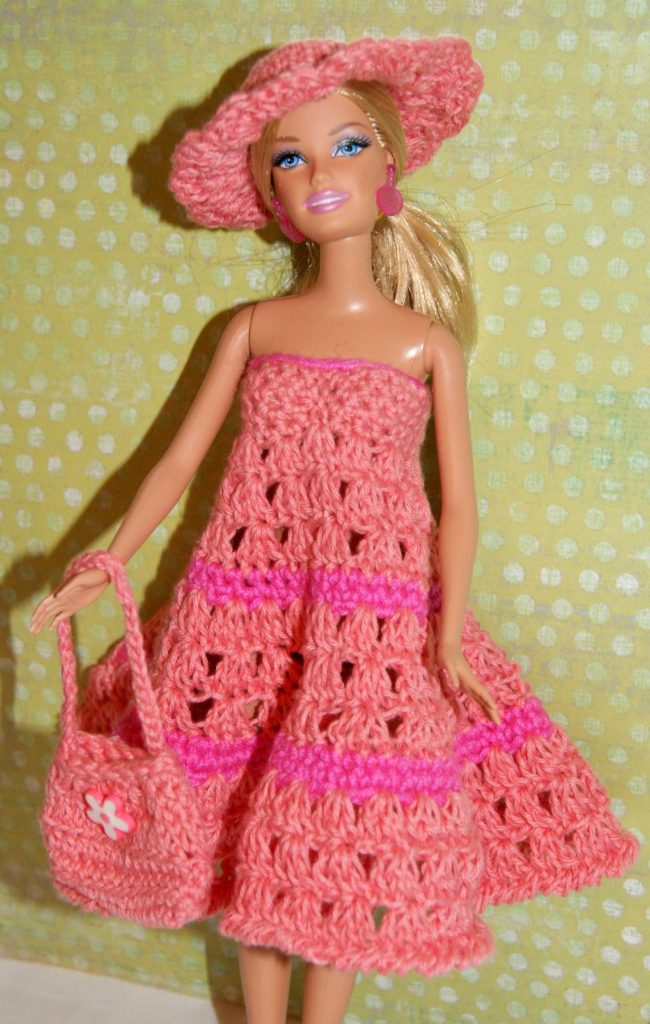
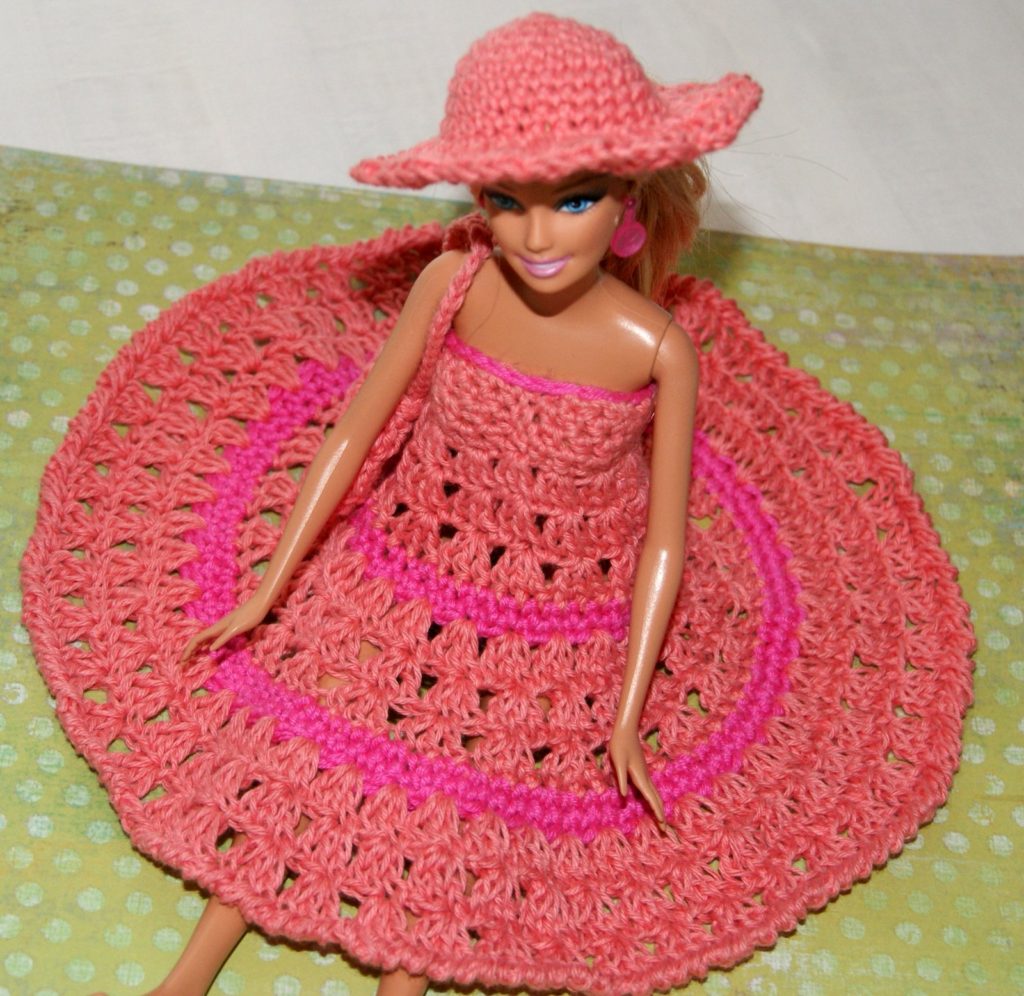
 So “get a grip” and pick up a crochet hook and make that wonderful cozy scarf or baby blanket for yourself or as a gift for that special someone.
HAPPY CREATING!!
Disclaimer: This post contains affiliate links – “Commissions Earned”