Archives

Fun, Little Crochet Heart Applique

Who doesn’t like hearts!!!  They are one of my favorite designs and shapes to be creative with on many of my sewing, quilting or crochet/knitting projects.  So I came up with a cute pattern for a simple crochet heart applique, which I hope you enjoy as much as I have.

Approx. measurement - 2 1/4" x 2 1/4"

Approx. measurement –
2 1/4″ x 2 1/4″

The yarn I selected was a Bernat Satin, worsted weight 4, mainly because of the slight sheen and I had some left over in my stash.  I used a Size G hook for my samples too.

Stitches used:    sc (single crochet)     ch (chain)     tr (treble)     dc (double crochet)                                                                              sl (slip stitch)

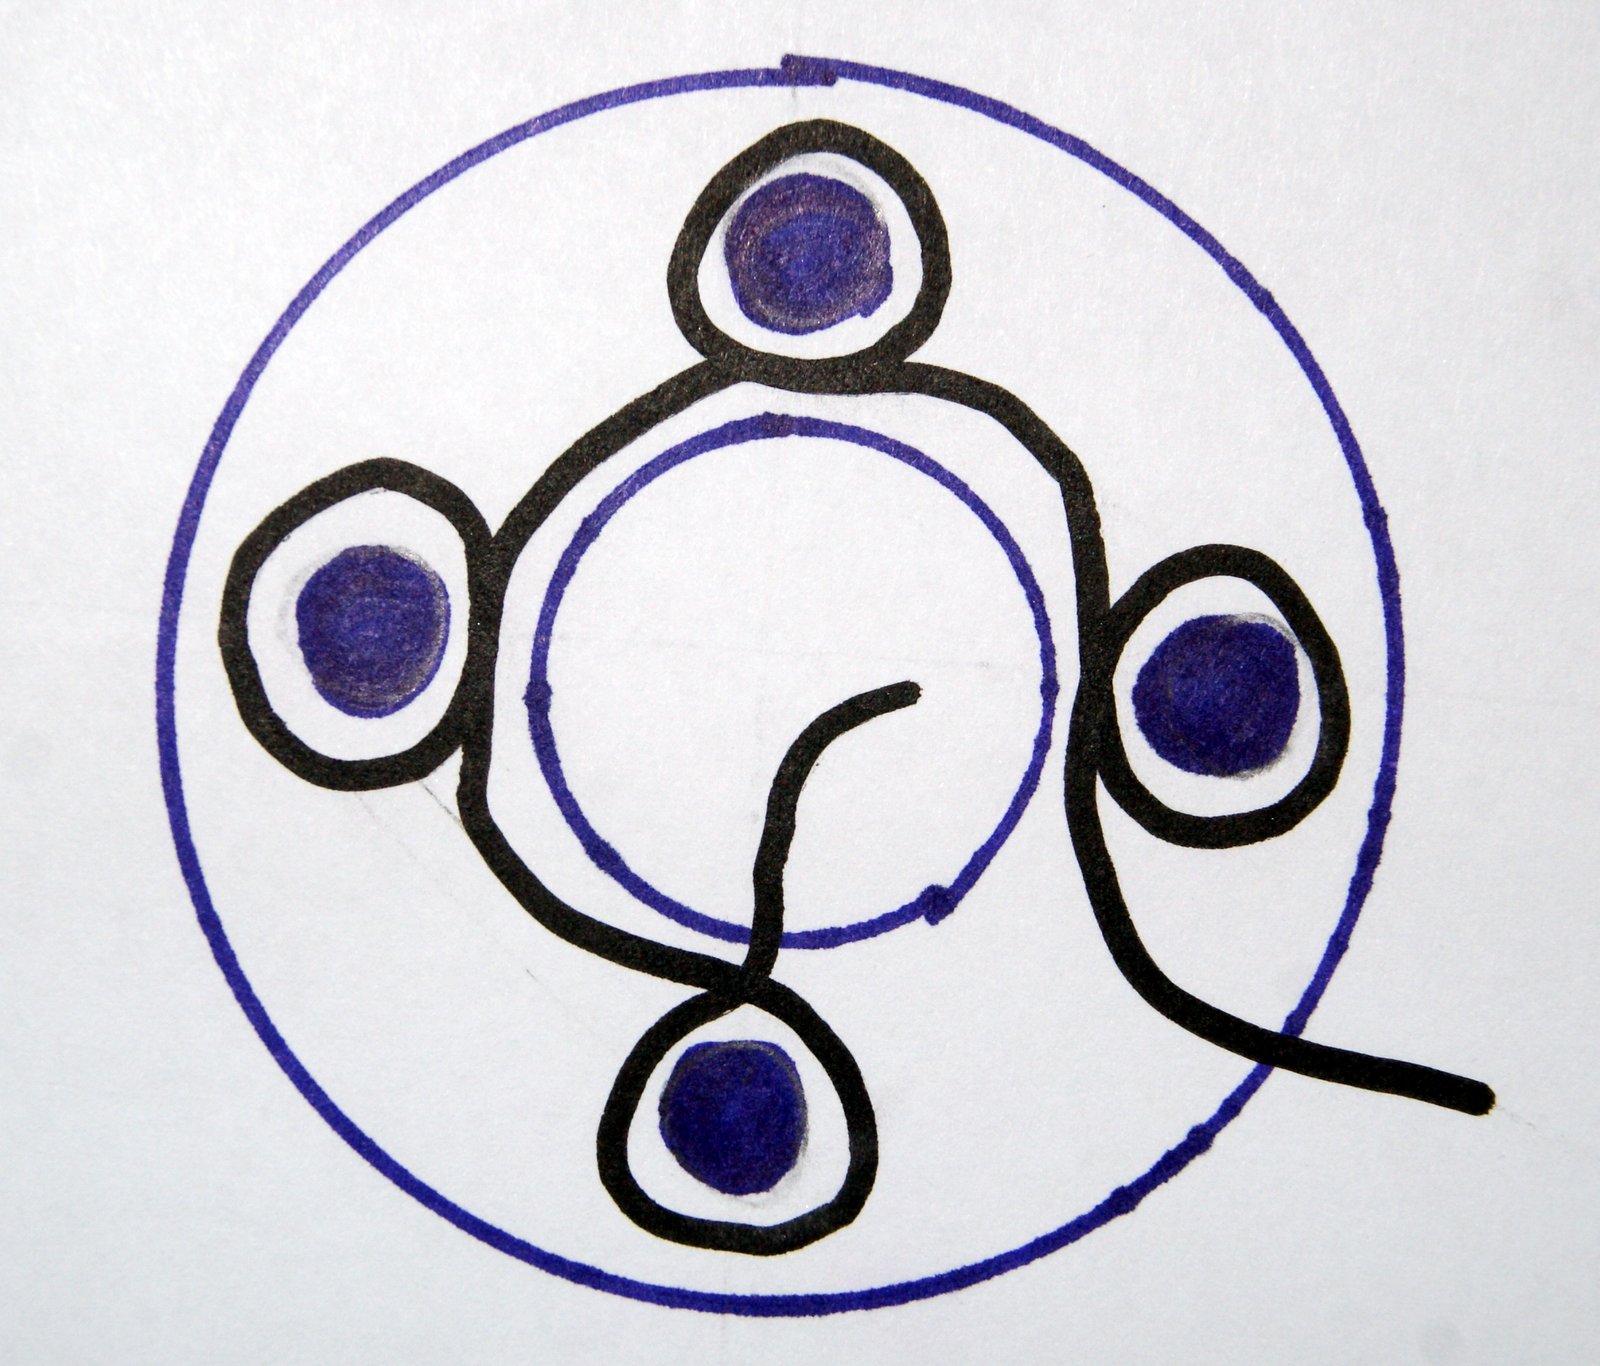
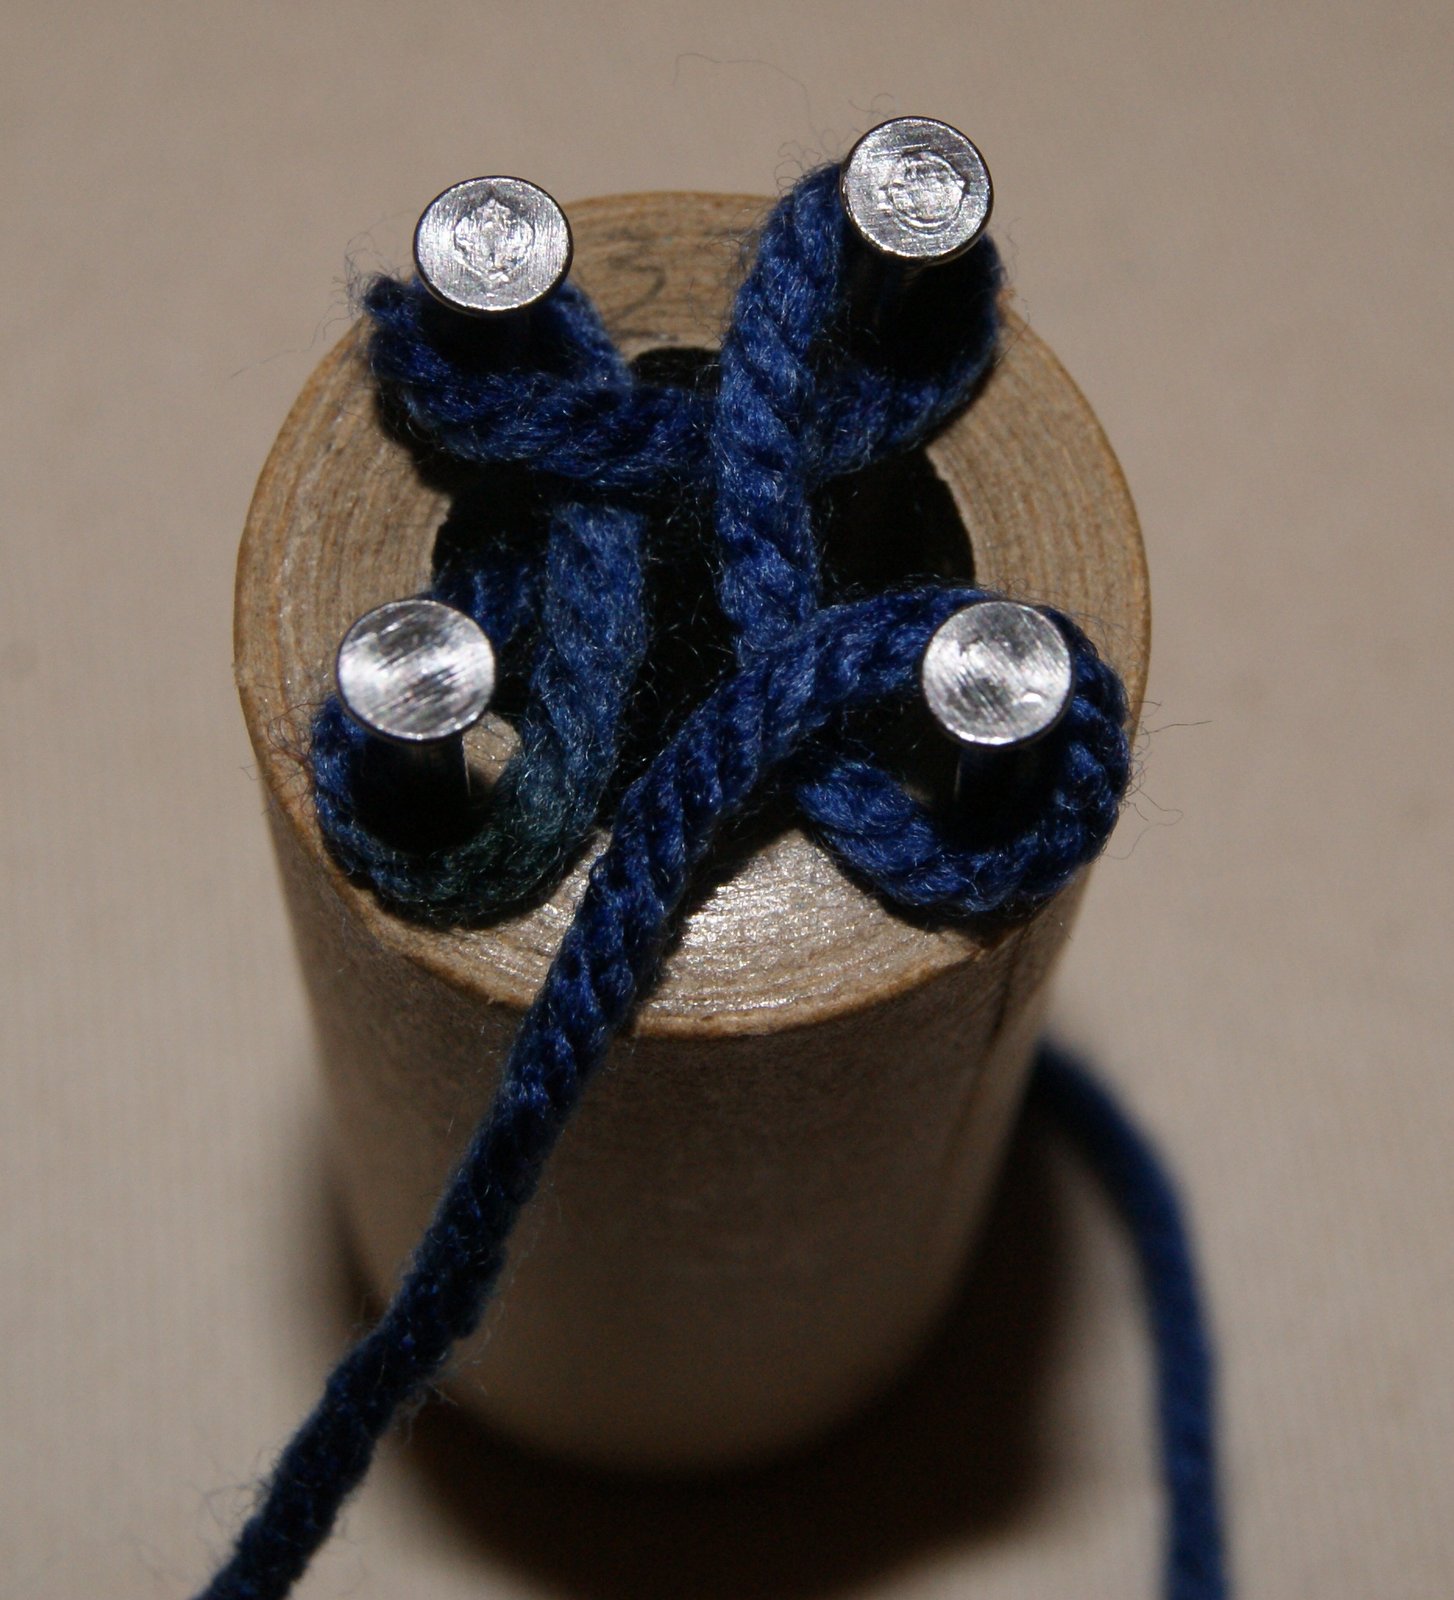
I began my heart using the “magic loop” technique making 11 sc within the loop and then sl stitching through the first sc made.

Now make 3 ch stitches.  Complete 2 tr stitches in first sc stitch.  Make 3 tr stitches in 2nd sc stitch.  Now complete 1 tr and 1 dc in 3rd sc stitch.  Make 2 dc in each of the 4th and 5th sc stitches.   Make 1 ch, 1 tr, 1 ch within the 6th sc of your loop.

Complete 2 dc in each of the 7th and 8th sc stitches.  Make 1 dc, 1 tr in your 9th sc stitch.  Complete 3 tr stitches within your 10th sc stitch.  Make 2 tr, 3 ch stitches in your 11th sc stitch of your loop and end with a sc in that same stitch.  Now complete a sl stitch within your first sc stitch and fasten off.  Pull the tail very tight on your beginning “magic loop” to close your circle and then weave in your ends.

Now you have a fun, little crochet heart to do with as your “heart” desires!!  You can make a bunch of these very quickly and use them for many different projects.  They will fit nicely on top of my napkin ring design or as a center for the crochet ruffle too.   Add them to barrettes, headbands, hats or applique them to clothing and home decor projects.  Enjoy!!

HAPPY CREATING!!

Disclaimer:  This post contains affiliate links – “small commission earned”


Using a “Knitting Nancy” or Spool Knitting

This is a super yarn technique that is very easy for a young child to conquer and make useful, handmade creations.  Actually, anyone who loves to work with yarn would probably like to do this type of knitting aka french knitting.  You can purchase a knitting spool or, if you are so inclined, design your own “spool loom”.  Tons of youtube videos on this technique for you to check out also.

In my picture, I have used a thick cardboard thread spool, which is approximately 1″ diameter and about 2  1/2″ long.  I hammered in 4 brads that have a nice size head to keep my yarn from just slipping off. 

When I was a child, this was one of my first yarn project tools which I used to make many, many hot pads, bracelets, hot plate trivets, even a small rug.  Anyways, a large skein of a variegated yarn provides many hours of fun for someone who is interested in working with yarn.  I called my spool knitting, “cattailing”, I guess because it looked kind of like a cat’s tail when being knitted through my spool.   Not sure if anyone else ever used that name or even heard of “cattailing”!?!?

Here’s a brief description of how to use a Knitting Nancy –  Typically, a knitting spool uses 4 brads/nails/dowels, but depending on the size of the spool you choose, you could knit with 6 or 8 nails.  Your brads/nails should be evenly spaced on the top of your spool.  Begin by dropping your yarn through the spool hole from top to bottom and let it dangle out the bottom by about a couple of inches.  Enough to be able to grab it and tug gently on it until your cat’s tail is exposed through the bottom of your spool!!


The “casting on” technique involves wrapping your yarn in a clock-wise fashion BUT when doing the actual “knitting” technique, you will be wrapping each brad/nail in a counter-clockwise technique.  Once you have completed the “casting on” technique for each nail, you will simply wrap the yarn again (clock-wise) on the outside of each brad/nail above the loops you just cast on.  After completing this second wrap, hold the yarn strand along the outside of your spool with your thumb to keep your wrap taut. Using a knitting needle or crochet hook, grab the bottom loop and lift it over the top yarn wrap.  Do this around for each brad/nail and then pull gently on the “cat tail”.   Wrap your yarn again around all your brads/nails, hold your yarn strand with your thumb on the outside of your spool, lift the bottom loop over each top wrap on all brads/nails, and pull gently on the tail.  Continue making your knitting in this way and before you know it, you will be seeing a colorful, knitted tube/coil coming out the bottom of your spool.


Keep knitting until your “cat’s tail” is as long as you want it to be for whatever special project you are creating!!

When you are ready to “cast off” don’t make a yarn wrap, just grab the loop of the last stitch made and lift it onto the brad/nail to its immediate left.  Lift the bottom loop over that loop, now grab the remaining loop left on that brad/nail and lift it onto the brad/nail to its immediate left.  Continue doing this until you only have one loop left on the last brad/nail.  Cut your yarn and carefully lift the last loop off the brad/nail and place your cut yarn through the last loop and pull snuggly securing all your stitches.  Now you have a wonderful knitted tube that can be used for a wide variety of creative projects!!

This would make a wonderful stocking stuffer item for that potential crocheter, knitter or yarn lover!!

  • TIP:  Open out a bobby pin and use the slightly curved tip as your needle for grabbing the bottom loop and lifting over the wrapped yarn.  Make sure the rubber tips are still there so the bobby pin doesn’t catch the yarn.  The curved edge helps to keep the loop from sliding off the bobby pin/needle. 

HAPPY CREATING!!

Disclaimer:  This post contains affiliate links – “small commission earned”

Crochet Pine Tree Pattern

A  little pine tree is always a great addition to your pattern collection.   I have designed a quick, little crochet pine tree that you can embellish and turn it into a Christmas tree that could be used as an ornament, maybe a unique tag for a special gift or make it to use as an applique!!     


Here’s the scoop:   I used two thread types – Aunt Lydia’s Fashion 3 thread (Sage Green color) and Aunt Lydia’s Classic 10 thread (Christmas Green color) for the tree and Aunt Lydia’s Fashion 3 (true Brown color) for the trunk.  My hook sizes were a C/2-2.75mm for tree and size 5/1.90mm (steel hook) for trunk.

Using the sage green and Christmas green together, make 18 chain (Ch) stitches.

In 3rd chain from hook, complete a Dc (double crochet), make 15 more Dc stitches to end of row, Ch 2, turn.

Rnd 2:  1 Dc Dec (double crochet decrease),  12 Dc,  1 Dc Dec,  Ch 2,  turn.

Rnd 3:  1 Dc Dec,  10 Dc,  1 Dc Dec,  Ch 2,  turn.

Rnd 4:  1 Dc Dec,  8 Dc,  1 Dc Dec,  Ch 2,  turn.

Rnd 5:  1 Dc Dec,  6 Dc,  1 Dc Dec,  Ch 2,  turn.

Rnd 6:  1 Dc Dec,  4 Dc,  1 Dc Dec,  Ch 2, turn.

Rnd 7:  2 Dc Dec  –  Don’t Fasten Off

Rnd 8:  Forming loop –  working directly from last stitch, Ch 12, work Sc (single crochet) in top of last Dc Dec.

Rnd 9:  Ch 1, then complete a slip stitch in each of the chains just completed.  Fasten Off, leaving about a 6″ – 8″ tail.

Wrap tail around the bottom of the loop, pull tail through your wrap and then weave securely through the stitches on the back side.

Making trunk:  Using the size 3 brown thread and the #5 steel hook, skip the first 6 stitches on bottom edge and complete 6 Sc,  Ch l,  turn.   Repeat this pattern for a total of 6 rows and fasten off.

Now your little tree is ready as is or take time to embellish it with tiny buttons or sequins and beads or maybe use pre-made ribbon bows or roses.  You can hand sew your buttons to the tree or use a Fabri-Tac glue to secure your decorations.  Maybe a “little one” could help you pick out what buttons or beads to use for your decorating.  Then have them hang it on your tree, would make awesome gift tags, garland or use it for whatever creative idea will work for you.

HAPPY CREATING!!

Disclaimer:  This post contains affiliate links – “small commission earned”


Super Simple Crochet Thanksgiving Napkin Ring

For this Thanksgiving napkin ring, I used a size 3 crochet thread with an F hook for the actual ring portion and used Sugar ‘n Cream size 4 cotton yarn with a G hook  for the actual pumpkin design and stem.  By doing this, it made the pumpkin the focal point.  It also gave me a rustic looking design.


For the ring portion directions, refer to the HDC napkin ring design that I posted earlier making sure you leave yourself about a 10″ yarn tail to use to attach your pumpkin design.  Here are the directions for the pumpkin and stem:

CH, SC and DC stitches are used.  Begin by doing the “magic loop” with 8 SC within the circle, join with a SL stitch to beginning SC.

Round 2:  CH 2, then complete 2 DC within each SC,  join with SL in top of 2nd CH.  You now have 16 DC stitches.

Round 3:  CH 1, complete 1 SC in first DC stitch, complete 2 SC in next DC stitch, complete 1 SC in next DC stitch, complete 2 SC in next DC stitch, continue this pattern around and SL into top of beginning CH 1 stitch.  You should have 24 stitches.  Change colors.

Round 4:  CH 1, complete 4 SC in next 4 stitches, CH 1 turn.

Round 5:  Complete 1 SC, do 1 SC decrease, complete 1 SC, CH 1 turn.

Round 6:  Complete 1 SC decrease, complete 1 SC.  Fasten off.

Weave in your ends and prepare to attach your pumpkin to your napkin ring.  Thread the tail that you left on the napkin ring and using your darning needle, sew the pumpkin design onto the napkin ring.

IMPORTANT:  Keep in mind your placement direction of the pumpkin, do you want it to face horizontally with the napkin as in my picture or do you want the napkin ring to lay vertically.

These little pumpkins make up quickly and really add a personal touch to your dinner table.  Enjoy!!

HAPPY CREATING!!

TIP:  Feel free to use a finished design for your own personal use or make them to sell.  However, I asked that you not sell my patterns but would greatly appreciate it if you sell a completed design to give recognition by referencing this blog site.  Thank you!!

Disclaimer:  This post contains affiliate links – “small commission earned”


A Quick ‘n Cozy Crocheted Fun Winter Beanie

There is nothing like a cozy crocheted beanie hat for winter, especially to hide those “bad hair” days!!  This pattern is super simple and can be crocheted to your own designs very easily too.  You can make one of these cute beanies in an evening while watching TV!

I begin the beanie by “working in the round” to create the crown piece for the hat using a double crochet (DC) stitch and continue working  in the round until I fasten off.  For an adult beanie, I use a crochet hook (Size I), crocheting in the round completing through the fifth round.  Please refer to blog post Crochet Designing Tips – Working in the Round for complete instructions on how to create your circle.Example of DC crown piece

Once I have completed the fifth round of increases for my crown piece circle, I join with a slip stitch, CH 2 and continue making my DC rounds (no more increases) until I get to the finished length that works for me, which is an additional 13-15 rounds.  NOTE:  At the end of each DC round, I join with a SL stitch and CH 2 and then proceed with my DC.  This helps to keep the shape intact.   I like to be able to fold up my beanie a couple of inches on itself for extra warmth for my ears.  You have creativity here based on your desires and likes, if you don’t want to be able to fold up your beanie than only crochet an additional 12-13 rounds and if you want a deeper fold maybe crochet 16-17 extra rounds.  It really is a personal preference.

After completing my DC rounds, I like to give a finished look to the beanie by crocheting another 3 rounds of single crochet (SC) stitches. Sample beanie

Just remember when working in the round to be sure to place a marker to indicate a row/round so you know where you are in the pattern and to help with counting your rows/rounds.

This is a very easy pattern that can be adjusted to fit many different sizes for babies, children and adults.  Just change your crochet hook size and the number of rounds after making your crown piece circle.  Hook size recommendations and suggested rounds for different sizes  once you have your crown piece circle completed are:

  • Size F for newborn (maybe D or E if you’re making for a preemie) and  7 DC rounds plus 3 rounds of SC
  • Size G for toddlers and  10 DC rounds plus 3 rounds of SC
  • Size H for children and 12-13 DC rounds plus 3 rounds of SC
  • Size I for adults and 13-15 DC rounds plus 3 rounds of SC

Again, the rounds are a personal preference thing depending upon what look you want from the finished beanie.  Once you have made one or two, you will know what works best for your needs.

Have fun with this pattern and experiment with different stitches too.  You could crochet this pattern is all half double crochet (HDC) stitches if you want.  Just remember it is a shorter length stitch and you might need to increase your rows/rounds to get the length desired.

Another look would be to complete  your crown circle piece in DC and then alternate your rounds between DC and HDC finishing off with a couple of rows of SC.  Adding crochet motifs to your beanie will give it a truly custom look too.

This is a truly wonderful beanie pattern for making extras to donate to schools, hospitals, etc.

FYI:  I like to use a 4 ply worsted weight yarn that has some lamb wool blended in for good warmth.  One skein will complete an adult beanie easily.

 HAPPY CREATING!! 

Disclaimer:  This post contains affiliate links – “small commission earned”