This is a super yarn technique that is very easy for a young child to conquer and make useful, handmade creations. Actually, anyone who loves to work with yarn would probably like to do this type of knitting aka french knitting. You can purchase a knitting spool or, if you are so inclined, design your own “spool loom”. Tons of youtube videos on this technique for you to check out also.
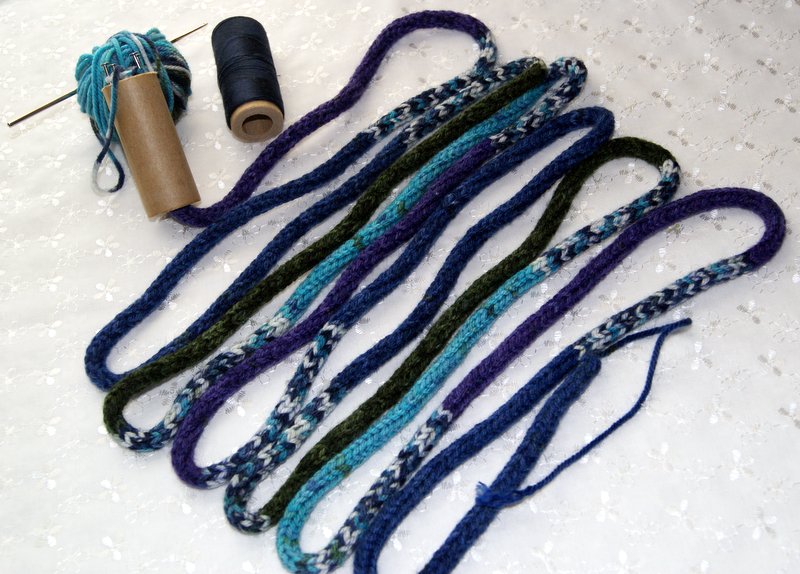
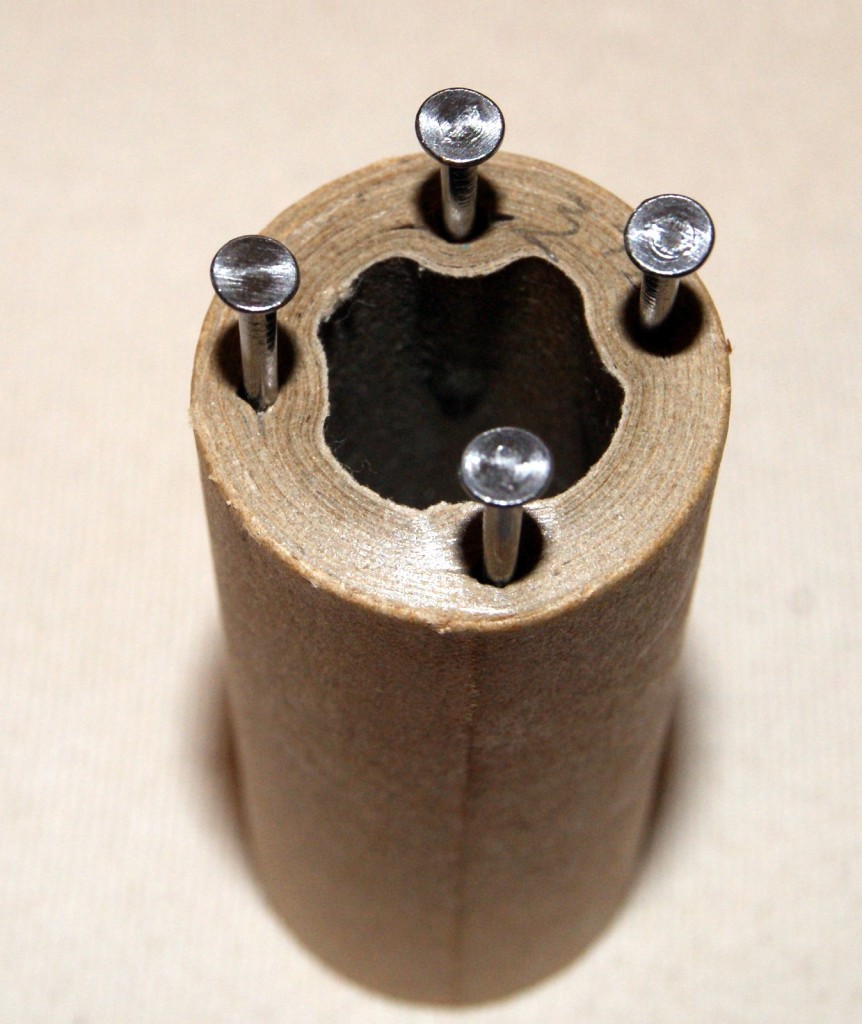
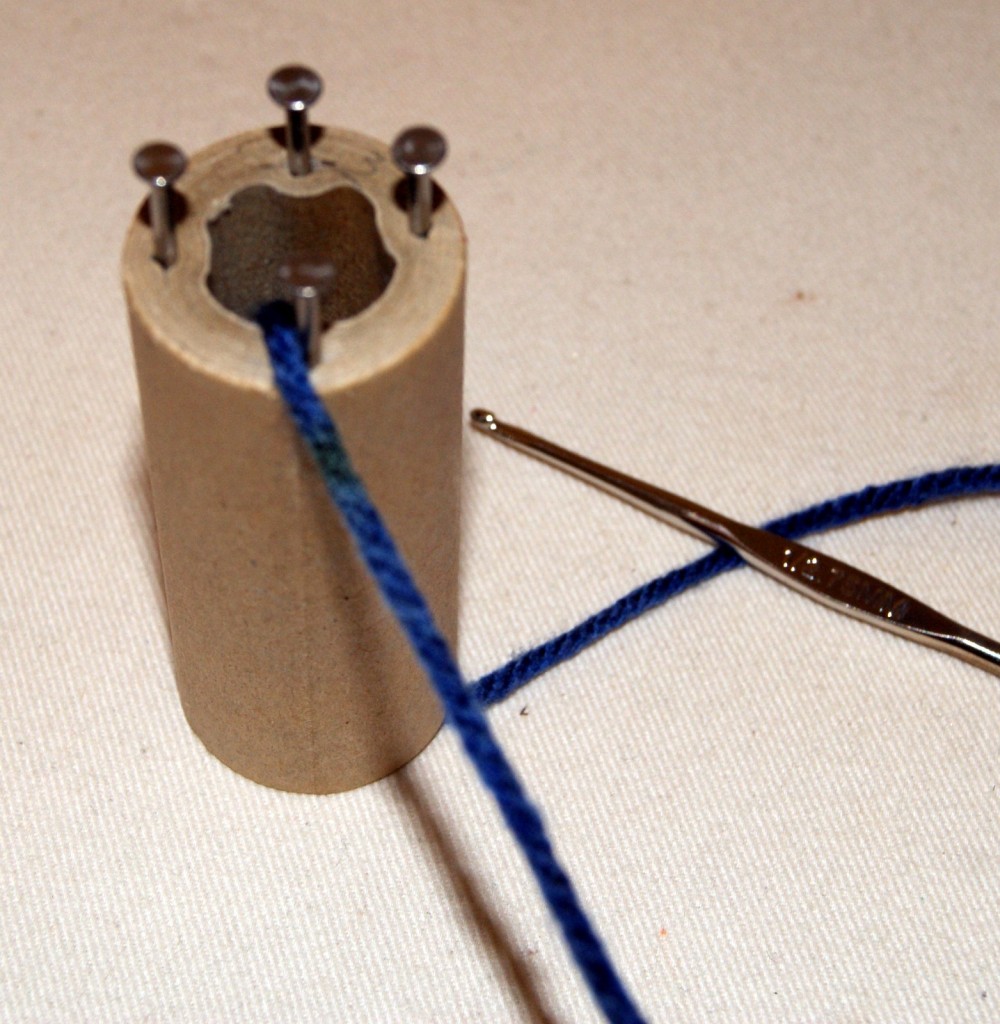
In my picture, I have used a thick cardboard thread spool, which is approximately 1″ diameter and about 2 1/2″ long. I hammered in 4 brads that have a nice size head to keep my yarn from just slipping off.
When I was a child, this was one of my first yarn project tools which I used to make many, many hot pads, bracelets, hot plate trivets, even a small rug. Anyways, a large skein of a variegated yarn provides many hours of fun for someone who is interested in working with yarn. I called my spool knitting, “cattailing”, I guess because it looked kind of like a cat’s tail when being knitted through my spool. Not sure if anyone else ever used that name or even heard of “cattailing”!?!?
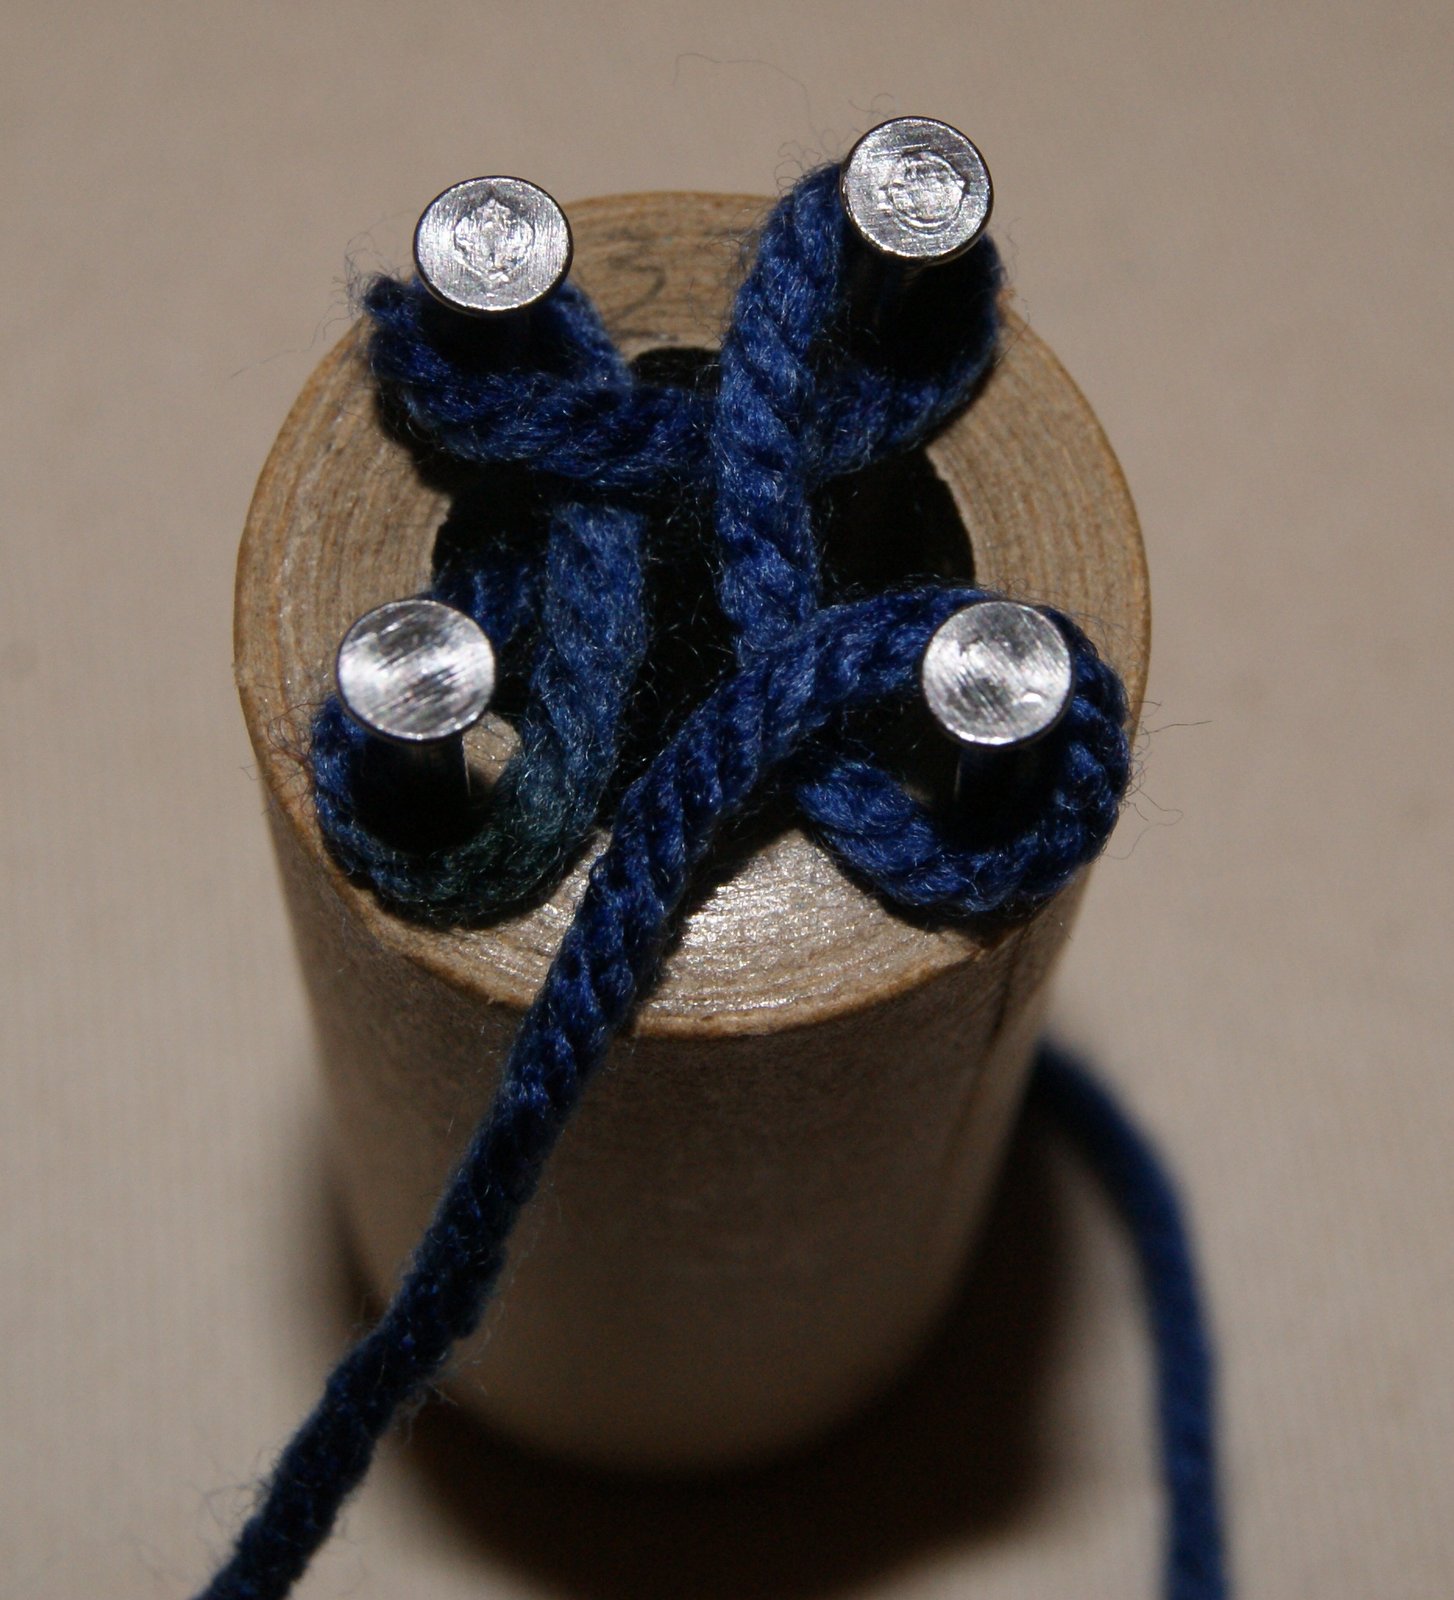
Here’s a brief description of how to use a Knitting Nancy – Typically, a knitting spool uses 4 brads/nails/dowels, but depending on the size of the spool you choose, you could knit with 6 or 8 nails. Your brads/nails should be evenly spaced on the top of your spool. Begin by dropping your yarn through the spool hole from top to bottom and let it dangle out the bottom by about a couple of inches. Enough to be able to grab it and tug gently on it until your cat’s tail is exposed through the bottom of your spool!!
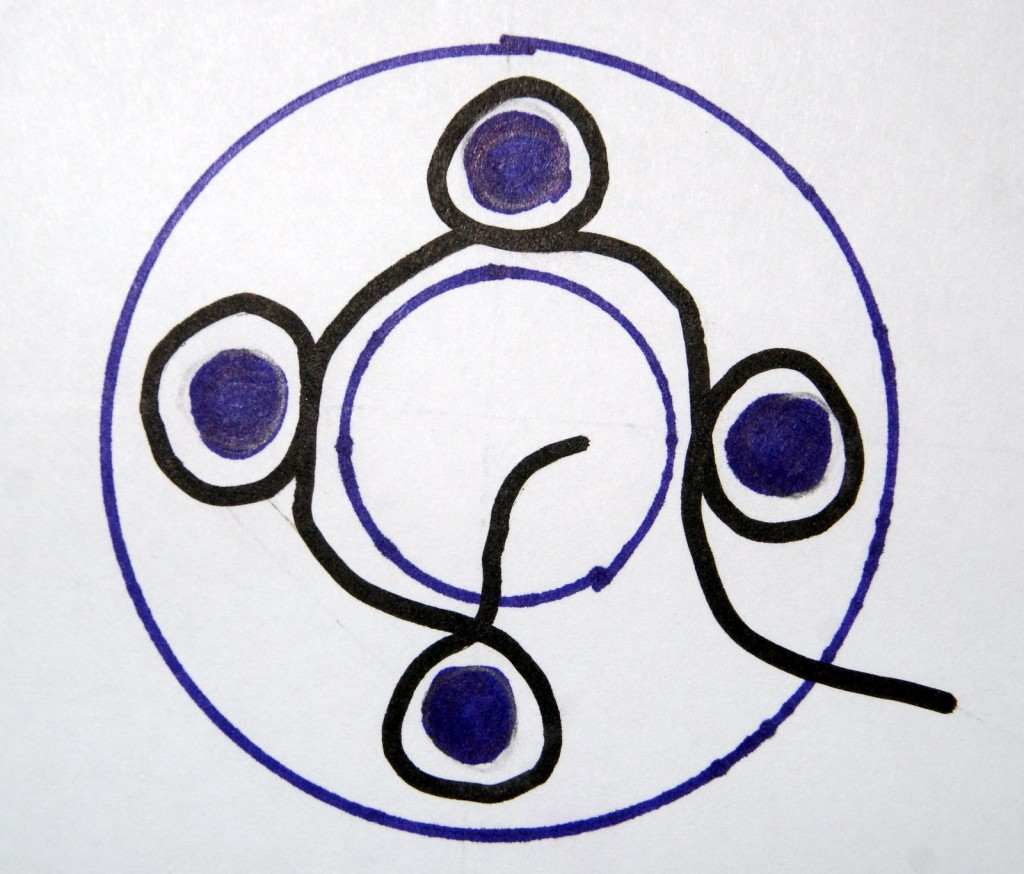
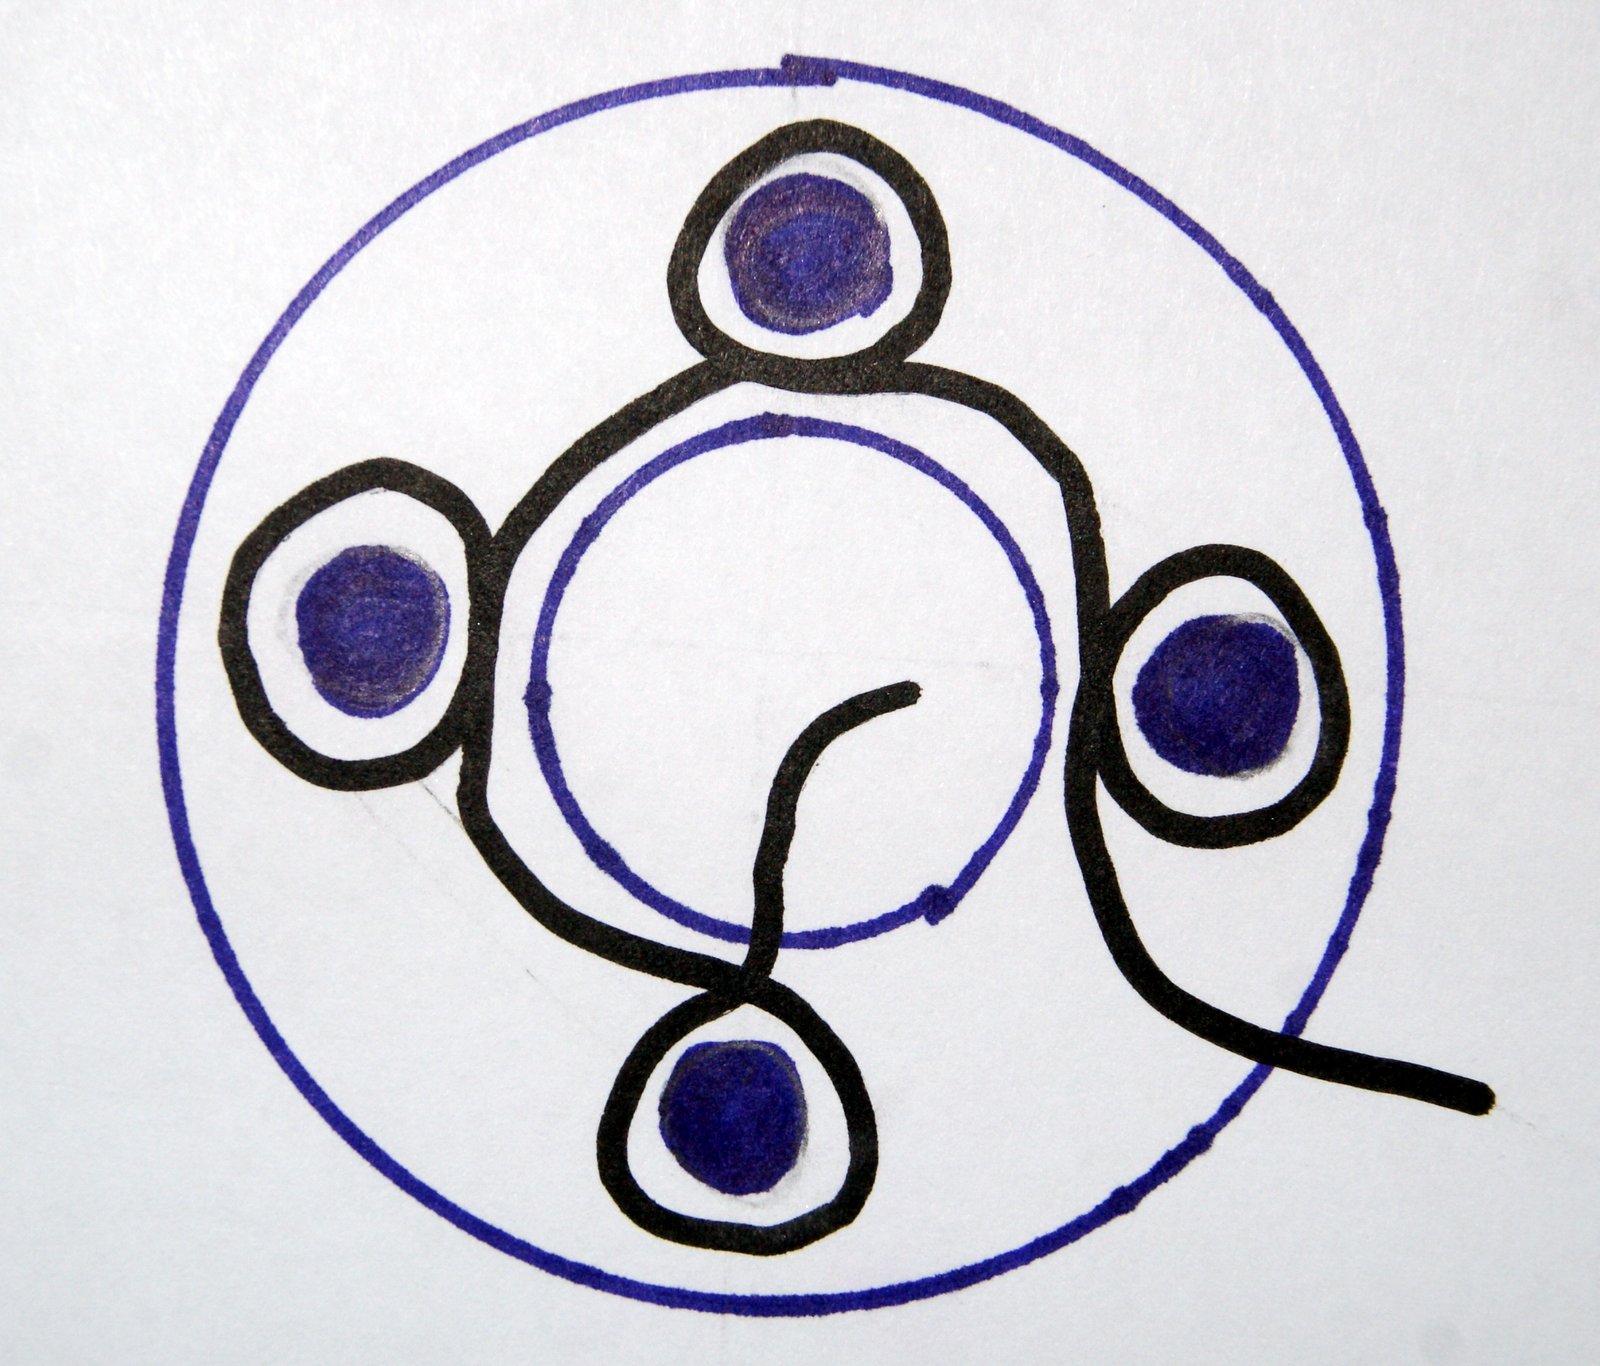
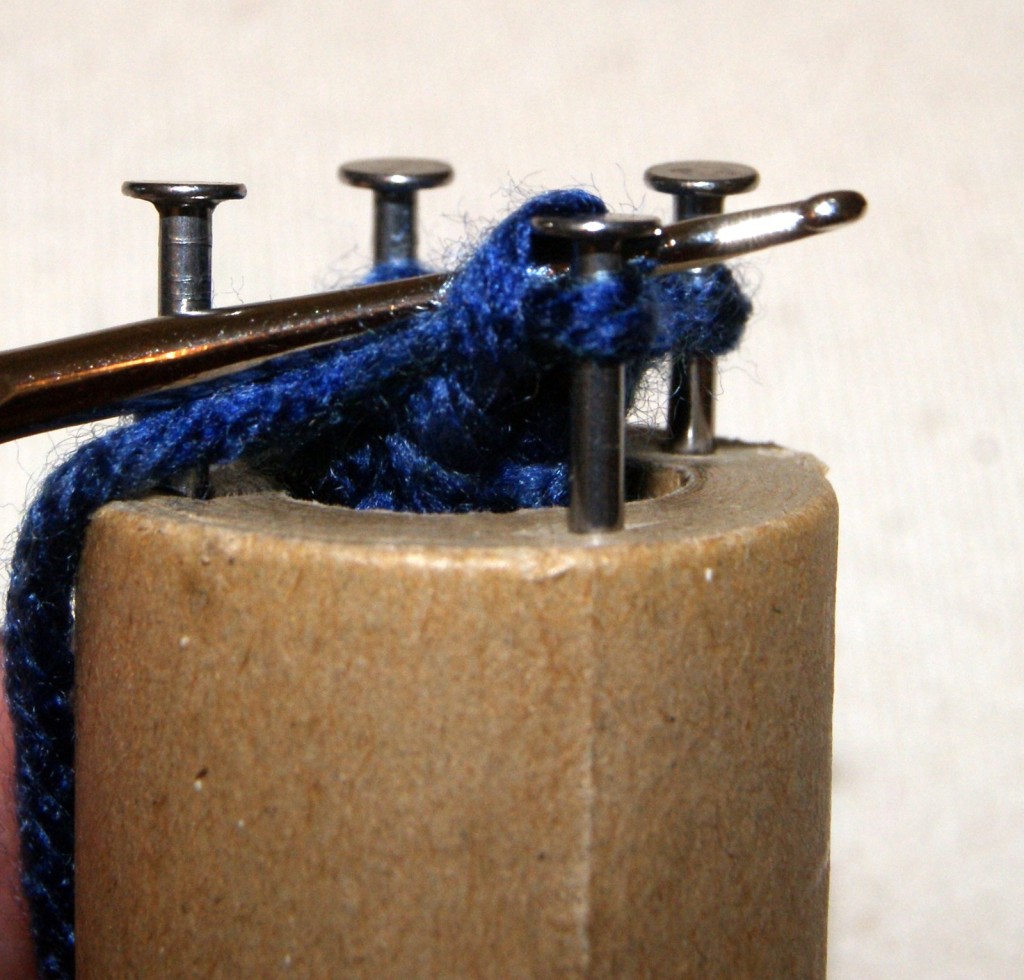
The “casting on” technique involves wrapping your yarn in a clock-wise fashion BUT when doing the actual “knitting” technique, you will be wrapping each brad/nail in a counter-clockwise technique. Once you have completed the “casting on” technique for each nail, you will simply wrap the yarn again (clock-wise) on the outside of each brad/nail above the loops you just cast on. After completing this second wrap, hold the yarn strand along the outside of your spool with your thumb to keep your wrap taut. Using a knitting needle or crochet hook, grab the bottom loop and lift it over the top yarn wrap. Do this around for each brad/nail and then pull gently on the “cat tail”. Wrap your yarn again around all your brads/nails, hold your yarn strand with your thumb on the outside of your spool, lift the bottom loop over each top wrap on all brads/nails, and pull gently on the tail. Continue making your knitting in this way and before you know it, you will be seeing a colorful, knitted tube/coil coming out the bottom of your spool.


Keep knitting until your “cat’s tail” is as long as you want it to be for whatever special project you are creating!!
When you are ready to “cast off” don’t make a yarn wrap, just grab the loop of the last stitch made and lift it onto the brad/nail to its immediate left. Lift the bottom loop over that loop, now grab the remaining loop left on that brad/nail and lift it onto the brad/nail to its immediate left. Continue doing this until you only have one loop left on the last brad/nail. Cut your yarn and carefully lift the last loop off the brad/nail and place your cut yarn through the last loop and pull snuggly securing all your stitches. Now you have a wonderful knitted tube that can be used for a wide variety of creative projects!!
This would make a wonderful stocking stuffer item for that potential crocheter, knitter or yarn lover!!
- TIP: Open out a bobby pin and use the slightly curved tip as your needle for grabbing the bottom loop and lifting over the wrapped yarn. Make sure the rubber tips are still there so the bobby pin doesn’t catch the yarn. The curved edge helps to keep the loop from sliding off the bobby pin/needle.
HAPPY CREATING!!
Disclaimer: This post contains affiliate links – “small commission earned”
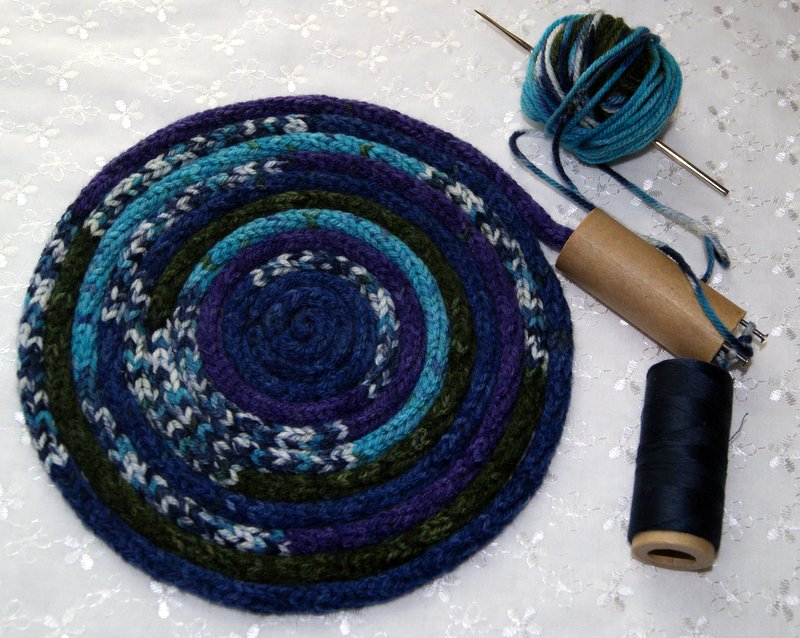
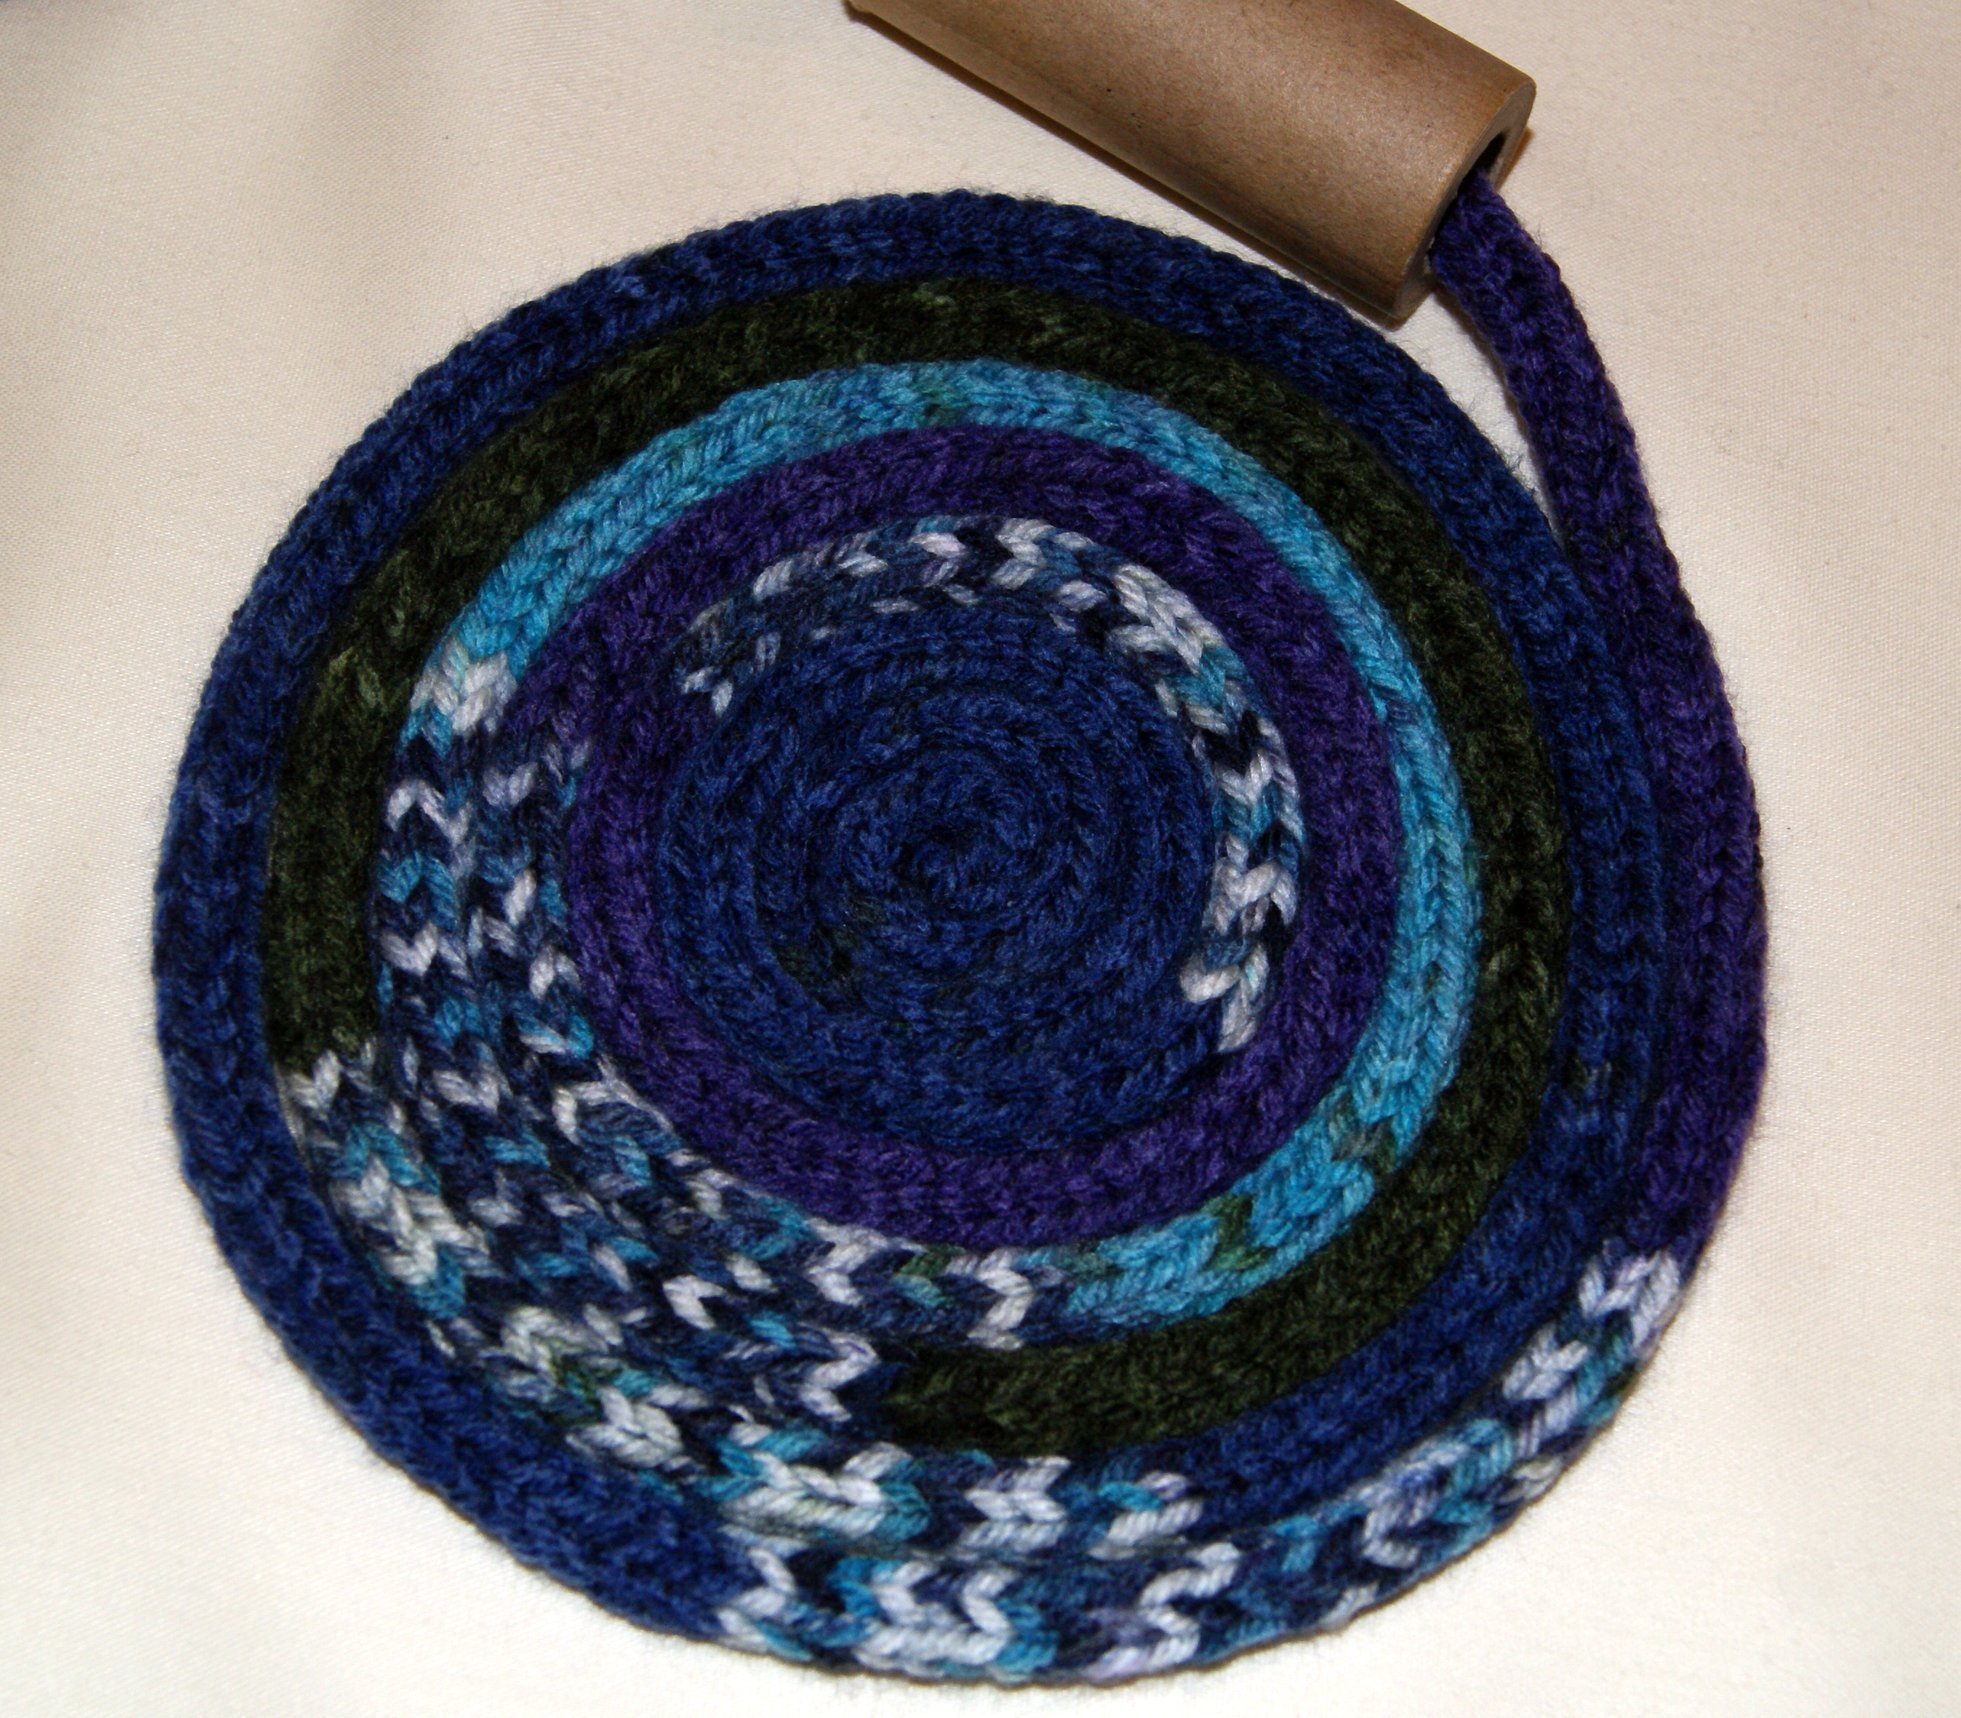
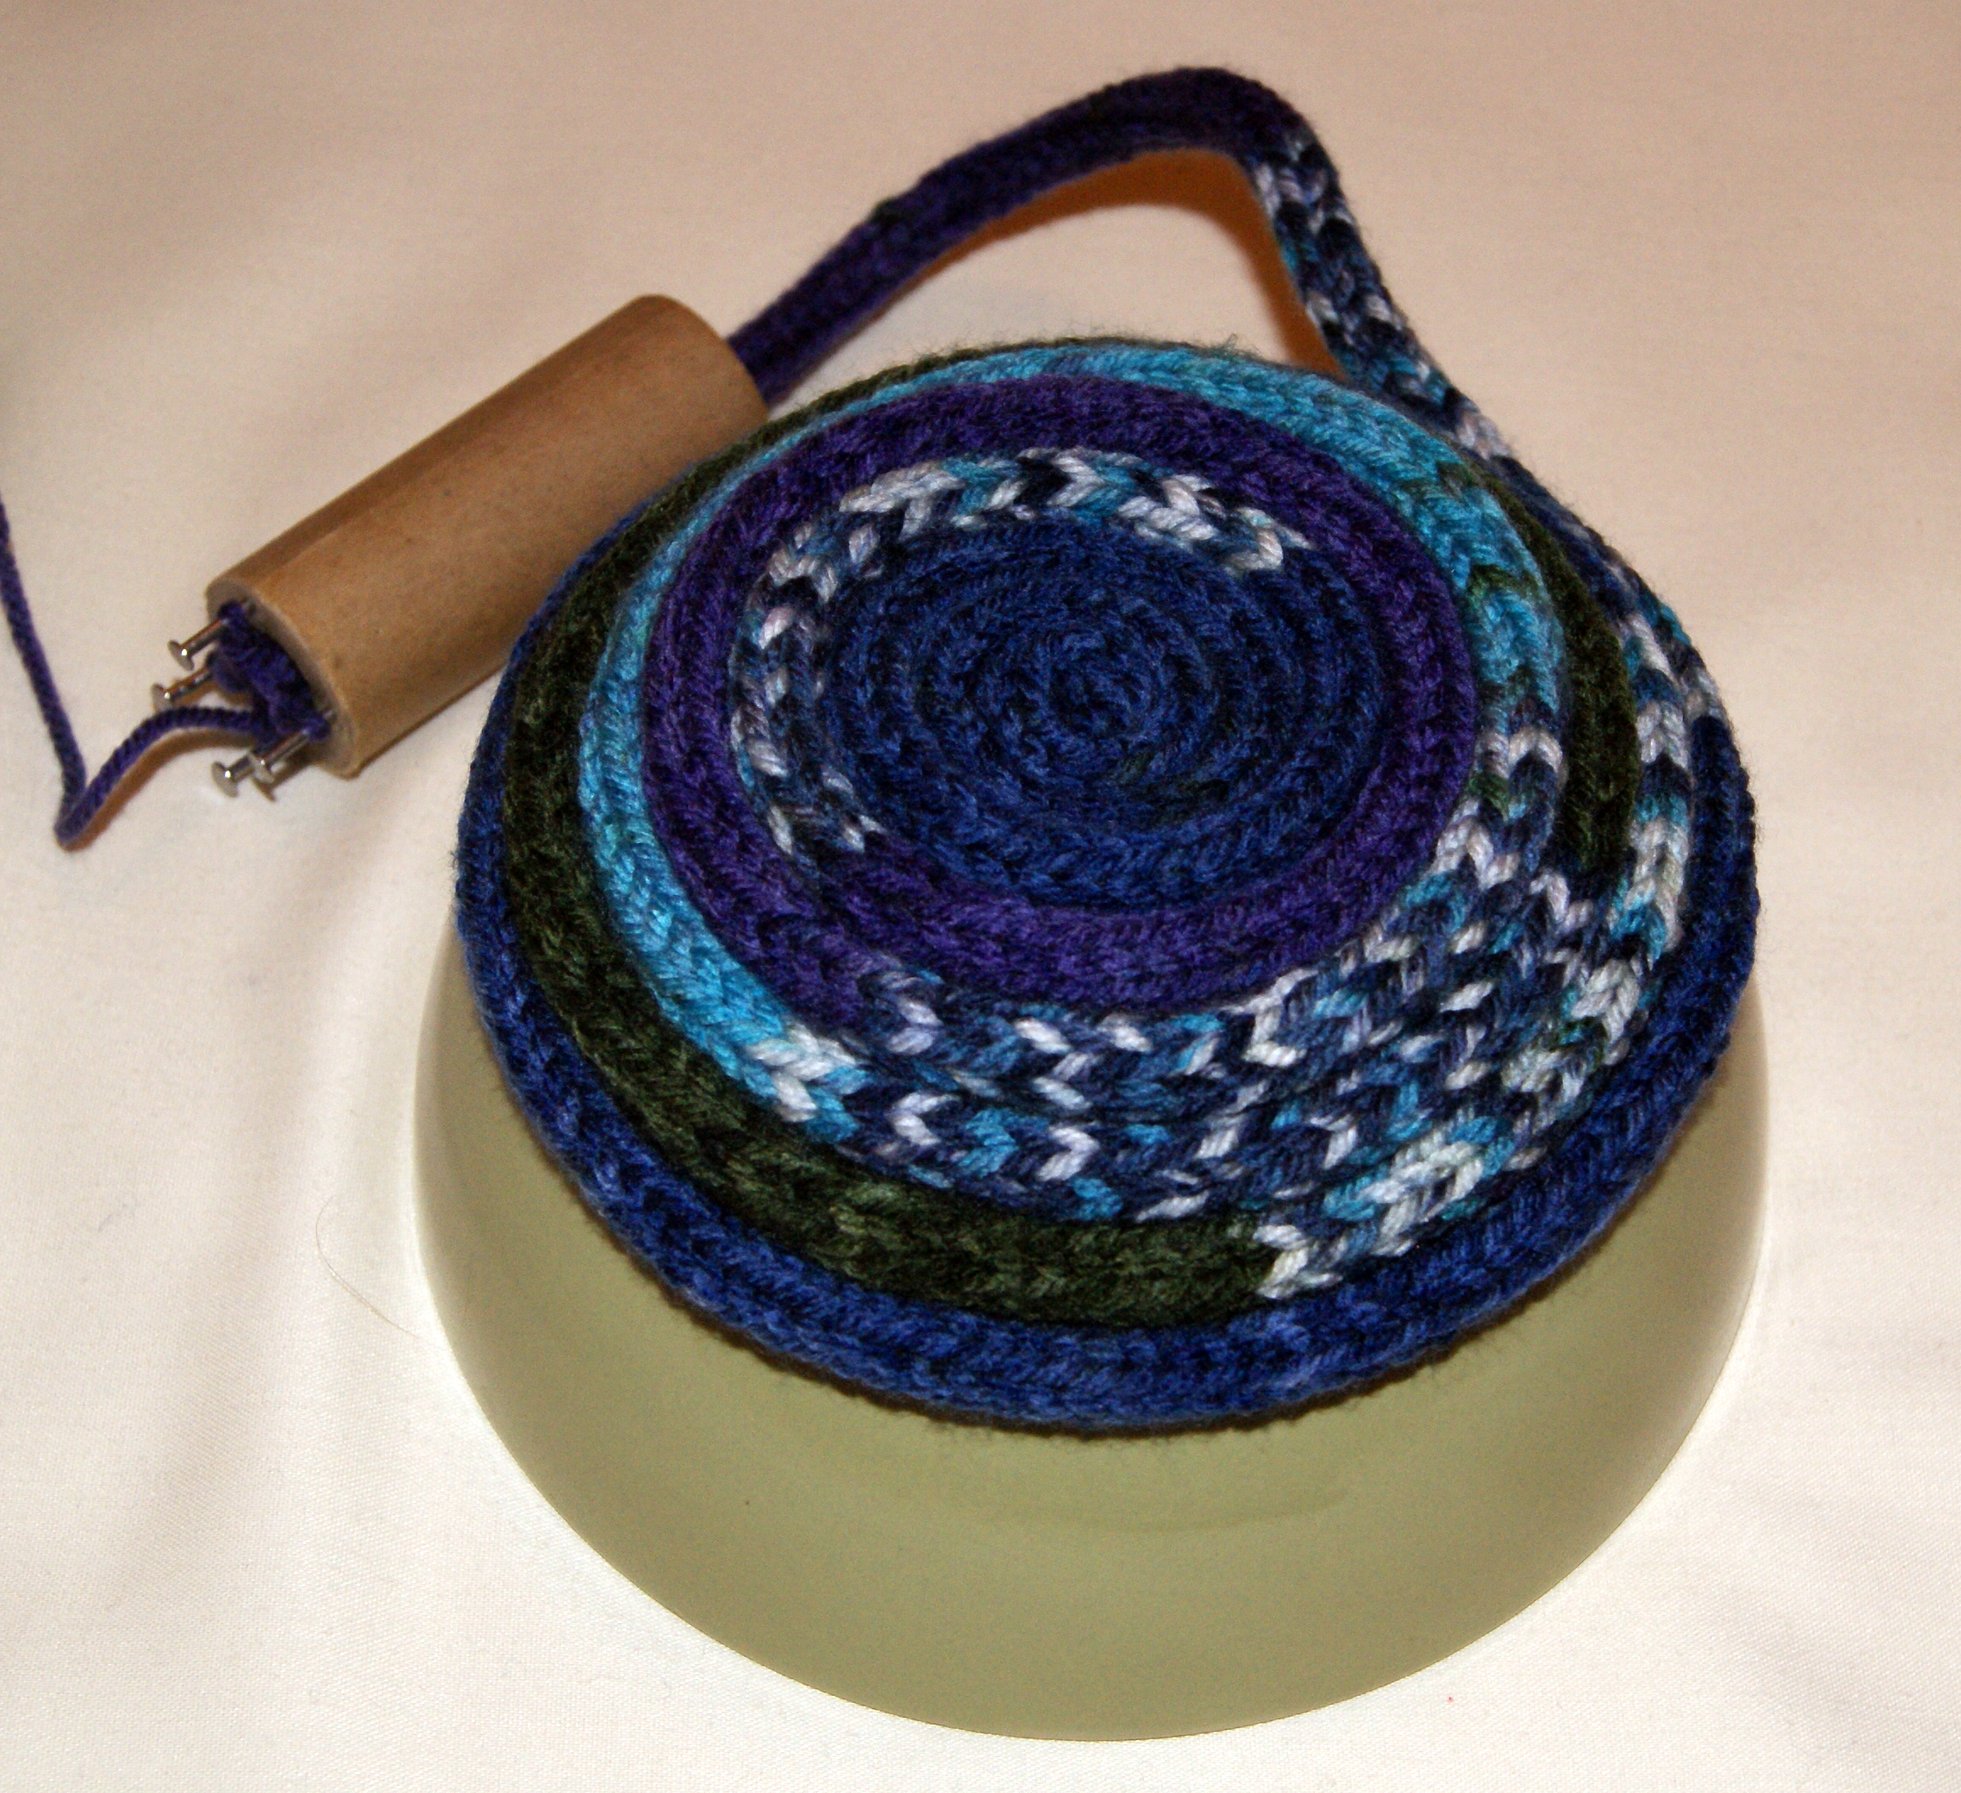
 When rolled, the trivet will measure 9″ across which will be a perfect size for plates or bowls to keep the heat directly off my table. It will also look great as a decorated piece under my kitchen centerpiece.
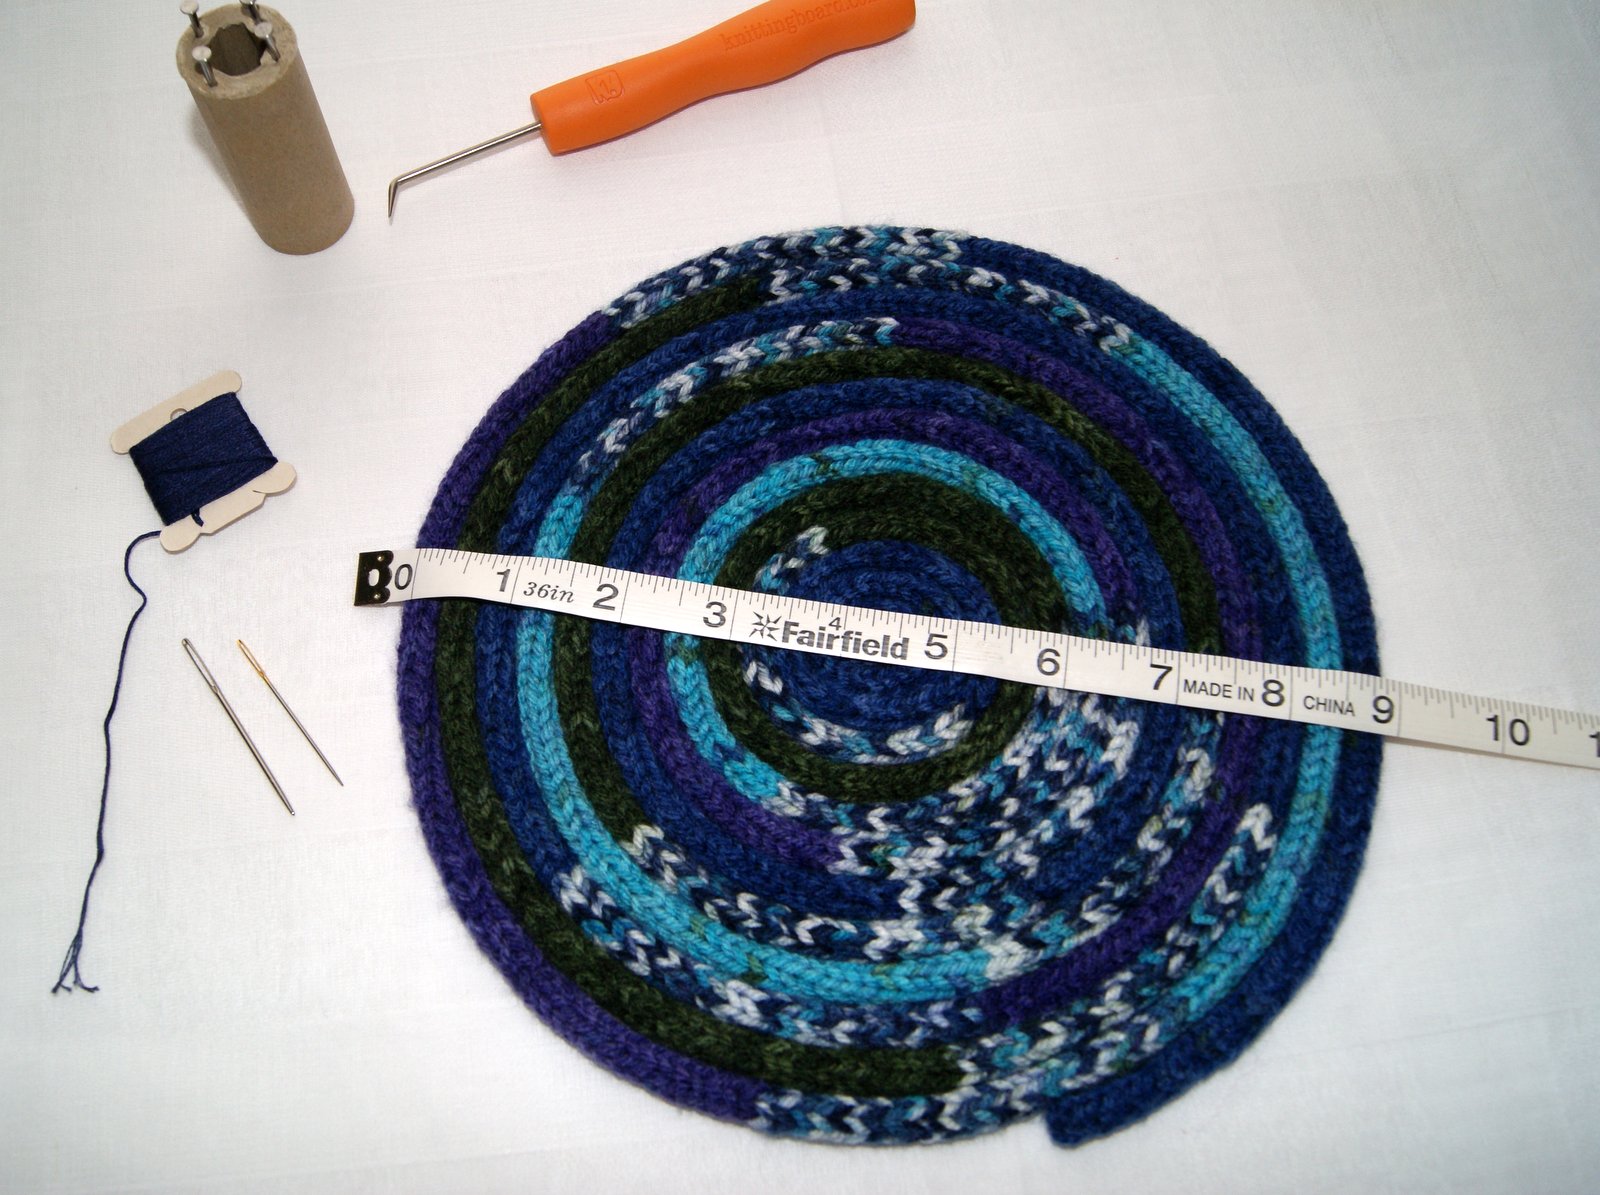
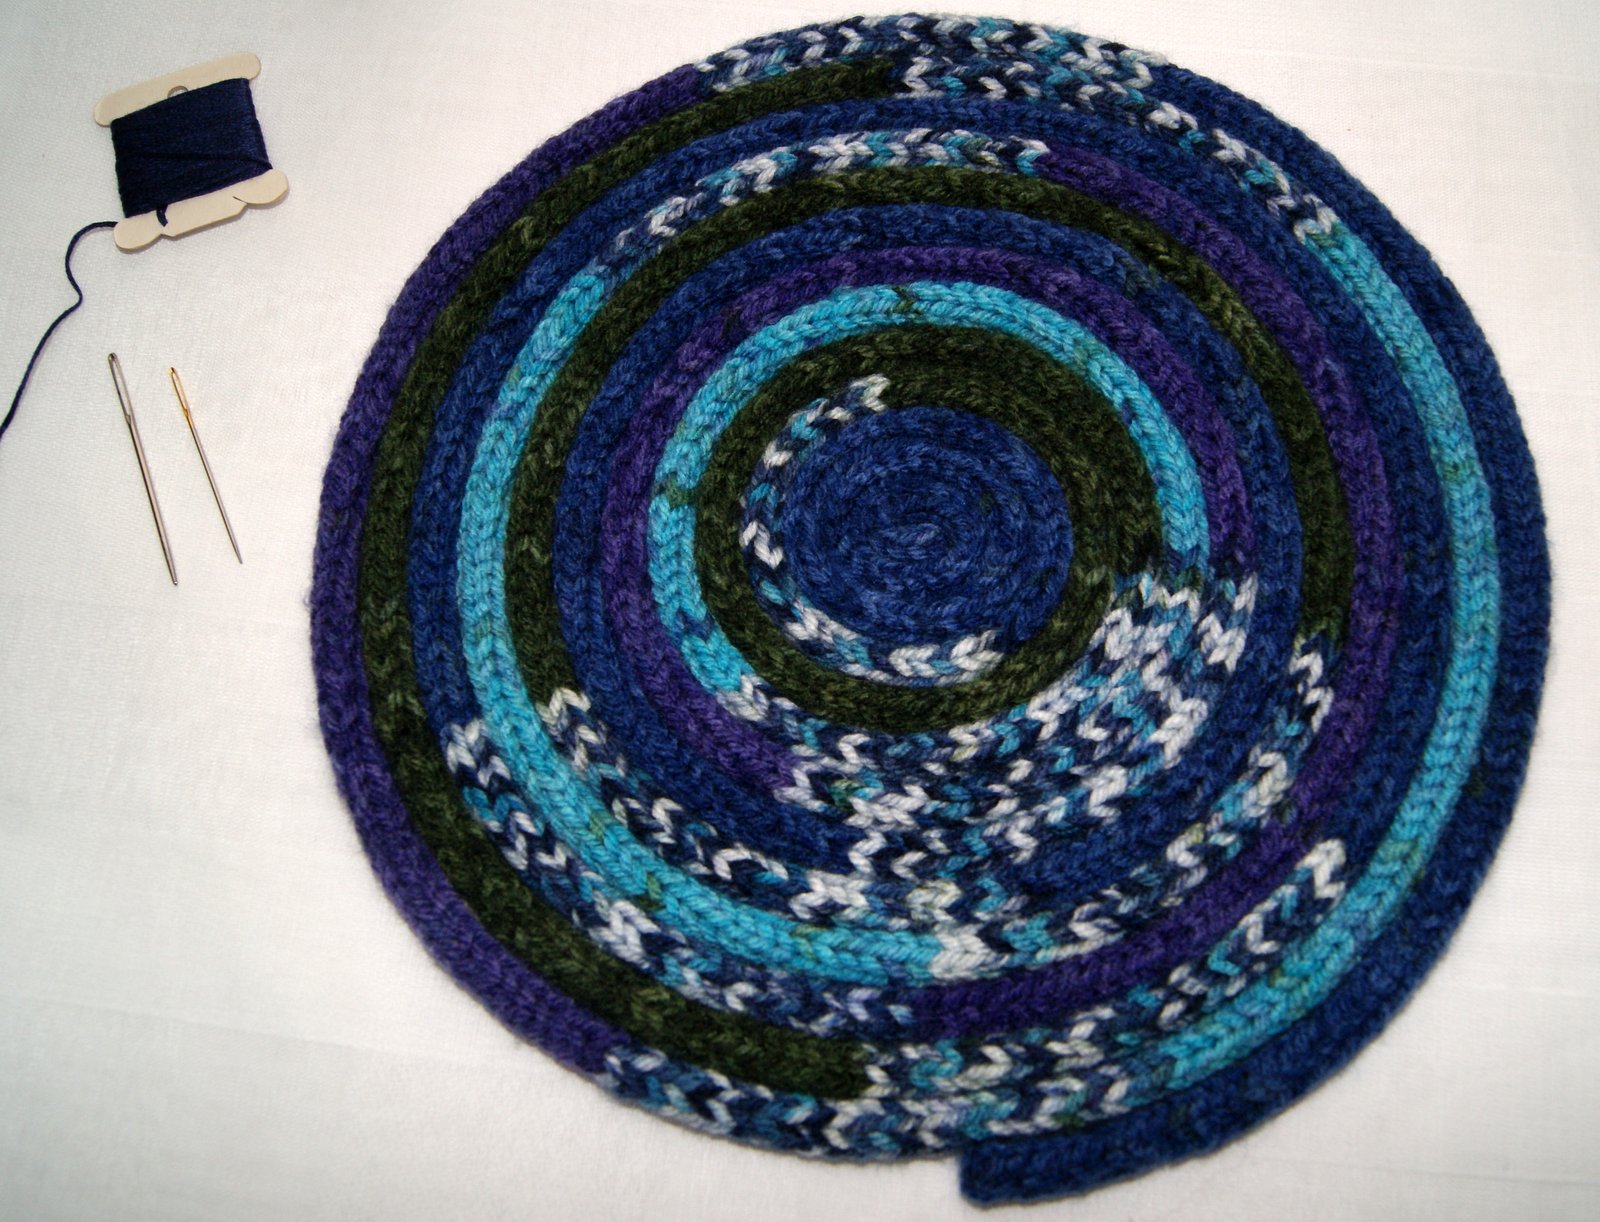 Because I used up all the thread that I had to make the cord, I am going to whip stitch it together using all 6 strands of a coordinating DMC floss. Beginning in the center and rolling as I go, I will whip stitch it together using a cross stitch type needle which has a little bit of a blunt tip so that I don’t snag any of my threads.
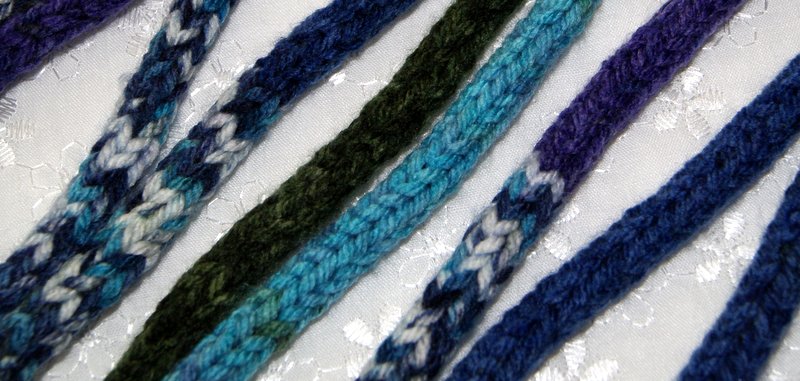
 This is a wonderful activity for a child to do and a super way to use up all those “little balls” of yarn leftover from other knit or crochet projects. As you collect your bits and pieces of leftover yarn, just tie them together with a secure square knot (right over left and left over right) and keep adding to make a big multi-colored skein. I would try to keep your category of yarn about the same; that is, I wouldn’t tie a chunky (category 5) to a sock weight (category 2). How fun to see all the different colors come together!!
 Enjoy making your own “cattail” ~~ you can find more information on using knitting Nancy’s here. FYI: I did purchase a super little tool from my local big box store (knittingboard.com) which worked great to lift my lower loops easily over the upper loops on my spool. 🙂