Archives

Crochet Toddler Skirt

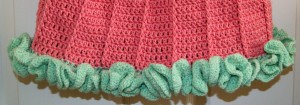
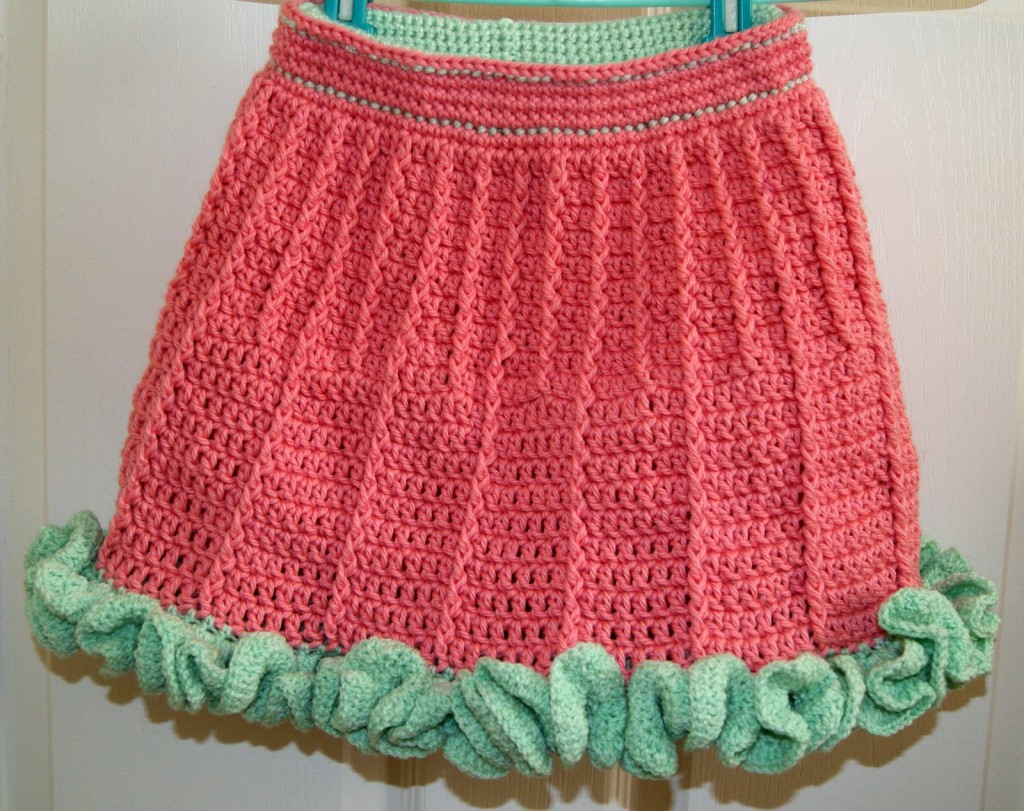
You will see here my version of the Olivia Skirt.  I found this free pattern on Ravelry by Janelle Khawly, Cageofwords raveler and really liked how the front post crochet gives it great texture. SONY DSC I made this in a size 3T and it is about 13″ long which will allow for some growing room.  I had 2 skeins of Spud and Chloe sweater yarn (Aran weight) and 1 skein of their fine yarn.  I used the sweater weight for the skirt (size G hook) and the finer yarn for the ruffle and the contrasting single crochet casing for the waistband. SONY DSCSONY DSCSONY DSC I completed three double crochet rows to create the ruffled edge along bottom.  Crocheting 4 DC into each stitch for the entire first row, 3 DC into each stitch for second row, and 2 DC into each stitch for third row. I inserted a 1″ non-roll elastic into the waistband casing so it would be easier to pull on and off.  It is very bright and cheery and I think will look really cute with tights and/or leggings.

HAPPY CREATING!!

Disclaimer:  This post contains affiliate links – “Commissions Earned”

Crochet Bowls

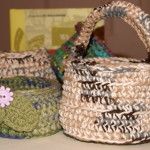
SONY DSC I really “love” making these little crochet bowls or as I like to refer to them as my crochet pottery!!   You have lots of creativity to give your finished bowl its own personality.

My yarn of choice is Lily Sugar ‘n Cream but any 100% cotton yarn will work.  To give some added durability, I crochet with two strands of cotton yarn.  Either two different colors or two strands of the same color depending on the look I want.  And sometimes when using two different colors, I end up with a combo totally unexpected!!  I like to crochet with a size H or I hook when making these little gems.

Because of the thickness of the yarn, I begin by crocheting 2 chains and in the 2nd chain from the hook, I will make 6 SC stitches.  Then I continue with the circle pattern (2 SC in each stitch, next row – 1 SC in next stitch, 2 SC in next stitch; next row – 1 SC, 1 SC, 2 SC continue increasing in this format) until my circle is to the finished diameter that I want for my bowl.

Once I have my diameter, I no longer make any increases, just SC around the diameter until I reach my desired height, your work will begin to curl up.  If you want a little separation between the bottom and the bowl sides, then the first crochet row of no increases, make your stitches in the back loop only.  This will give you a slight ridge that you can use to shape the bottom of your bowl.  Then continue making your stitches in both loops for the rest of your bowl.
SONY DSC

After you have reached the desired height of your bowl, on the last row use a one size larger hook and do SL stitches all around the edge and then fasten off.   Weave in your ends.  You might need to turn your bowl right side out.  You want the thread ends from your beginning 2 chains to be on the inside of your bowl.  Anyways, that is the look I like so that my outside bottom is smooth.

Now the fun begins!!  You can decorate your bowl with buttons, ribbons, lace, crochet leaves and flower appliques, etc.  Also, you can be creative in using different stitches within your bowl itself.

These are super little gift items too.  Great for keys, cell phones, coasters, potpourri, paper clips, cotton balls, hair barrettes, yarn ball holder, etc.  SONY DSC
It is really a super easy pattern and perfect for a beginner.  Hope you will share some pictures as I would love to see some of your “crochet pottery”!!

HAPPY CREATING!!

Disclaimer:  This post contains affiliate links – “small commission earned”
 

Fabric Scraps for Kids

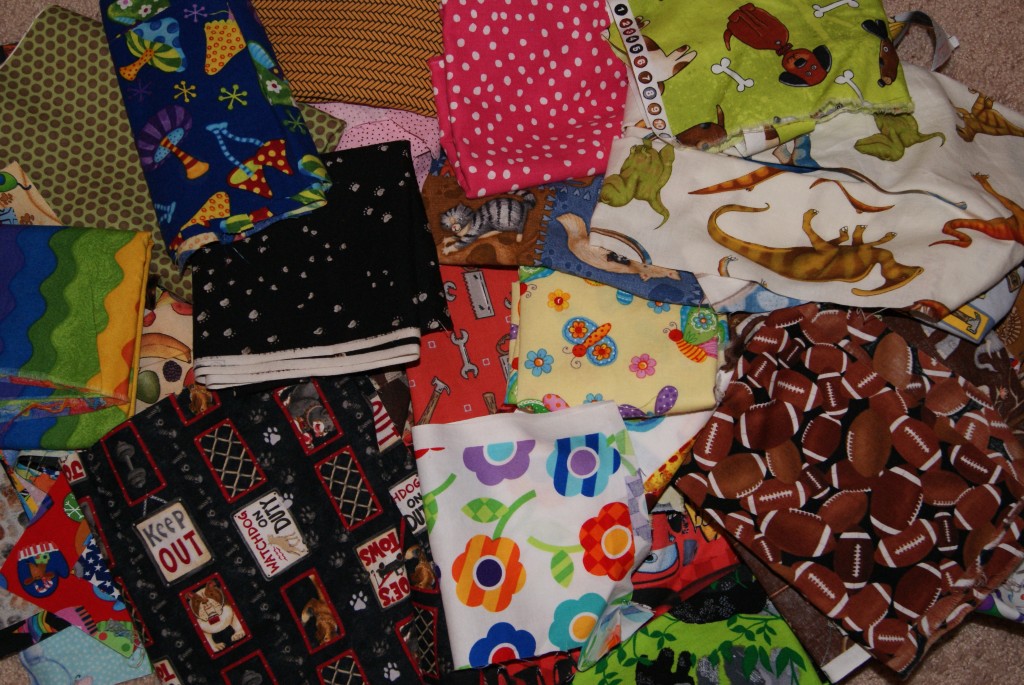
If you are a sewer or quilter and have fabric scraphobia (can’t bear to throw away any leftover fabric) then maybe you should start a “scrappy” bin for that young child to use for their creative moments!!

I definitely have SCRAPHOBIA!!

I definitely have
SCRAPHOBIA!!


Nothing more exciting than rummaging through a big pile of fabric to pick out those special colors or textures to create with.  Using scraps is a great way to introduce the sewing machine to a youngster with adult supervision close by.

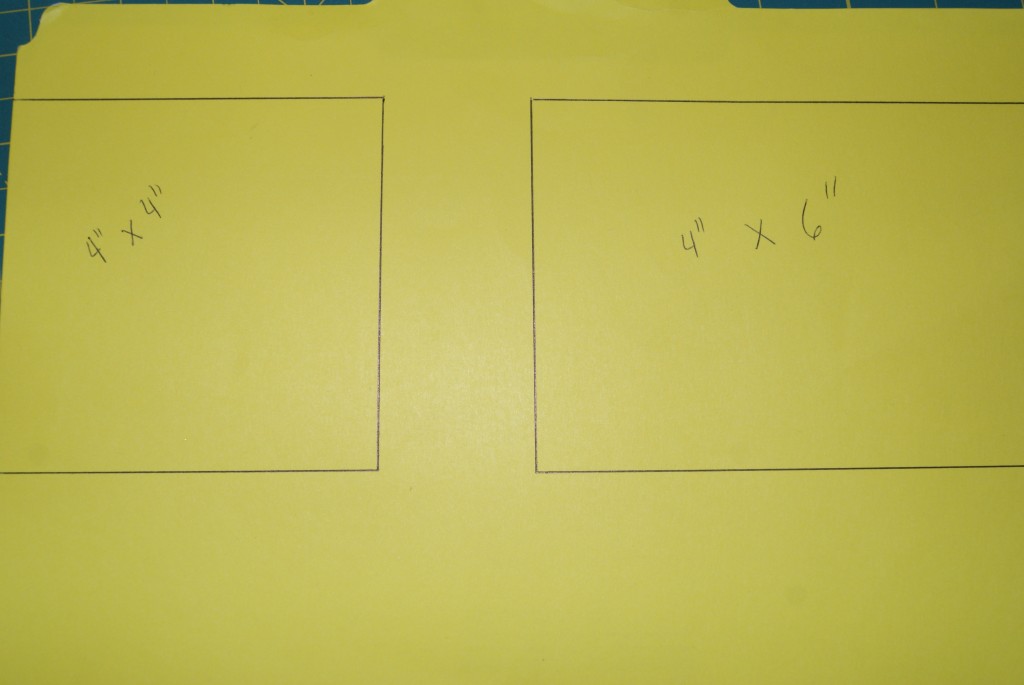
Let them select about a dozen different fabrics and sort them out into two piles – light colors and darker colors.  Then cut out a wide selection of squares and/or rectangles.   Designing  a template for them to trace their shapes onto the wrong side of the fabric helps with the cutting process.

Used an old file folder to make my template guide.

Used an old file folder to make my template guide.

Remember to include a 1/2″ seam allowance on all sides of your template.   Try to keep the fabric squares or rectangles a good workable size; something like 4″ x 4″ and 4″ x 6″.  Easier for their little fingers.

Now begin sewing the fabric shapes together in whatever design that appeals to the child.  Let them think “outside the box” and use their imagination for their finished scrap fabric project.   They might want to create a blanket for a baby doll or stuffed animal or maybe their design will be a cool “shawl” for those dress up games!!

You could finish all the edges of the scrap fabric design with just a simple zigzag stitch.  Or if your children is more experienced, cut out a light weight batting and backing; then stitch together on three sides (right sides together) with the batting in the middle.  Turn to the right side and machine stitch closed to make a scrappy little quilt that they could tie together.

Have loads of fun!  Exposing your child to new craft techniques makes for wonderful memories too!!

HAPPY CREATING!!

Disclaimer:  This post contains affiliate links – “small commission earned”

Taming Your Yarn!

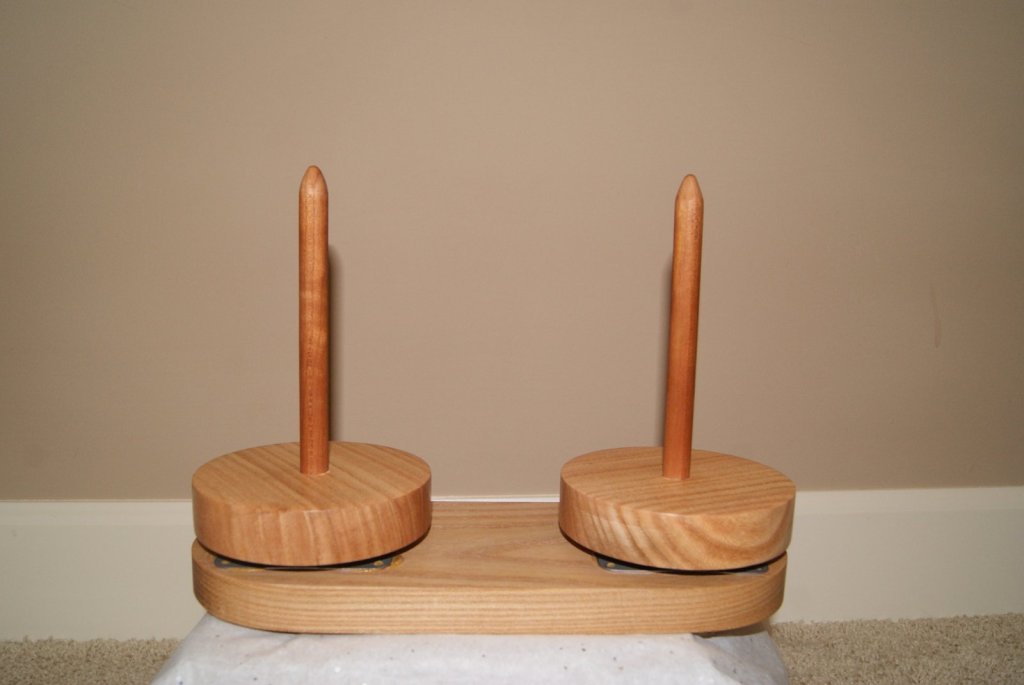
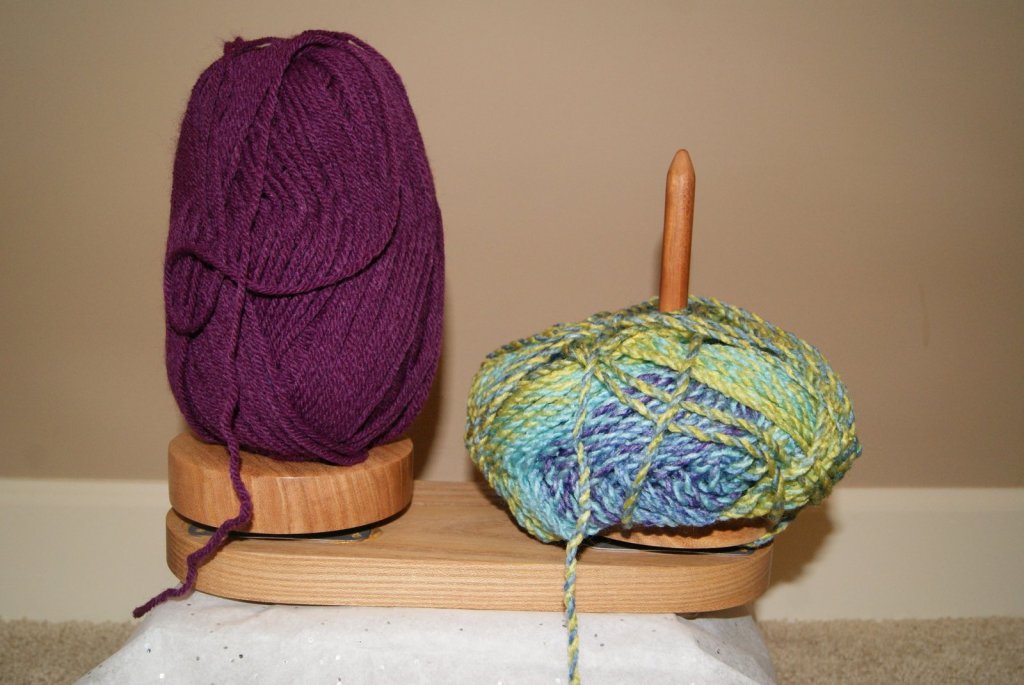
Whether you are crocheting or knitting or doing any type of craft using a skein of yarn, keeping that yarn easily accessible can be a job.   Sometimes you feel like you need to “whip it” into shape so you are spending more time crocheting/knitting and less time untangling or retrieving your yarn!! This year I received a Yarn Buddy by Sun Valley Fibers as a Christmas present and boy does it work great!!  Basically, as described by SVF, it is a wooden spool lazy susan for your skein of yarn.  You don’t need to fuss with locating the center-pull yarn strand anymore.  Just slide your skein onto the spool and work using the outer yarn strand.  Because the spool is on a turning gear, your yarn spools off either in a clockwise or counter-clockwise direction depending upon how your skein of yarn was wound.

SONY DSC

They are made for a single skein of yarn or two skeins of yarn.   I was fortunate enough to receive the double spool for two skeins of yarn, which will be perfect for doing a project using two skeins or I can actually have two projects going at the same time.  The quality is outstanding, very smooth gear operation and the wood is sanded incredibly smooth!!  No varnishes are used either.

SONY DSC

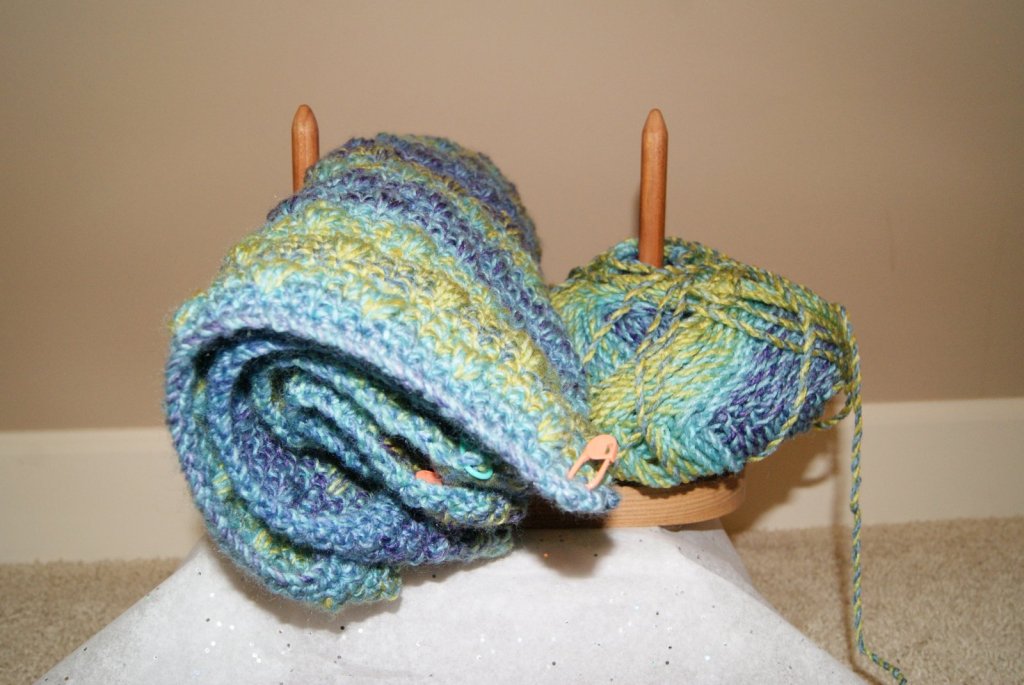
The Yarn Buddy is not too large or too heavy and should be easy to take to a class or “knit nite”!!  I am actually thinking about taking one of my cloth tote bags, putting a couple of grommets in the center of the bag, placing the Yarn Buddy with yarn down in the bag and then threading my yarn through the grommets.  That way my project is ready to travel or to be stored by my easy chair ready at a moments notice. Of course, I have already started a project using the Yarn Buddy and have found that I can even place my completed crochet pattern pieces between the spools so I have them all in one place until I can sew them together.  I know this will become one of my favorite items to use for crocheting and knitting projects!!

SONY DSC

SONY DSC


I did do a little exploring on-line for information on Yarn Buddies.  Here is another site I found that looks kind of interesting too, landwoodworks.com, which shows their Yarn Buddy design. This is a super gift item for that special “hooker” in your life or add it to your wish list so that maybe you can receive one as a present too!!

HAPPY CREATING!!

Disclaimer:  This post contains affiliate links – “small commission earned”

Chain Stitch Tip

Can’t believe we are beginning another year and I hope you all experience your most creative year ever!!  For me, I have just completed my first year of blogging on stitch4ever and I am looking forward to another year of exciting and creative techniques, ideas, patterns and whatever else pops into my head!?!?!?  If you have any questions, tips or suggestions that you would like to share, please just leave me a comment and we will go from there!!

I thought I would begin this year with a chain stitching tip that seems to work nicely for me and I hope will do the same for you.

With crocheting, most patterns will begin by having you crochet the required number of chain stitches.  It is a very easy looping technique and gives you the foundation for your project.  The problem I always seem to encounter is that I tend to make tighter chain stitches then my actual crochet stitches and this can create a slight curve to the bottom edge of my pattern.   I have tried to crochet loose chain stitches but still without much success.

Then one evening the light bulb went off in my cluttered mind and I thought, hey, why don’t I just complete my chain stitches using the next size larger crochet hook.   Viola, no more tight chains to deal with.   So if my pattern calls for using a Size G hook, I complete my chain stitches using a Size H hook and then I continue the pattern by crocheting with the required Size G hook.  Anyways, I have had success with my crocheting using this simple technique and I hope it helps you too, if you haven’t already thought about it!

HAPPY CREATING!!

Disclaimer:  This post contains affiliate links – “small commission earned”