I really, REALLY, love to crochet but I did make a New Year’s Resolution to practice my knitting techniques this year too. So here it is May already and I thought I had better try something before the year escapes me.
Knitted baby beanie
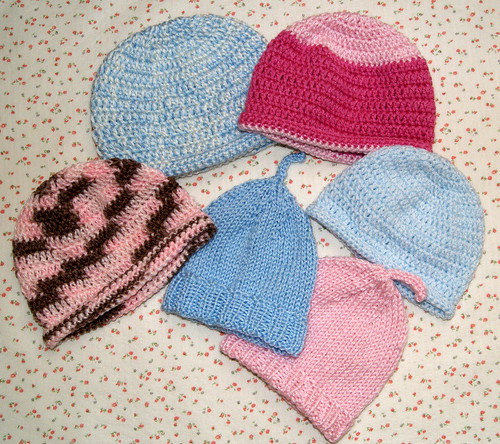
I’ve been crocheting little newborn beanies for a local hospital that just opened a new maternity ward and thought this would be a great place to begin a knitting project. I looked through my books and magazines for a simple pattern but nothing grabbed me. Finally I found a cute idea on Flickr for a stretchy ribbed newborn pattern, done in the round!! What really made me decide that this was the pattern for me was the fact that it will stretch easily to fit many different sized heads!! I want to thank Shandeh for sharing her pattern on Flickr. I made one change and that was that I cast on 76 stitches rather than her recommended 68 using 8″ dpns, size US #6 (4.00mm). I think I knit a little tight and felt the extra stitches gave my hat a better size.
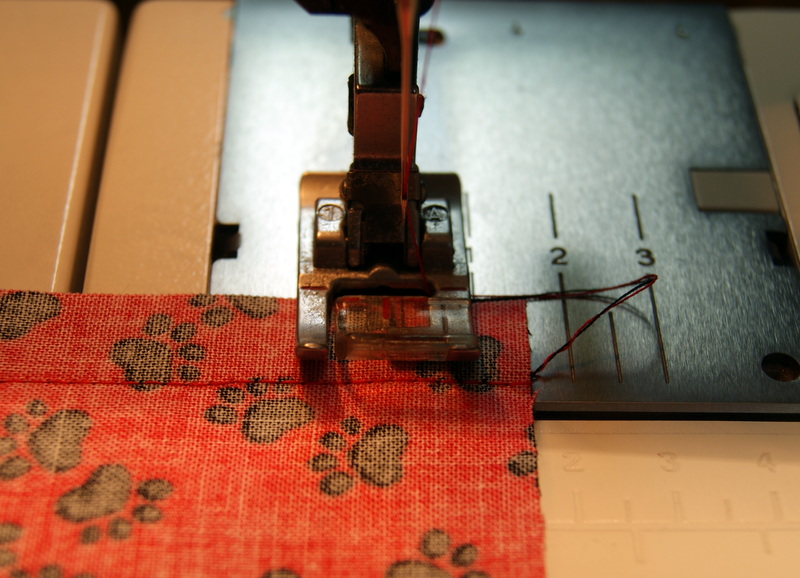
This was my first attempt at knitting with Double Pointed Needles (DPNs). Actually had to look up that abbreviation, told you I was really a crochet fanatic!! Also, I knitted my beanie using 4 dpns because I was having issues with laddering (another new knitting term for me). But wasn’t going to let that stop me!! I was a little like Edward Scissorhands in the beginning but got my rhythm going quickly. Found that if I made sure the two dpns that I was knitting from were on top of the two needles that were just holding my stitches, it was much easier to knit the ribbing pattern.

Working in the round

Close up work in progress

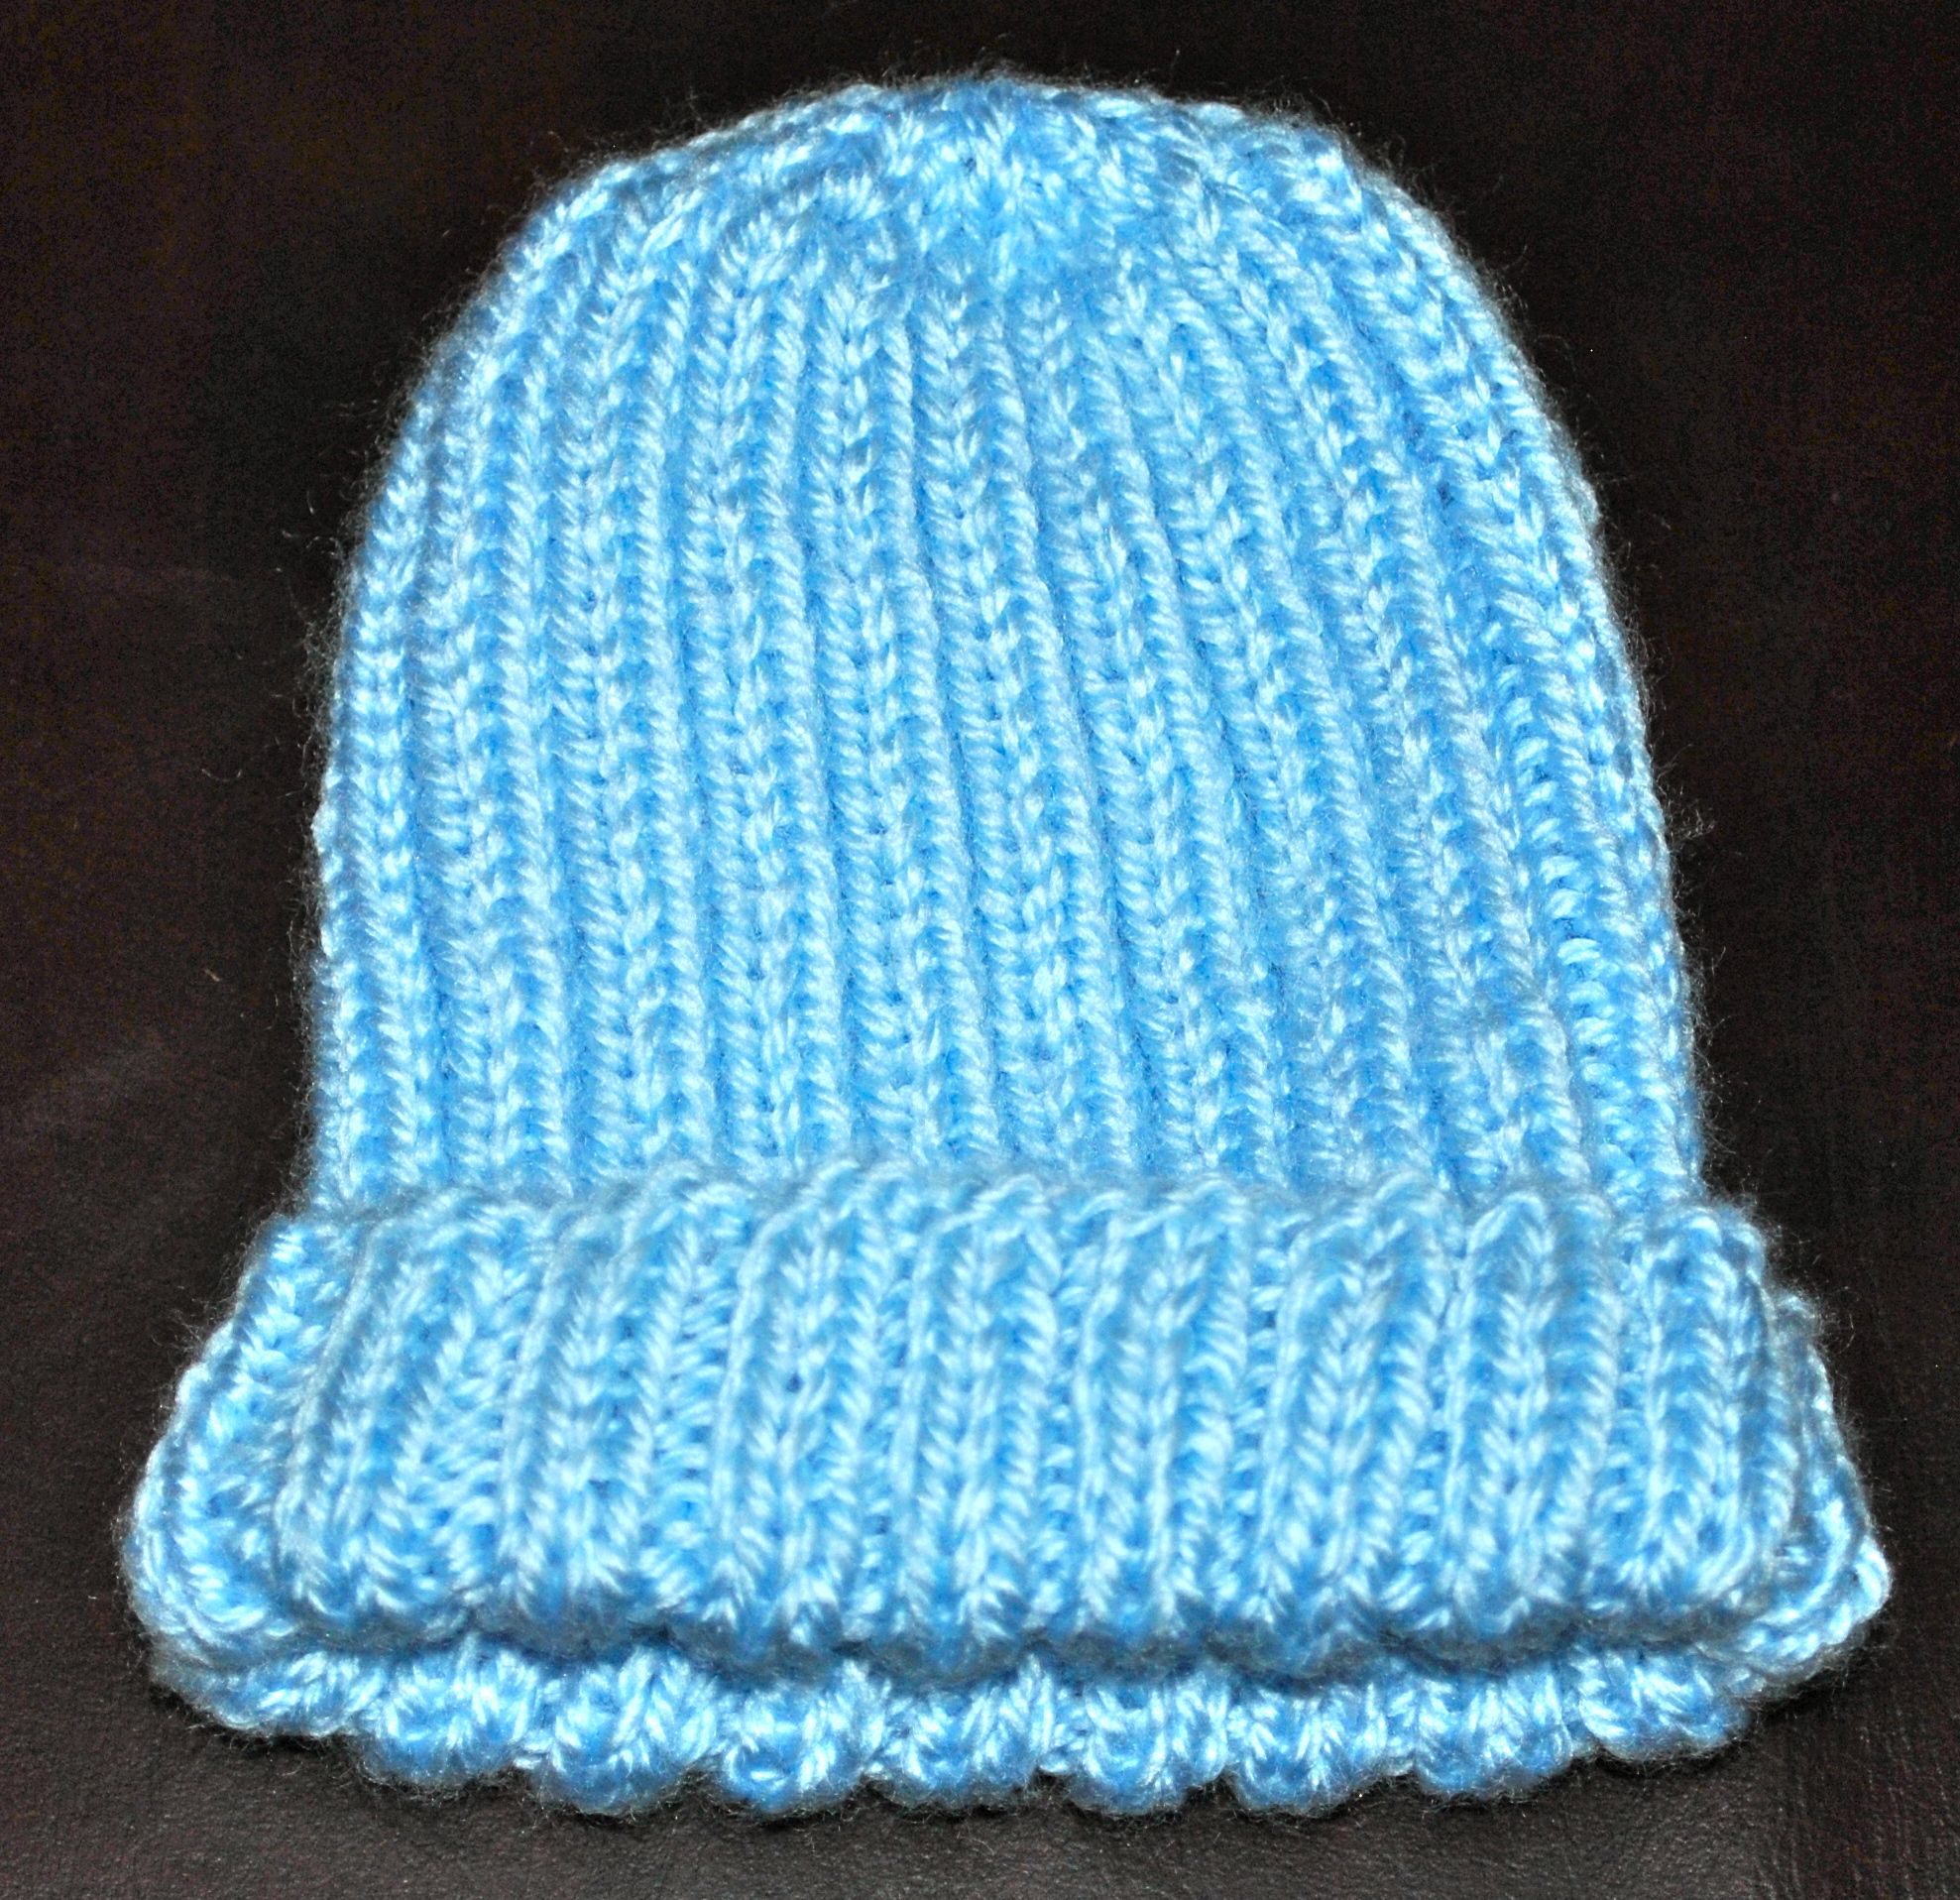
Finished length 6 inches
The entire pattern is just a knit 2, purl 2 ribbing that you do for a total of 6 inches. Then you start decreasing. First decrease round is knit2tog, purl2tog, leaving 38 stitches. Then knit a round. Next decrease round is knit2tog, leaving 19 stitches on your needles. Complete another knit round. Third decrease round knit2tog, with 10 stitches remaining on your needles (including the one stitch left over). Cut your yarn leaving about 8″ tail, attach your darning needle and weave your needle through the last 10 stitches and pull tight. Push darning needle to the wrong side of your beanie and weave in the loose end. Now your beanie is ready to be donated or for your new arrival!!

Another pic of finished beanie
I really like the finished look of this little beanie and I am now working on enlarging the pattern because this would be a great beanie for toddlers too!!
HAPPY CREATING!!
Disclaimer: This post contains affiliate links – “small commission earned”
,