Getting your applique design ready to be placed on your garment is fun and exciting because you are almost completed with your project and can start visually seeing your creation.
I personally like to us a pellon paper-backed product called Wonder Under. It is an excellent fusible web that works for just about any type of fabric for making appliques on wearable or home decor projects. Wonder Under will come will good directions on how to use it but here are a couple of hints to help you have a truly successful outcome.
When you open your Wonder Under, you will feel one side is smooth like thin paper and the other side you can feel a slight roughness which is actually the adhesive side.
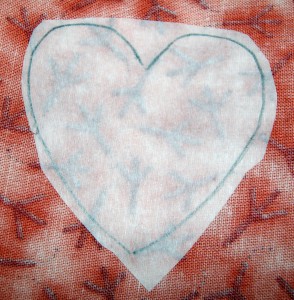
Your first step will be to trace your applique design onto the smooth paper side with a nice sharp pencil. Cut out the design leaving about 1/8 inch extra Wonder Under from your pencil lines on the outer edges. Doing this will ensure that you have the fusible adhesive covering your entire applique right to the edges of the fabric.
Now you are ready to iron your applique design onto the WRONG SIDE of the fabric that you want to make the applique from. Most of the time, I keep my trusty iron on the cotton setting unless I am really using a fine, delicate fabric. I also use a pressing cloth that I place over my applique design before I place the hot iron onto the fabric. An old cotton tea towel, smooth cloth napkins or muslin fabric works great as a pressing cloth for all my projects.
Personally, I really enjoy using these white, cotton kitchen tea towels as a pressing cloth. You can see through them easily, they are large and leave no lint.
Because my iron is always set with the steam feature on, I leave it that way for pressing the Wonder Under to my fabric. Never can remember if the directions tell you not to use steam but I have no problems leaving it on. I just don’t give an extra burst of steam when pressing the applique design.
Now place your iron onto your applique design and hold it in place for about 5 seconds. Remove the pressing cloth and check out how the Wonder Under looks like – is it adhering. If you feel like you need to apply a little more heat, just cover your design again with the pressing cloth and hold the hot iron onto your applique for maybe another 3 to 5 seconds. Sometimes when using a thicker fabric for the applique design (like denim), you will need to allow for a little extra heating time. I will do the first pressing and check things out and if I feel like I need a little more heat, flip your applique design over and press from the opposite side of your fabric.
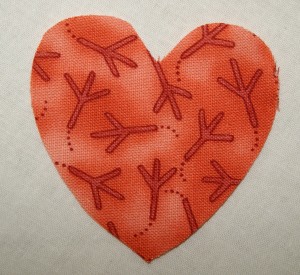
Let cool to the touch and cut out your applique design following your pencil marks. Lift a corner of the Wonder Under and slowly remove it from your fabric. You will have a smooth flexible feel to the wrong side of your fabric that is now going to be your applique.
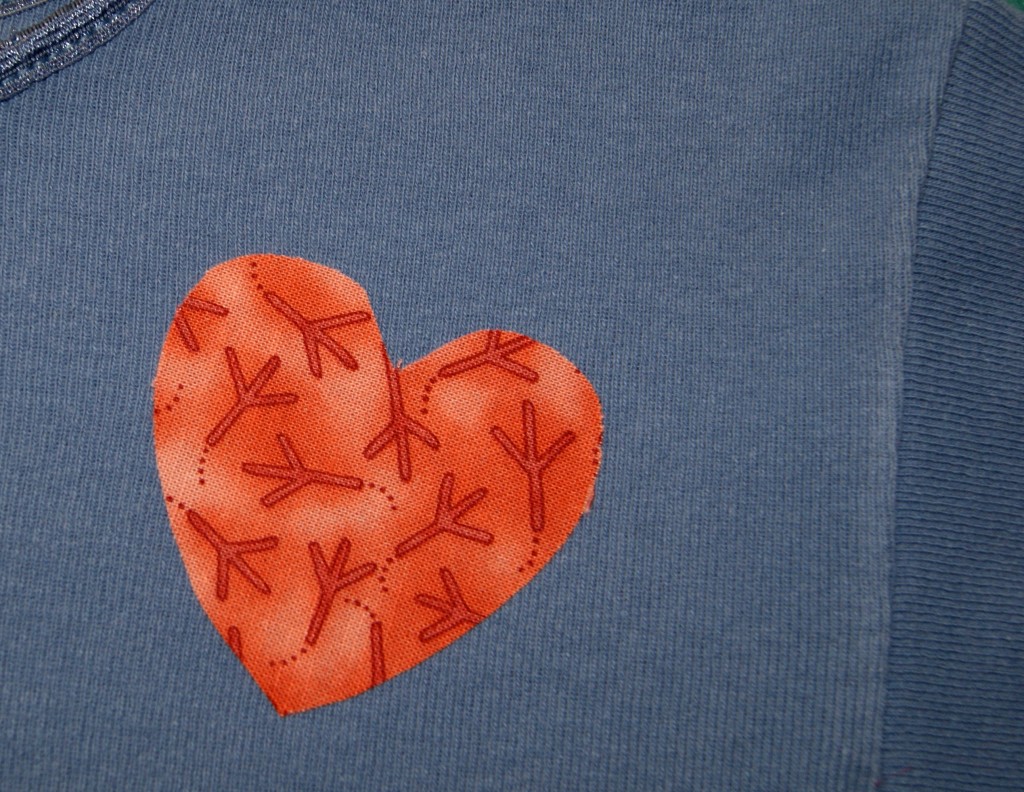
Now for the fun part, place your applique design with the adhesive side down (wrong side of applique fabric to right side of project) and centered onto the right side of your garment. Press the applique design onto your garment following the same directions as above using the pressing cloth and holding in place for about 5 seconds. Viola!!
If you cut your design out using Pinking Shears or used a tightly woven fabric like twill, canvas, denim, felt or fleece (which either doesn’t fray or very little fraying occurs) your applique design could be set to go. But a narrow, close, zigzag stitch gives a professional finish look and helps to keep the fraying to a minimum. Also, applying a little fray check to the edges of your applique helps with the fraying issue too. If using fray check, apply that to the edges after you have cut out your applique, iron on to your project (pressing cloth recommended), and then sew a narrow, close together, zigzag stitch.
Next blog will be about sewing suggestions for your applique. In the meantime, have fun designing appliques and think of all the different uses for them. Appliques really personalize your project and are a very workable craft to do with a child or young teenager to help them update their room. The ideas are endless.
-
TIP: Don’t forget to look at cookie cutters too for great applique designs and ideas!!
HAPPY CREATING!!
Disclaimer: This post contains affiliate links – “small commission earned”


