Tag Archive | Crochet

Changing Yarn Colors within your project

Anyways, it really, really doesn’t have to be such an ordeal no matter what process you use when it comes to changing your yarn colors.  For me, this is the best way to change yarn colors and takes all those stressful thoughts and throws them away.

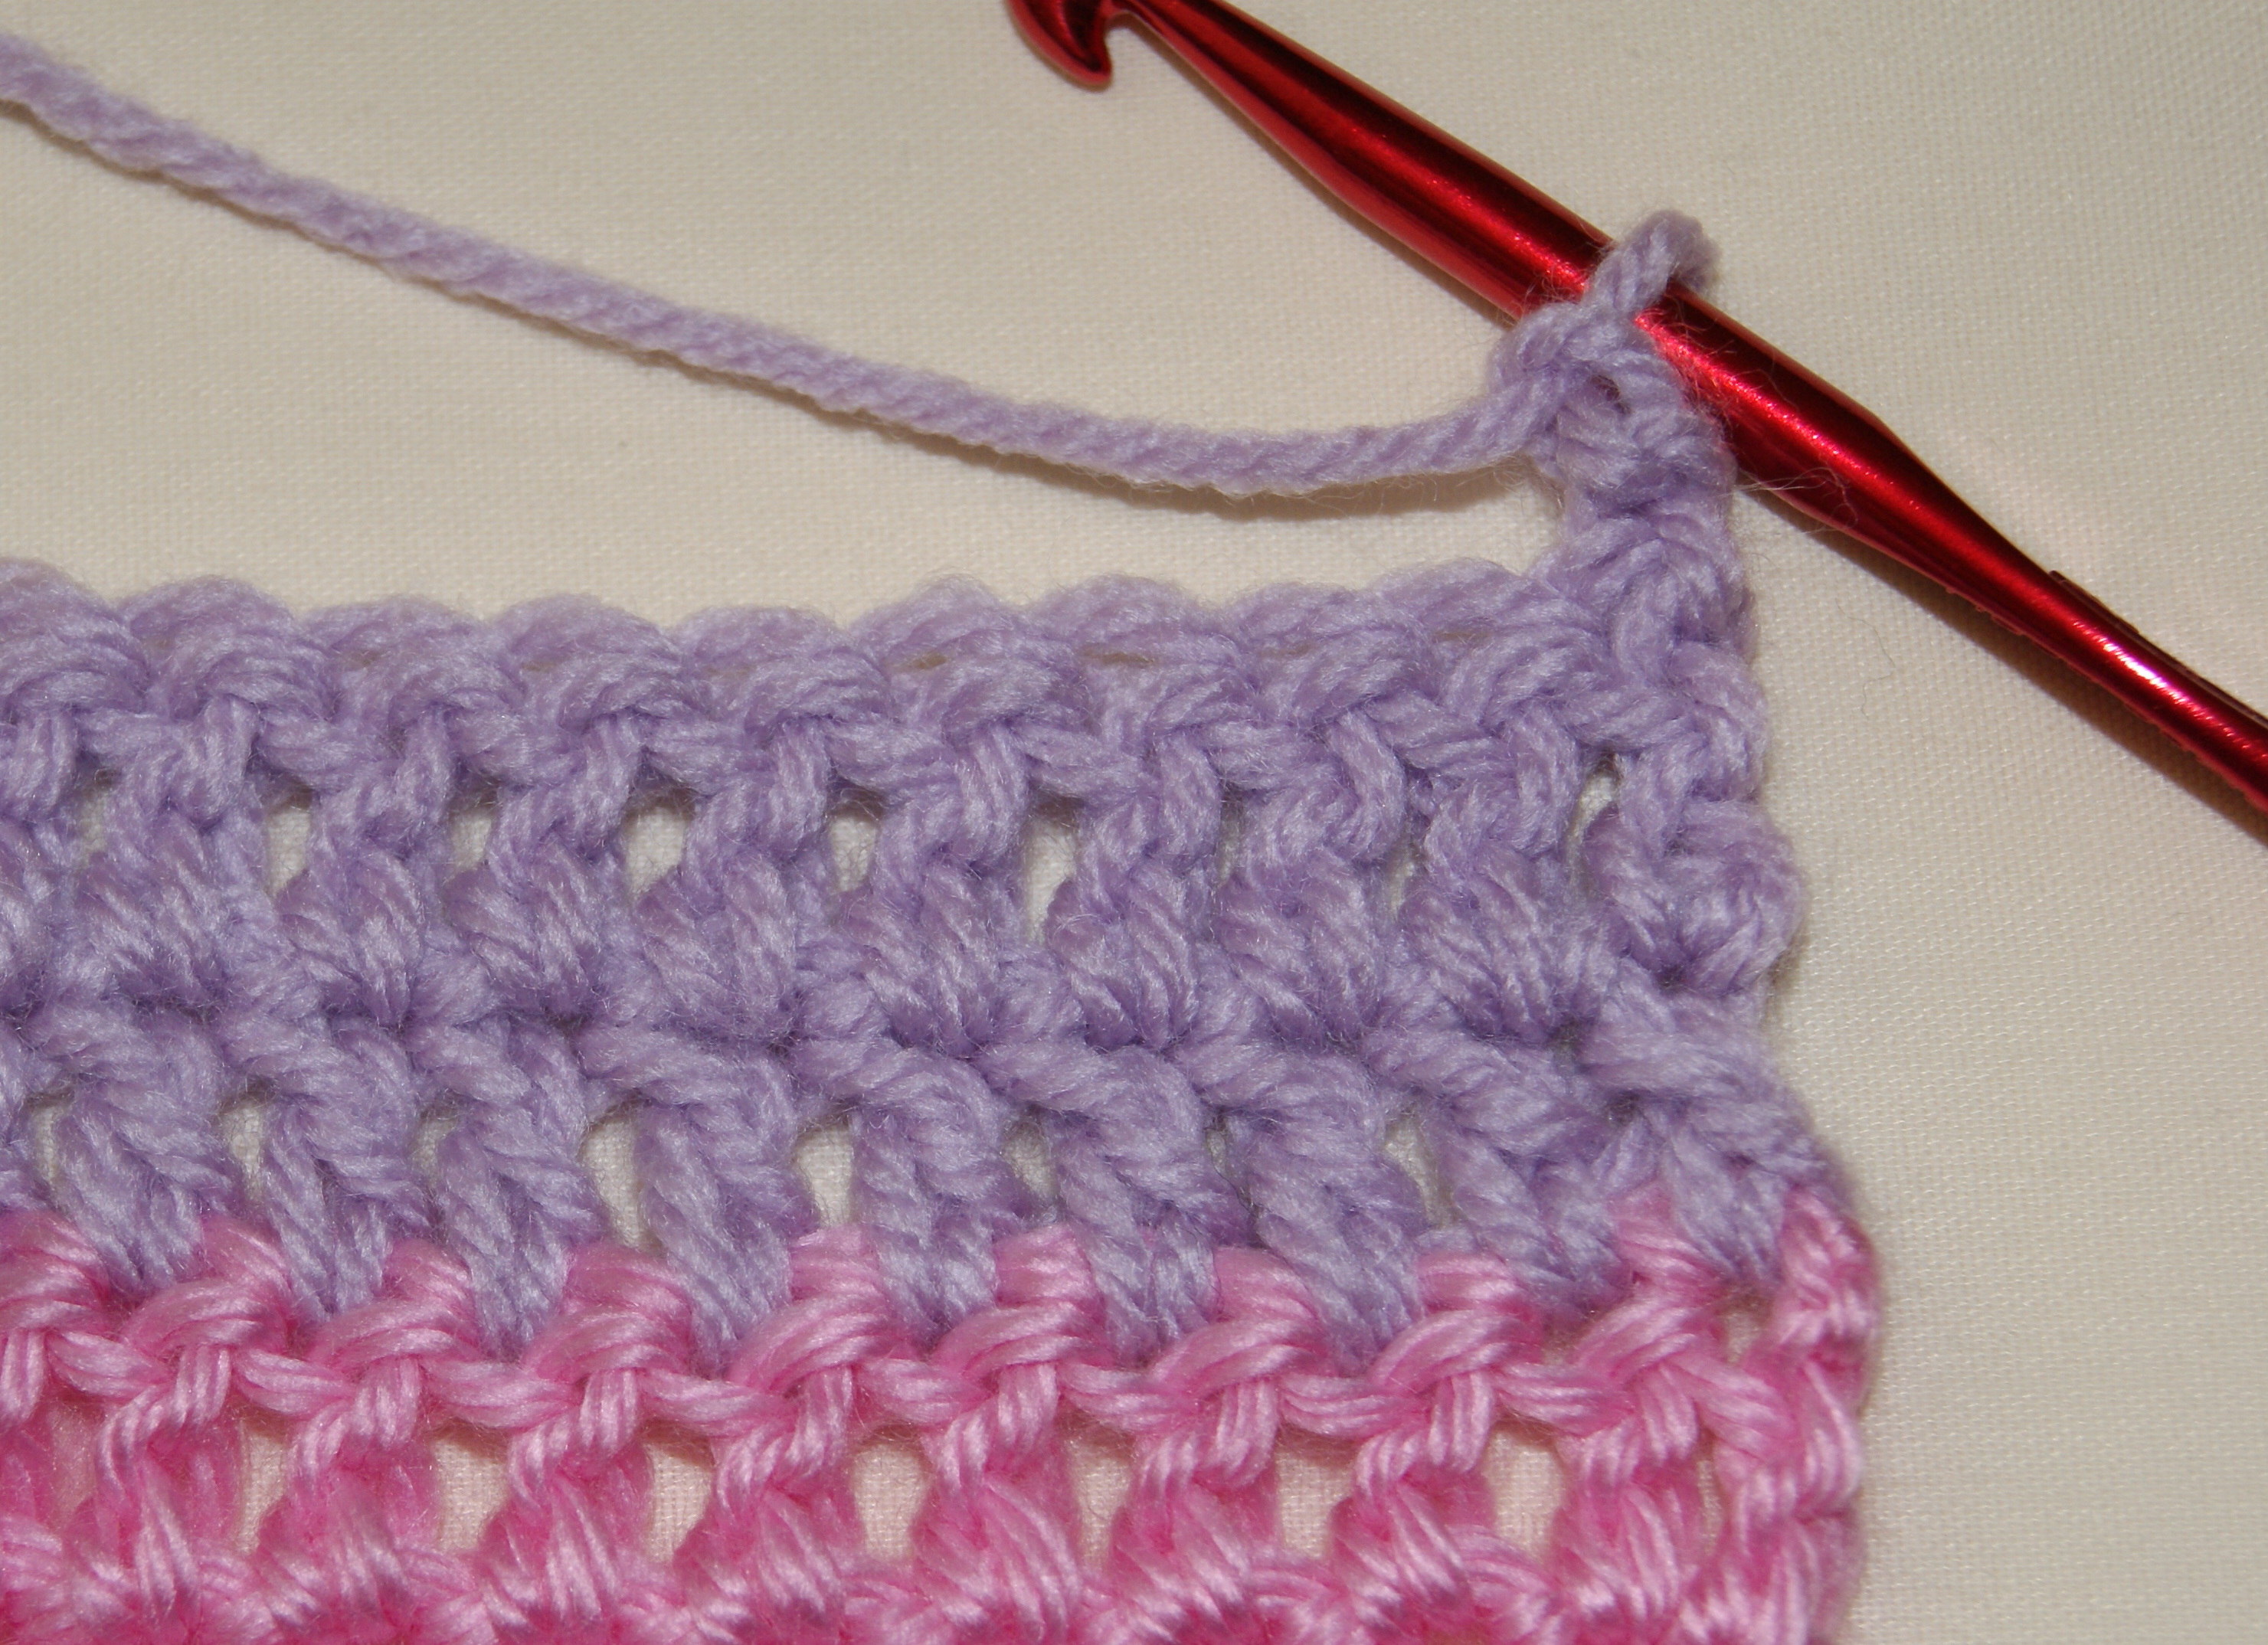
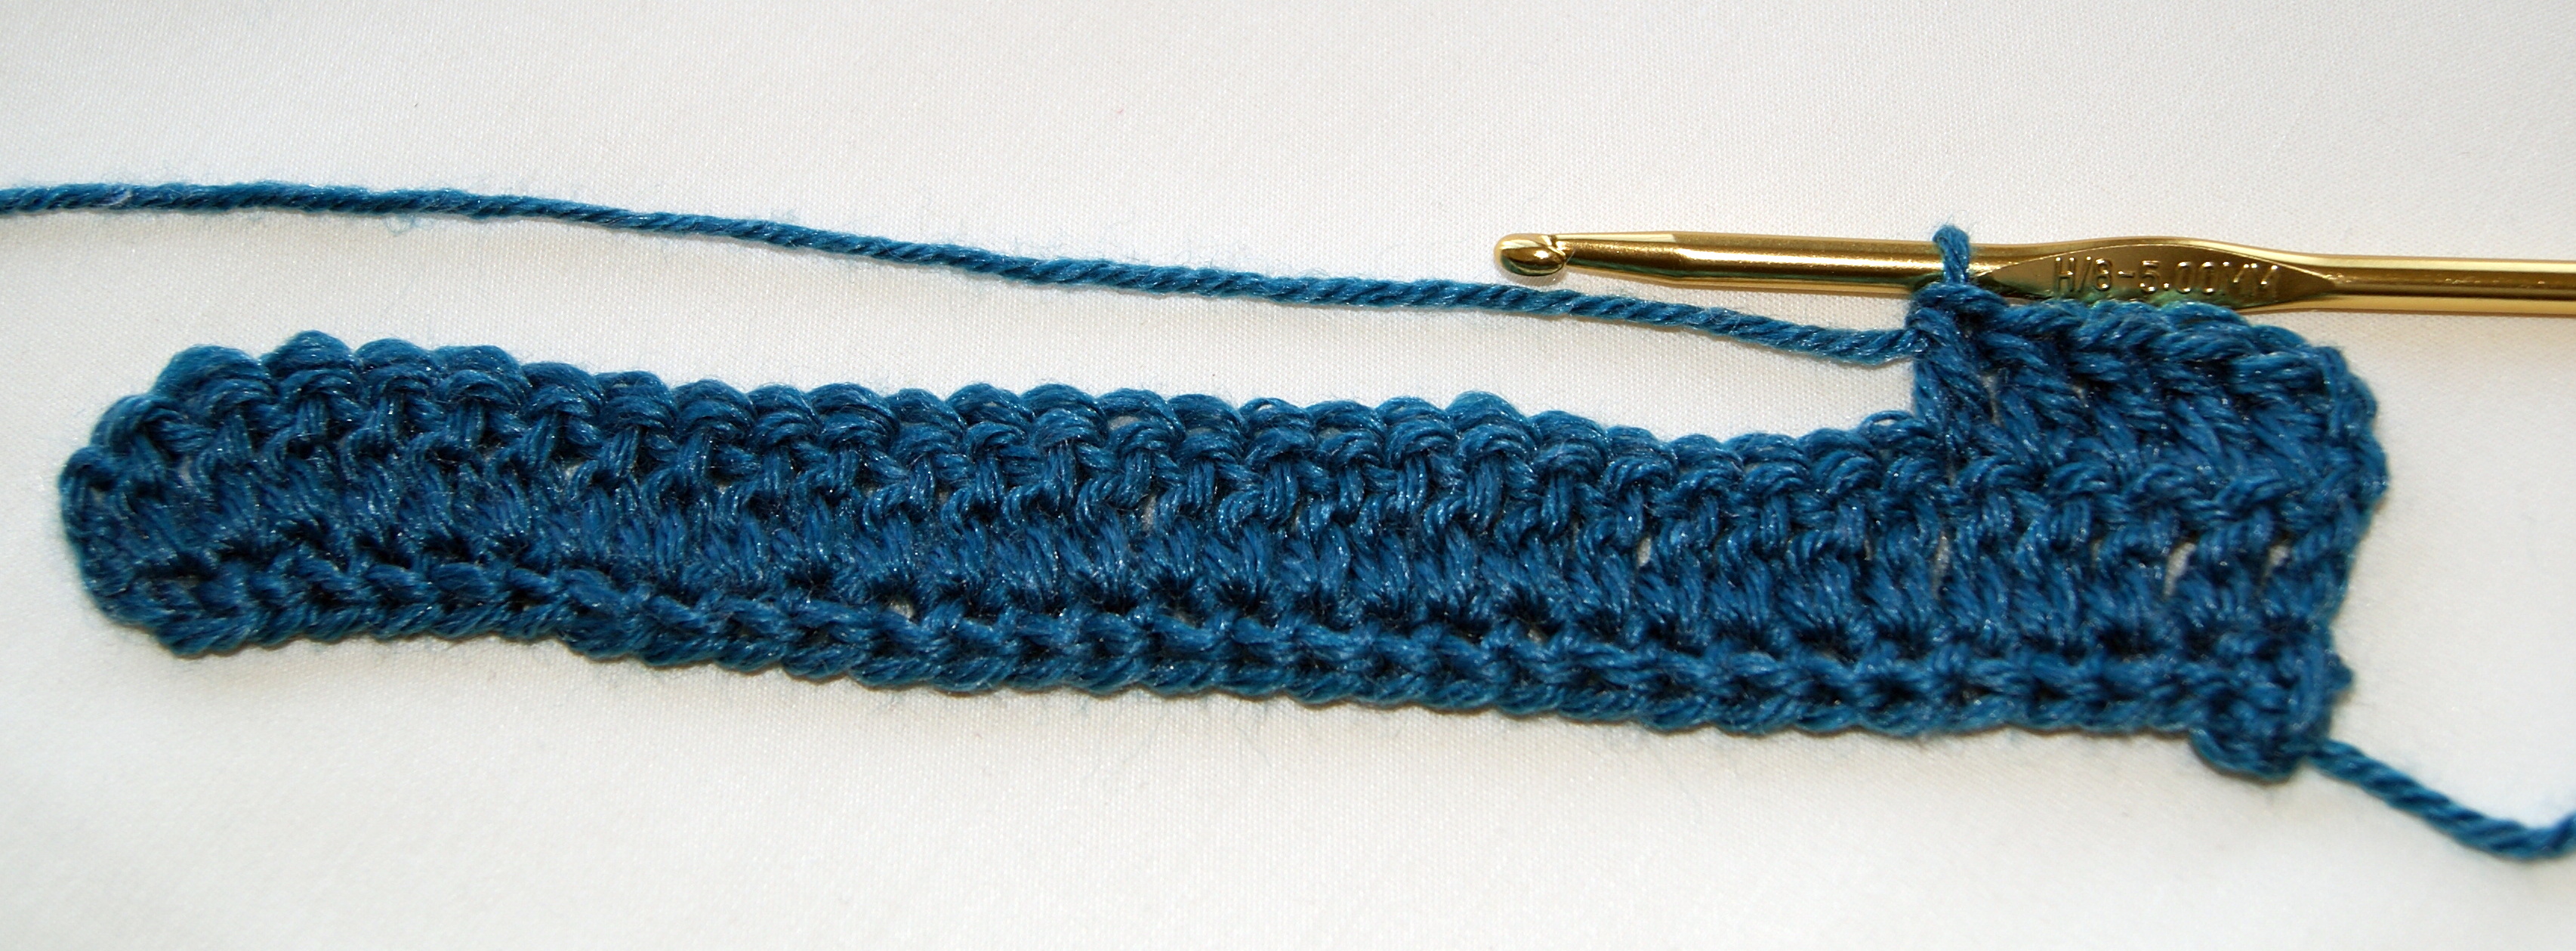
All I simply do is when I come to the end of the row of where the new color is to be added, I fasten off.  For me, it gives me the satisfaction of knowing that my crochet stitches will not come unraveled.  Now turn your work to get ready for the next row and the new color.  Make a slip knot onto your crochet hook using your new color, insert your hook  into the first stitch of the next row and make a single crochet (sc) stitch and continue with your pattern.

IMPORTANT NOTE:   If you are working half double crochets (hdc),  double crochets (dc) or treble crochets (tr), you must begin your new row adding the new color with one of these stitches to give you the correct height needed to continue your pattern.  Therefore, you will make your slip knot onto your hook, yarn over once for (hdc) and (dc) and yarn over twice if continuing with a (tr) —  now insert your hook into the first stitch of new row with the correct number of yarn overs and proceed to make your appropriate stitch according to your pattern.

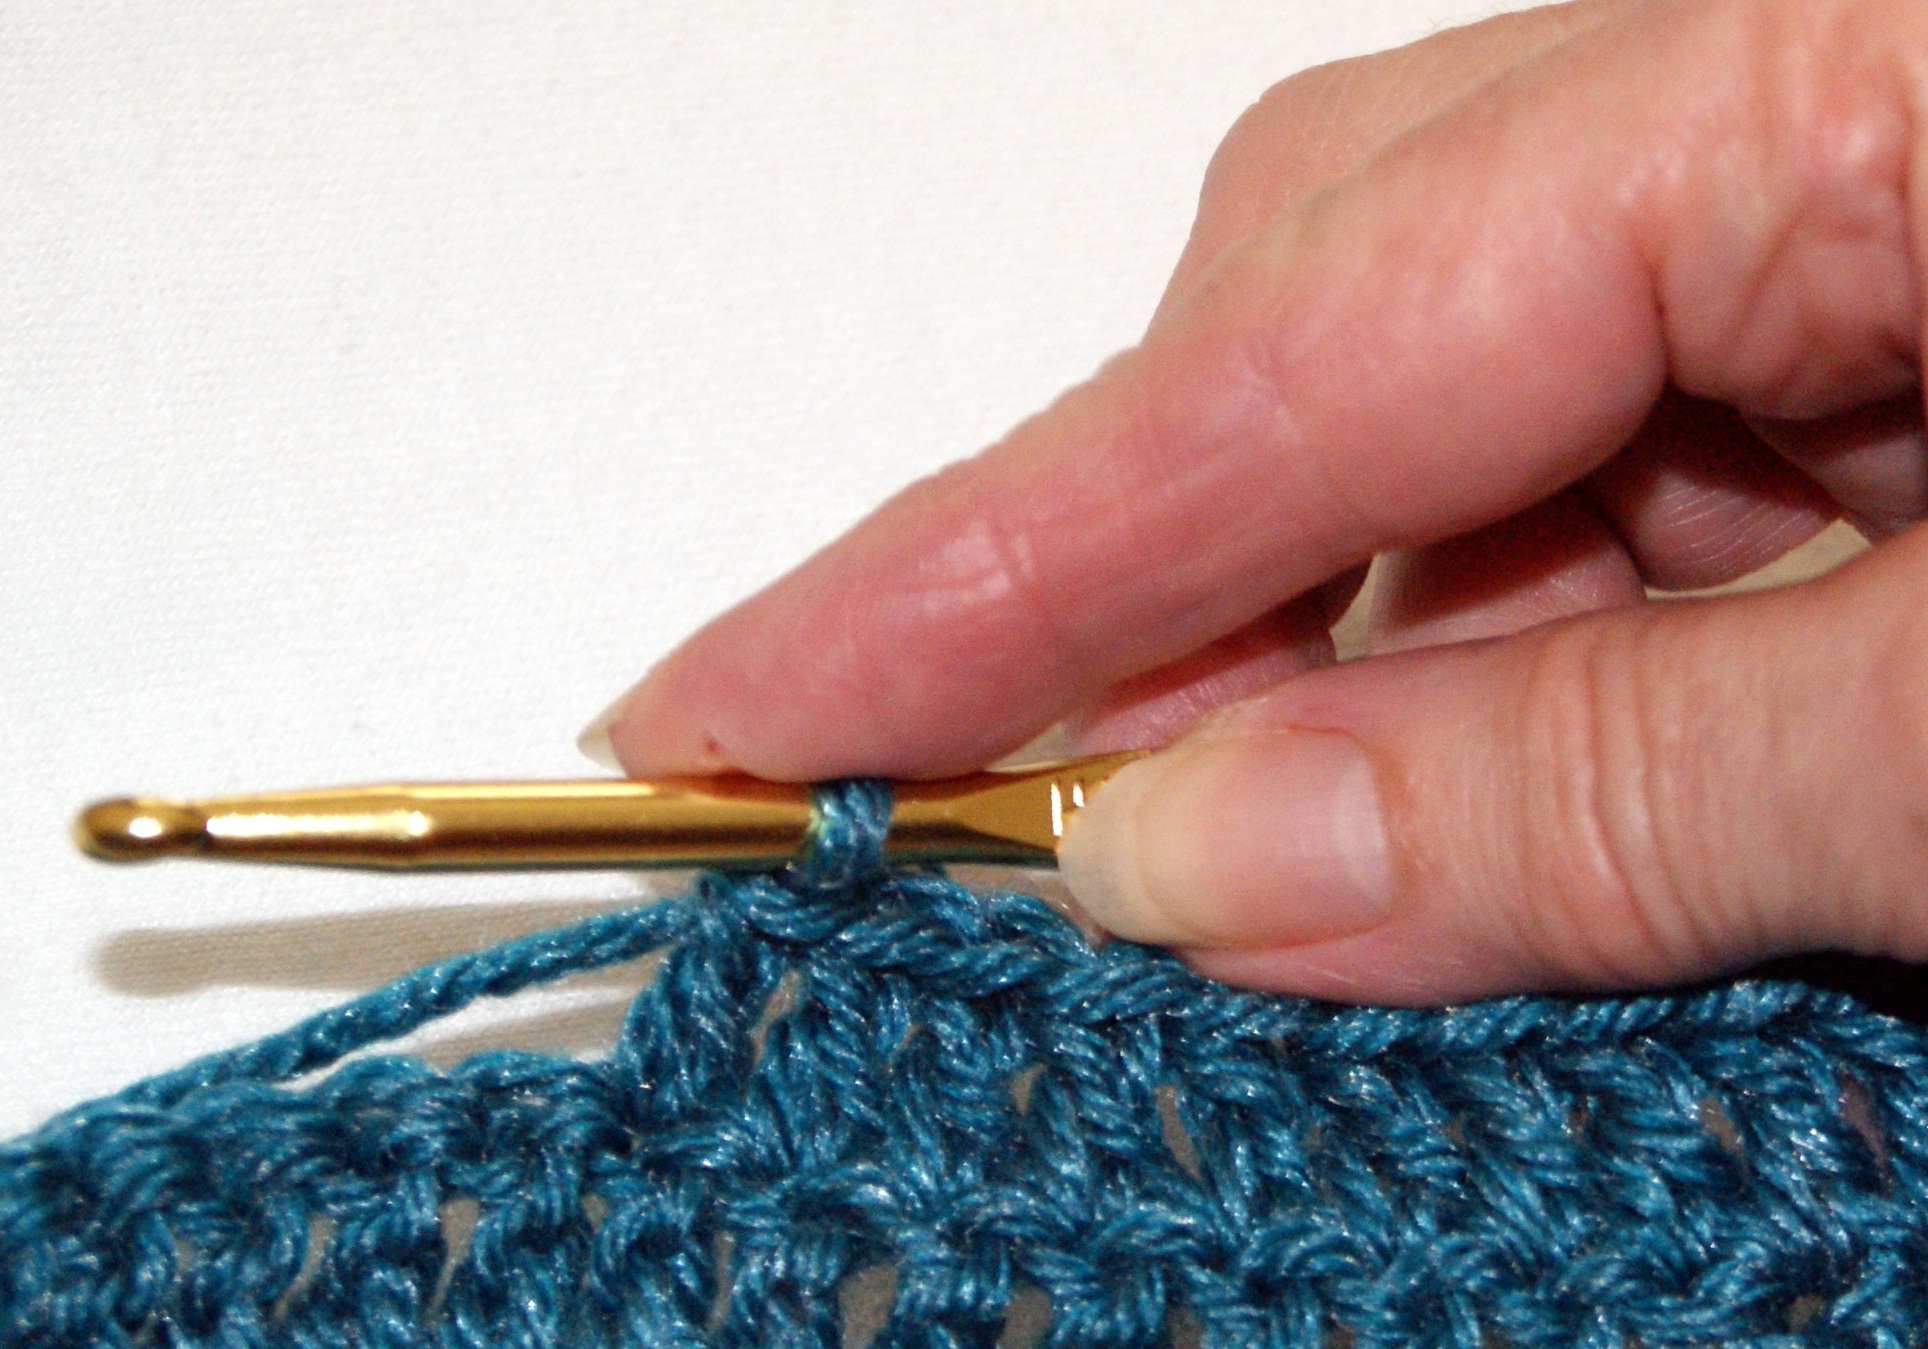
If making a stitch that requires you to add a yarn over loop to your hook when changing colors, keep your right index finger placed securely onto the yarn over loops to hold them close to the hook, now insert your hook into the first stitch, yarn over and when you begin to pull that loop through the stitch use your thumb and index fingers of your left hand to help securely hold the loops on your hook as you begin to pull your stitches through the required number of loops to make the designated stitch.

Now you have a completed stitch and you can finish working your crochet piece according to your directions and resume holding your work as always.

Fastened off with first color
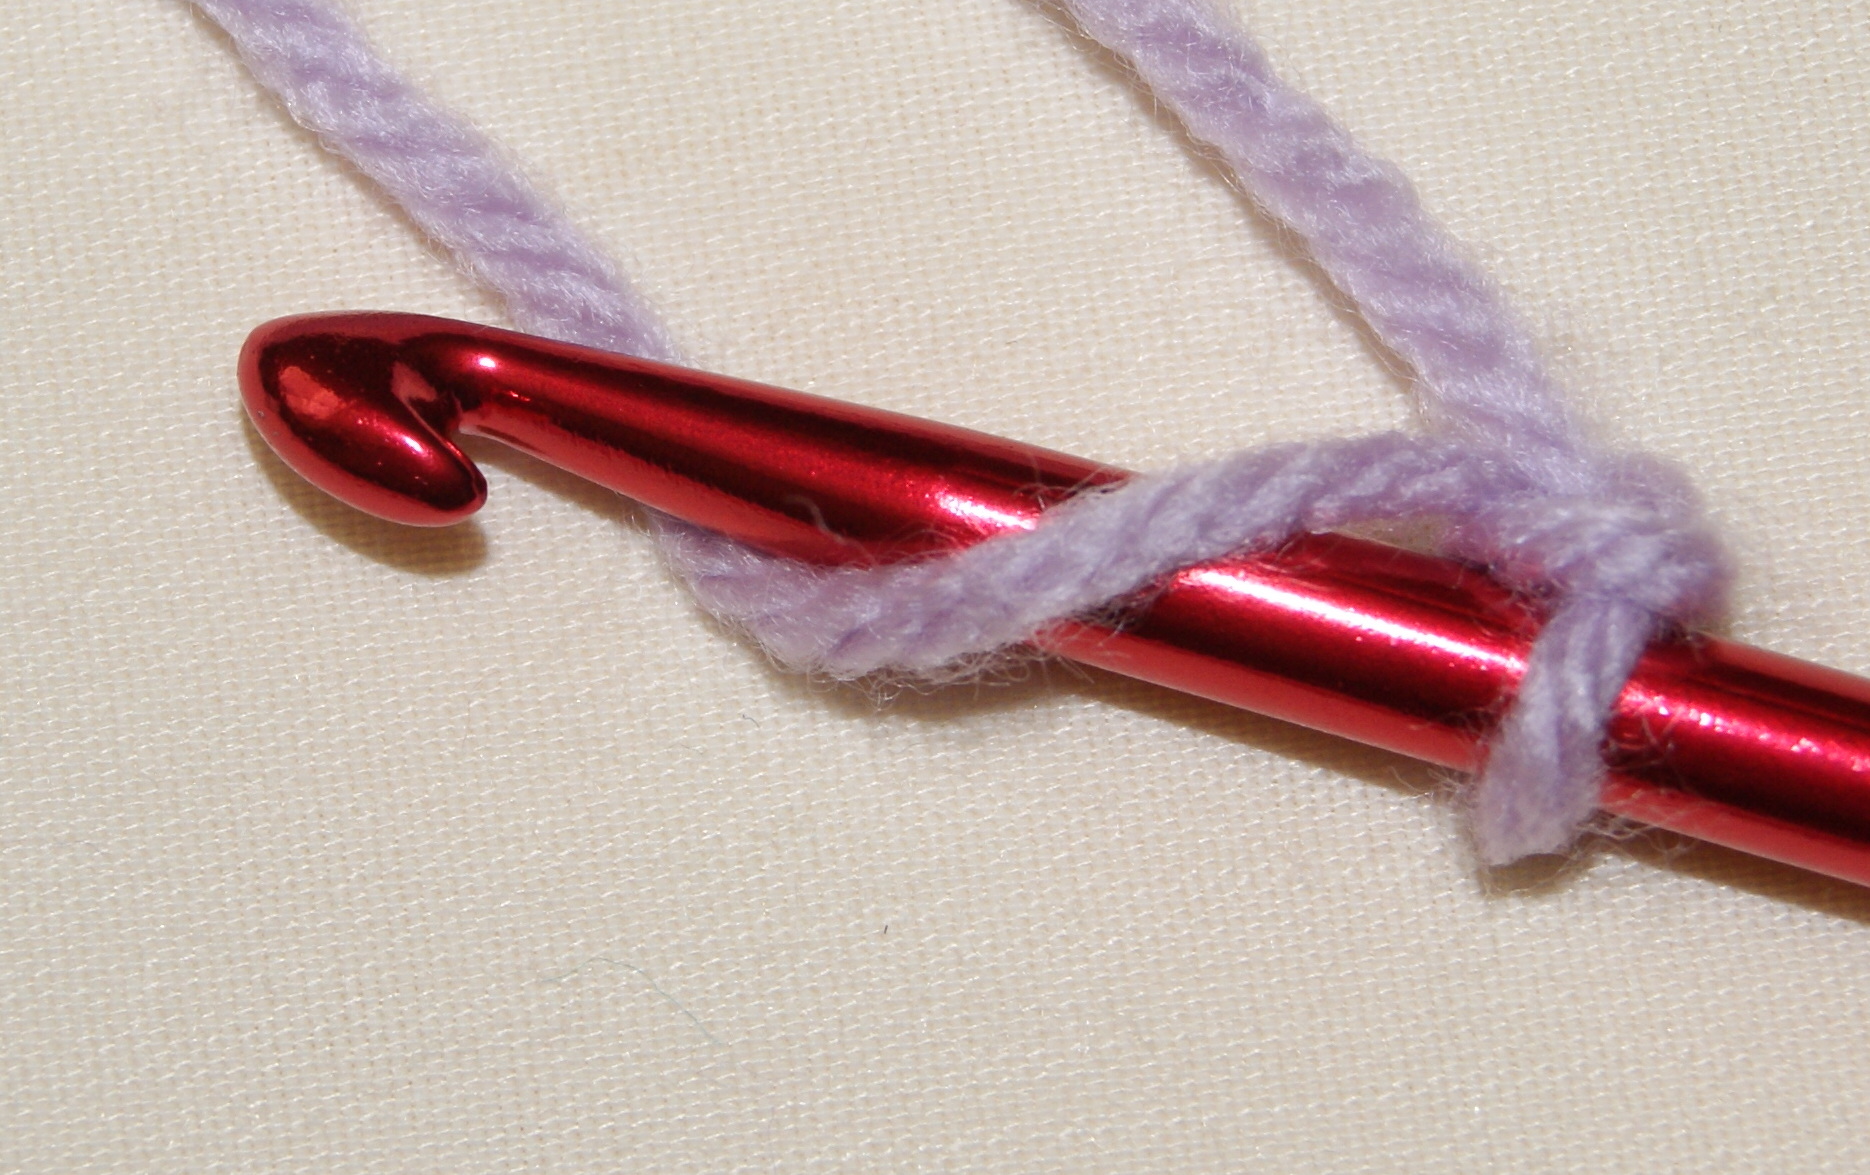
Turned crochet work, inserting hook into first stitch with new color


Completed couple of rows with new color

  •  TIP:  I like to take my yarn ends when possible and crochet them into my rows.  I just lay the yarn ends along the top edge of the row I am currently working along and hold in place while I crochet the necessary stitches for my pattern.  Trim away any yarn pieces that don’t get woven into the stitches.  Time saving technique and you never see them in the finished work.

HAPPY CREATING!!

Disclaimer:  This post contains affiliate links – “small commission earned”


Foundation Stitch – No Chain Stitch Necessary

The foundation stitch is another way in which you can begin your crochet project.  All crochet projects start off by doing the chain stitch (ch) so that you have a base in order to complete the next row of stitches according to your pattern directions.

Doing a foundation stitch is a little different than just crocheting a long row of chain stitches.  It is basically a way of doing the single crochet (sc) to form your first row of stitches.  One of the main reasons I will begin a project using the foundation stitch is that it doesn’t seem to end up as tight as a long string of regular chain stitches.  I find that after I have crochet for just a couple of rows, my beginning chain row actually is a little tighter than my other rows, even when I am consciously making an effort to keep my chain stitches loose.

The foundation stitch is great for any project  but I find it is especially great  for afghan patterns when your directions call for you to crochet 100 or more chain stitches.  It is easy to count your stitches and keeps an even tension with your other rows of crochet stitches.

You just crochet the foundation stitch and count it like a regular chain stitch and when you have reached the number of stitches necessary for your project, just add a regular chain stitch (ch) for turning purposes.  Then proceed with your next row according to your pattern directions.

To make a foundation chain, begin by making 2 chain stitches (ch), then insert your hook under the top 2 loops of the 2nd chain, yarn over and pull the loop through (2 loops on your hook), yarn over again and pull the loop through ONLY the top loop on your hook (still 2 loops on your hook), then yarn over and pulling through both loops on your hook (now only 1 loop left on hook).  You have just completed one (1) foundation stitch.

Now, you will insert your hook through both strands of the foundation stitch that you just completed, yarn over and pull through those two strands only (2 single loops on hook), yarn over again pulling only through the top loop on hook (2 loops still on hook), yarn over and pull through both of  those loops (1 loop remaining on hook).  Another stitch completed.  Continue in this fashion until you have made all the necessary chain stitches required for your pattern.  Again, be sure to end your row making one or more regular chain stitches for turning purposes.

  • TIP:  Your pattern directions should tell you how many turning chains you need to complete to have the required height for the new row of stitches.  For example, you will need (1) chain stitch, turn and continue with a single crochet; will need (2) turning chain stitches to continue with half-double crochet; need (3)  turning chain stitches for double crochet; (4) turning chain stitches for triple crochet, etc.

Have fun with the foundation stitch because you will discover what a great stitch it is!!  Be sure to click on photos to zoom in for larger image.

HAPPY CREATING!!

Disclaimer:  This post contains affiliate links – “small commission earned”
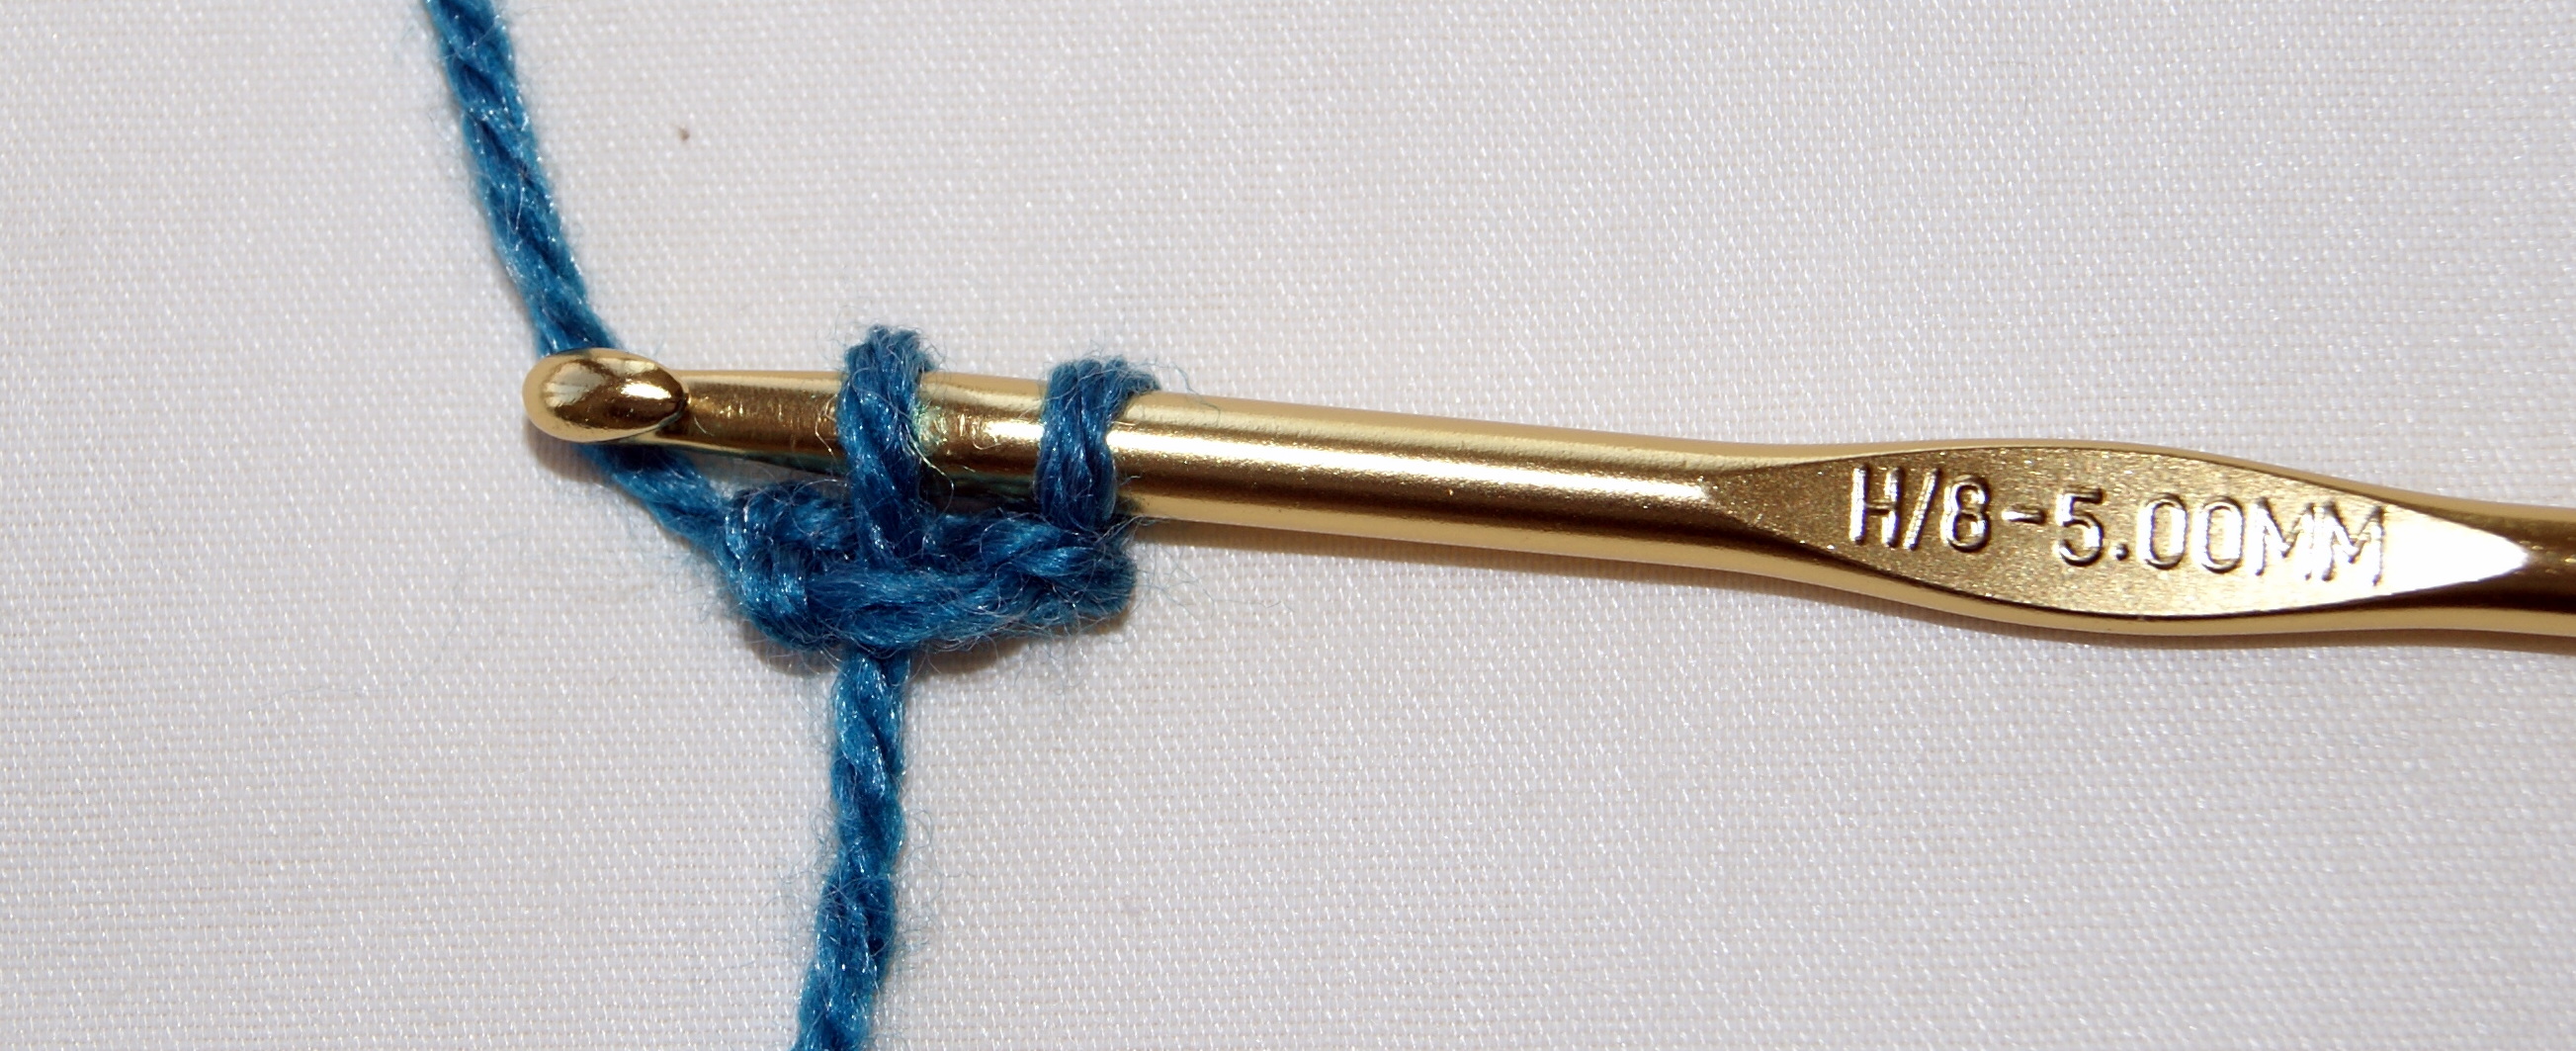
Insert in top two loops of 2nd chain – Step 1

Completed after 1st yarn over pulling through chain stitch – Step 2


Yarn over and pull through top loop only on hook – Step 3


Last yarn over pulling thru both loops – Step 4 – Completed 1st foundation stitch

Insert into top 2 threads of completed foundation stitch – Repeat Steps 2 thru 4


Added 2 turning chain stitches for second row of double crochet

Example of how nice and flat the foundation stitch lays as you continue your crocheting

Blocking your Crochet Piece

I am always debating whether to block my finished crochet piece??  For me, it all depends upon the type of yarn I have used and what my completed project is — a doily or clothing or afghan.

It is very important to always read what the manufacturer of the yarn recommends when it comes to washing and/or dry cleaning suggestions.  If using a cotton yarn/thread, I like to hand wash my completed project and lay if flat to dry.  When it is almost dry but still slightly damp, I will place it onto my ironing board, cover it with a towel and then use the steam feature on my iron.  Holding the iron very close to the towel without actually placing the iron on the item.  This will give you a smooth finished look without stretching the yarn and eliminate any curling that might have occurred.

One concern with cotton yarn that I always seem to dwell upon is the question of shrinkage.  I haven’t experienced any problems with shrinkage as long as I use cold water and air dry.  Then block the piece as mentioned above.

When using a wool blend yarn, again follow the manufacturer’s washing/dry cleaning directions, and then, if needed, you can block the piece the same way as described above.   A lot of times, however, when I have completed a project,  I will lay it out flat on a padded surface, spray it lightly with water, and just pat it into shape and let air dry.

I find too that if I am crocheting a sweater, it is a little easier to block or shape your pieces as you crochet them.  Again, laying them out on a padded surface, spray lightly with water and just pat them into their shape and air dry.  Then everything is ready to be joined according to your pattern directions.

You will find there are those projects that really need to be a certain size when completed, i.e., socks, mittens, hats,  some sweaters, and blocking your piece helps you to shape your work to those measurements.   Most importantly, your crocheting GAUGE must be accurate too for the completed project to be the size you need.    Blocking tools are available that you can put your damp project over to assist you in this shaping process.

My daughter and I are presently experimenting with blocking a rather large afghan that seems to curl on the edges.  We are laying it out flat onto a carpeted area that we have laid several towels down first.  Then we will be spritzing it with water, covering it with more large towels and then running a floor steamer over the top of everything.  Again, not touching the project with the steamer itself, just shooting the steam through everything.  Then we will  take the top towels off, pat into shape and let air dry.   We feel confident that this will work and will be much easier to shape since the afghan is a comforter size.

Always trying to keep those “creative juices” flowing!!

HAPPY CREATING!!

Disclaimer:  This post contains affiliate links – “small commission earned”

Comfy Hold on your Crochet Hook

The way you hold your crochet hook is a very personal thing.  The most important thing to remember is not to grip it so hard that your hand muscles and fingers become exhausted.  To me, that takes the fun out of crocheting!!  Just a light but secure grip is all that is needed.

I guess first it is helpful to dissect a crochet hook.  You have the point, throat, shaft, thumb rest and handle.  The shaft and thumb rest is where your fingers will always be when crocheting.  The point and throat are where you actually make your stitches and the handle is basically there for balance.

Hook Description


My grandmother originally taught  me how to crochet but being the only left-handed person in my family, she could only teach me how to hold the hook like a right-handed crocheter.  Actually,  I have found that holding and working the crochet hook in my right hand and controlling the yarn with my left hand really is much easier for me because the hook movement is just a repetitive motion but keeping the tension and working with the yarn requires more control.  Using my left hand for the more intricate work (which is my stronger and more coordinated hand) works great for me!!

You will probably crochet using either a Pencil Grip or a Knife Grip.  I use the knife grip when I crochet and find it very comfortable and easy for me.  With my right hand, I place my thumb on the front of the thumb rest which will be facing me, place my index finger onto the shaft and hold the back of the thumb rest against my middle finger.  The handle will just lay against my ring finger and the palm.  There is very little movement of my fingers on my right hand when I crochet.  I slightly move my index finger along the shaft to help hold the loops in place as I make my stitches and that is it.

Knife grip using right hand

Now my left hand does a lot more work for me.  I personally like to wrap the yarn around several fingers to get good tension on the yarn.  I will place the yarn under my pinky finger, over my ring finger, under my middle finger and over my index finger.  My crochet piece will be held in place using my middle finger and thumb with my ring finger and pinky helping to hold ever so slightly.  My index finger on my left hand does all the work.  I yarn over onto the hook with my left index finger, push the point of the crochet hook through the proper loops using my right hand and bracing with my left middle finger, guiding with my left thumb, and using my left ring finger and pinky as support.  I have great success crocheting in this manner.   I don’t know if this is the motion a true right-handed crocheter uses but I have found this a very workable method for me and I am a very left-handed individual.   I even use my left foot to push the pedal on my sewing machine!!

Yarn weave through my left hand fingers


Doing a Stich


Keep practicing and work on what is really comfortable for you when crocheting.  Hopefully, this will give you some guidelines whether you are right or left-handed for holding your hook and work.  I know there are some good directions for left-handed crocheting if this method doesn’t work for you.  Give it a try, you might like it!!

  • TIP:  If you are really a beginner or if you are trying to teach a youngster how to crochet,  I would suggest that you only wrap the yarn over your left index finger as your tension guide until you get the feel of both hands and yarn working together.   After you feel comfortable with practice, then proceed to weave the yarn around the additional fingers on your left hand.

HAPPY CREATING!!

Disclaimer:  This post contains affiliate links – “small commission earned”

Crocheting “Extras”

Now that you are sitting in your most comfortable chair and are surrounded by a pile of wonderful yarn just itching to be crochet into something special, take a moment to review the following items that I think will make your yarning experience much easier and more convenient.  These are some of my favorite crochet “extras”.

Having a crochet case to organize all your hooks by specific size will save you a lot of time and frustration.  When I first started crocheting, I would just place my hooks in a Ziploc bag and would have to rummage through them all to find the specific hook I needed for my pattern.  With the case, I just quickly slide my hooks into their own slot by number/letter size.   There are a wide variety of styles available.  I personally use a zippered style case because I can also enclose some of my other accessories with my hooks to keep them all in one place.

Another great accessory to have are some stitch markers.   I like the split lock markers that look like plastic safety pins.  They are light in weight, easy to use and colorful so you can select ones that will stand out when you are crocheting.  Budget constraints an issue, you can also use a different color of yarn and tie it in the stitch where the pattern calls for a marker to be placed. Works the same, just takes a little longer to tie and untie the yarn marker.

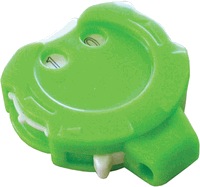
For me, a must have “extra” is a row counter.   I use to make pencil marks on a piece of paper to count my rows, which, believe me, is a very time-consuming way for counting.  Now with a counter sitting on the arm of my chair, one click and I’ve counted my completed row and can tell at a glance how many more rows I need to do.  I like the style that has a locking mechanism so my counter never loses its place, especially if I have to put my project away and all my rows haven’t been completed.

You’ll find that a necessary accessory is a tapestry/yarn needle.  They have a very large eye which makes quick work of threading your yarn through the needle.  There are different kinds of needles, ones with a straight tip or you can purchase a style with a curved tip.  It is nice to have both types of yarn needles in your crochet stash.

Of course, a small retractable tape measure and 4″ embroidery style scissors are needed too.  

A crochet tote or lovely basket is a great way to store your supplies and/or yarn.  Place it by your comfy chair and have everything right at hand when you decide to work on your project and looks great too.  *TIP:  one way to keep your working skein of yarn readily available is to seal it within a plastic Ziploc bag, cut a small hole in the corner of the bag itself and have your yarn come out of that opening.  Helps to keep the ball of yarn contained and tangle free.

An Ott Lamp or Daylight Lamp to work by is most helpful and helps reduce stress on your eyes.  Also, comfort grips which slide onto your hooks or comfort grip hooks themselves will help you with fatigued hands and wrists.

Of course, you will be able to locate some of these crocheting accessories at your big box sewing/craft stores.  But don’t forget to check out some websites like Knitting Warehouse and Yarn.com for a wide variety and unique crocheting “extras” too.

Hopefully, some of these suggestions will lend themselves to giving you a great crocheting experience!!!


HAPPY CREATING!!

Disclaimer:  This post contains affiliate links – “small commission earned”