Tag Archive | Crochet

Simple Crochet Scalloped Edge Scarf

Wow, can’t believe how fast winter is approaching so here’s a pretty easy crochet pattern for a cozy scarf.  It’s simple because it is repetitious and a good design that can be worked while watching TV.   Also, you will have a lot of design flexibility with this pattern to fit your specific needs.

My example is made using one skein (50 grams/183 yards) Plymouth Yarn, Dreambaby DK, and a size G (4.00mm) hook.   I am crocheting my scarf for a toddler (2-year-old) so my width is only about 4″  but you can design your scarf to any width as long as your chain stitches are a multiple of 3 (any number of chains that can be evenly divided by 3).

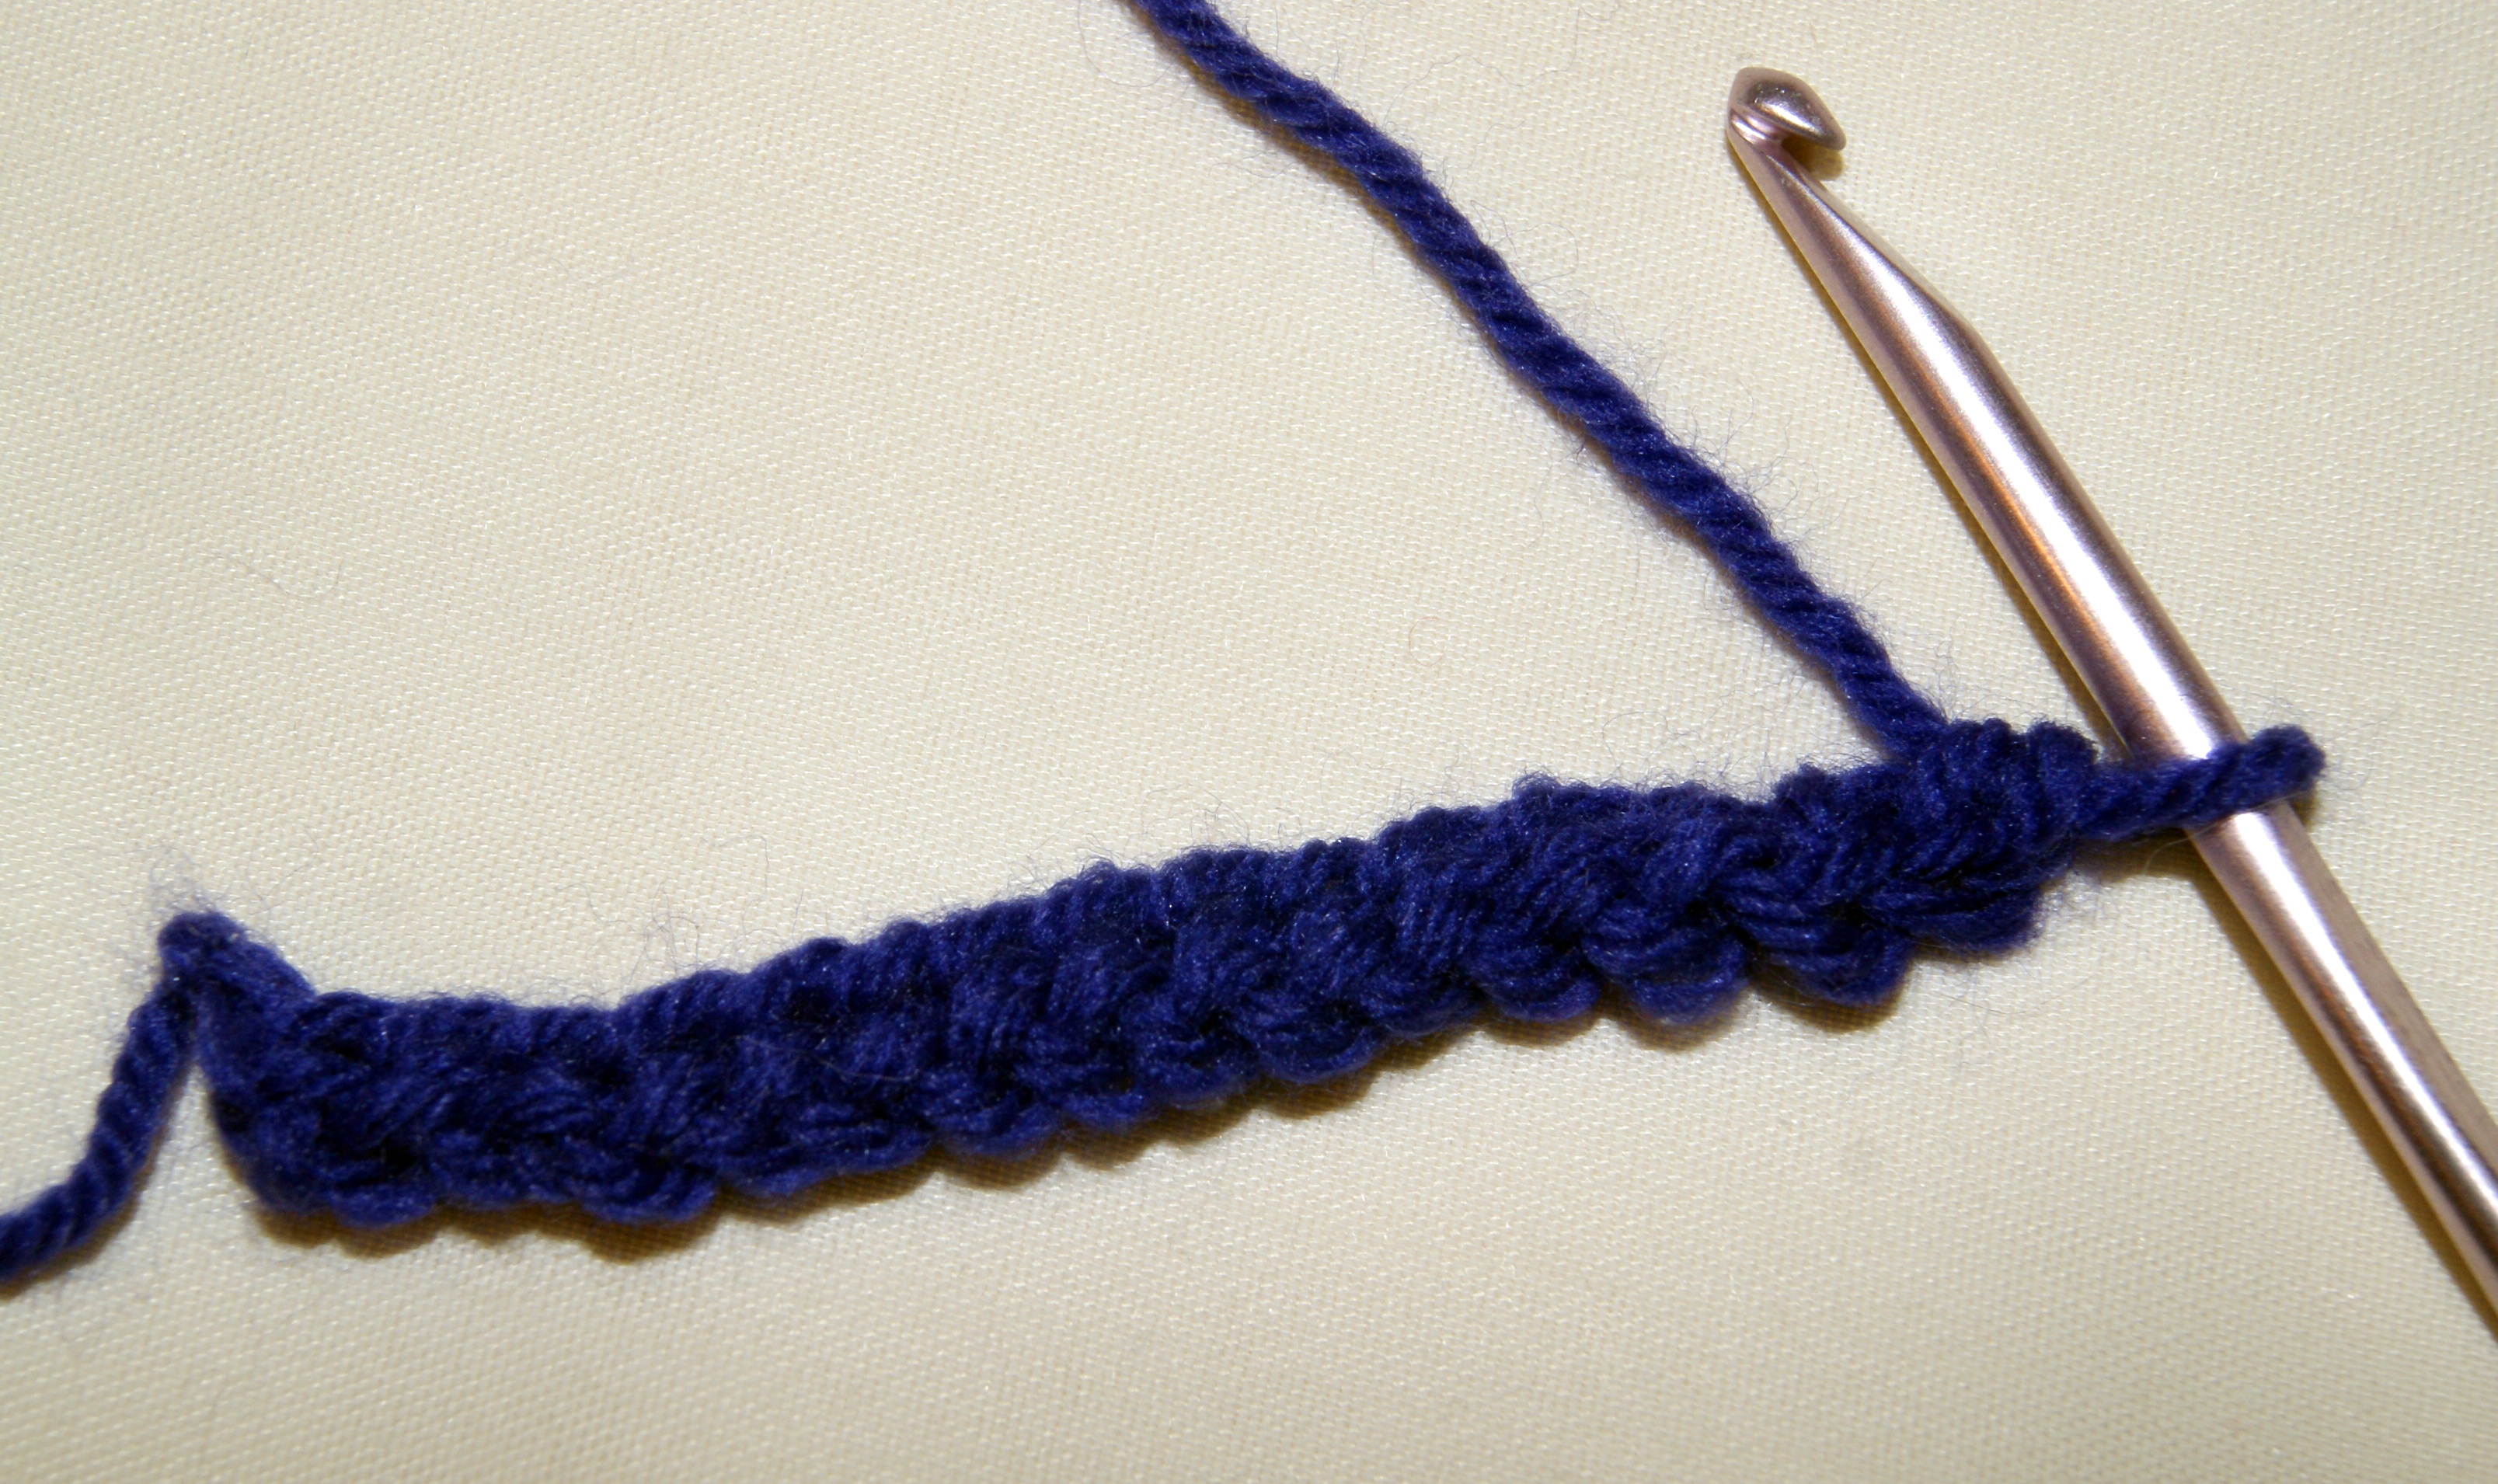
I used the single crochet foundation chain for my beginning base.  For my example, I completed a total of 15 single crochet foundation chains.  Do not turn your work.
15 SC foundation chains


In the 3rd chain from hook, you will work 2 double crochets (DC), 2 chains, and 1 single crochet (SC) in that one chain (2 dc, ch 2, 1 sc).   * Skip the next 2 chains and crochet your pattern again (2 dc, ch 2, 1 sc) in that chain.  Repeat from * until your first row is completed.  Do not turn.

Crochet 2 chain stitches and now you will begin working along the back side of your foundation chains.  In first stitch *(2 dc, ch 2, 1 sc),  skip next 2 chains and repeat from * until you reach the end of the row ending with your (2dc, ch 2, 1 sc).  Turn.

**Chain 2, skip the first SC, and in the ch 2 space work (2 dc, ch 2, 1 sc), *skip the next 2 dc and 1 sc, and in next ch 2 space work your scallop stitch (2 dc, ch 2, 1 sc) again.  Repeat from * until the end of the row.  You will skip the last 2 dc, turn, and repeat from **.  Continue this crochet pattern until you have the finished length that you want for your scarf.

Pattern design

For the toddler pattern, I like to have my length around 40″ so the scarf can be folded in half and slide the two ends through the fold to loosely secure it around the child’s neck and tuck inside their coat.  Remember, the length can be whatever fits your design.
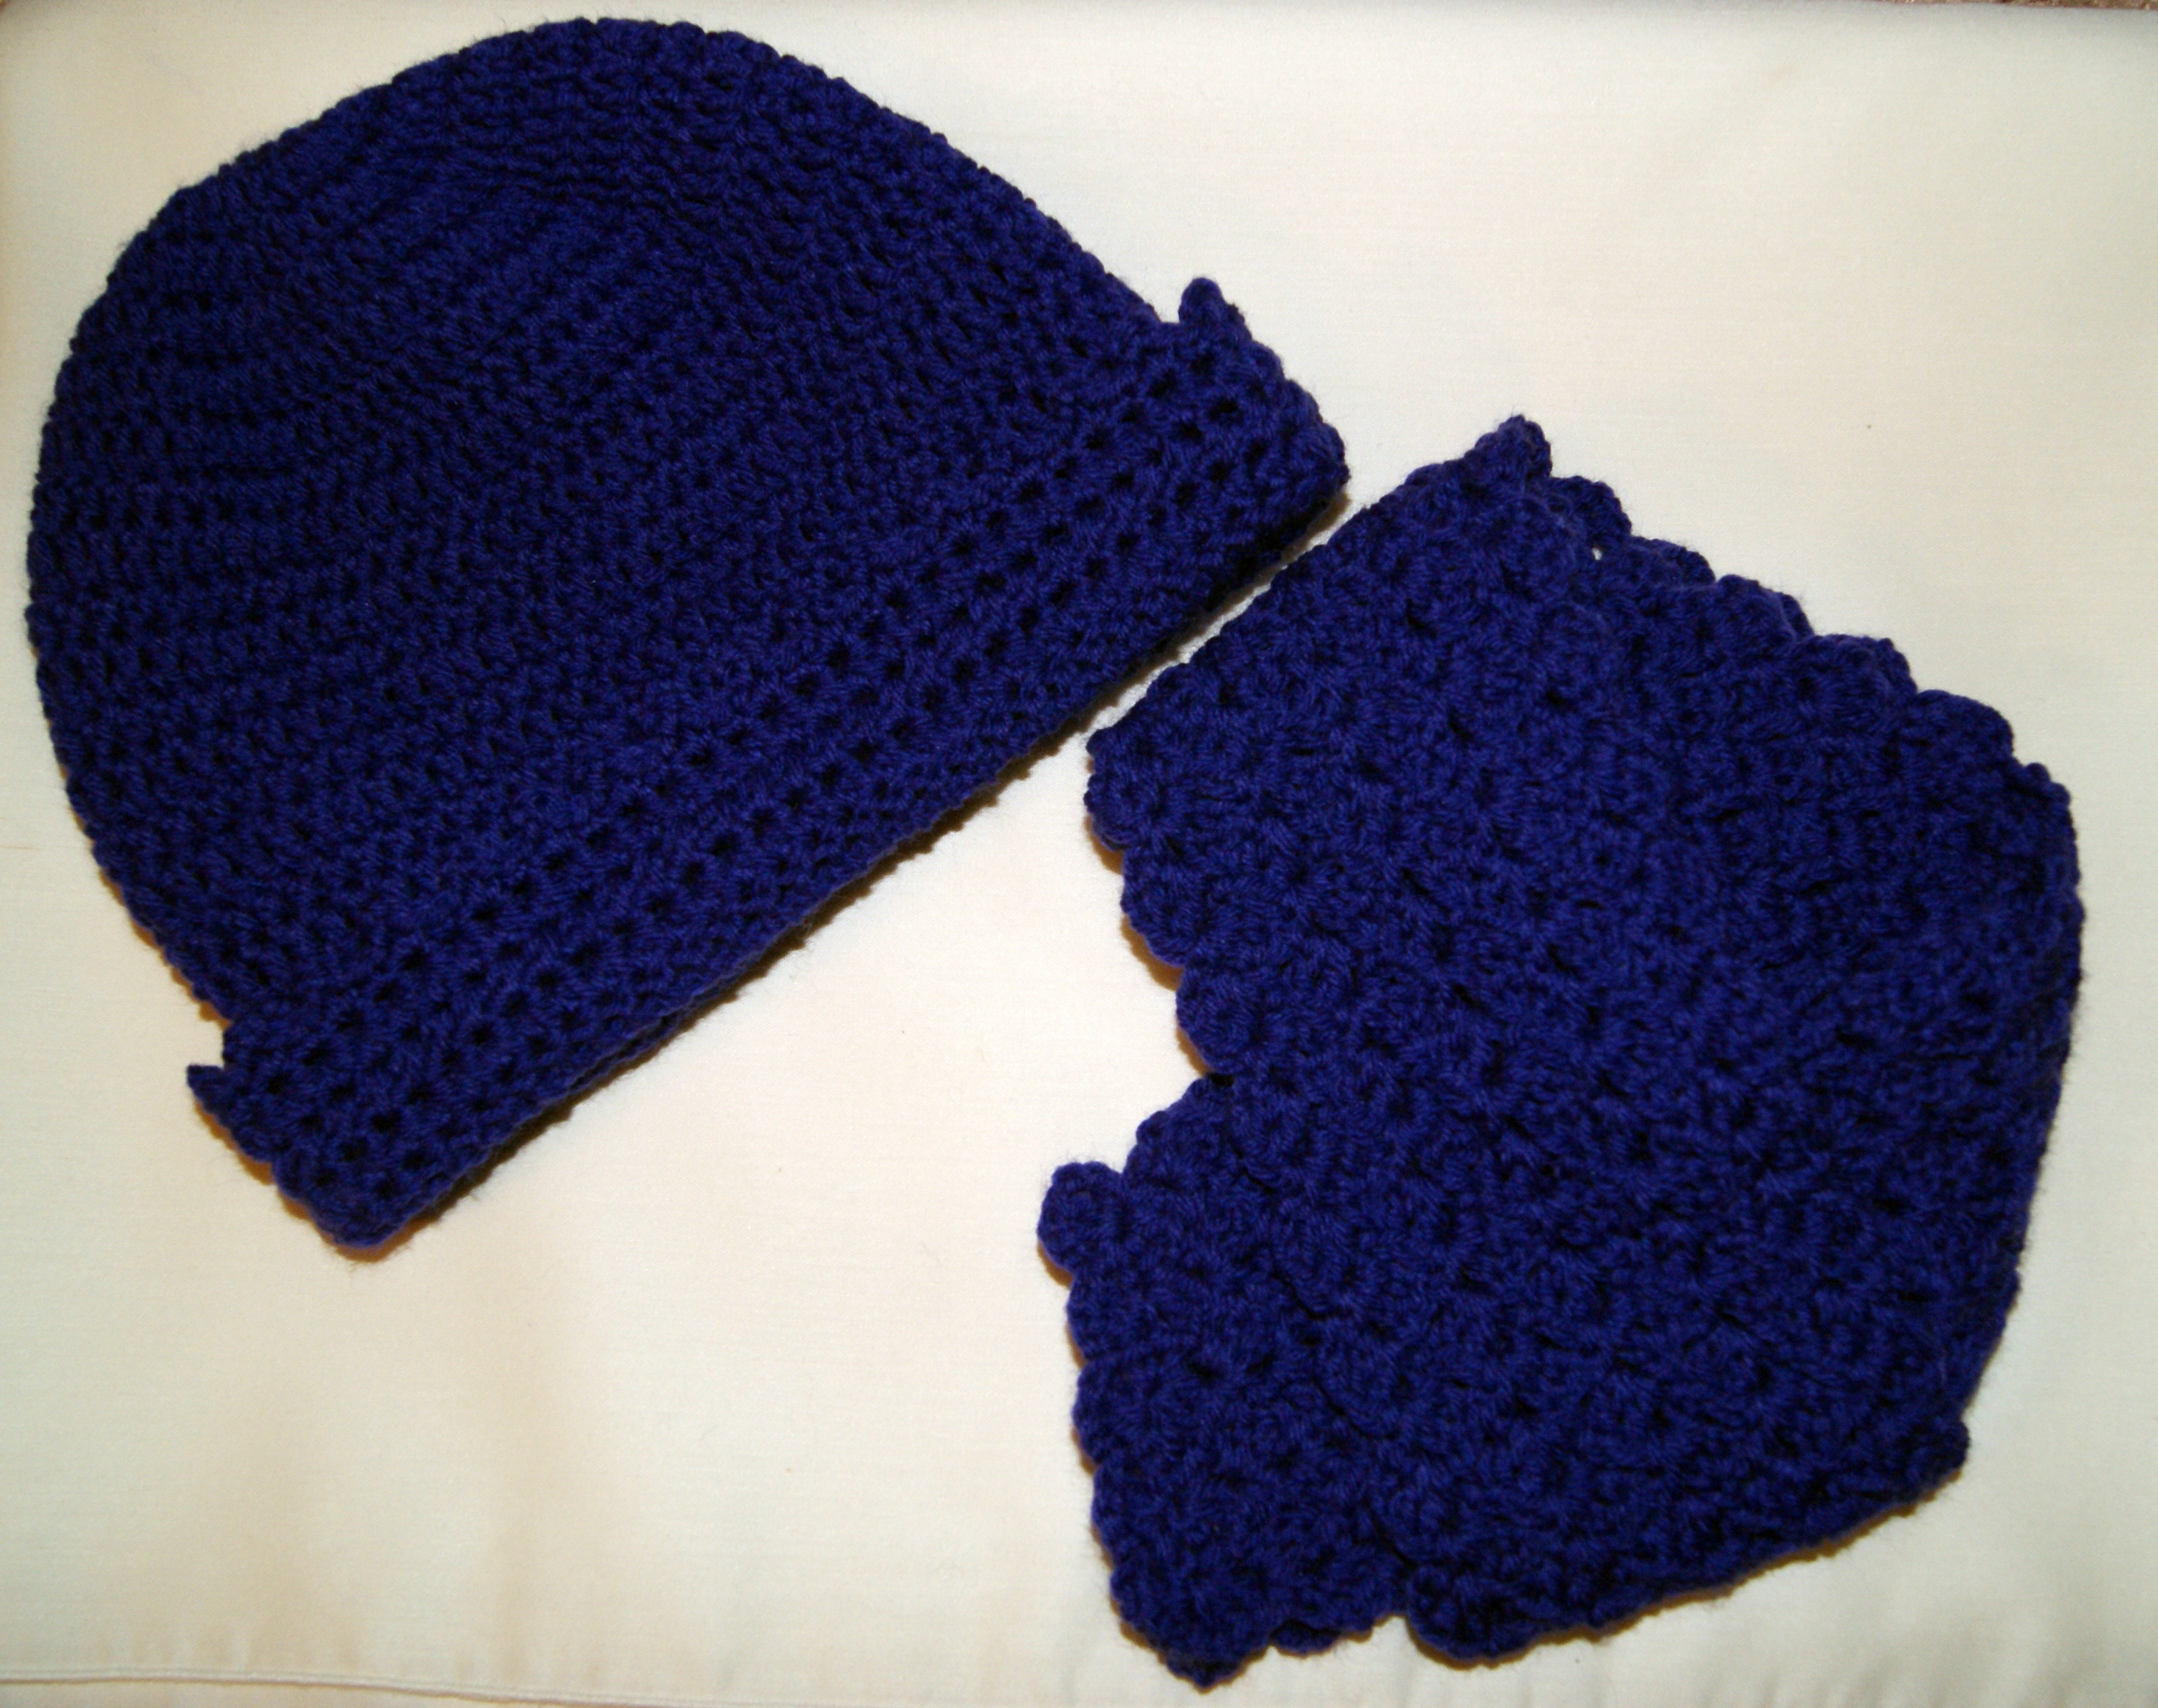
Quick ‘n Cozy Winter Beanie with the Scalloped Scarf

Perfect way to stay snuggly warm for the upcoming winter season.  Makes a wonderful gift set too!!

HAPPY CREATING!!

Disclaimer:  This post contains affiliate links – “small commission earned”


A Quick ‘n Cozy Crocheted Fun Winter Beanie

There is nothing like a cozy crocheted beanie hat for winter, especially to hide those “bad hair” days!!  This pattern is super simple and can be crocheted to your own designs very easily too.  You can make one of these cute beanies in an evening while watching TV!

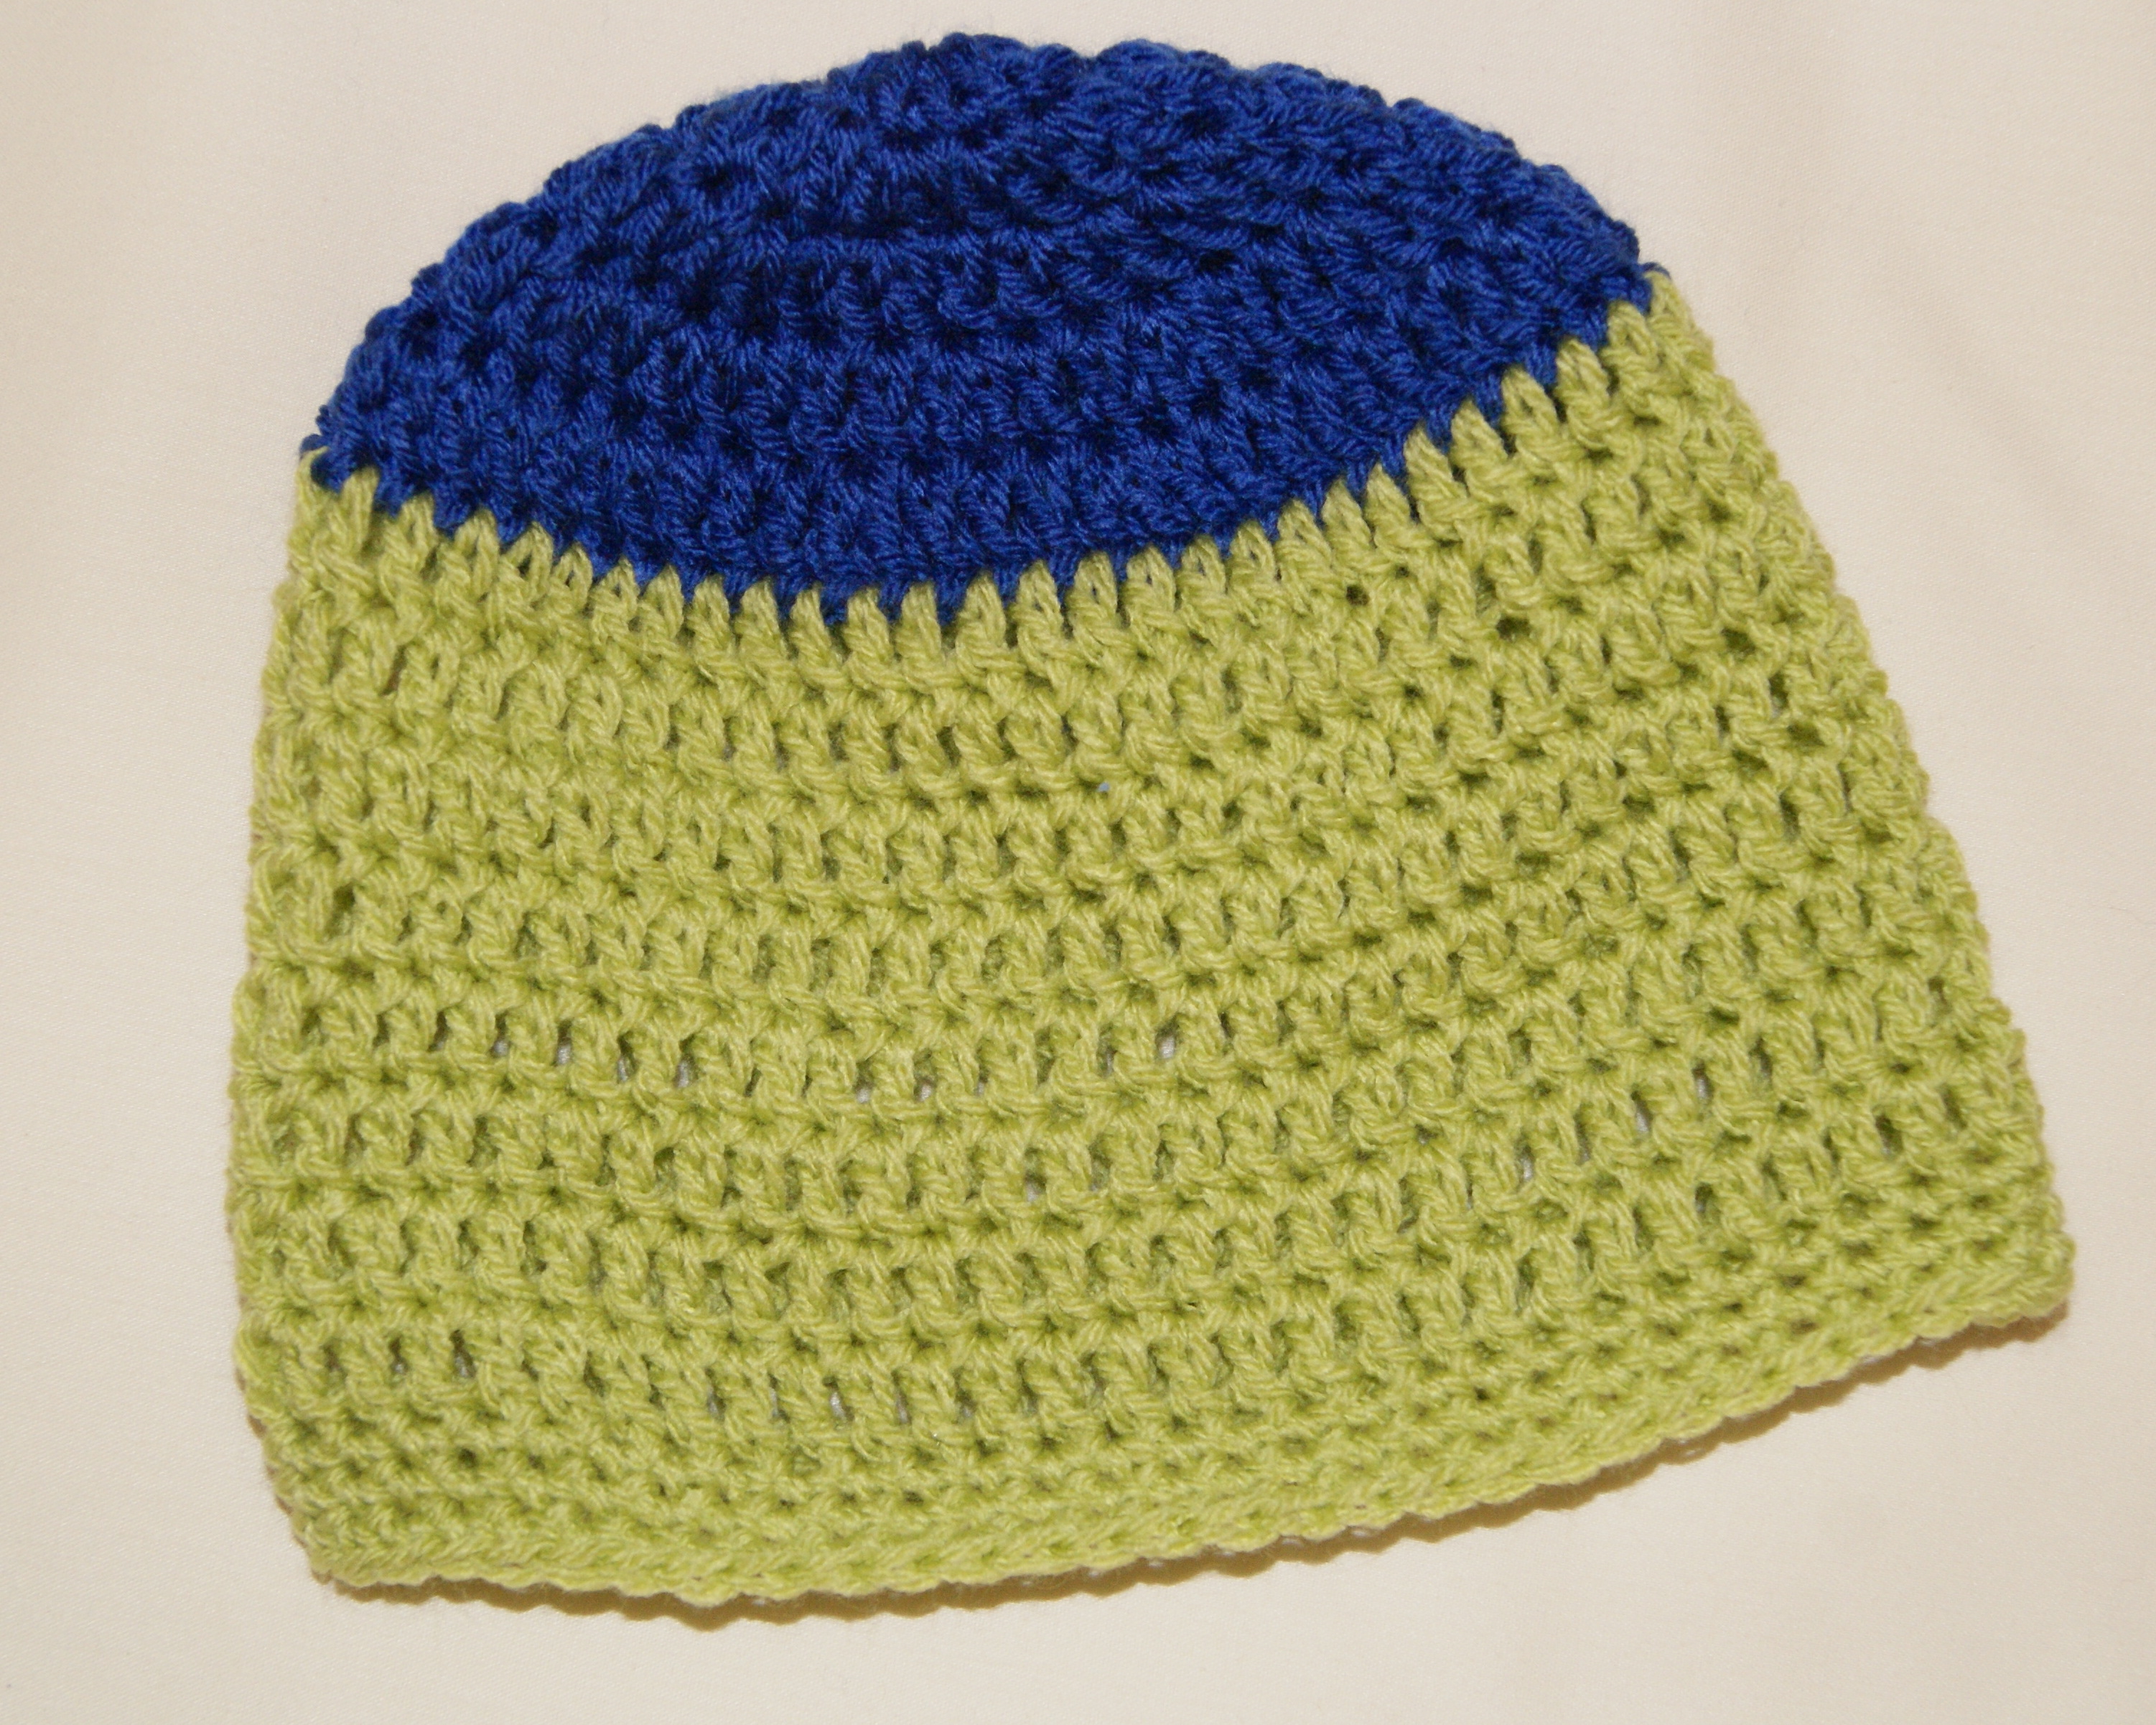
I begin the beanie by “working in the round” to create the crown piece for the hat using a double crochet (DC) stitch and continue working  in the round until I fasten off.  For an adult beanie, I use a crochet hook (Size I), crocheting in the round completing through the fifth round.  Please refer to blog post Crochet Designing Tips – Working in the Round for complete instructions on how to create your circle.Example of DC crown piece

Once I have completed the fifth round of increases for my crown piece circle, I join with a slip stitch, CH 2 and continue making my DC rounds (no more increases) until I get to the finished length that works for me, which is an additional 13-15 rounds.  NOTE:  At the end of each DC round, I join with a SL stitch and CH 2 and then proceed with my DC.  This helps to keep the shape intact.   I like to be able to fold up my beanie a couple of inches on itself for extra warmth for my ears.  You have creativity here based on your desires and likes, if you don’t want to be able to fold up your beanie than only crochet an additional 12-13 rounds and if you want a deeper fold maybe crochet 16-17 extra rounds.  It really is a personal preference.

After completing my DC rounds, I like to give a finished look to the beanie by crocheting another 3 rounds of single crochet (SC) stitches. Sample beanie

Just remember when working in the round to be sure to place a marker to indicate a row/round so you know where you are in the pattern and to help with counting your rows/rounds.

This is a very easy pattern that can be adjusted to fit many different sizes for babies, children and adults.  Just change your crochet hook size and the number of rounds after making your crown piece circle.  Hook size recommendations and suggested rounds for different sizes  once you have your crown piece circle completed are:

  • Size F for newborn (maybe D or E if you’re making for a preemie) and  7 DC rounds plus 3 rounds of SC
  • Size G for toddlers and  10 DC rounds plus 3 rounds of SC
  • Size H for children and 12-13 DC rounds plus 3 rounds of SC
  • Size I for adults and 13-15 DC rounds plus 3 rounds of SC

Again, the rounds are a personal preference thing depending upon what look you want from the finished beanie.  Once you have made one or two, you will know what works best for your needs.

Have fun with this pattern and experiment with different stitches too.  You could crochet this pattern is all half double crochet (HDC) stitches if you want.  Just remember it is a shorter length stitch and you might need to increase your rows/rounds to get the length desired.

Another look would be to complete  your crown circle piece in DC and then alternate your rounds between DC and HDC finishing off with a couple of rows of SC.  Adding crochet motifs to your beanie will give it a truly custom look too.

This is a truly wonderful beanie pattern for making extras to donate to schools, hospitals, etc.

FYI:  I like to use a 4 ply worsted weight yarn that has some lamb wool blended in for good warmth.  One skein will complete an adult beanie easily.

 HAPPY CREATING!! 

Disclaimer:  This post contains affiliate links – “small commission earned”
Crochet Designing Tips – Working in the Round

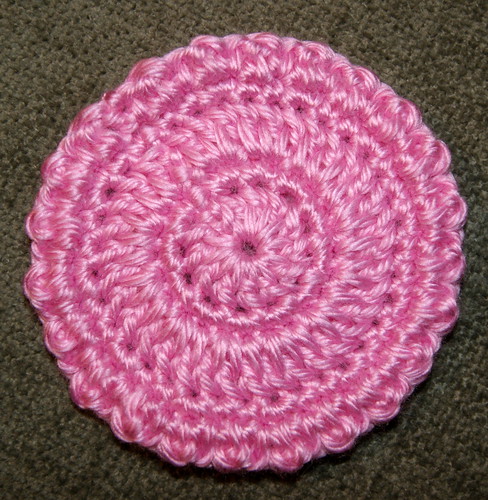
When designing a crochet project that will end up being a circle or needing a round bottom (“working in the round”), there are a few simple guidelines to follow so you don’t end up with a wavy coaster or a little bowl!!

Remember, when working in the round, you must increase  on each round so that your circle will lie flat.  If you increase too many times, you end up with a ruffled look and if you don’t increase enough, your circle curls in on itself  looking like a bowl.  The wonderful crochet world has developed a “simple” guideline to help you keep your increases in proportion with the growing diameter of your circle.

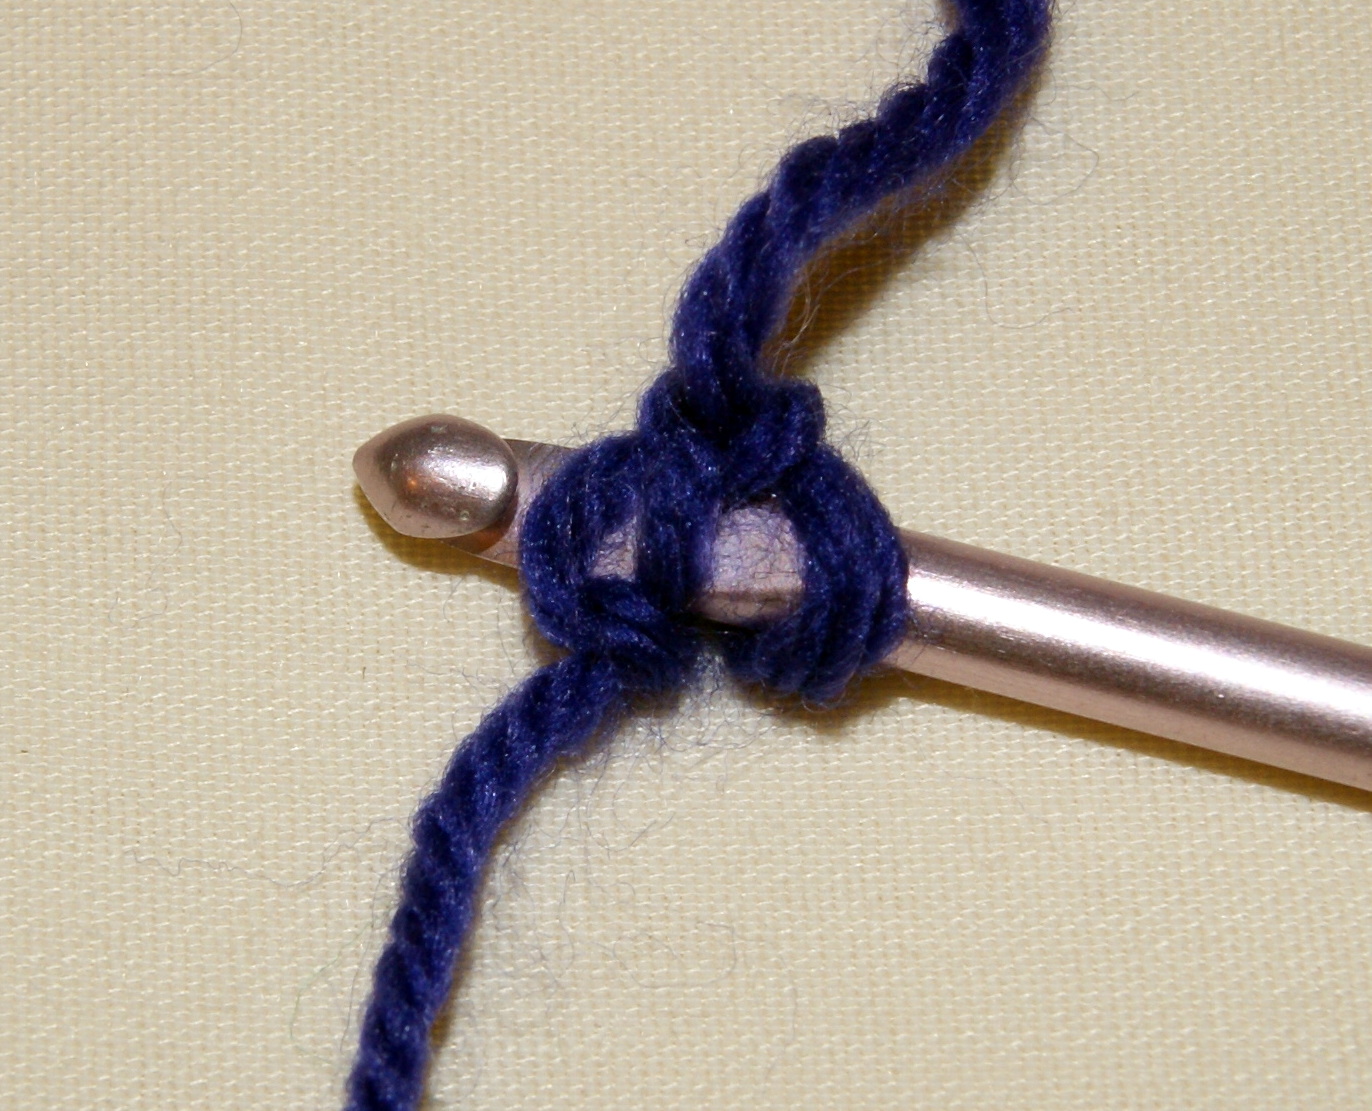
The suggested beginning circle for a SC (single crochet) design would be 6 stitches.  The beginning circle for a HDC (half double crochet) would be 8 stitches, for a DC (double crochet) begin with 12 stitches, and for a TR (treble crochet) it is best to begin with 18 stitches.

Once you have crocheted your beginning circle and joined with a SL (slip) stitch, place a marker so you know that is the start of your round.  Now for the next increase round, you will work two stitches of your choice into every stitch that forms your circle.

Again, join with a SL stitch, move your marker and get ready for your third round.  For this round, you will increase by working two stitches into every other stitch.

Repeat with your SL stitch, replace your starting point marker and begin your fourth round increases by working two stitches into every third stitch.    Your fifth round increases would be working two stitches into every fourth stitch.  Continue increasing in this pattern until your circle is as large and round as you want it to be.

By staggering your increases in the above fashion, the diameter of your circle will grow evenly and have a nice finished look.

Experiment with various types of yarns and different sized hooks to achieve a wide variety of crocheted circles.

Just imagine all the fun ways to use your circles — add them to clothing, make unique jewelry, update an old pillow or sweater or just use them alone as a wonderful coaster for that special cup of tea or coffee!!

  • TIP:  Crochet 4 CH (chain stitches), join with a SL stitch and within that circle begin your SC  –  6 CH for HDC  –  10 CH for DC  –  12 CH for TR.

HAPPY CREATING!!

Disclaimer:  This post contains affiliate links – “small commission earned”


Adding a Crocheted Edging

Crocheted edgings are another way you can personalize an article of clothing or update a home decor item.  You can just about take any stitch pattern you like and use it as an edging for whatever strikes your fancy.

The most important part of doing an edging is making sure that your stitch placement guides/holes are even.  There are several different types of tools available to make  those holes for you so that they are spaced evenly to give a wonderful finished look.  Check out the edgerydoo which looks like it does an excellent job of making small holes for you to crochet an edging along a blanket, etc.  Also, the blogspot called  At Home in English Valley used a Skip Stitch Rotary Blade to create small holes in a flour sack tea towel for crocheting a nice edge.

Another thing that I like to do as a foundation to crochet an edging on to is the lazy daisy or detached chain embroidery stitch.  This doesn’t require making any holes and you can embroider the stitch along the edge of almost anything.

Making the lazy daisy embroidery stitch


How the embroidery stitches look along the edge

NOTE:  I am left-handed so embroidery stitches are started from the opposite end of fabric from a right-handed person.  However, I crochet right-handed so the single crochet stitches are going in the other direction!!  That’s what happens when you are the only left-handed person in your household growing up.  No one could teach me how to crochet left-handed!! 

An important factor to keep in mind whether you are making holes for stitches or using an embroidery stitch for the foundation, is to plan for your stitch multiplier.  A stitch multiple is the number of stitches needed to crochet a complete stitch pattern.  Example:  if your edging pattern calls for a multiple of 3, you need to insure that your foundation row can be divided by 3 evenly.  Plus you will need to have one more hole or embroidery stitch for turning or corners if needed.

After you have your foundation row set up, I like to go around my entire foundation row crocheting a single crochet in all my stitches or holes (at this time, you can insure you have the correct number of SC for your pattern, increase in a stitch if you need to).  By doing this, you have a nice base to work from.  After completing your row of SC, then you are ready to begin the edging design you have chosen.

How it looks after completing a row of single crochet

Once you start crocheting edgings onto your projects, your hook will have a mind of its own!!!

  • TIP: If you are doing the lazy daisy embroidery stitch, use the same color crochet thread for the foundation row so that everything blends together.

HAPPY CREATING!!

Disclaimer:  This post contains affiliate links – “small commission earned”