I really like the “magic” loop crochet technique. There are many patterns that begin the project with this technique but you can also convert a pattern that begins with a joined circle to a magic loop if you so desire.
Here’s my version of a magic loop with close up pictures which I hope will help those of you learning to do this technique. This is how I weave my yarn through my fingers to get ready to make the loop. 
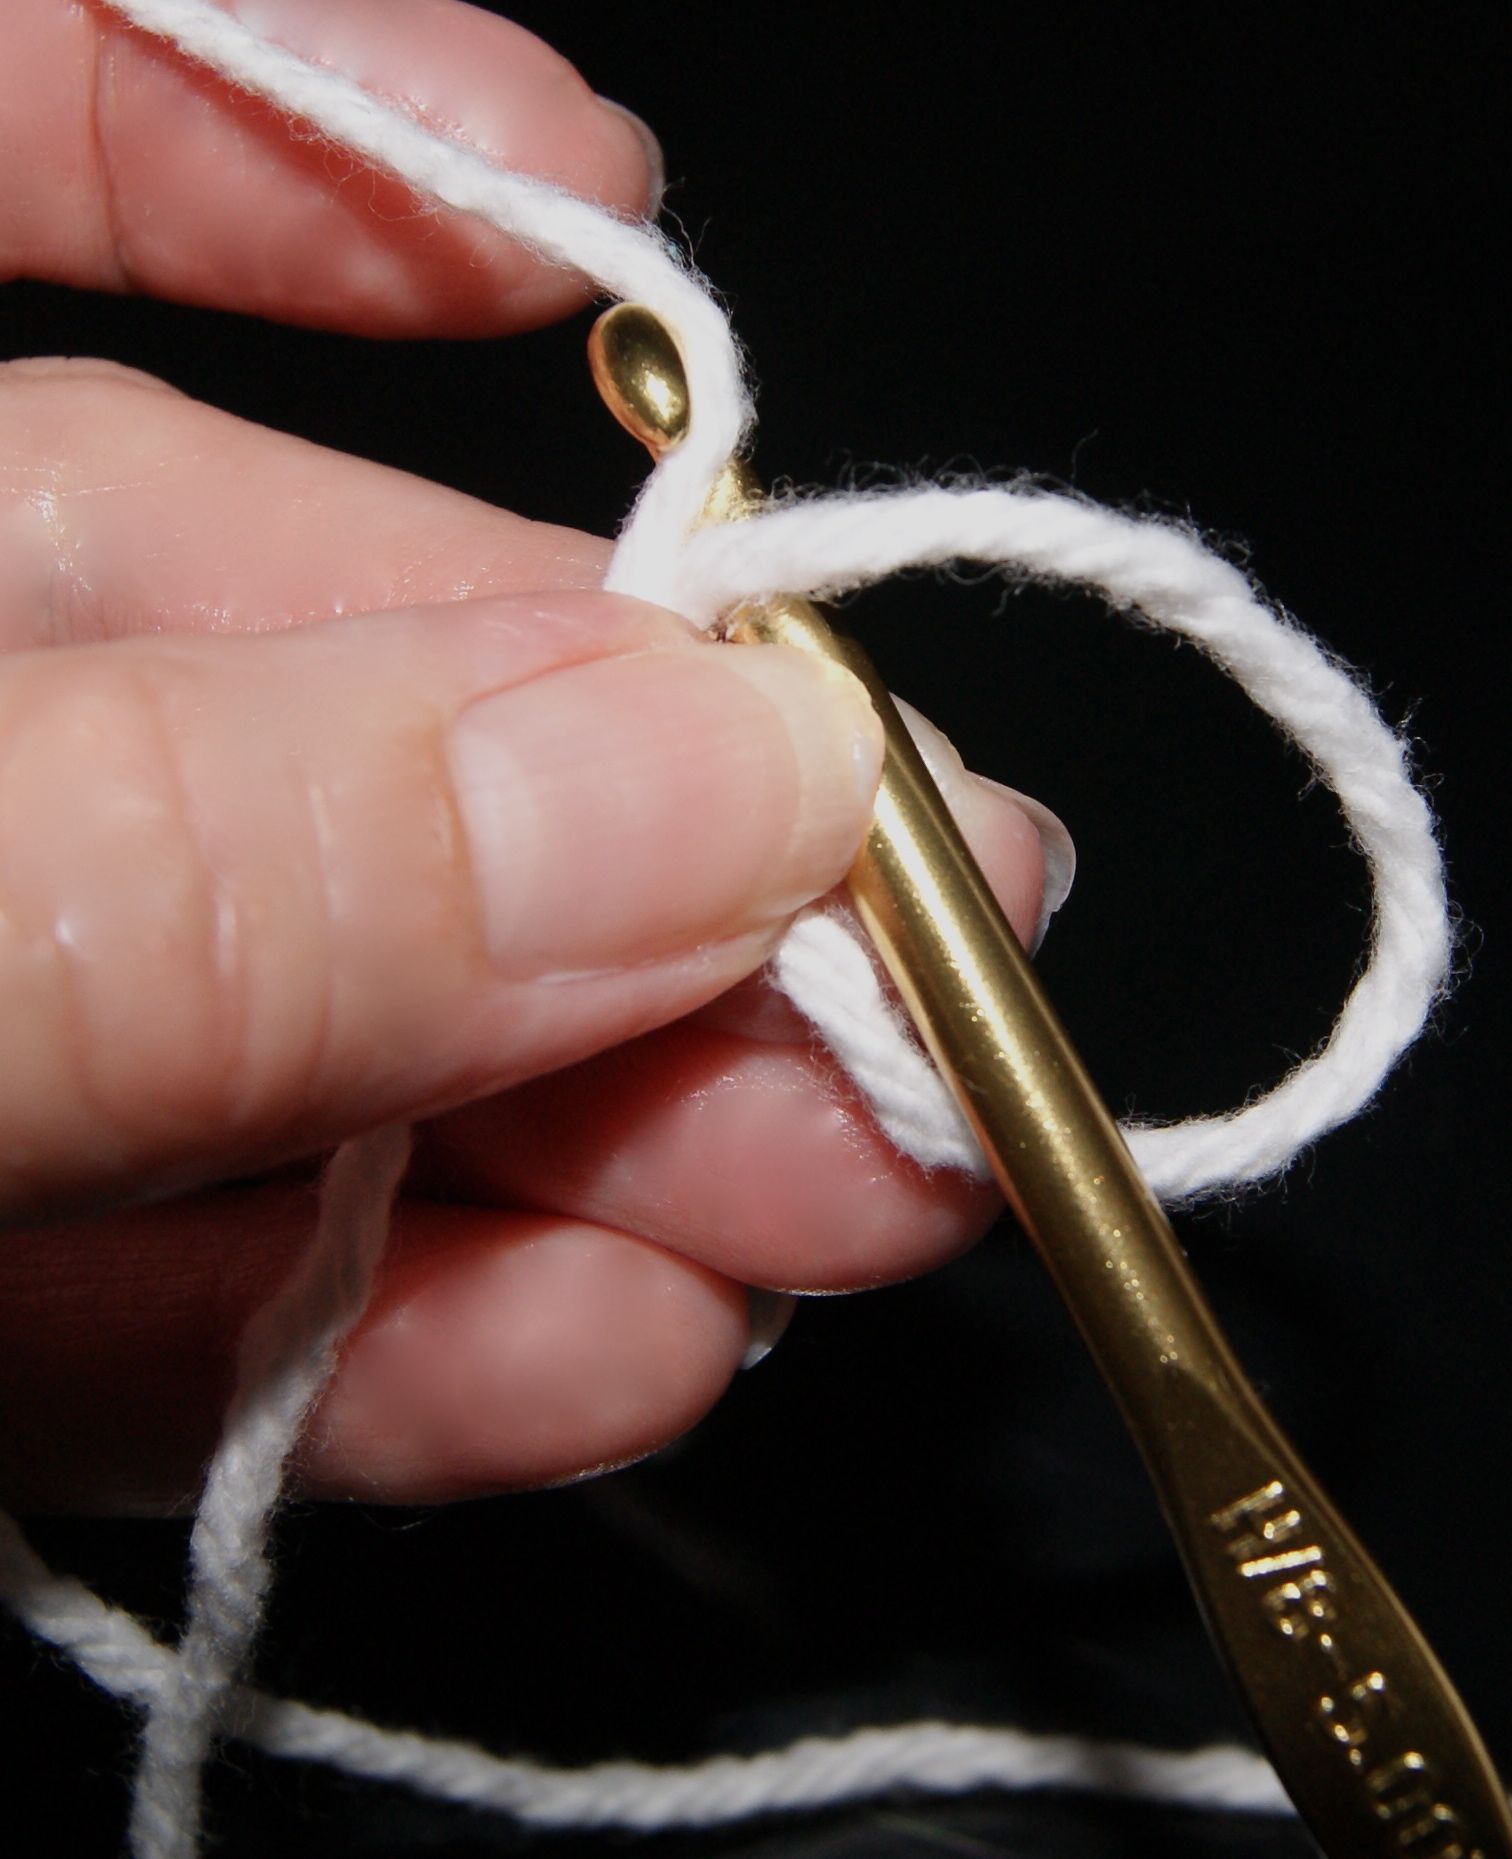
Now you want to form the circle or “loop” that you will be crocheting inside of. You need to form a counterclockwise loop with the tail or end of yarn heading down and on the bottom side of the loop and the yarn pulling from the skein off to the side and on top of the loop. Hold this loop join between your middle finger and your thumb to keep in place ready to make your first stitch.

counterclockwise loop
 Insert your crochet hook through the loop and pick up the yarn pulling from the skein and pull it through the opening of the loop. Yarn over and pull through completing first stitch which is actually your slip knot. Be sure to keep holding the loop (the tail yarn and loop) between your middle finger and thumb so it doesn’t come apart. Now crochet your pattern designated circle stitches. I am showing double crochet (dc) stitches inside loop. Once you have a completed dc, your loop is pretty secure and it isn’t necessary to keep holding it securely between your middle finger and thumb. One thing you want to make sure of is to keep your tail yarn (which will be the yarn you will pull to tighten your loop) along the outside edge of the loop. It will want to twist around the loop as you make your stitches and it won’t be easy to close the loop if twisted.

completed first dc, untwisted yarn tail to keep along outer edge of loop

pulling loop through magic loop making slip knot
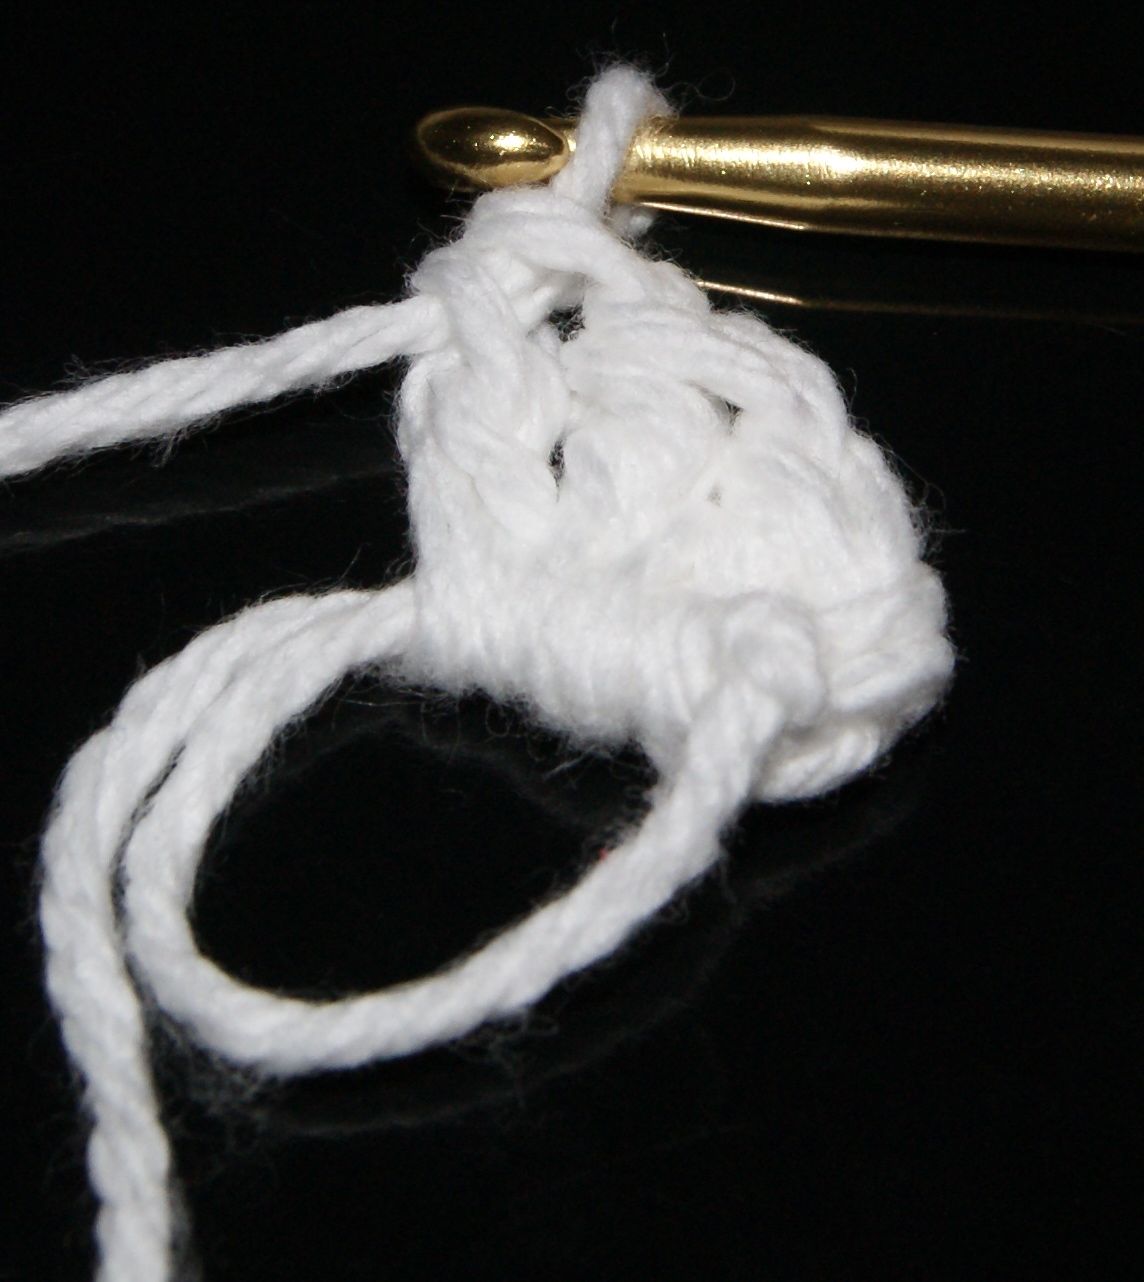
completed 3 dc
Finish the required stitches according to your pattern, my sample I am showing 6 dc stitches inside loop, now you will join with a slip stitch (sl) into your beginning stitch. Not the first loop which was actually a slip knot but your first actual stitch. Once you complete the slip stitch (sl) join, pull securely on the tail yarn to close the loop as tightly as you want it.

joining into 1st dc with sl stitch

completed “magic” loop
Now you are ready to begin your next round according to the directions of your pattern. I personally really like to do the “magic” loop and I hope you find these directions helpful too.
HAPPY CREATING!!
Disclaimer: This post contains affiliate links – “small commission earned”