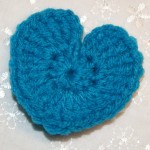
My example here, I have used a size G crochet hook and some acrylic yarn.
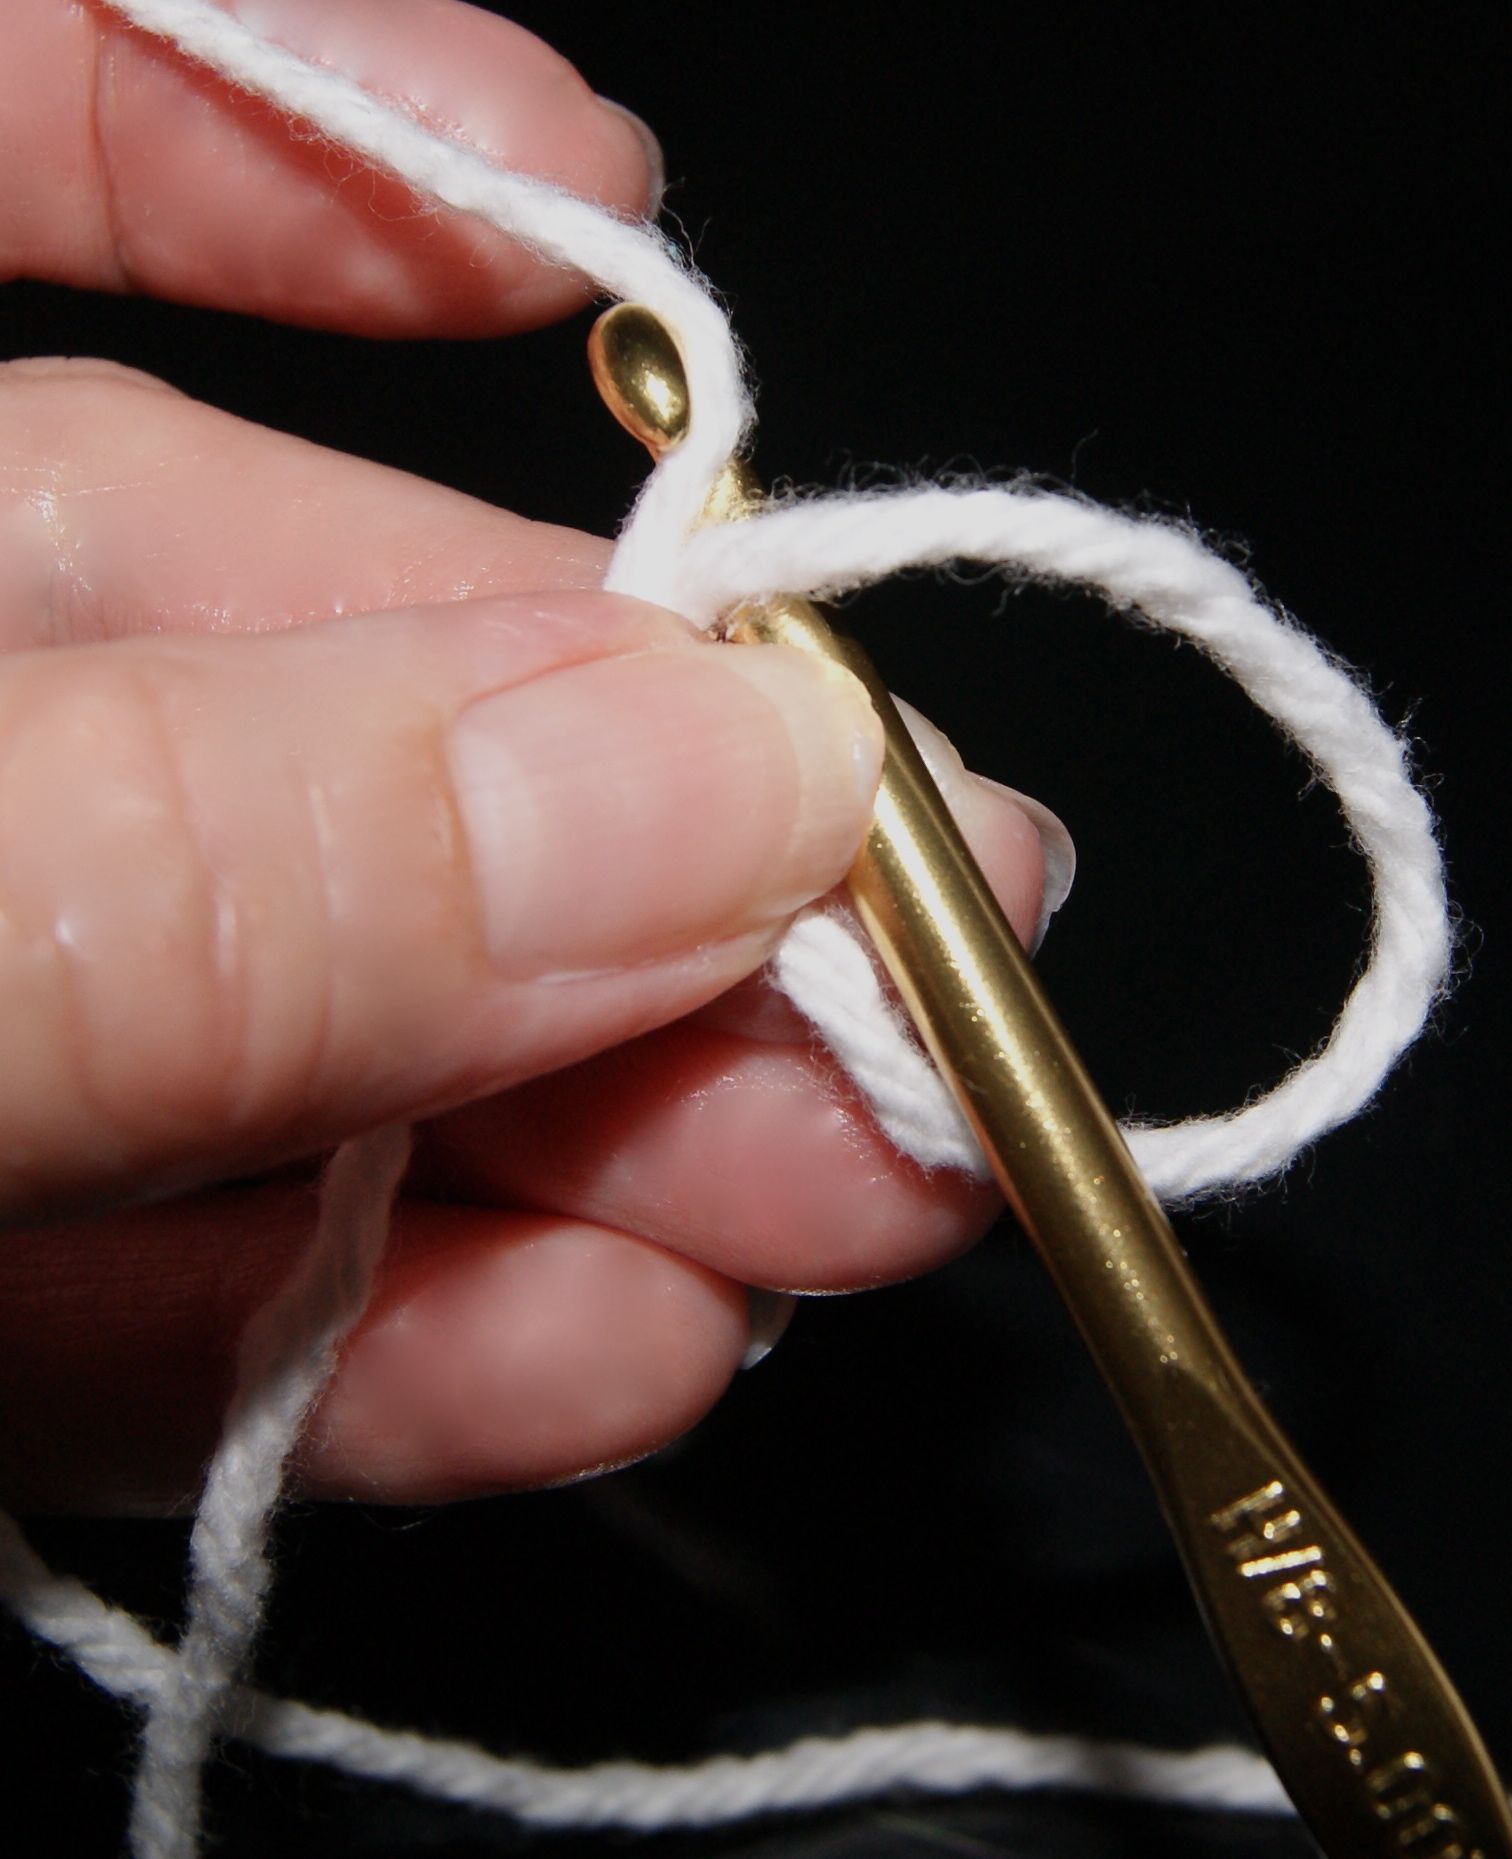
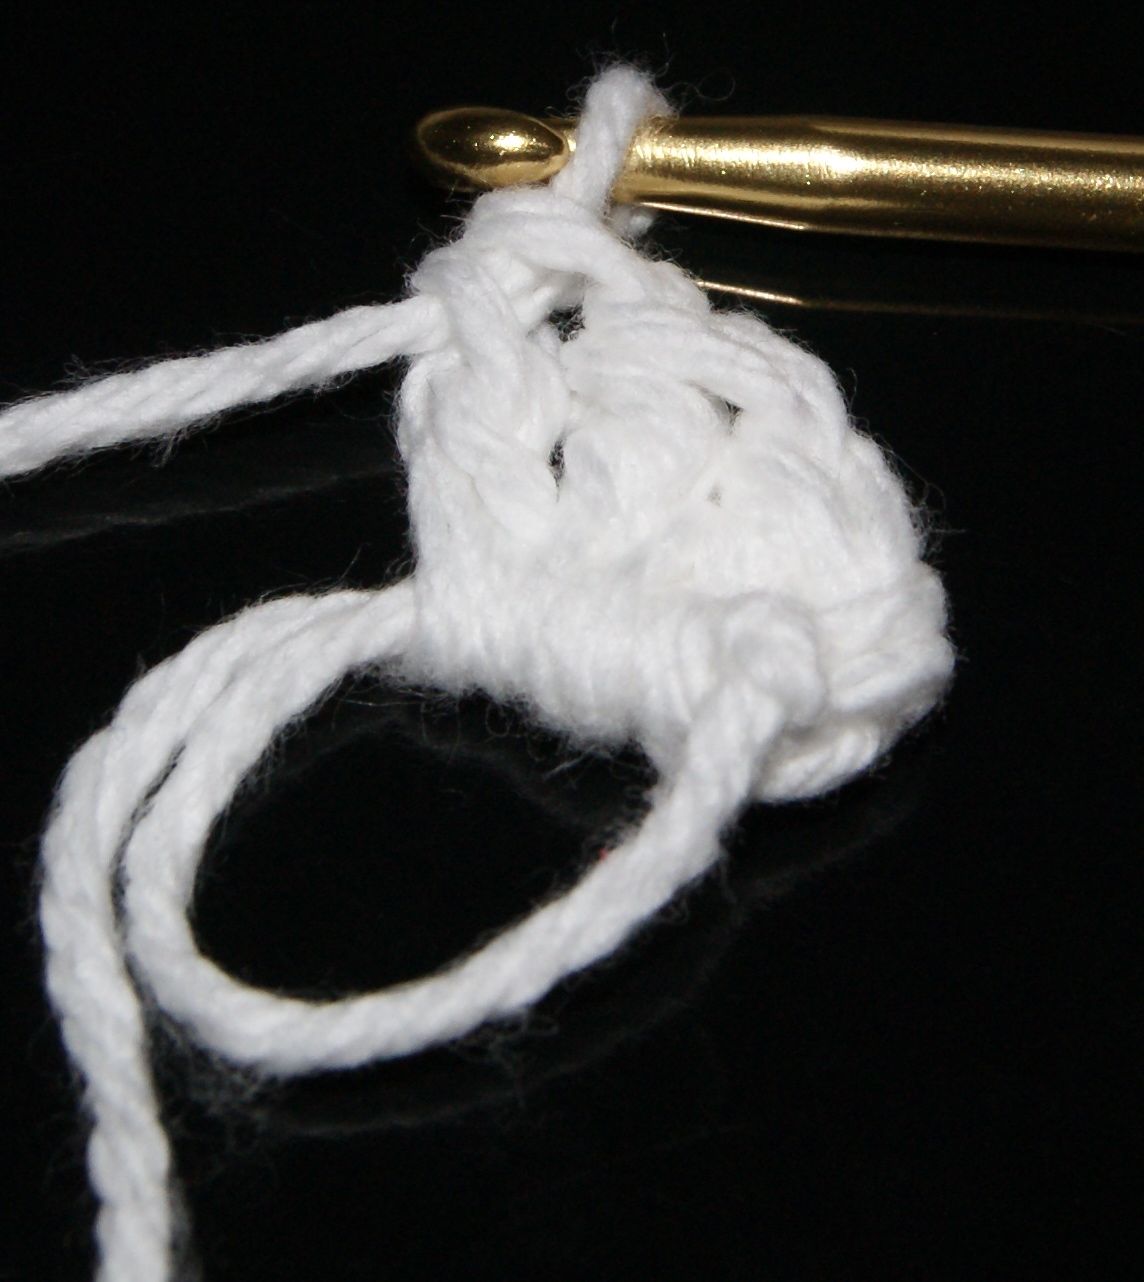
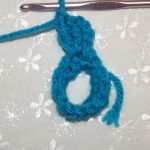
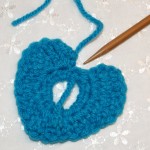
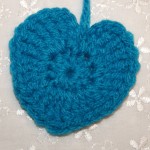
 With this pattern, I began by crocheting the “magic loop” and making 12 HDC.
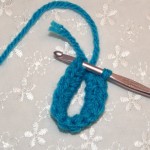
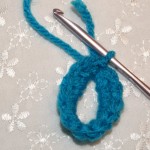 Slip stitch in the 1st HDC to join your loop making a circle. You can pull a little bit on the magic loop tail but don’t pull it totally closed until you have completed your heart.
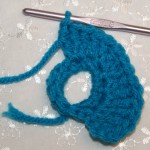
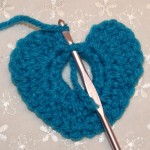
 Make another slip stitch (SL) in the next HDC stitch. Chain 4 and crochet 2 treble crochets in that same space.
In 3rd HDC ~~ crochet 3 treble crochets
In 4th HDC ~~ crochet 1 half treble crochet then 1 double crochet
In 5th HDC ~~ crochet 2 double crochets
In 6th HDC ~~ crochet 2 double crochets
Make another slip stitch (SL) in the next HDC stitch. Chain 4 and crochet 2 treble crochets in that same space.
In 3rd HDC ~~ crochet 3 treble crochets
In 4th HDC ~~ crochet 1 half treble crochet then 1 double crochet
In 5th HDC ~~ crochet 2 double crochets
In 6th HDC ~~ crochet 2 double crochets
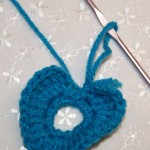
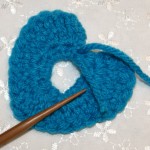
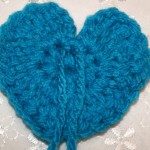
 In 7th HDC ~~ crochet 1 half treble stitch, 1 treble stitch, 1 half treble stitch (this creates the bottom point of the heart)
In 8th HDC ~~ crochet 2 double crochets
In 9th HDC ~~ crochet 2 double crochets
In 10th HDC ~~ crochet 1 double crochet then 1 half treble crochet
In 11th HDC ~~ crochet 3 treble crochets
In 12th HDC ~~ crochet 2 treble crochets, chain 3 (this is one chain less than the beginning chain which will help create a better curve for the top of your heart), and 1 single crochet.
In 7th HDC ~~ crochet 1 half treble stitch, 1 treble stitch, 1 half treble stitch (this creates the bottom point of the heart)
In 8th HDC ~~ crochet 2 double crochets
In 9th HDC ~~ crochet 2 double crochets
In 10th HDC ~~ crochet 1 double crochet then 1 half treble crochet
In 11th HDC ~~ crochet 3 treble crochets
In 12th HDC ~~ crochet 2 treble crochets, chain 3 (this is one chain less than the beginning chain which will help create a better curve for the top of your heart), and 1 single crochet.

 Cut your yarn and pull it all the way through the stitch leaving a yarn tail on the right side of your heart. Now flip your heart to the wrong side and slipping your hook through the very first slip stitch that you made, pull your yarn tail to the back.
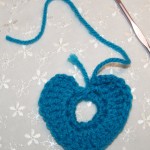
 Now you want to take the tail from your magic loop and pull that tight to your liking. Make a square knot with your two tails and weave in the ends.
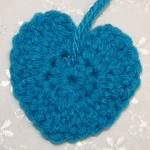
 What I love about this pattern is that it lends itself to almost any time of yarn and size hook. I hope you enjoy this pattern as much as I do and send some pictures of what you have done with your hearts 🙂
 Please remember that this is my pattern not for your use to reproduce or redistribute in any way!! Crocheting your own hearts can be used in any way you want but it would be greatly appreciated if you could give me credit for the design ~ www.stitch4ever.com. Thanks so much 🙂
HAPPY CREATING!!
Disclaimer: This post contains affiliate links – “Commissions Earned”