Tag Archive | Sewing

How to Sew Bean Bags

What child doesn’t LOVE to toss around squishy little bean bags!!  Here’s some quick tips on how to make these cute, fun bags.

SONY DSC

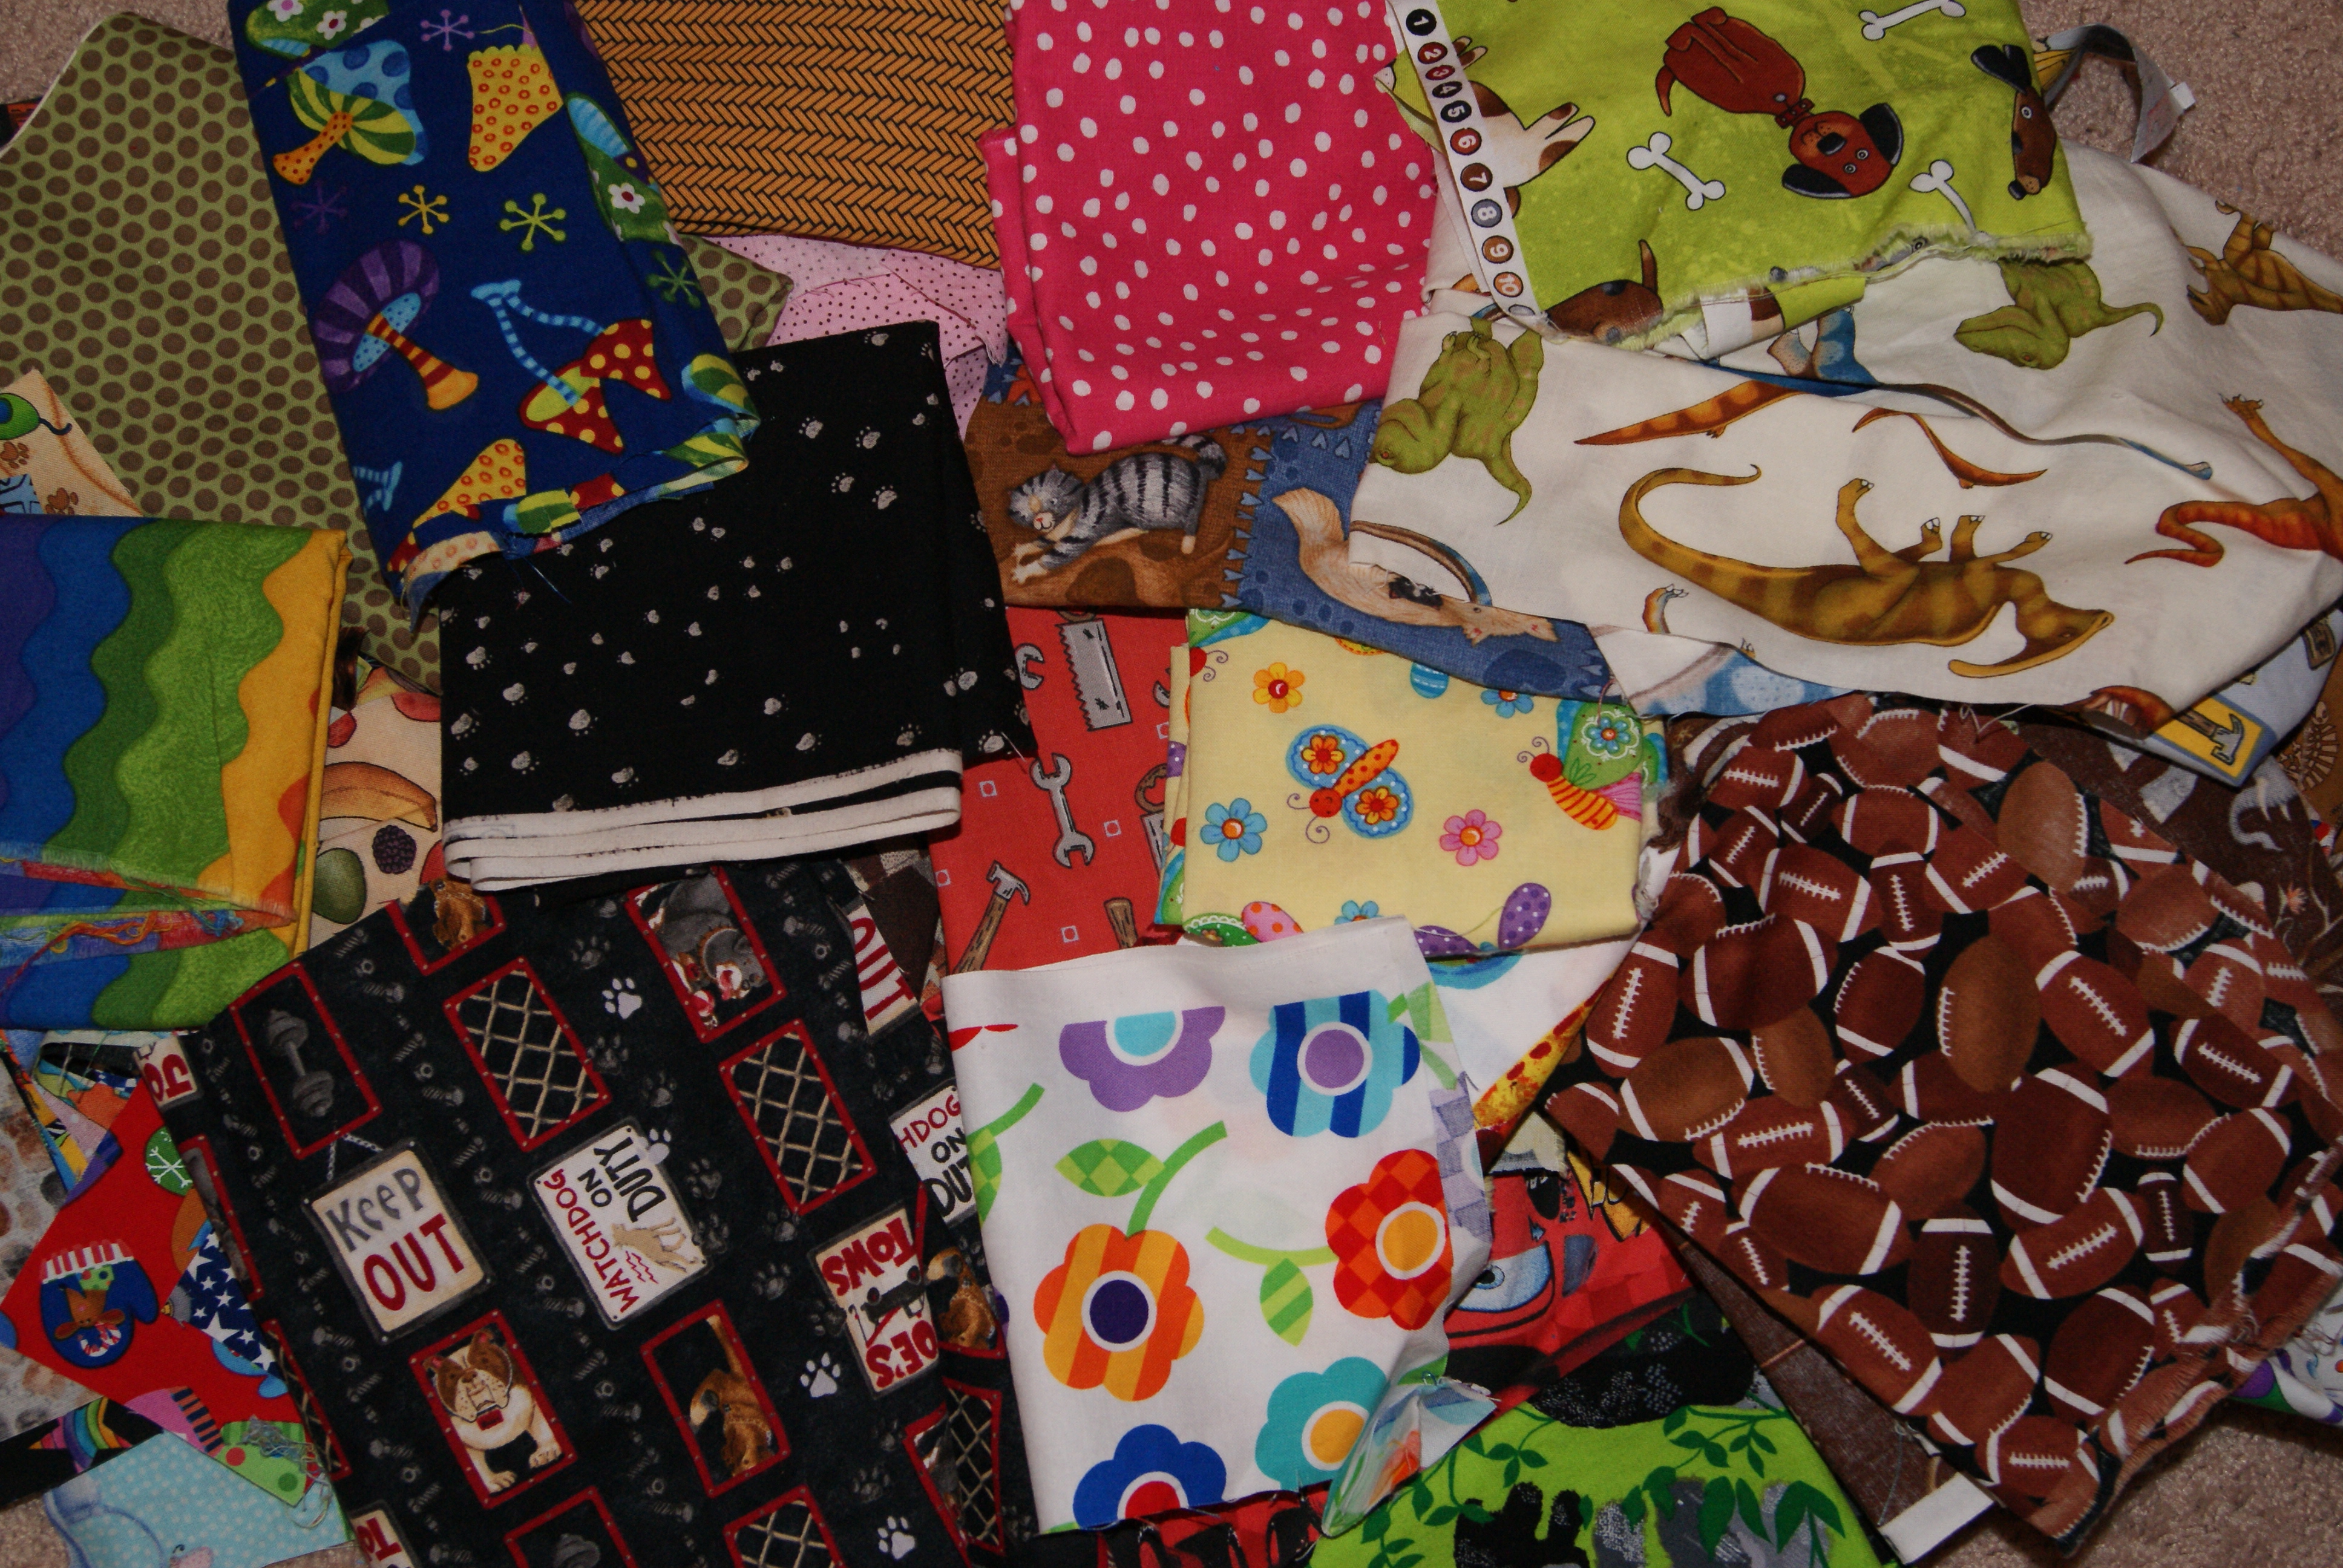
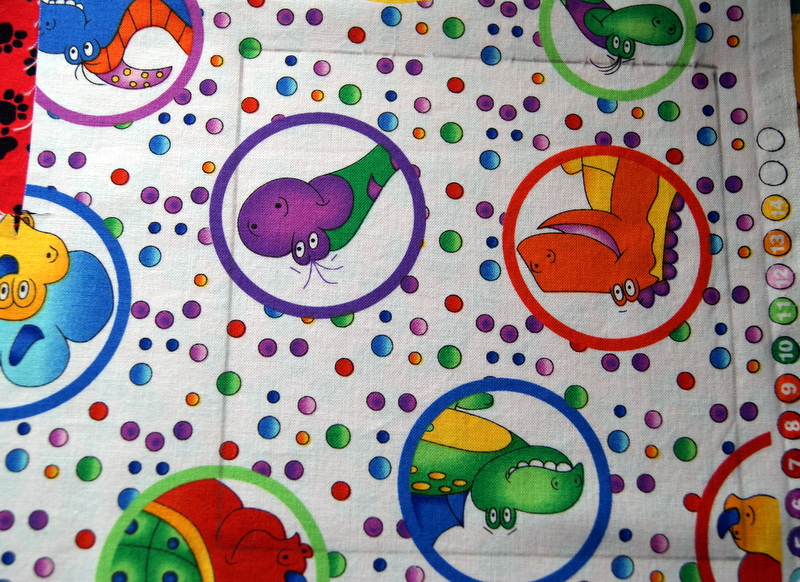
I just use cotton fabric from my very large scrap bin but just about any type of fabric will work.  I personally like to mix solids with prints because it gives more options to vary up game ideas.SONY DSC

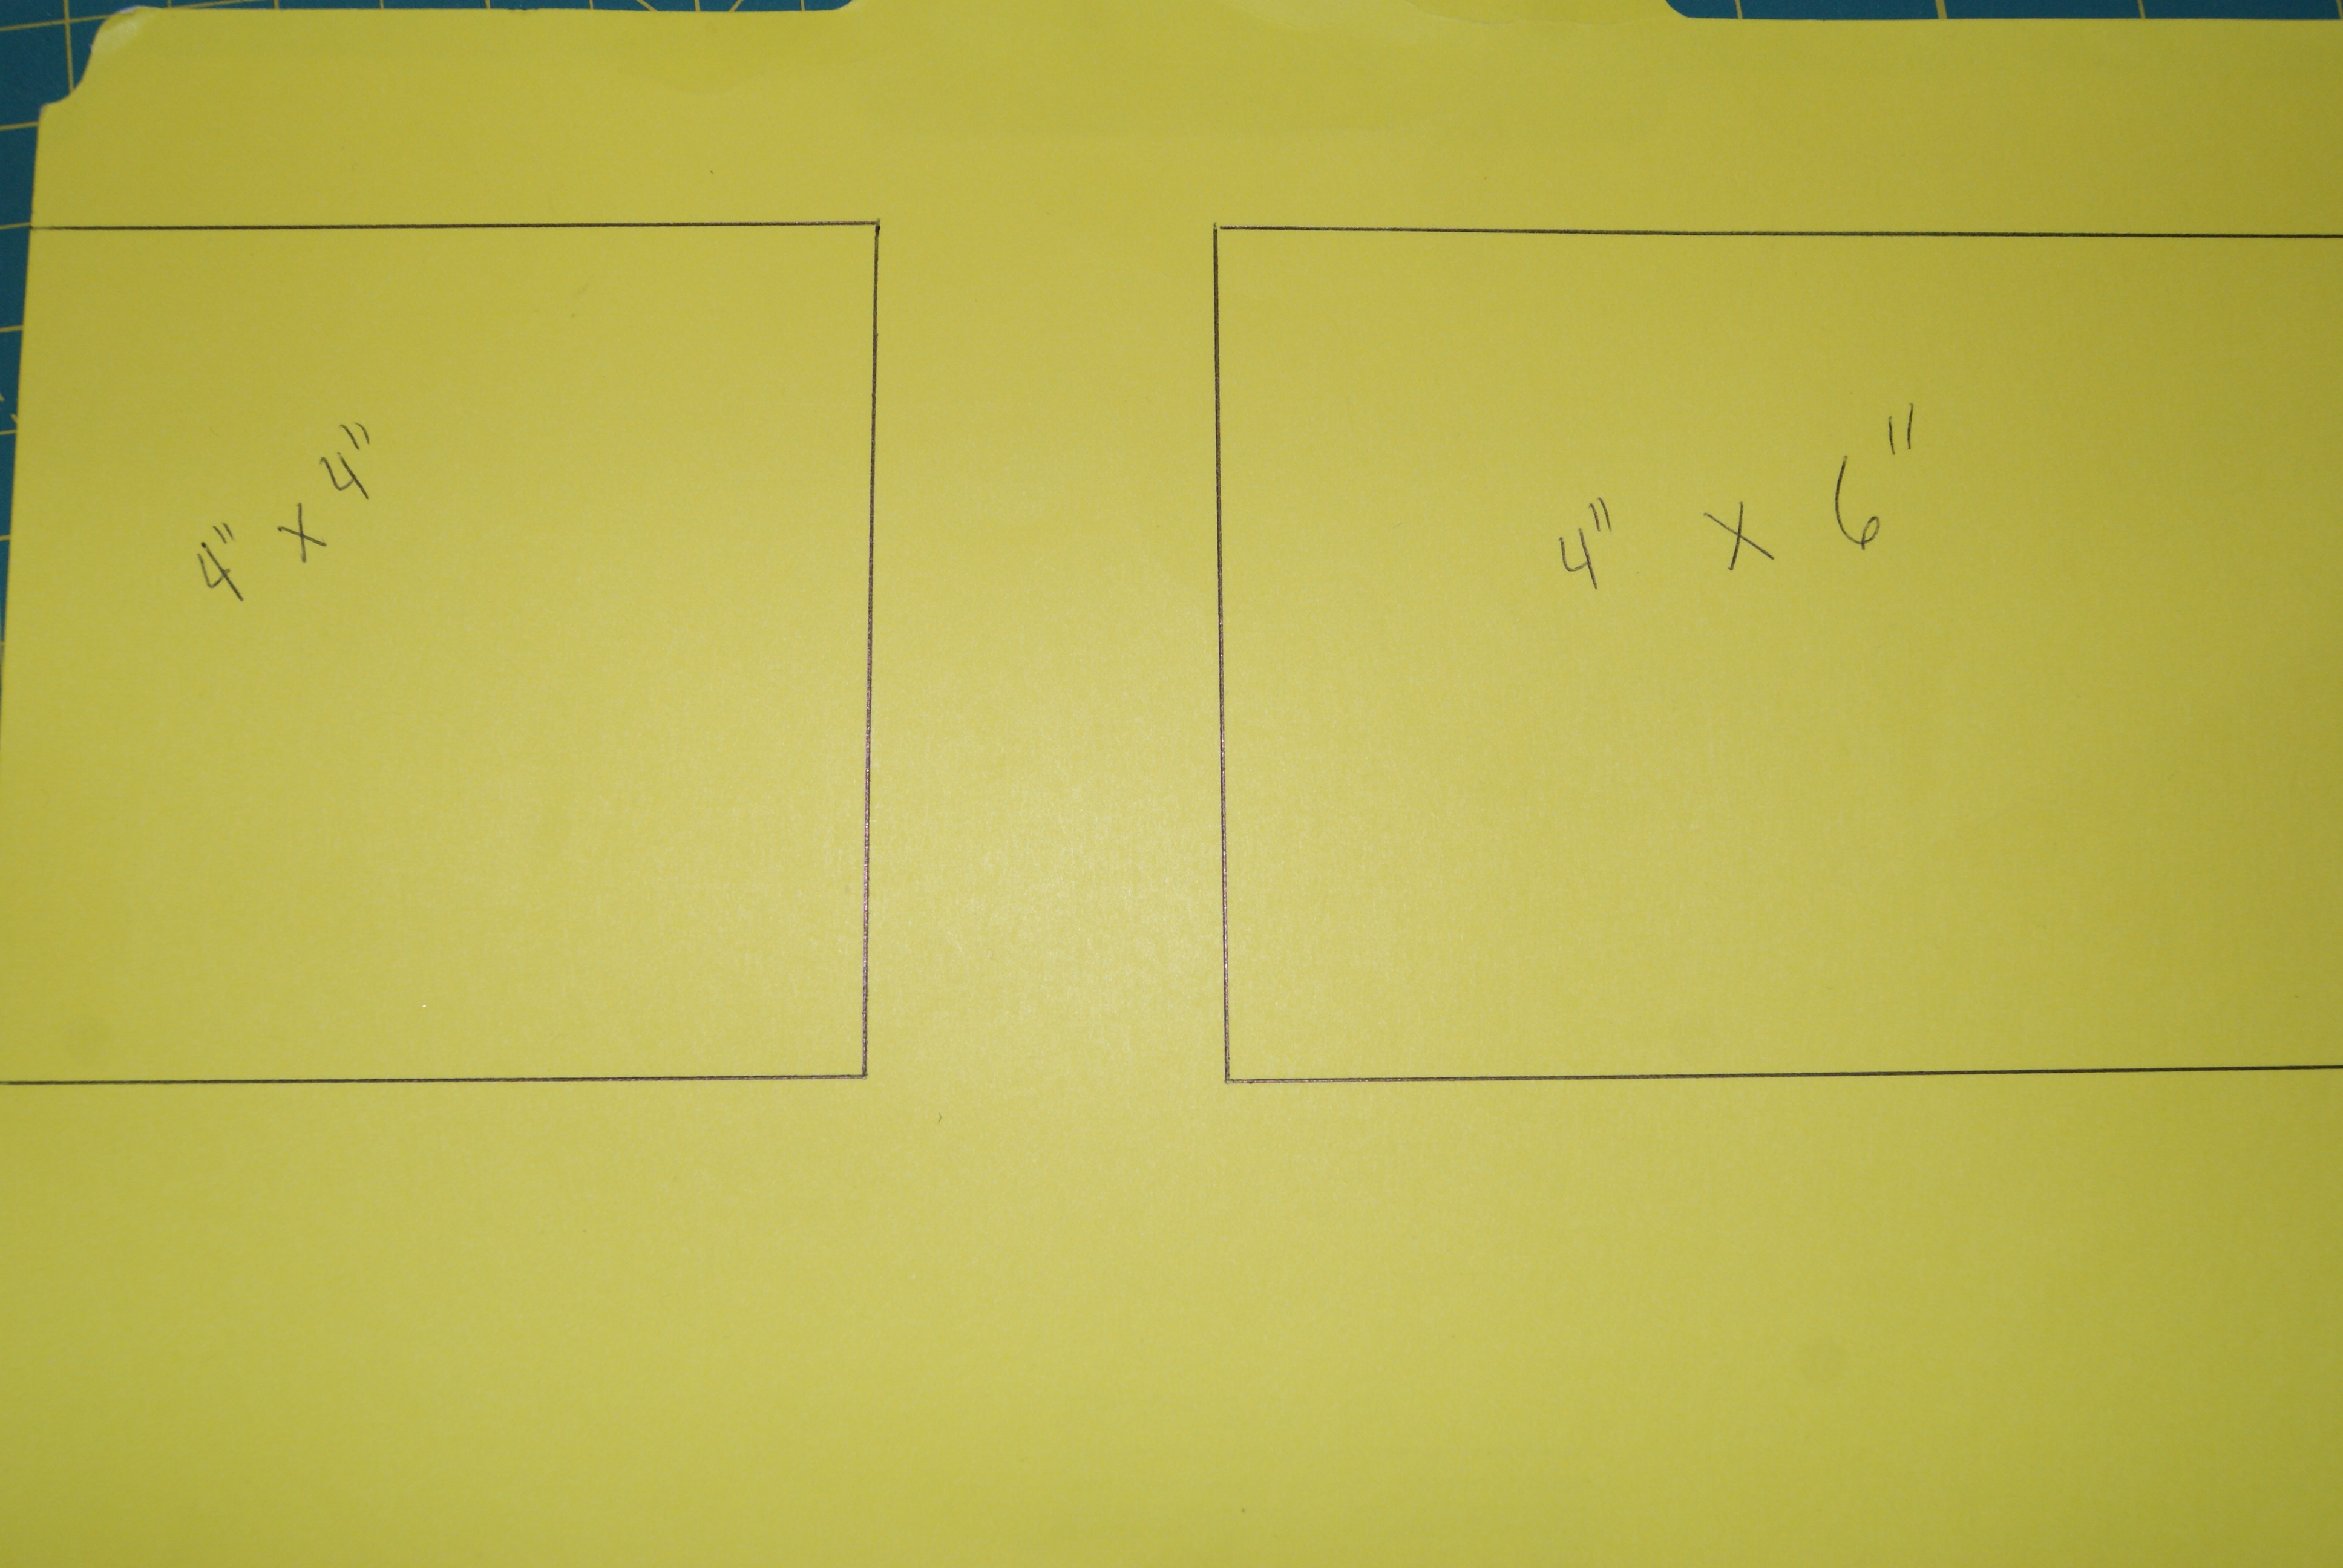
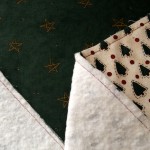
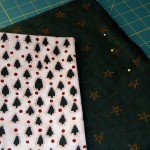
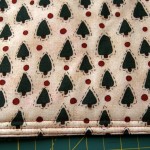
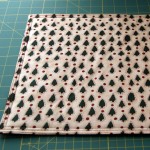
For my samples, I chose two solids that coordinated with two prints and stacked all four fabrics on top of each other.  Then I measured a 5 1/2″ square that I drew on the fabric and with the help of my ruler, I rotary cut out these squares in one quick motion.

SONY DSCSONY DSC

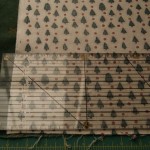
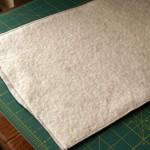
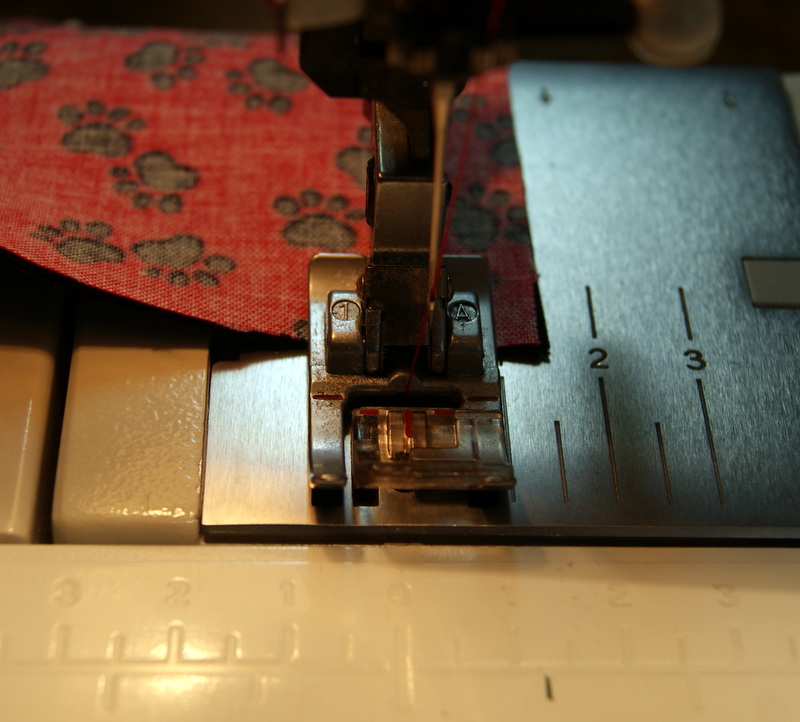
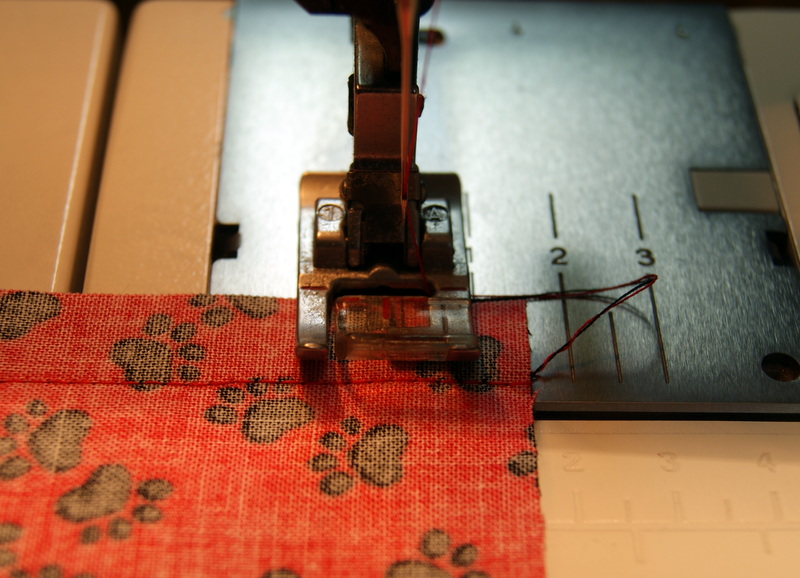
Now simply put right sides together and sew in a 1/2″ seam allowance leaving one side partially unsewn for turning.  I like to sew about a 1″ seam on each side of the opening edge so I don’t have to mess with the corner.  When I make my 1/2″ seam allowances, I sew off the end of the fabric, lift my pressure foot and turn the fabric and continue sewing my seams.  Saves some time.  I will also back-stitch across the seam that I just made to give extra strength to the corners.

SONY DSCSONY DSC

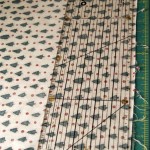
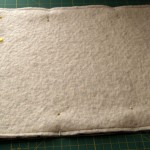
Once I have sewn around all the sides of the square, trim your seams and angle cut your corners.  Before I flip to the right side, I like to press down the opening edge to make the closing seam easier to stitch.  After I have ironed this edge, turn your square to the right side.  Fill it with about 3/4 cup of rice, dried beans or some type of bean bag filler and then sew your opening closed.  I like to stitch a second row on my opening edge for reinforcement since this is an item that gets a lot of use.

SONY DSCSONY DSC

Now have fun tossing them into buckets, boxes, bags, etc. or just on the floor getting different points if your bean bag lands on a solid side or a print side.  Fun game ideas for parties like hot potato, balance on  your head walking across the finish line, tic tac toe style games, etc.

  • TIP:  When using two different fabrics, I like to put a coordinating thread for one fabric in the bobbin and the other coordinating thread for the second fabric in the machine.

HAPPY CREATING!!

Disclaimer:  This post contains affiliate links – “small commission earned”

Fabric Scraps for Kids

If you are a sewer or quilter and have fabric scraphobia (can’t bear to throw away any leftover fabric) then maybe you should start a “scrappy” bin for that young child to use for their creative moments!!

I definitely have SCRAPHOBIA!!

I definitely have
SCRAPHOBIA!!


Nothing more exciting than rummaging through a big pile of fabric to pick out those special colors or textures to create with.  Using scraps is a great way to introduce the sewing machine to a youngster with adult supervision close by.

Let them select about a dozen different fabrics and sort them out into two piles – light colors and darker colors.  Then cut out a wide selection of squares and/or rectangles.   Designing  a template for them to trace their shapes onto the wrong side of the fabric helps with the cutting process.

Used an old file folder to make my template guide.

Used an old file folder to make my template guide.

Remember to include a 1/2″ seam allowance on all sides of your template.   Try to keep the fabric squares or rectangles a good workable size; something like 4″ x 4″ and 4″ x 6″.  Easier for their little fingers.

Now begin sewing the fabric shapes together in whatever design that appeals to the child.  Let them think “outside the box” and use their imagination for their finished scrap fabric project.   They might want to create a blanket for a baby doll or stuffed animal or maybe their design will be a cool “shawl” for those dress up games!!

You could finish all the edges of the scrap fabric design with just a simple zigzag stitch.  Or if your children is more experienced, cut out a light weight batting and backing; then stitch together on three sides (right sides together) with the batting in the middle.  Turn to the right side and machine stitch closed to make a scrappy little quilt that they could tie together.

Have loads of fun!  Exposing your child to new craft techniques makes for wonderful memories too!!

HAPPY CREATING!!

Disclaimer:  This post contains affiliate links – “small commission earned”

Sewing a Reversible Placemat

Placemats are so versatile and making them reversible just doubles their use!!  Not only do they serve the great purpose of collecting those crumbs and spills when eating but they can be used as custom decor on your table for a beautiful centerpiece or to add some sparkle if hosting a buffet to use under the various food items that are being served.

In addition, they are extremely easy to make and you can customize or embellish them to match your decor.  You really don’t even need to purchase a pattern.  You can use a placemat that you already have as your pattern or cut out a template from lightweight, unfusible pellon as a pattern.  You can even just use a good ruler to design the style of placemat you want to make.  Probably a good rule of thumb would be to make your rectangular style finished placemat size to be 18″ wide x 13″ long.

So let’s begin.  First select what two fabrics that you want for your placemat.  Keep in mind how you want to clean them.  Are they going to be used as an everyday item, which means you want fabric that can be washed and dried often or just for special occasions.  Cotton fabrics are a super choice, but check out those home dec fabrics too and some non-traditional fabrics like corduroy or faux suede.  Maybe you want a holiday theme for one side and a solid look for the other!!  Anyways, give some good thought to this process.

Cut out your fabric to be 1/2″ larger on all sides, so for a finished 18″ x 13″ size,  you would cut your pattern to be 19″ wide x 14″ long.  I always use a thin batting to be placed in the middle of my fabrics, such as bleached Warm ‘n Natural or Hobbs Heirloom.  Depending upon your fabric, you can add your batting to the wrong side of each piece or maybe you only need batting on one side.  I personally prefer to use non-fusible batting for this project because I feel it will hold up better especially if laundering a lot.

SONY DSC

Preparing to cut fabrics

SONY DSC

Another pic showing how to cut using a ruler


Cut your batting the same size as your cut fabric pieces and baste the batting to the wrong side of your fabric using a 1/4″ seam allowance.

Sewn batting to wrong sides of fabric

Sewn batting to wrong sides of fabric

SONY DSC

Pinned with right sides together leaving opening for turning


Now, line up your two fabric pieces, right sides together and leave about a 4″ – 5″ opening for turning.  Stitch entire piece in a 1/2″ seam allowance.  You can trim close to the stitching or serge/overlock stitch your edge to have a nice clean seam and again to help eliminate some bulkiness.

Sewn and trimmed, ready to turn

Sewn and trimmed, ready to turn

SONY DSC

Turned, pressed and ready to do top-stitching


Once turned, fold your opening seams to the inside and press the entire placemat smooth.  Now top-stitch around the entire placemat close to the edge, approximately 1/8″ from finished edge.  Use a good pressure foot that maybe has a marking that you can follow to help keep your stitching line even or use a 1/4″ pressure foot as your stitching guide.  If you decide to use a 1/4″ pressure foot or marking, you might need to do a blind stitch only along the turn opening so it doesn’t separate at that spot.

I always like to make another top-stitching line around the placemat edge about 1/4″ from the first top-stitching line.  Mainly for decorative purposes –  gives a sort of picture frame effect.  Sometimes it is cool looking to even add another top-stitching line 1/4″ from the second stitching line.

Completed top-stitching

Completed top-stitching

Another pic showing three rows of top-stitching

Another pic showing three rows of top-stitching


Using this placemat on table under floral arrangement

Using this placemat on table under floral arrangement


Press again and your placemat is ready for use!!

This  project is perfect for a beginner sewer or a young child who is familiar with a sewing machine and has adult supervision especially using an iron and rotary cutter.  Wonderful gift giving project too.

HAPPY CREATING!!

Disclaimer:  This post contains affiliate links – “small commission earned”

Sewing Pajamas for Christmas Eve

I have made new pajamas every Christmas for my daughters, which has become a tradition and one that can easily be passed on.

Sometimes I buy a new pajama pattern or if I have a pattern with different views, I sew a style I haven’t made.  If reusing a pattern, it is easy to adjust a pajama pattern if you need to add length for growth.  You will find add length lines on the pattern pieces, cut along these lines and spread your pieces apart the 1 or 2 inches that you might need.  Just make sure you use a tape measure so that your pattern pieces are evenly spaced for the length adjustments. The pattern directions will also explain how to lengthen or shorten your pattern pieces.

I like to use flannel when making pajamas.  Washes and dries wonderfully, soft and cozy for sleeping and lots of different colors and patterns to choose from.  I always purchase about a half yard and sometimes a yard more than the pattern calls for to allow for shrinkage (I always pre-wash my fabrics) and fabric doesn’t always come in 44″-45″ wide.  Most often the fabric is only 40″-42″ wide but the yardage requirements on the pattern itself are always for the 44″-45″ measurement.  You can always create something from the left over fabric but very disappointing and frustrating to not have enough!

Adding embellishments is the fun part.  Adding unique buttons, sew some fun lace along gown bottom edge or sleeve edge or even along the top edge of a pocket, make ribbon bows and add them along the neck line, embellish with yo-yos, or maybe a special appliqué like an initial on a pocket front to personalize the pajamas!

For me the best part was allowing my daughters to open their special pajamas on Christmas Eve, sending them off to bed wearing new cozy pjs with visions of sugar plums and knowing how cute they would look for the next morning pictures!!

  • TIP:   Refer to “My Favorite Things” for different on-line fabric stores that carry a wide variety of flannel fabric.

HAPPY CREATING!!

Disclaimer:  This post contains affiliate links – “small commission earned”

OoLaLa Self-Healing Cutting Mats

FINALLY, after 12 years of almost everyday use,  I disposed of my old self-healing mat by Olfa and purchased a brand new smooth, shiny one!!!  So now my pictures will have a pretty background.  Still has that new “stinky” smell, which I will help alleviate by rubbing it down with 1 part water to 1 part white vinegar.

I just love having ready access to this mat.  The one I use consistently is the 18″ x 24″ size.  My serger table, designed by me and built by my talented hubby, has an extended side which this mat fits on perfectly.  So I have it readily available for trimming seams, cutting out fabric, designing patterns, working on crafts, whatever is happening in my sewing room.

I have the small version and the extra-large mat too.  Can you tell that I just love using these mats.  The smaller size is great for any sewing/quilting classes, fits easily into a tote for commuting and doesn’t take up a large space when sharing a table with other people in your class.

The extra-large mat is a good to use for actually cutting out your fabric and patterns.  Works great on a kitchen table, especially if you have limited space for preparing sewing projects.

These mats store away easily but you do want to insure that you don’t fold or bend them.  They will stand nicely behind a storage bin or slid easily behind a bookcase.  You don’t want them to come into direct contact with the hot sun or a heating vent.  If left in a car, for example, the hot sun can actually distort the mat causing it to bend out of shape and you can never, I mean never, get it back flat again!!

If you have the space, there is a very, very large self-healing mat that is wonderful for doing drapery treatments or cutting out several patterns at once.  The measurement size on the mat itself is 44″w  x  92″ long, marked off in 1 inch block increments on the entire face of the mat.  The actual mat itself measures 48″ x 96″.  Feel free to check out Megamat Pro and Sew Fit Cutting Mat for these very special mats.

Off now to cut out a new tote on my new mat!!

HAPPY CREATING!!

Disclaimer:  This post contains affiliate links – “small commission earned”