I like to make bindings from my cotton scraps and have them ready in my stash pile for any current or future sewing projects. They are not hard to make and it is nice to have a one-of-a-kind trim available. The type of binding that I am demonstrating is using the straight of grain or lengthwise grain on the fabric. Good for almost any type of project except a small circle which you might have puckering but a bias type binding would work for those small tight curves. Cut your strips on the bias (diagonal edge to diagonal edge) and follow these directions to create bias binding.
Using a 2 1/2″ wide cut fabric strip makes for a very nice binding finished width. What I prefer to do is to rip the cotton fabric on the straight of grain to create my working 2 1/2″ width. If your scrap piece is not wide enough to rip, then just utilize a good ruler and measure for a 2 1/2″ width using a rotary cutter. Your cut length can be whatever size you have remaining from your scrap fabric.

Scrap fabric that I will rip into strips.

Second side of rotary cutting strip

Rotary cutting strip with ruler
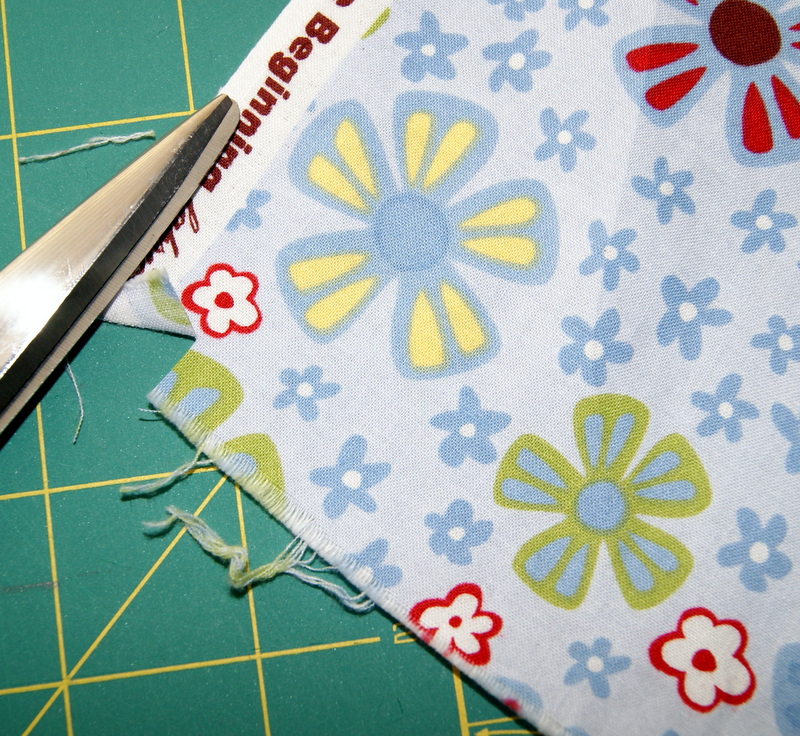
Make a small cut before you rip fabric.

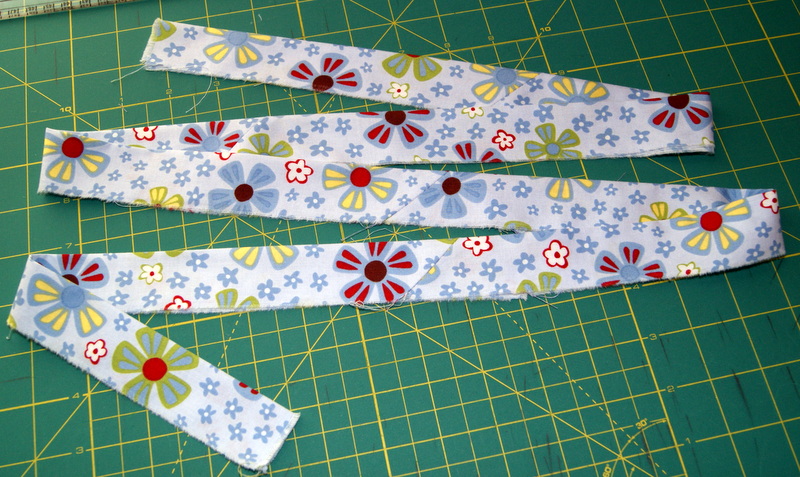
My ripped strips, ready for joining!!
To sew your cut scraps together to form a professional looking seam, you will put right sides together making an upside down “L”. Take a good ruler, using a pencil or soap, make a stitching line to sew along for a perfect join. You will then sew from the top edge to the side edge on your binding strip. Trim your seam close to the stitching line and press seam open.

Stitching from top edge to opposite side edge

Right sides together forming an upside down and backwards “L”

Marked seam line

Trim seam close to stitching and press seam open
Once you have all your joins stitched together for your binding, fold the strip with wrong sides together and press.
Stitched and pressed with wrong sides together

This scrap had no joins so just needed to press wrong sides together
Now you have binding that is ready to be sewn to whatever project you are working on. When sewing the binding to my project, I always use a 1/4″ seam allowance.
Making binding is an easy scrap project for a child who has experience with a sewing machine. Ripping fabric is a fun thing for a youngster to do. I wouldn’t suggest letting them use a rotary cutter, only an adult should handle that sewing tool!!
I like to wrap my bindings onto index cards so they can be stored flat in a see thru type storage bin. You will find many different uses for bindings from quilts, bibs, hooded towels, placemats, clothing, etc.!!
HAPPY CREATING!!
Disclaimer: This post contains affiliate links – “small commission earned”