Archives

Quick Valentine’s Day Kid Craft

Here are some suggestions and ideas for you to help your child make a very Special Valentine’s Day card.  You probably have everything in your sewing stash already or you can find it within your home.SONY DSC 
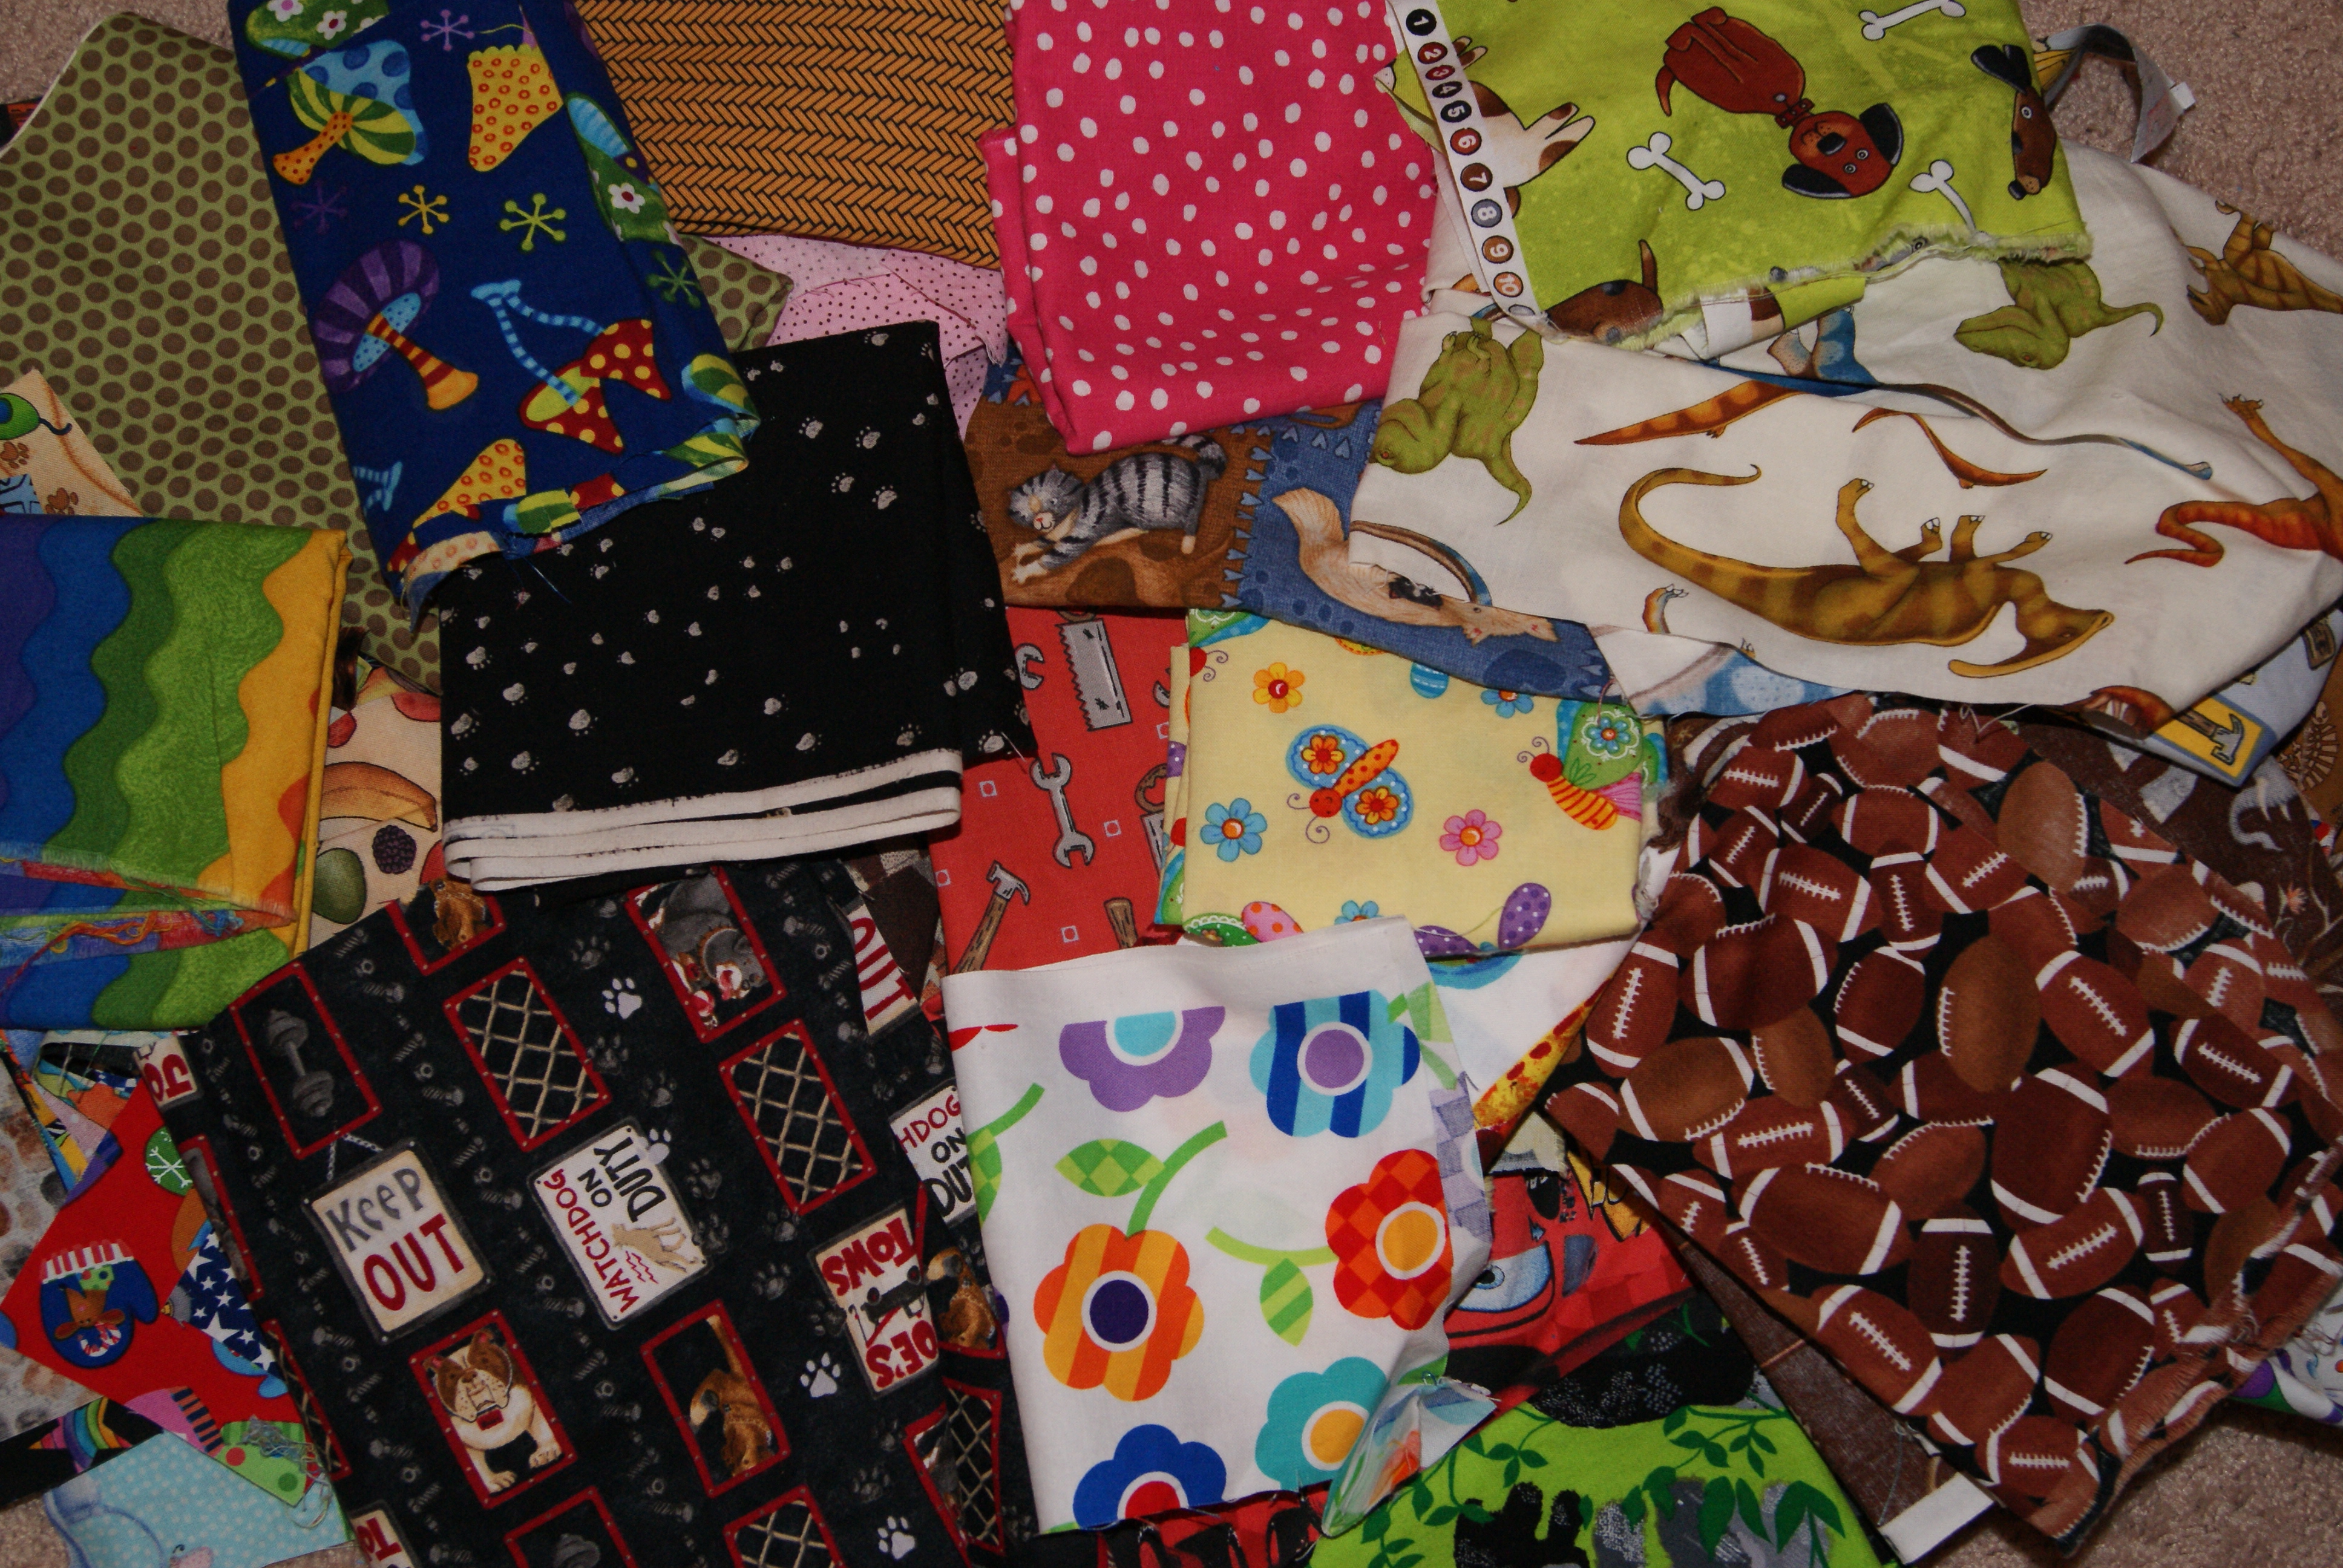
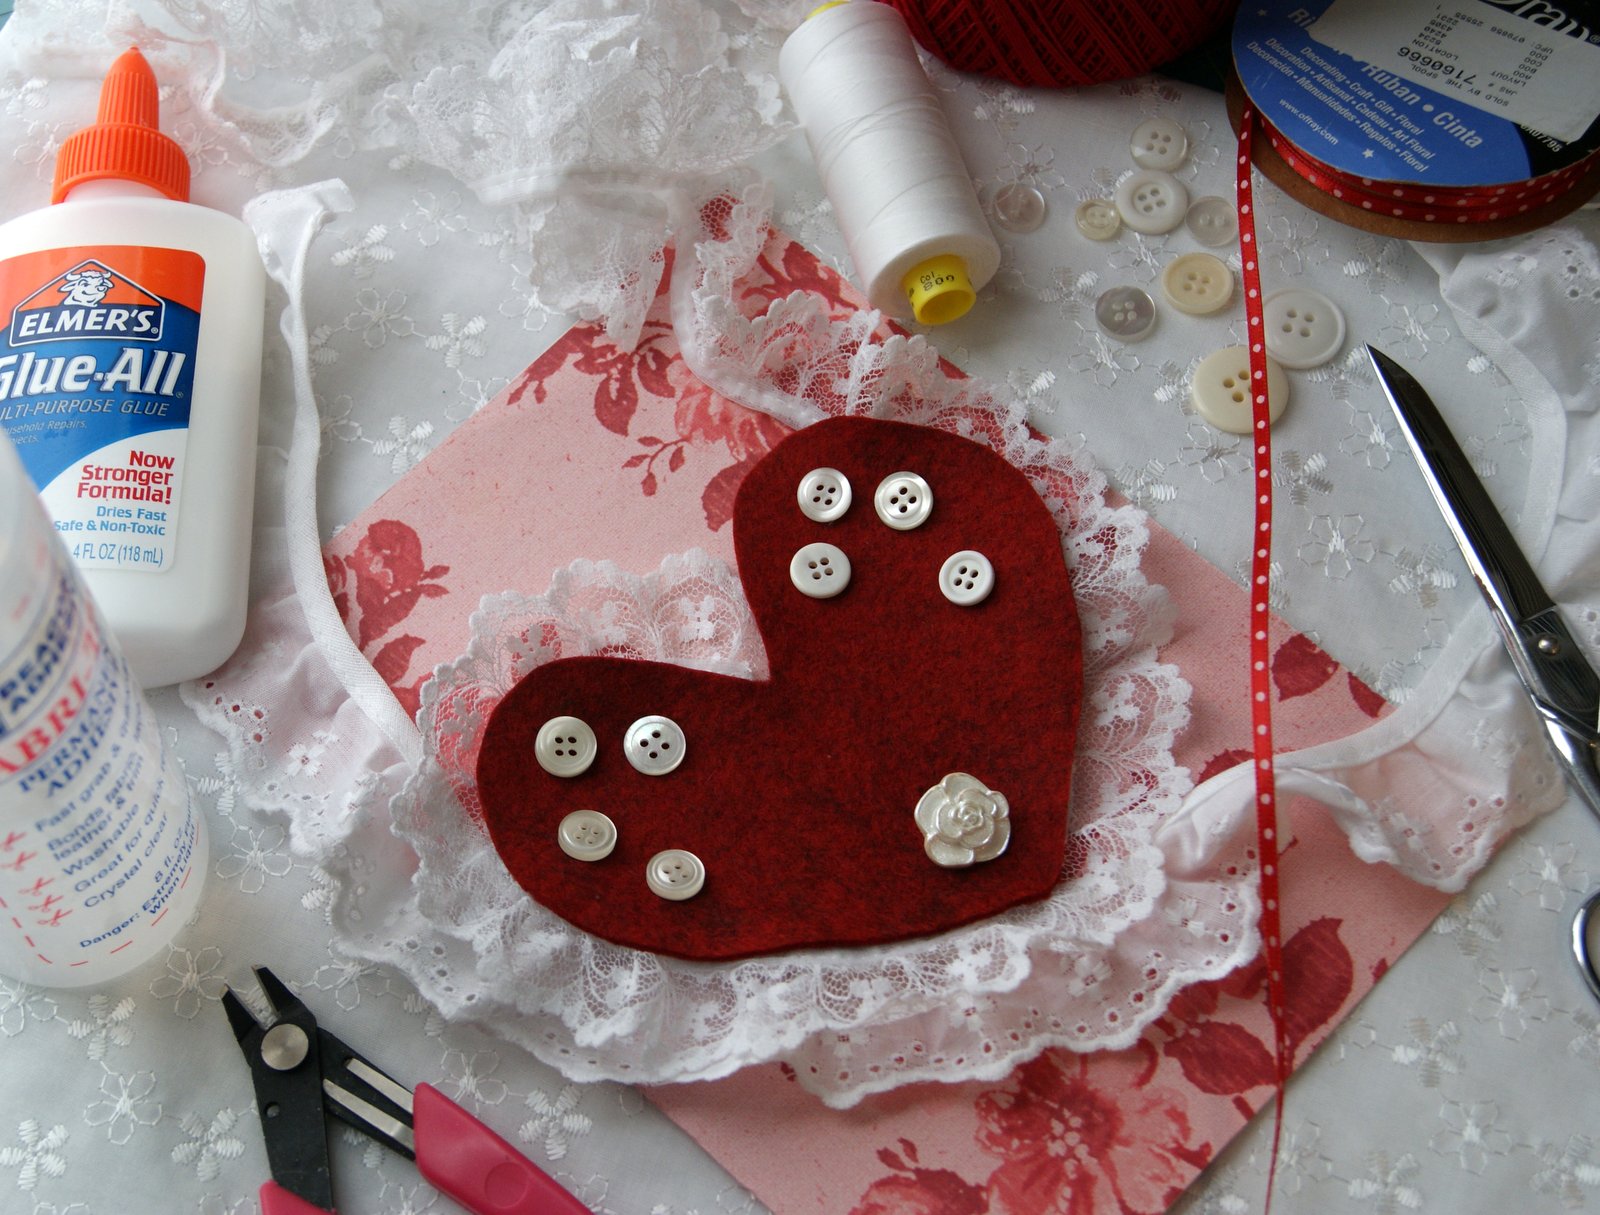
In my picture, I used a 8 1/2″ x 11″ card stock for the card but a white piece of printer paper or construction paper would do nicely.  Even a paper bag could be cut up to use for a card.  Fold your paper in half to form your card.  Draw a heart on a piece of felt or wool scrap, something that doesn’t fray and have them cut it out. Decorate your heart with buttons, ribbon, lace, whatever you on hand.   If using all paper materials, be sure to use markers and/or crayons to add color and texture.  Paper doilies are a fun item to decorate a card with too.  If you are really brave, glitter glue is something all children LOVE but can be on the messy side. If using buttons with a shank, cut it off with a shank remover so your little ones can glue them onto your felt heart.  Or maybe your child is old enough that they can use a needle and thread.  Sew on your buttons with different colored threads or use DMC floss/crochet thread and tie the buttons onto your heart. Glue eyelet trim or lace behind the heart to make it frilly looking.  Ribbon  always adds a nice touch too.  Make little bows or paper punch holes in your heart and weave the ribbon through the holes for another type of look. Repurposing items work nicely for an activity of this nature.  You could even cut out your heart from an old pair of jeans.  Let some of the fraying effect give a shabby chic look to your card. Check out the pantry too for items, like elbow macaroni that could be glued to the front of your card.  Or trace a heart onto your card and glue dried red beans or navy beans to form the shape of the heart. Make sure they sign the inside of the card and date it.  A simple I Love You or just their name is all that is needed.  This card will be a treasure to the person receiving it!!  No envelope needed for this one-of-a-kind card. The best gift here is the time you spend with your little ones and the smile that will be on their face when they give their “special” card away.  🙂

HAPPY CREATING!!

Disclaimer:  This post contains affiliate links – “Commissions Earned”      

Fabric Scraps for Kids

If you are a sewer or quilter and have fabric scraphobia (can’t bear to throw away any leftover fabric) then maybe you should start a “scrappy” bin for that young child to use for their creative moments!!

I definitely have SCRAPHOBIA!!

I definitely have
SCRAPHOBIA!!


Nothing more exciting than rummaging through a big pile of fabric to pick out those special colors or textures to create with.  Using scraps is a great way to introduce the sewing machine to a youngster with adult supervision close by.

Let them select about a dozen different fabrics and sort them out into two piles – light colors and darker colors.  Then cut out a wide selection of squares and/or rectangles.   Designing  a template for them to trace their shapes onto the wrong side of the fabric helps with the cutting process.

Used an old file folder to make my template guide.

Used an old file folder to make my template guide.

Remember to include a 1/2″ seam allowance on all sides of your template.   Try to keep the fabric squares or rectangles a good workable size; something like 4″ x 4″ and 4″ x 6″.  Easier for their little fingers.

Now begin sewing the fabric shapes together in whatever design that appeals to the child.  Let them think “outside the box” and use their imagination for their finished scrap fabric project.   They might want to create a blanket for a baby doll or stuffed animal or maybe their design will be a cool “shawl” for those dress up games!!

You could finish all the edges of the scrap fabric design with just a simple zigzag stitch.  Or if your children is more experienced, cut out a light weight batting and backing; then stitch together on three sides (right sides together) with the batting in the middle.  Turn to the right side and machine stitch closed to make a scrappy little quilt that they could tie together.

Have loads of fun!  Exposing your child to new craft techniques makes for wonderful memories too!!

HAPPY CREATING!!

Disclaimer:  This post contains affiliate links – “small commission earned”

Using a “Knitting Nancy” or Spool Knitting

This is a super yarn technique that is very easy for a young child to conquer and make useful, handmade creations.  Actually, anyone who loves to work with yarn would probably like to do this type of knitting aka french knitting.  You can purchase a knitting spool or, if you are so inclined, design your own “spool loom”.  Tons of youtube videos on this technique for you to check out also.

In my picture, I have used a thick cardboard thread spool, which is approximately 1″ diameter and about 2  1/2″ long.  I hammered in 4 brads that have a nice size head to keep my yarn from just slipping off. 

When I was a child, this was one of my first yarn project tools which I used to make many, many hot pads, bracelets, hot plate trivets, even a small rug.  Anyways, a large skein of a variegated yarn provides many hours of fun for someone who is interested in working with yarn.  I called my spool knitting, “cattailing”, I guess because it looked kind of like a cat’s tail when being knitted through my spool.   Not sure if anyone else ever used that name or even heard of “cattailing”!?!?

Here’s a brief description of how to use a Knitting Nancy –  Typically, a knitting spool uses 4 brads/nails/dowels, but depending on the size of the spool you choose, you could knit with 6 or 8 nails.  Your brads/nails should be evenly spaced on the top of your spool.  Begin by dropping your yarn through the spool hole from top to bottom and let it dangle out the bottom by about a couple of inches.  Enough to be able to grab it and tug gently on it until your cat’s tail is exposed through the bottom of your spool!!


The “casting on” technique involves wrapping your yarn in a clock-wise fashion BUT when doing the actual “knitting” technique, you will be wrapping each brad/nail in a counter-clockwise technique.  Once you have completed the “casting on” technique for each nail, you will simply wrap the yarn again (clock-wise) on the outside of each brad/nail above the loops you just cast on.  After completing this second wrap, hold the yarn strand along the outside of your spool with your thumb to keep your wrap taut. Using a knitting needle or crochet hook, grab the bottom loop and lift it over the top yarn wrap.  Do this around for each brad/nail and then pull gently on the “cat tail”.   Wrap your yarn again around all your brads/nails, hold your yarn strand with your thumb on the outside of your spool, lift the bottom loop over each top wrap on all brads/nails, and pull gently on the tail.  Continue making your knitting in this way and before you know it, you will be seeing a colorful, knitted tube/coil coming out the bottom of your spool.


Keep knitting until your “cat’s tail” is as long as you want it to be for whatever special project you are creating!!

When you are ready to “cast off” don’t make a yarn wrap, just grab the loop of the last stitch made and lift it onto the brad/nail to its immediate left.  Lift the bottom loop over that loop, now grab the remaining loop left on that brad/nail and lift it onto the brad/nail to its immediate left.  Continue doing this until you only have one loop left on the last brad/nail.  Cut your yarn and carefully lift the last loop off the brad/nail and place your cut yarn through the last loop and pull snuggly securing all your stitches.  Now you have a wonderful knitted tube that can be used for a wide variety of creative projects!!

This would make a wonderful stocking stuffer item for that potential crocheter, knitter or yarn lover!!

  • TIP:  Open out a bobby pin and use the slightly curved tip as your needle for grabbing the bottom loop and lifting over the wrapped yarn.  Make sure the rubber tips are still there so the bobby pin doesn’t catch the yarn.  The curved edge helps to keep the loop from sliding off the bobby pin/needle. 

HAPPY CREATING!!

Disclaimer:  This post contains affiliate links – “small commission earned”

Make a Cute Felt Pillow

I love working with felt especially with little ones.  It is soft and smooth to the touch, doesn’t fray and comes in sooooooooo many lovely colors and is very reasonably priced!!  What else could you ask for.

If you get the chance, let me know your reasons why you like to use felt for your own special projects.

Anyways, here is a cute and pretty simple project you can do using felt, yarn, a little batting, a small handheld punch and whatever you may have around the house to give it some pizzaz!!  This is great for any left over felt you might have stashed away or just buy some felt squares at your local fabric store.  Be creative and use two different colors!!

First, let everyone decide upon their own design.  Remember to keep it simple especially if working with young children.  A heart, a square, a ruffled circle are good choices to think about.  Again, pull out some cookie cutters to use to trace around on the felt.  Think about keeping your design no bigger than 5″ by 5″.  Any bigger, it gets to be too big for little hands to work with.

Once you have decided upon your design, trace it onto one side of the felt which will now become the wrong side.  Cut out two matching designs so you have a front and back.  Holding both your front and back pieces together, use a small handheld punch to make tiny holes along the outer edge, about 1/4″ in from the edge of your design and spacing your holes about 1/4″ apart.  Don’t get too hung up on this part trying to make it exact.  You just want to make sure that your hole openings on the front match up with the hole openings on the back.

The type of punch I used was a small heart shape design style similar to those you might find among the scrapbooking tools.  You just want to have an opening large enough for a piece of 4 ply worsted weight yarn to pull through easily.

Now get a piece of yarn (4 ply worsted weight is easy to work with) and cut it to about an 18″ length.  Use whatever color you might have available.  Remember little ones like lots of bright colors!  Using a plastic needle, thread it with your yarn and begin sewing your two felt pieces together.   Hide your knot by pulling through only the front piece so it is sandwiched between the two felt pieces.

Your stitching can be whatever works for you and your child.  You could do a back-stitch or a whip stitch  to secure your pillow front and back together.  Continue doing your sewing stitch around your pillow leaving a small opening to insert your batting.  Don’t remove the needle and thread, just secure it into the edge of your felt pillow while you stuff it.

Once you have your pillow lightly stuffed, continue sewing the last few holes together to close everything.  Knot it off on the back side.

Now decorate the front of your pillow with cute buttons, sequins, little pompoms by gluing them onto your felt.   You could use those small adhesive backed foam shapes too.  If you are up to it, glitter glue and/or decorative fabric paints are fun items to use for getting some neat pizzaz.

Most of all have fun with this activity.  Just another way to teach little ones to use their hands and to be creative as well as some special one-on-one time together making memories!

  • TIP:  Use a button shank remover to cut off the sewing loop on the back of a decorative button to make it very easy to glue in place.

HAPPY CREATING!!

Disclaimer:  This post contains affiliate links – “small commission earned”

Creative Recycling

Taking items that have outlived their usefulness and putting them to work for you in another fashion is always fun, creative and beneficial at the same time.   Children can have a lot of fun too with updating those recycling items to make them attractive for their new purpose.

Shoe boxes are one of my favorite things to reuse and they always have to be updated to look fashionable in my sewing/craft room.   Letting a child cut out fabric squares and glue them onto the outside of the box and then trim with some rickrack is so cute and so much fun.  Or if they are learning crochet, let them create some square motifs and glue them onto the outside of the shoe box and add buttons to give it a festive look.  I love to use these boxes to store packages of bias tape, ribbons, hem tape, etc.  Also, a great storage item to organize my crochet threads by colors and thread size.

Reuse the cardboard tube from a roll of paper towels.  I like to cut them in half and glue several together.  Then you or your child can crochet just chain stitches to make a nice decorative trim to tie around the tubes.   Crochet maybe three different colored chain ties and secure them around the tubes close to the top, middle and bottom for a fun look.   These are a good way to store crochet hooks by sizes.  Or some of those sewing items, like turning tools, pencils and/or markers, rulers, etc.

Also, plastic butter tubs or sour cream like containers and their lids are great ways to store pins, beads, machine needle packages or to use with some of your small to go type projects.  You can cut a small opening in the lid, place a ball of yarn inside, pull your yarn through the opening in the lid, close it up and off you go to dance practice, little league practice, etc.   Now you can crochet away and not lose your skein of yarn or have it fall on the floor and get dirty.

Have a recycling party and discover new and fun ways to reuse everyday items!!

HAPPY CREATING!!

Disclaimer:  This post contains affiliate links – “small commission earned”