Crocheting Edges – Flour Sack Tea Towel or Pillowcase

Have you recently received a “Save the Date” invite for a wedding or special anniversary get-together and would like to make a really wonderful keepsake gift??  Customizing a set of purchased pillowcases or simple tea towels with a beautiful crochet edging makes a lovely treasured present. SONY DSC

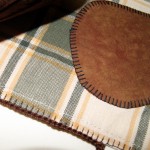
It is important that you have a good foundation stitch as your starting point.  If your sewing machine has a buttonhole or blanket stitch built-in, this makes for a great beginning edge.   Just sew this stitch along the edge of your item to create your foundation stitches that you will then crochet through.  In my sample, I used a hand quilting thread by Coats & Clark with regular thread in bobbin to provide a good strong foundation.

Machine blanket stitch 4.0 length x 4.5 width

Machine blanket stitch
4.0 length x 4.5 width

If your machine doesn’t have this type of built-in stitch, creating a buttonhole or blanket stitch by hand is a rather simple embroidery stitch to do for your foundation.  OR you could embroider a chain stitch or stem stitch to use along the edge of your project to crochet through.   Uh-oh, creative juices flowing here!!

Once you have established your foundation stitches, now you can begin making your crochet design.  You will find different edging designs that will call for an odd or even number of crochet stitches to create your pattern.  Therefore, I like to crochet my first row with just single crochet stitches along my foundation so I can make the necessary increases (if needed) to insure I have the correct number of stitches necessary to work with to complete my pattern.

Making SC in blanket stitching row

Making SC in blanket stitching row

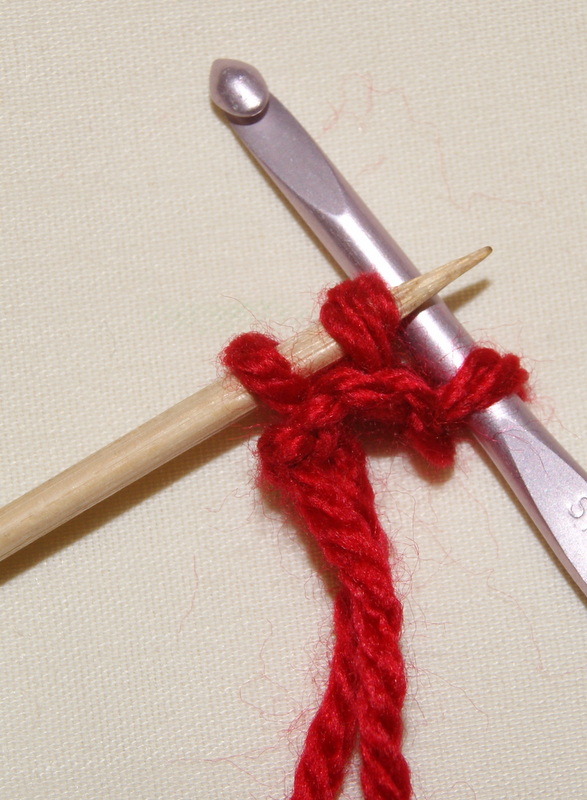
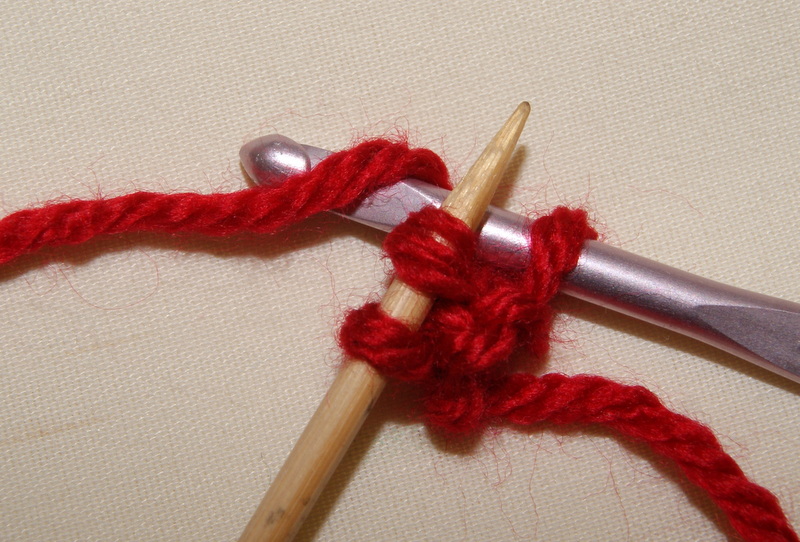
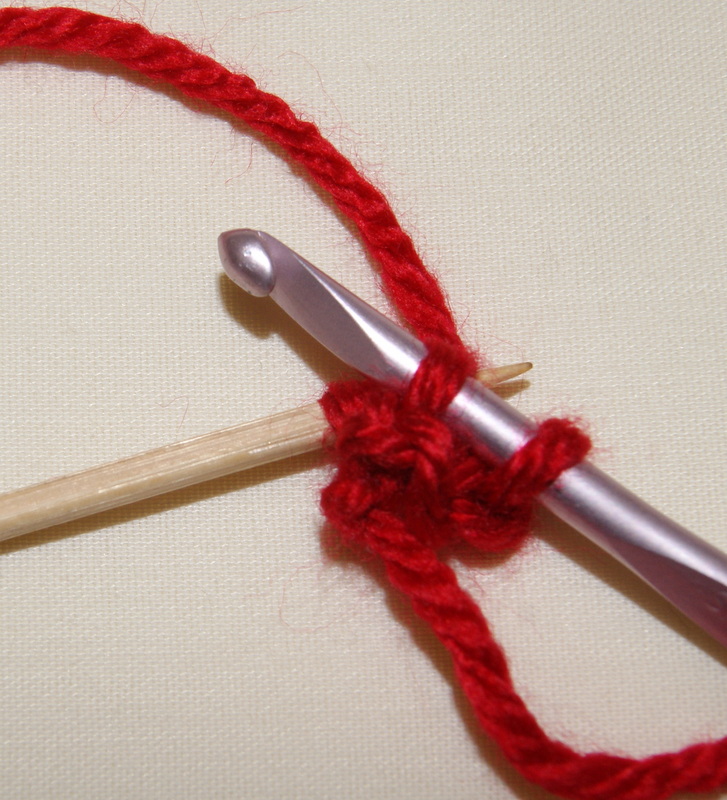
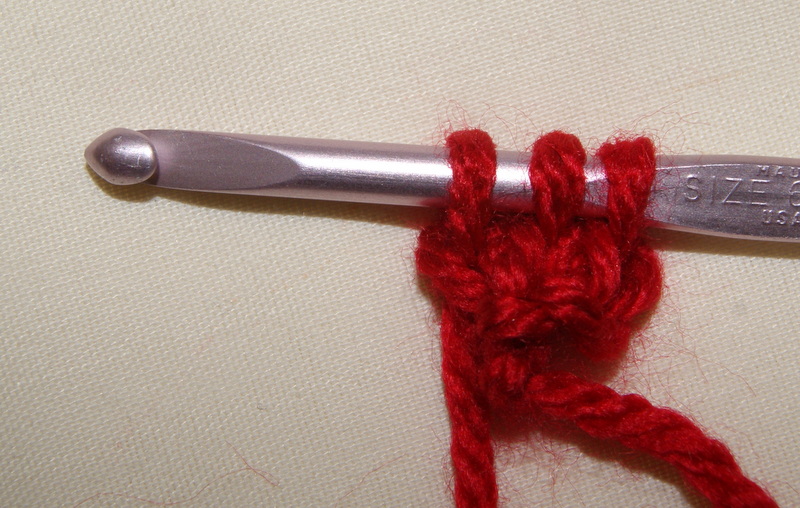
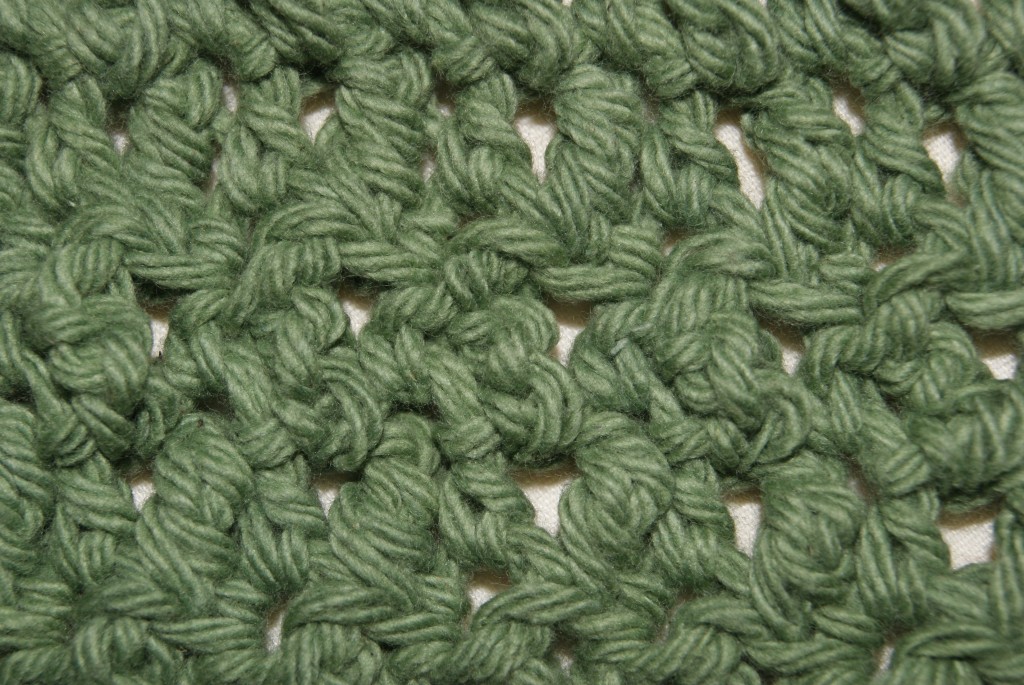
Here’s a very nice, simplistic crochet edging pattern to do.  This design requires you to have enough stitches for: multiple of 4 + 1.   Your first row:   Ch 1,  1 Sc in each stitch, turn.  Row 2:   Ch 1, skip first Sc, then 1 Sc in each stitch across to end, turn.  Row 3:  Ch 1, skip first 2 Sc,  5 Dc in next Sc,  skip 1 Sc,  1 Sc in next Sc,  *skip 1 Sc,  5 Dc in next Sc,  skip 1 Sc,  1 Sc in next Sc, repeat from * to end and fasten off.

Crochet with a Size 1 steel hook and Size 3 thread

Crochet with a Size 1 steel hook and Size 3
thread

   TIP:  Always have your work with the right side of the fabric facing you and use a heavy duty sewing machine thread,  DMC floss, or your actual crochet thread for your foundation stitches.   Try to closely match your crochet thread that you will be using for your design.

HAPPY CREATING!!

Disclaimer:  This post contains affiliate links – “small commission earned”

Fabric Scraps for Kids

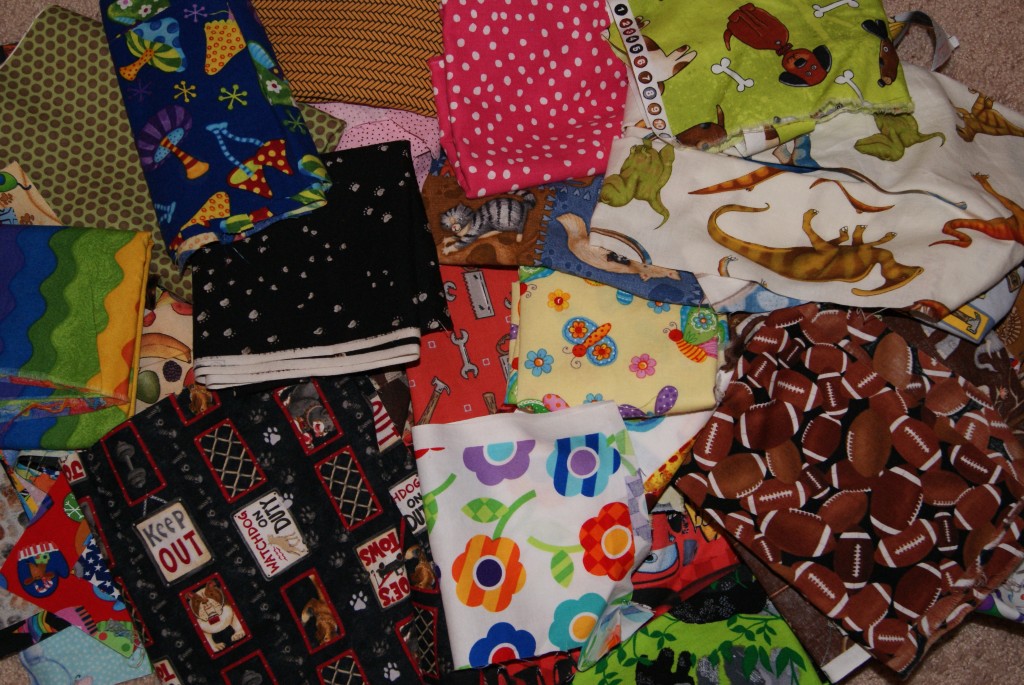
If you are a sewer or quilter and have fabric scraphobia (can’t bear to throw away any leftover fabric) then maybe you should start a “scrappy” bin for that young child to use for their creative moments!!

I definitely have SCRAPHOBIA!!

I definitely have
SCRAPHOBIA!!


Nothing more exciting than rummaging through a big pile of fabric to pick out those special colors or textures to create with.  Using scraps is a great way to introduce the sewing machine to a youngster with adult supervision close by.

Let them select about a dozen different fabrics and sort them out into two piles – light colors and darker colors.  Then cut out a wide selection of squares and/or rectangles.   Designing  a template for them to trace their shapes onto the wrong side of the fabric helps with the cutting process.

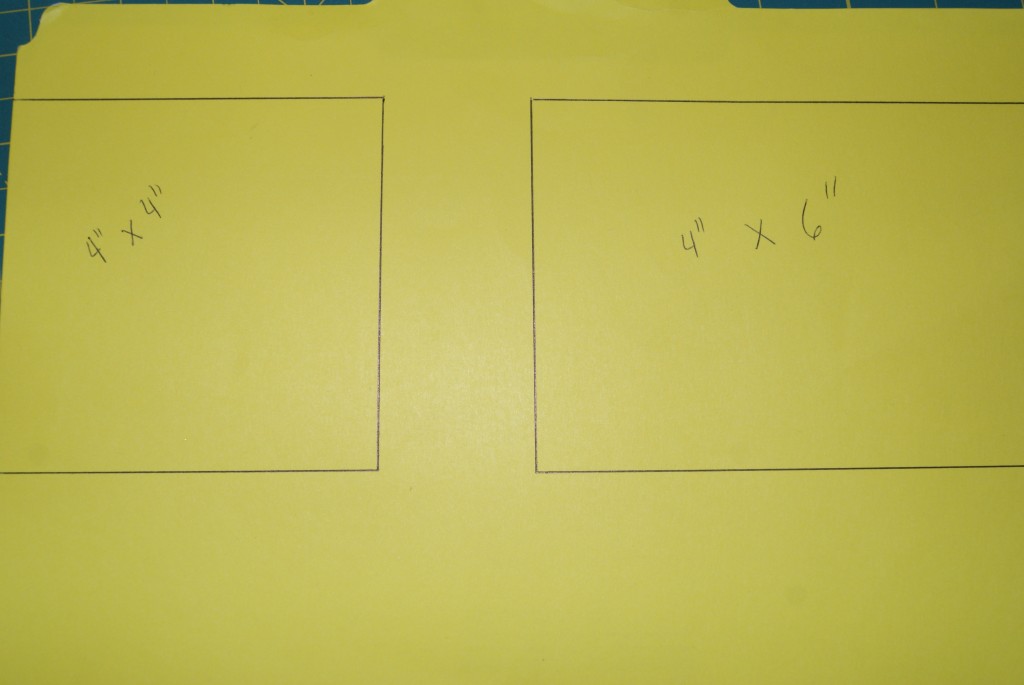
Used an old file folder to make my template guide.

Used an old file folder to make my template guide.

Remember to include a 1/2″ seam allowance on all sides of your template.   Try to keep the fabric squares or rectangles a good workable size; something like 4″ x 4″ and 4″ x 6″.  Easier for their little fingers.

Now begin sewing the fabric shapes together in whatever design that appeals to the child.  Let them think “outside the box” and use their imagination for their finished scrap fabric project.   They might want to create a blanket for a baby doll or stuffed animal or maybe their design will be a cool “shawl” for those dress up games!!

You could finish all the edges of the scrap fabric design with just a simple zigzag stitch.  Or if your children is more experienced, cut out a light weight batting and backing; then stitch together on three sides (right sides together) with the batting in the middle.  Turn to the right side and machine stitch closed to make a scrappy little quilt that they could tie together.

Have loads of fun!  Exposing your child to new craft techniques makes for wonderful memories too!!

HAPPY CREATING!!

Disclaimer:  This post contains affiliate links – “small commission earned”
Journaling – An Important Keepsake

Journaling is one of those little things in our busy lives that can sometimes be overlooked.   Yet, it can provide so much information about yourself , your projects and it can be a great teaching tool for young sewers/crafters.  It is a super way to keep yourself organized!!

Fun idea for a crafter's journal!!

Fun idea for a crafter’s journal!!

It is never too late to begin keeping a journal of the different projects you have completed or are working on or have stashed away in a plastic bin waiting for the right moment to pull it out and start anew.  Check out these other nifty ideas for a crafter’s journal!!

A simple composition book is a great way to keep a record of your projects or print out pages from the computer using a unique font and maybe some clip art to give your pages personality.  Slipping your pages inside a clear plastic protective cover sheet will keep them in good shape and then place inside a 3-ring binder.   Some examples to include on your page would be:

NAME OF PROJECT – Sweater for Uncle Joe

MATERIALS USED – I like to save the wrapper from a skein a yarn and staple it to my page showing all the necessary info, type/yardage of yarn, dye lot, laundry instructions, etc.   Saving a small fabric swatch or yarn sample makes for easy future reference.

PLACE WHERE YOU PURCHASED MATERIALS – List a website if you purchased on-line or the name of the store you got your supplies from.

COMPLETION DATE – State your name and the month/year of when your project was done.  Or show that it is Still In Progress!!

NEEDLES and/or HOOK SIZES – Again, great for future reference.

PATTERN INSTRUCTIONS – List the website if you used a pattern from an on-line source.  If a sewing pattern, state the pattern name and number.

SIZE INFORMATION – What size did you use for your project.

PERSONAL NOTES – Show what your liked or disliked about the pattern.  Would you want to make it again or was once enough!!

Adding a picture to your journal page is always a nice touch.  Fun to look back and see how one has improved their skill level within a certain craft or just enjoy the memories of what you have accomplished and/or are still working on.

Journaling is a great way to share and pass on what has taken place within someone’s life.  A wonderful keepsake to treasure and reflect upon.

HAPPY CREATING!!

Disclaimer:  This post contains affiliate links – “small commission earned”
,


Fun, Little Crochet Heart Applique

Who doesn’t like hearts!!!  They are one of my favorite designs and shapes to be creative with on many of my sewing, quilting or crochet/knitting projects.  So I came up with a cute pattern for a simple crochet heart applique, which I hope you enjoy as much as I have.

Approx. measurement - 2 1/4" x 2 1/4"

Approx. measurement –
2 1/4″ x 2 1/4″

The yarn I selected was a Bernat Satin, worsted weight 4, mainly because of the slight sheen and I had some left over in my stash.  I used a Size G hook for my samples too.

Stitches used:    sc (single crochet)     ch (chain)     tr (treble)     dc (double crochet)                                                                              sl (slip stitch)

I began my heart using the “magic loop” technique making 11 sc within the loop and then sl stitching through the first sc made.

Now make 3 ch stitches.  Complete 2 tr stitches in first sc stitch.  Make 3 tr stitches in 2nd sc stitch.  Now complete 1 tr and 1 dc in 3rd sc stitch.  Make 2 dc in each of the 4th and 5th sc stitches.   Make 1 ch, 1 tr, 1 ch within the 6th sc of your loop.

Complete 2 dc in each of the 7th and 8th sc stitches.  Make 1 dc, 1 tr in your 9th sc stitch.  Complete 3 tr stitches within your 10th sc stitch.  Make 2 tr, 3 ch stitches in your 11th sc stitch of your loop and end with a sc in that same stitch.  Now complete a sl stitch within your first sc stitch and fasten off.  Pull the tail very tight on your beginning “magic loop” to close your circle and then weave in your ends.

Now you have a fun, little crochet heart to do with as your “heart” desires!!  You can make a bunch of these very quickly and use them for many different projects.  They will fit nicely on top of my napkin ring design or as a center for the crochet ruffle too.   Add them to barrettes, headbands, hats or applique them to clothing and home decor projects.  Enjoy!!

HAPPY CREATING!!

Disclaimer:  This post contains affiliate links – “small commission earned”