I am sharing with you a wonderful pattern from a fellow Raveler, need to check out website
Ravelry if you have never been there, that I’m sure you will love to try. Not too soon to begin making those treasured gifts for the holidays and if you have a “Barbie” collector, they will definitely want this little black dress.
Crochet Cocktail Dress for Belly Button Barbie
I first want to start with the fact that I’m not a crochet person by nature. My first love is knitting, but as with all yarn or thread, some things just don’t work in one form or another. This is very true with Barbie outfits. I find that crochet works much better for Barbie outfits than knitting, so I put down my knitting needles and picked up my crochet hook. I have to admit this design was inspired by two other dresses I found online, but neither one really fit what I was going for. I wanted a dress that didn’t require snaps, was quick to make, and would work well with Barbie’s hour glass shape. I wanted to make Barbie that little black dress. I’ve listed the site and links at the bottom of this blog if you want to try those dresses out too. So with all of that having been said, here is my version of the little black dress for Barbie. (The pictures at the end are done with red crochet thread and accented with black, because the black wasn’t good for photographs)
Supplies:
Crochet Thread size 10 Color A (I love Aunt Lydia’s 100% cotton thread, black)
Crochet Thread size 10 Color B (In the above dress I used a white metallic aunt lydia’s thread for extra pop)
Size 6 (1.8mm) crochet hook
I used two colors for this design but you could easily use one color.
Also, this pattern is worked vertically not around, so it will feel a little odd until you get to the end, but I promise you will get a great dress perfectly for little hands in the end! The pattern is below with no break in the instructions, but at the end you can find side notes and pictures that give an idea of the steps that I went through while making this dress.
Abbreviations:
Ch – Chain
Dc – Double crochet
Hdc – Half double crochet
Sc – Single crochet
Sts – Stitches
Sl st – Slip Stitch
PATTERN:
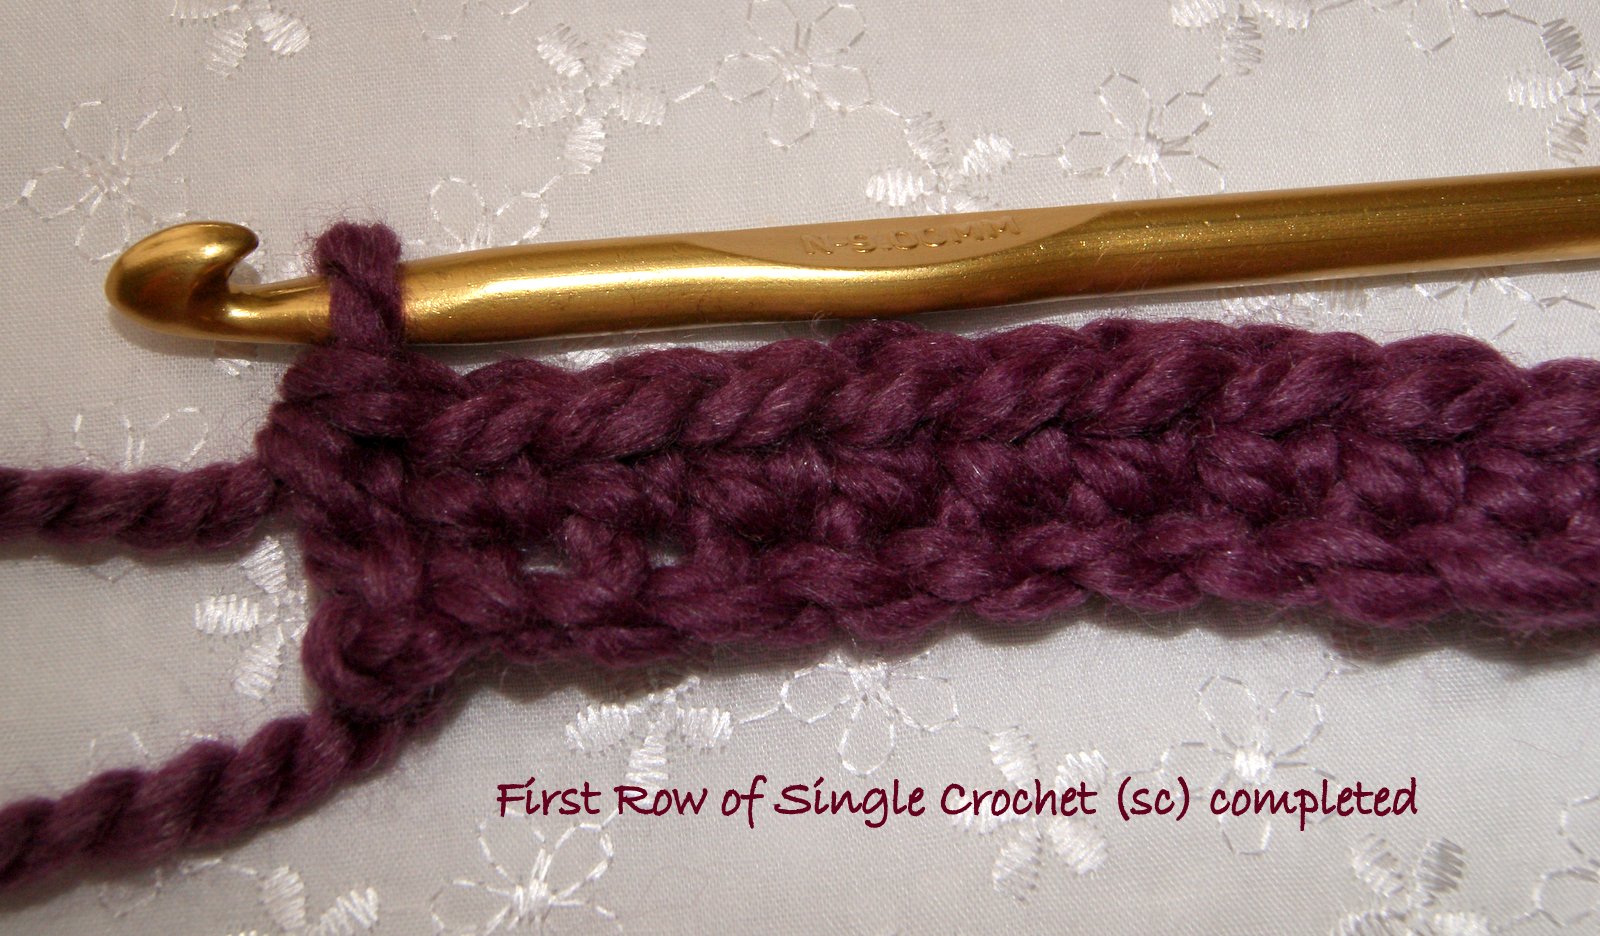
Row 1: With Color A ch 37, dc in 2
nd ch from hook and in next 6 dc, hdc in next 7 chs, sc in next 12 chs, hdc in next 5 chs, dc in next 5 chs.
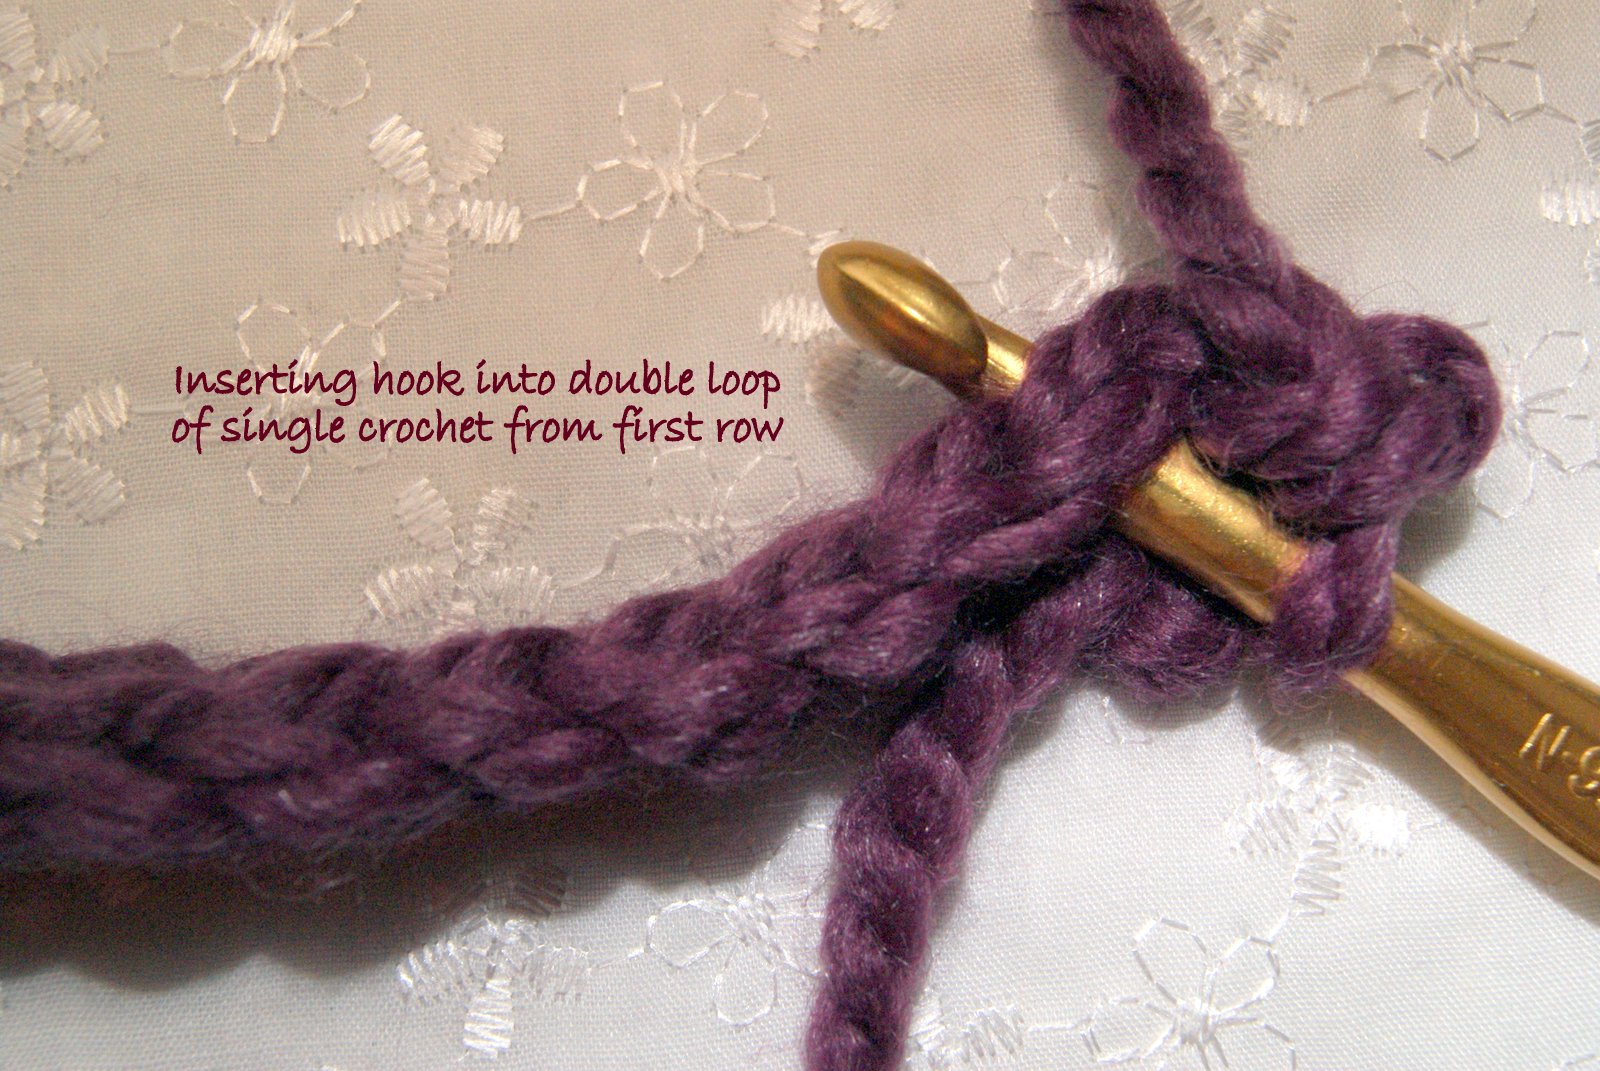
Row 2: Working in
BACK LOOPS only, ch 2 (counts as first dc now and throughout), dc in next 4 sts, hdc in next 5 sts, sc in next 12 sts, hdc in next 7 sts, dc in next 7 sts.
Row 3: Working in
BACK LOOPS only ch 2, dc in next 6 sts, hdc in next 7 sts, sc in next 12 sts, hdc in next 5 sts, dc in next 5 sts.
Repeat Rows 2 & 3 till you have a total of 27 rows.
At this time, there is technically no right or wrong side, so pick the best looking side and call that your right side. Fold the right sides together, and seam up the back with a sc row. When you get done seaming up the back, you can fasten off and weave the yarn that you were working with. DO NOT weave in the end from where you started. This will help you remember which side is the top side until you get your top ruffle completed.
At this time, turn your dress right side out.
Edging on top:
Attach Color A with sc anywhere on the edge of your dc top.
Row 1: Ch 1, sc around top edge, join at first sc. A total of 36 scs at the top. This will allow it to go over Barbie’s hips and bust but not fall down.
Row 2: Ch 1, sc in each sts around. Fasten off. At this time you can fasten off all ends, as you easily know the top from bottom. At this time, don’t freak out if the dress kind of has a “bubble” to your work under the edging. Barbie has boobs J The edge at the top will be narrow to keep it up over her chest.
Ruffle on top:
Most important part, turn the dress upside down and work in opposite direction of the edging you just added.
Row 1: Attach Color B with sc in FRONT LOOPS. Ch 2 (this will count as dc throughout), (dc, ch 1, 2 dc) in same sts as joining. Skip next 2 sts, *(2dc, ch1, 2dc) in same sts, skip next 2 sts. Repeat around from *. Join with sl st at top of ch2. Total of 12 fan like sections.
Row 2: Sl st 2 sts so that you are into the ch 1 space from last round. (Ch 2, 1dc, ch1, 2dc) in ch1 space. *(2dc, ch 1, 2dc)in next ch 1 space. Repeat from * and join in top of starting ch 2.
Row 3: ch 1, sc in each dc and in each ch 1 space around, join to beginning sc. (60 total sc)
Row 4: *ch 2, sl st into next st, repeat from * around and join in beginning sl st. Fasten off.
Edging on bottom:
Attach Color A with sc anywhere on the edge of your dc top.
Row 1: Ch 1, 2sc on each edge of dc, join at first sc. A total of 54 scs at the bottom.
Row 2: Ch 1, sc in each sts around. Fasten off.
Ruffle on bottom:
Attach Color B with a sc anywhere in a sts on edging. Dress again will be upside down for this as well.
Row 1: ch 2, dc in same stitch. 1 dc in next sts, *2 dc in next sts, 1 dc in next sts. Repeat from * around and join in top of beginning ch 2.
Row 2: *ch 2, sl st in next sts, Repeat from * around and join with l st in first sl st. Fasten off.
Weave in all ends and enjoy!
PICTURES AND SIDE NOTES:
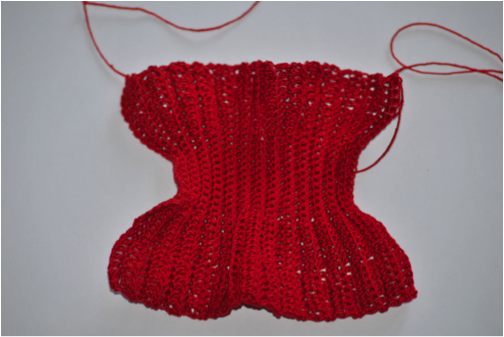
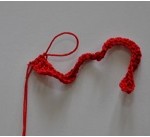
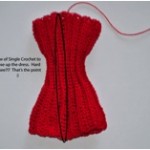
When you start this, the dress will want to roll and spin on you. At the end of the first row if your dress looks like this, everything will be OK!! Please note for these pictures below Color A is red and Color B is black.
Around Row 9 or 10 the dress will finally stop curling on you. At least for me it does.
The top of your dress will be the end with the 5 dc and 5 hdc. I can easily remember it because the string that I was left from my slipknot in the beginning is at the top of the dress. I don’t weave in that end until the VERY end, that way I always know which end is the top of the dress.
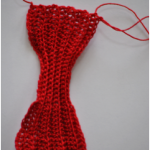
When you have finished your 27 total rows you will have something that looks like an hour glass.
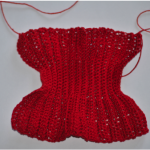
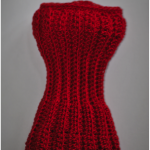
Here is what the dress looks like after I have seemed up the back with a row of scs.
Here is what the dress looks like with the two rows of sc at the top. Notice the “bubble”
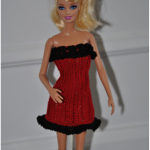
Don’t freak out if the ruffle stands “up” once you get it finished it will lay flat as you continue to work it.

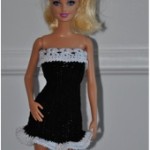
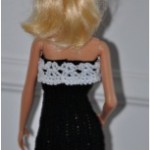
Here is the final product
 Sources of Inspiration:
Dress that helped with the body design of this outfit:
http://crochetforbarbie.blogspot.com/2013/04/summer-skies-top-and-skirt-set.html
Dress that helped the top ruffle of this outfit:
http://crochetforbarbie.blogspot.com/2013/08/i-saw-picture-of-little-girl-in-white.html
Thank you Jess for sharing this great pattern. I hope you all enjoy crocheting it as much as I am going too!! Perfect gift for the little girls on my Christmas list 🙂
HAPPY CREATING!!
Disclaimer: This post contains affiliate links – “Commissions Earned”
,
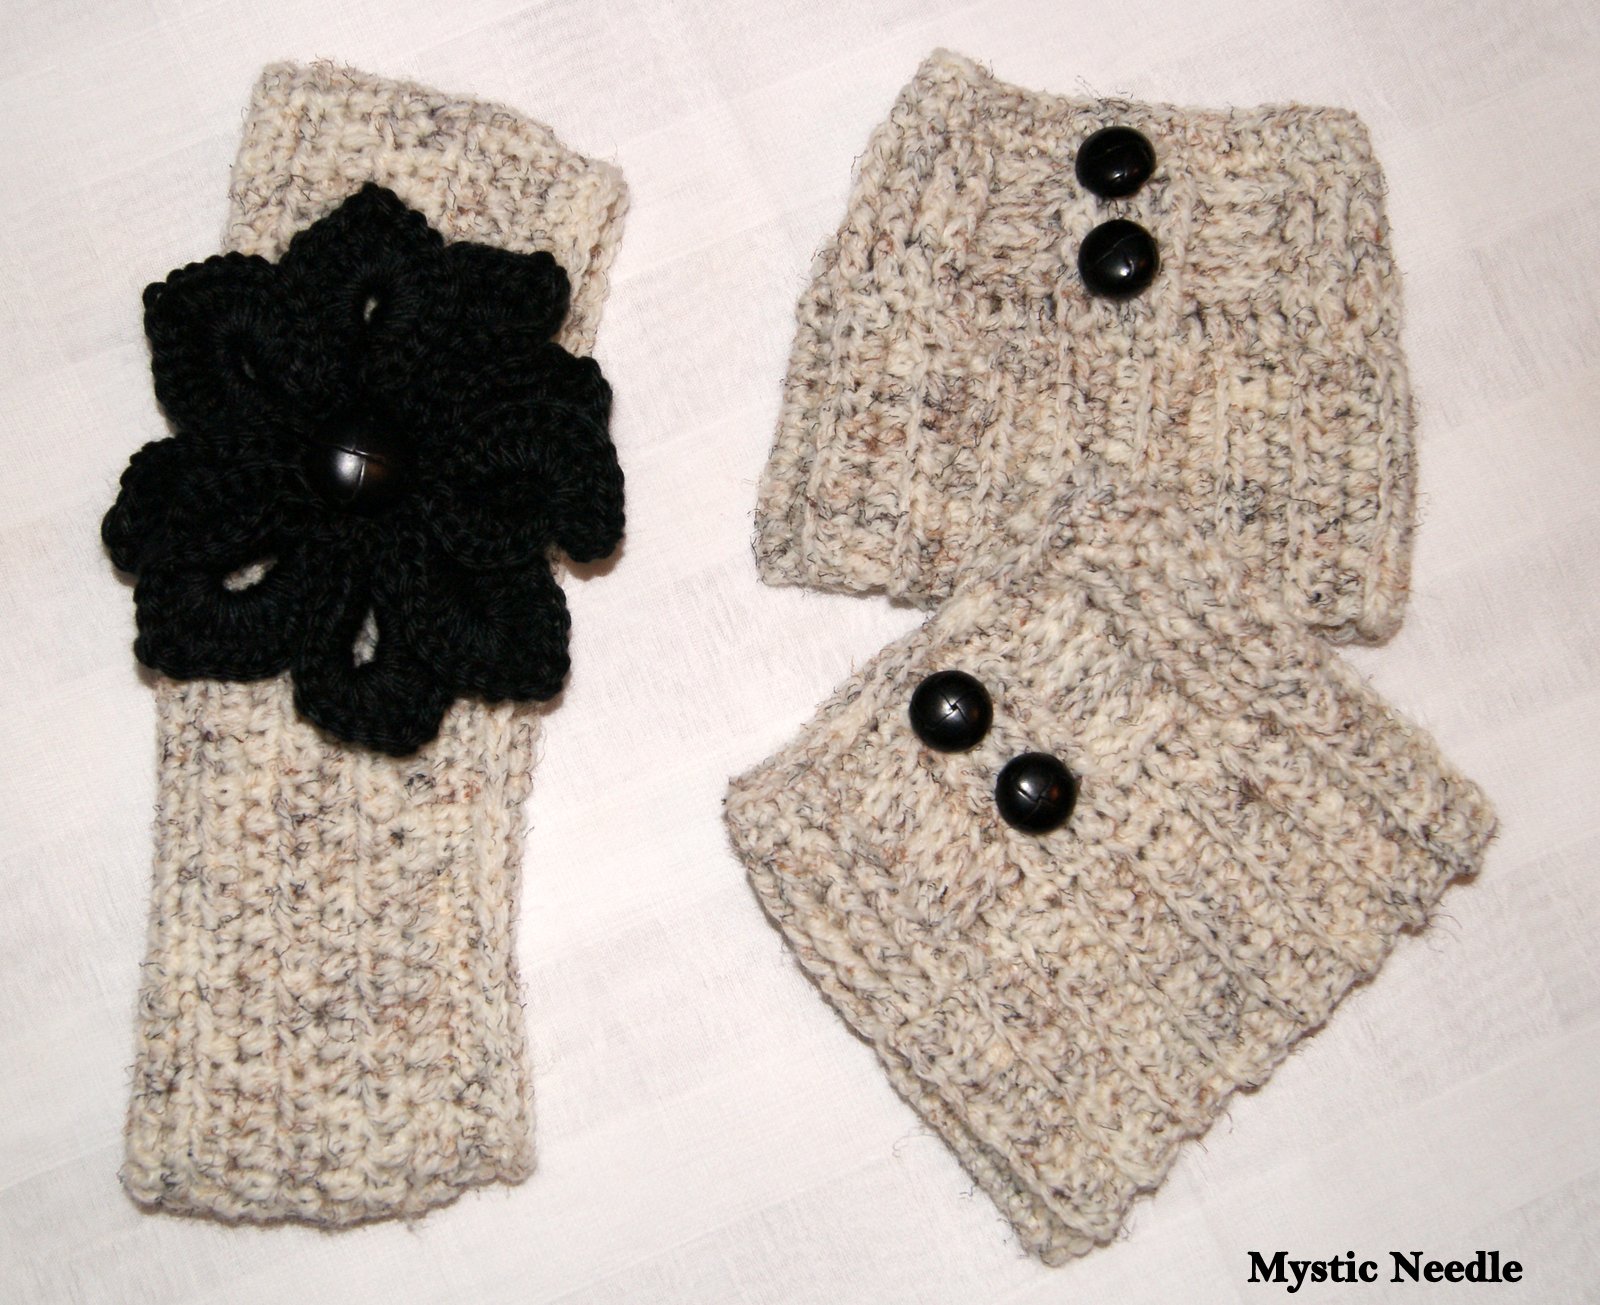
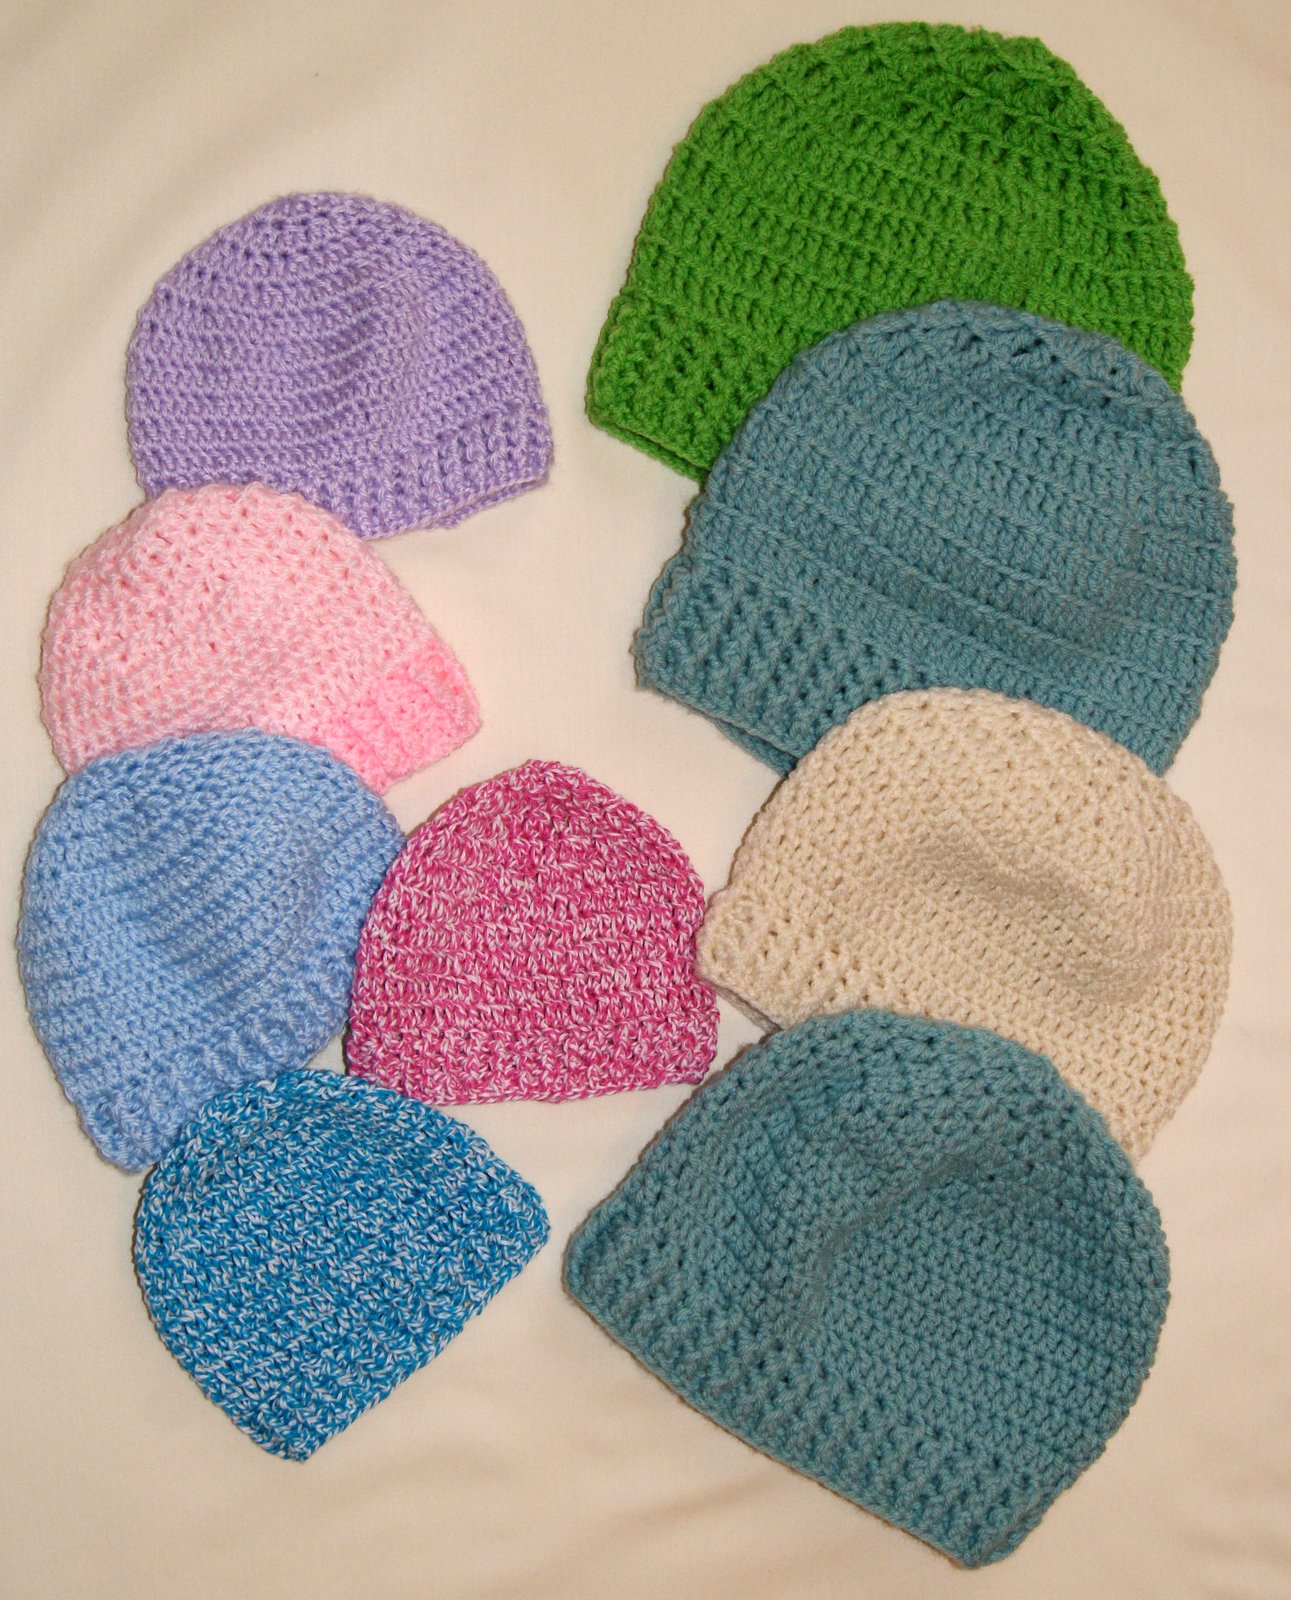
 For both designs, I used Lion Brand Wool-Ease yarn and a size H crochet hook. This yarn has such a nice comfy feel to it plus just enough wool for extra warmth but no itchiness!!