Archives

Valentine’s Day Heart – Updated Pattern

Here’s another quick (a little different) version to my fun, little crocheted applique heart pattern. SONY DSC My example here, I have used a size G crochet hook and some acrylic yarn. SONY DSC With this pattern, I began by crocheting the “magic loop” and making 12 HDC. SONY DSCSONY DSC Slip stitch in the 1st HDC to join your loop making a circle.  You can pull a little bit on the magic loop tail but don’t pull it totally closed until you  have completed your heart. SONY DSC Make another slip stitch (SL) in the next HDC stitch.  Chain 4 and crochet 2 treble crochets in that same space. In 3rd HDC ~~ crochet 3 treble crochets In 4th HDC ~~ crochet 1 half treble crochet then 1 double crochet In 5th HDC ~~ crochet 2 double crochets In 6th HDC ~~ crochet 2 double crochets SONY DSC In 7th HDC ~~ crochet 1 half treble stitch, 1 treble stitch, 1 half treble stitch (this creates the bottom point of the heart) In 8th HDC ~~ crochet 2 double crochets In 9th HDC ~~ crochet 2 double crochets In 10th HDC ~~ crochet 1 double crochet then 1 half treble crochet In 11th HDC ~~ crochet 3 treble crochets In 12th HDC ~~ crochet 2 treble crochets, chain 3 (this is one chain less than the beginning chain which will help create a better curve for the top of your heart), and 1 single crochet. SONY DSCSONY DSC Cut your yarn and pull it all the way through the stitch leaving a yarn tail on the right side of your heart.  Now flip your heart to the wrong side and slipping your hook through the very first slip stitch that you made, pull your yarn tail to the back. SONY DSCSONY DSCSONY DSCSONY DSC Now you want to take the tail from your magic loop and pull that tight to your liking.  Make a square knot with your two tails and weave in the ends. SONY DSCSONY DSCSONY DSC What I love about this pattern is that it lends itself to almost any time of yarn and size hook.  I hope you enjoy this pattern as much as I do and send some pictures of what you have done with your hearts 🙂 SONY DSCSONY DSC Please remember that this is my pattern not for your use to reproduce or redistribute in any way!!  Crocheting your own hearts can be used in any way you want but it would be greatly appreciated if you could give me credit for the design ~ www.stitch4ever.com.    Thanks so much 🙂

HAPPY CREATING!!

Disclaimer:  This post contains affiliate links – “Commissions Earned”

Baby Blanket Finished

Well I finally finished the baby blanket adding the Ultra Comfy fabric to the back.  First time that I ever “quilted” a crochet project. I thought it came out very nice and will be perfect to use as a cover for the car carrier or a good, thick and soft blanket to lay the little guy on the floor so he can stretch or sleep to his heart’s content and when he is about 2,  I can see him running around using it as a cape 🙂
SONY DSC

Finished blanket on top of wrong side of blue backing.

This is where I folded over the edge of crochet to create binding

This is where I folded over the edge of crochet to create binding

I’ve included some pictures on how I trimmed the backing fabric in the corners and did the machine stitching.  I did use a regular sized zigzag stitch length and stitch width for the edging.
How I trimmed the edge of blue fabric and the corners.

How I trimmed the edge of blue fabric and the corners.

Stitching

Stitching

Also, something to keep in mind should you try this technique, I only pinned and sewed 2 sides at a time.  Because the backing fabric was extremely soft and somewhat stretchy, I wanted to make sure that I got it smooth and somewhat taut to fit my crocheted blanket.
More stitching

More stitching

This way I stitched 2 sides and relaid it on the floor and pinned the other 2 sides and finished my zigzag stitching.  Once all the zigzag stitching was completed, I did make two stitching lines down the center of the blanket to hold both pieces together.  I just divided my blanket into thirds and used a longer stitch length than normal but not as big as a basting stitch and sewed it all together.  Also, I did change to blue thread in the bobbin to match the comfy fabric and continued using the white thread to match the top.
Completed blanket

Completed blanket

Ready for shipping

Ready for shipping

Now it has been wrapped and shipped along with several different sized beanies and a pair of thumbless mittens!!  

HAPPY CREATING!!

Disclaimer:  This post contains affiliate links – “Commissions Earned”

Crocheted Baby Blanket with Fleece

I saw a clever technique on Pinterest (added it to my Crochet Ideas board) and then went on a quest to find the right crochet pattern, especially since I need a baby gift for May. After searching through a wide range of patterns (Ravelry included) I actually settled on a design that I found on the Lion Brand website.  It is one of their free patterns and I think it will work perfectly for this idea.  Just click on highlighted Lion Brand website and it will take you directly to the pattern that I am doing. Here are a couple of pictures of my work in progress.  I have used the Lion Brand Pound of Love and a Size I crochet hook. SONY DSCSONY DSCSONY DSC 
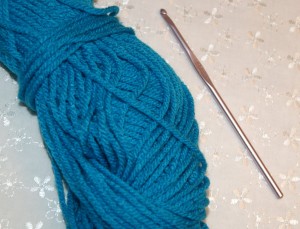
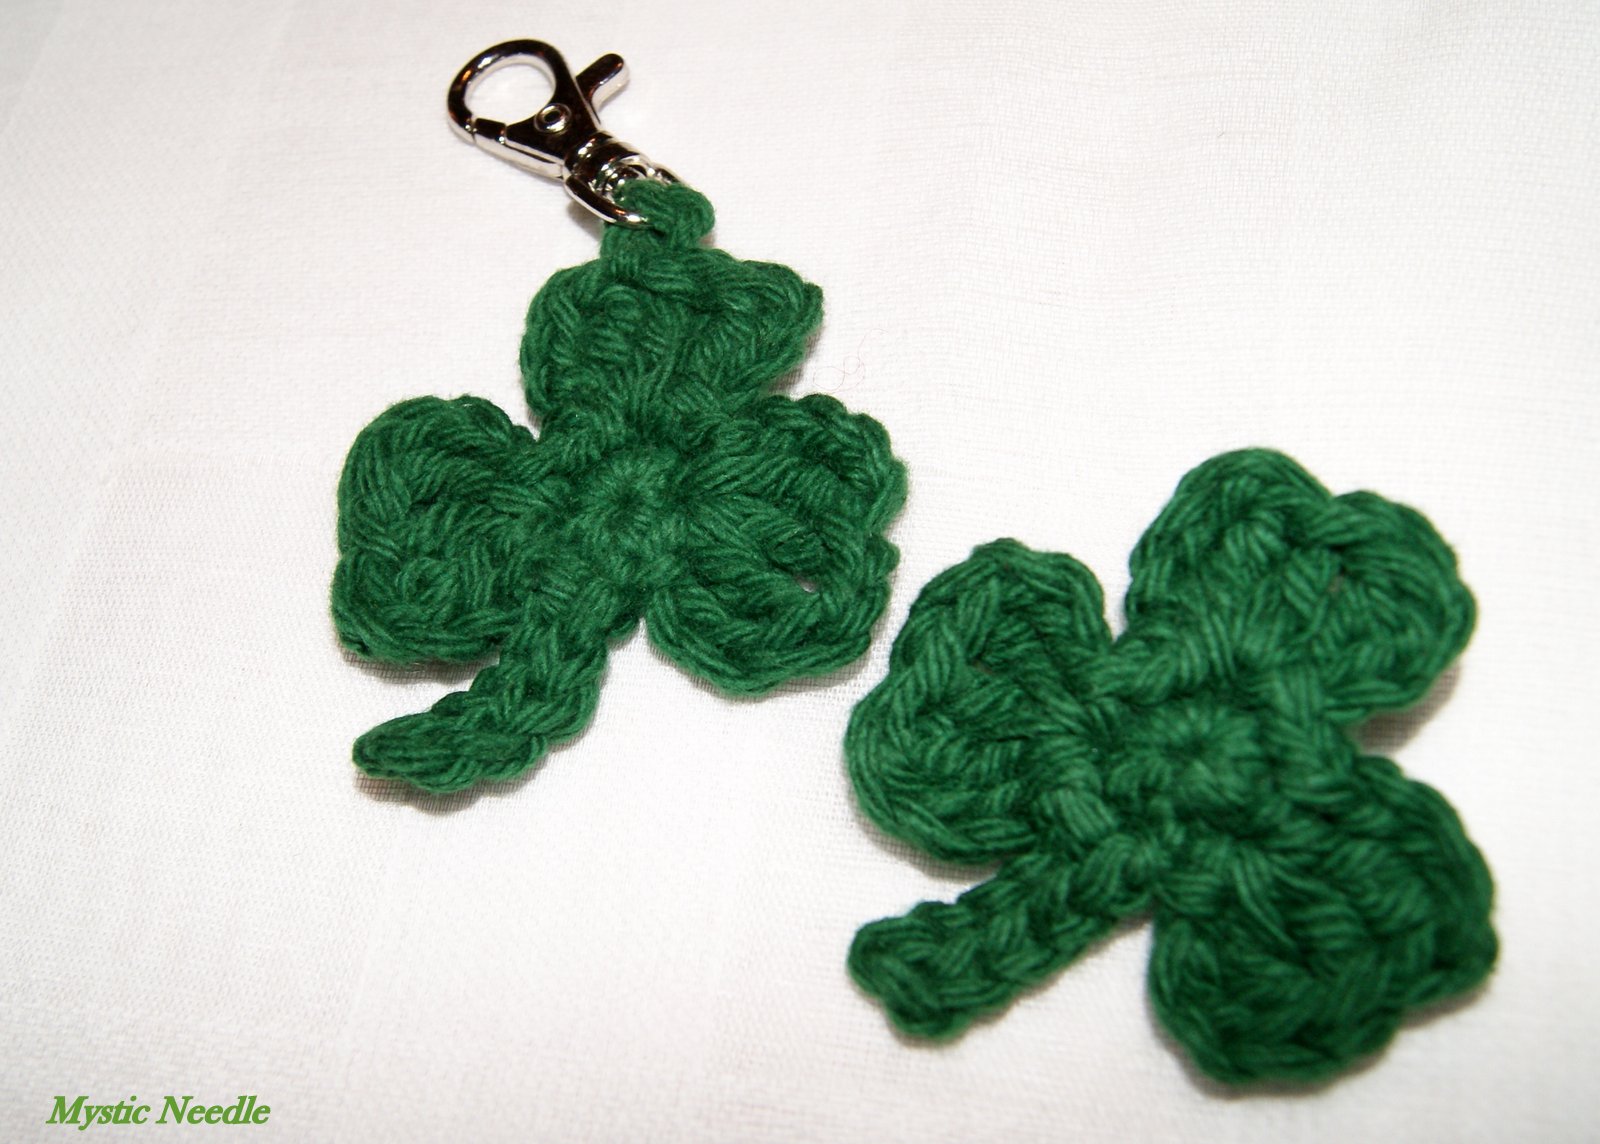
Actually, I think this crochet blanket would be super for any donations that you might be considering.  It really is very easy, great for evenings when you want to watch or listen to a little TV while sipping a nice wine too!! Anyways (I’m ready for that glass of wine) the idea I saw was attaching fleece to the wrong side of the blanket for added warmth.  I’ve gone to the site a couple of times, translated to English but the directions are not very clear but some good pictures. 
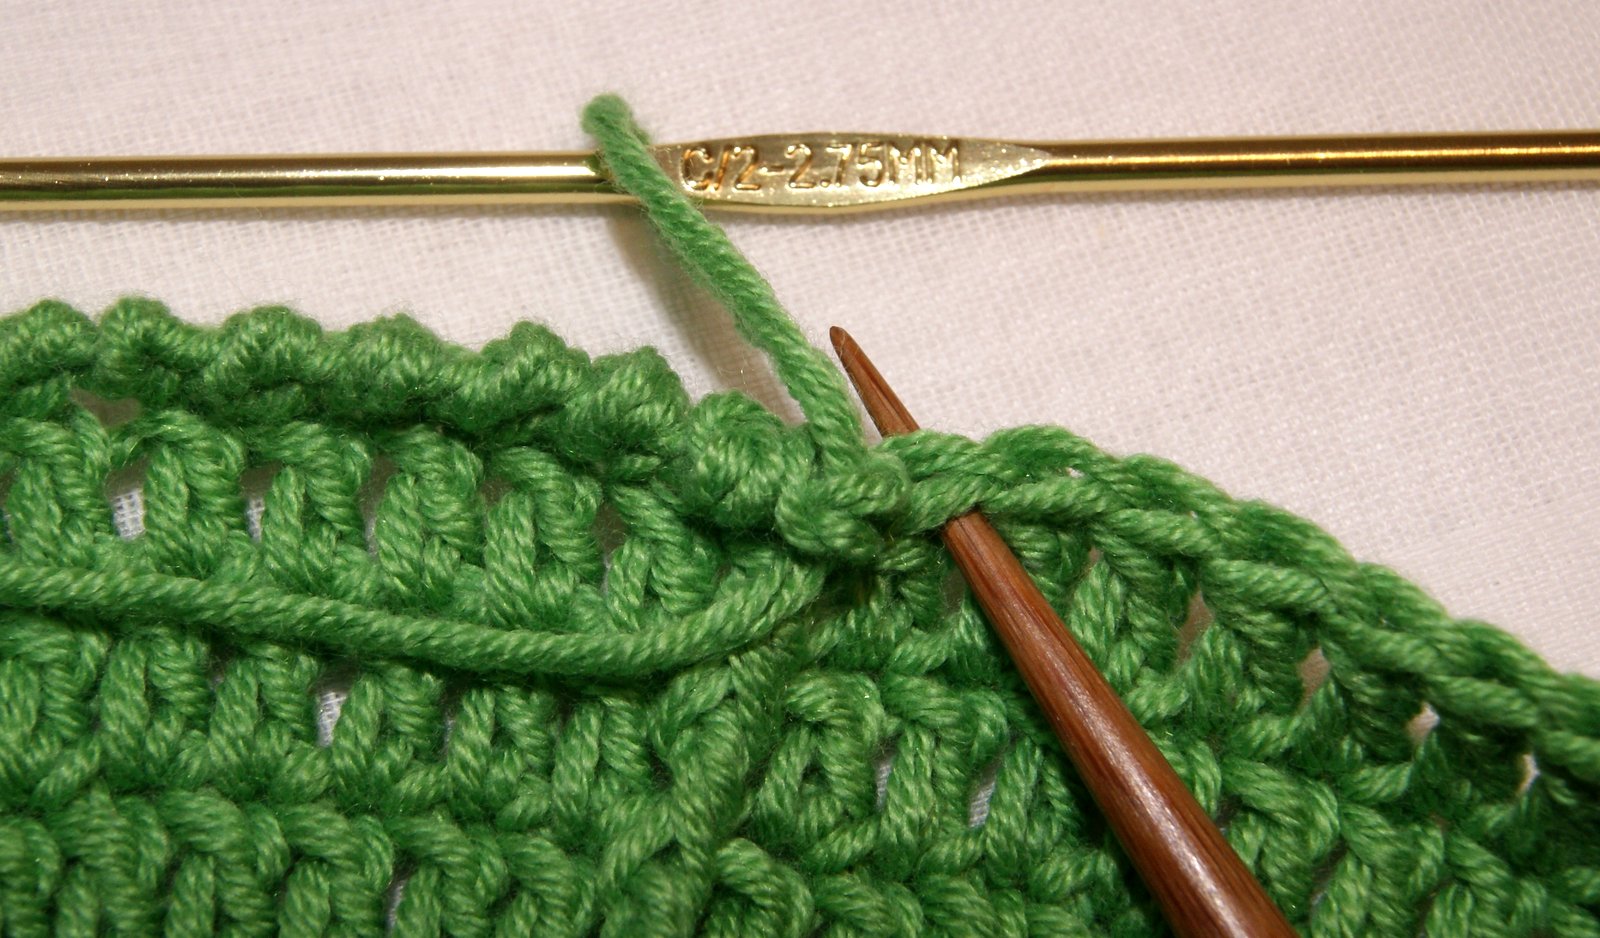
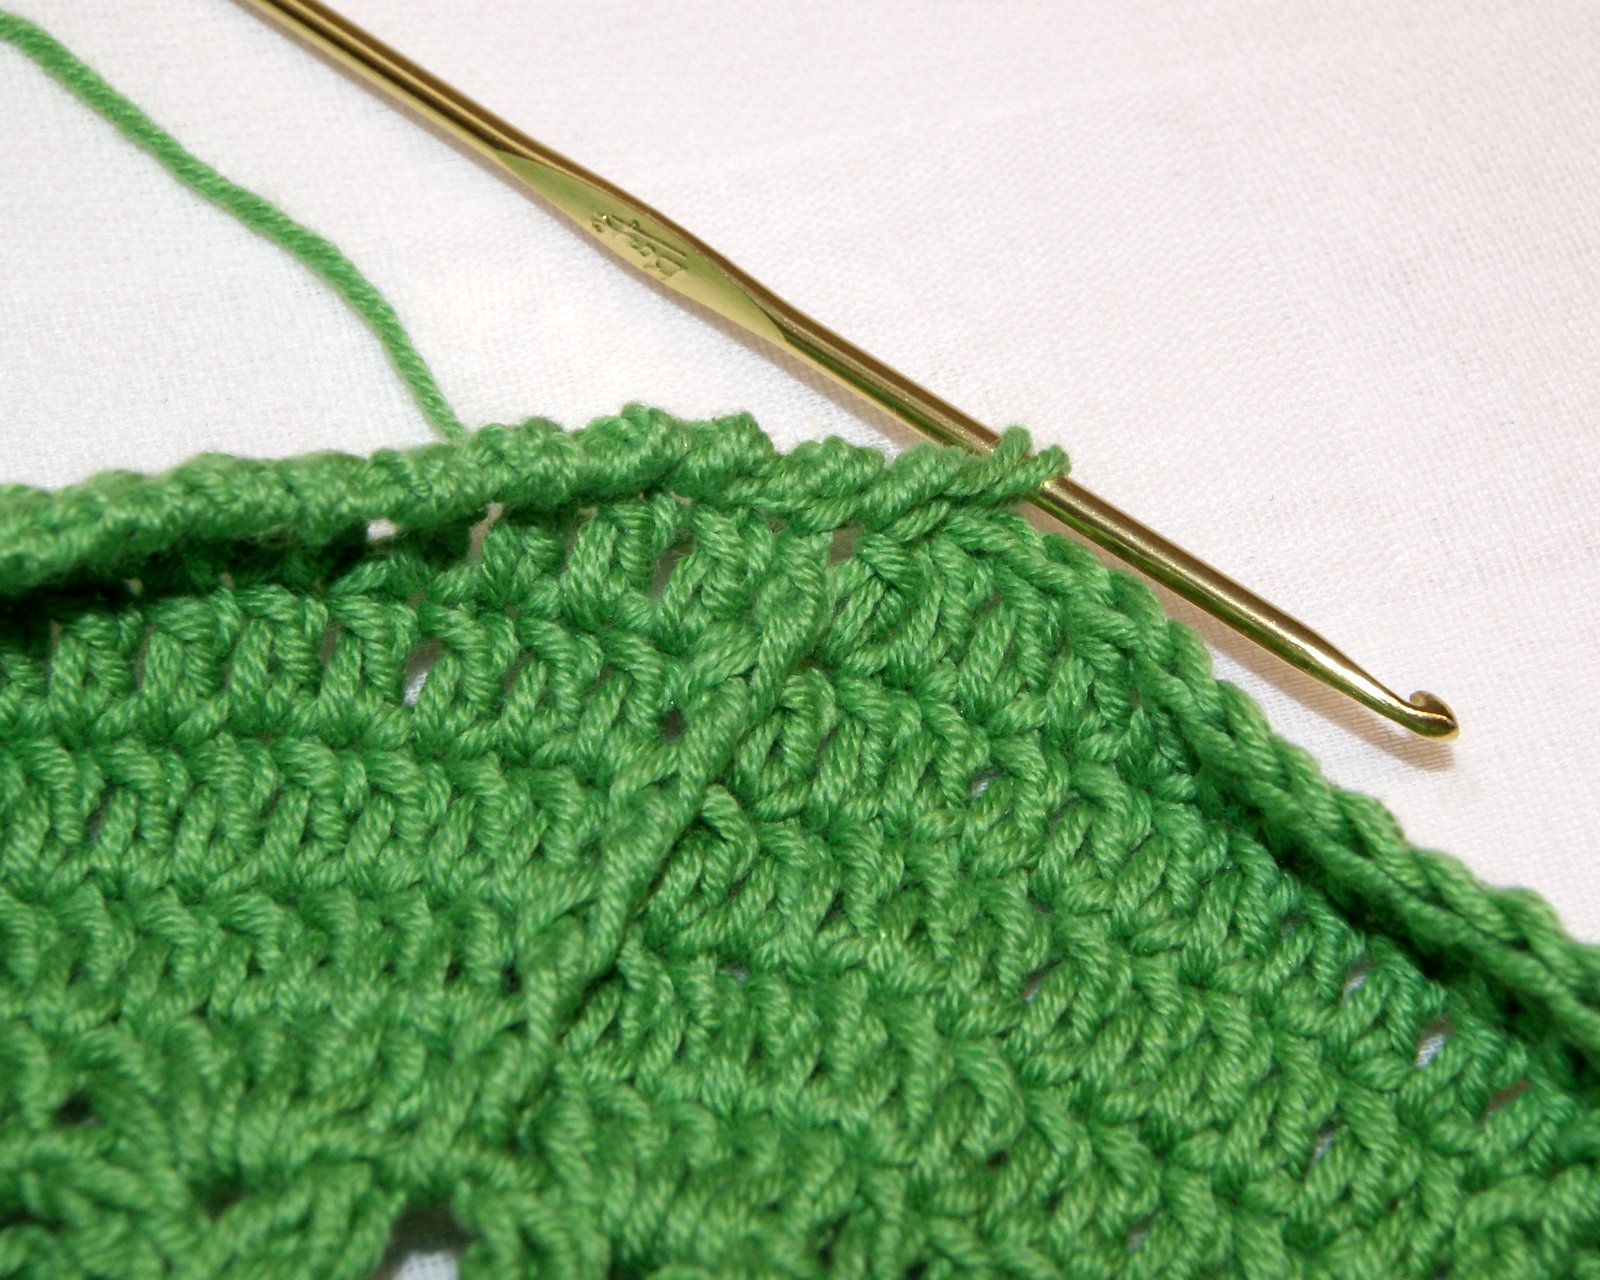
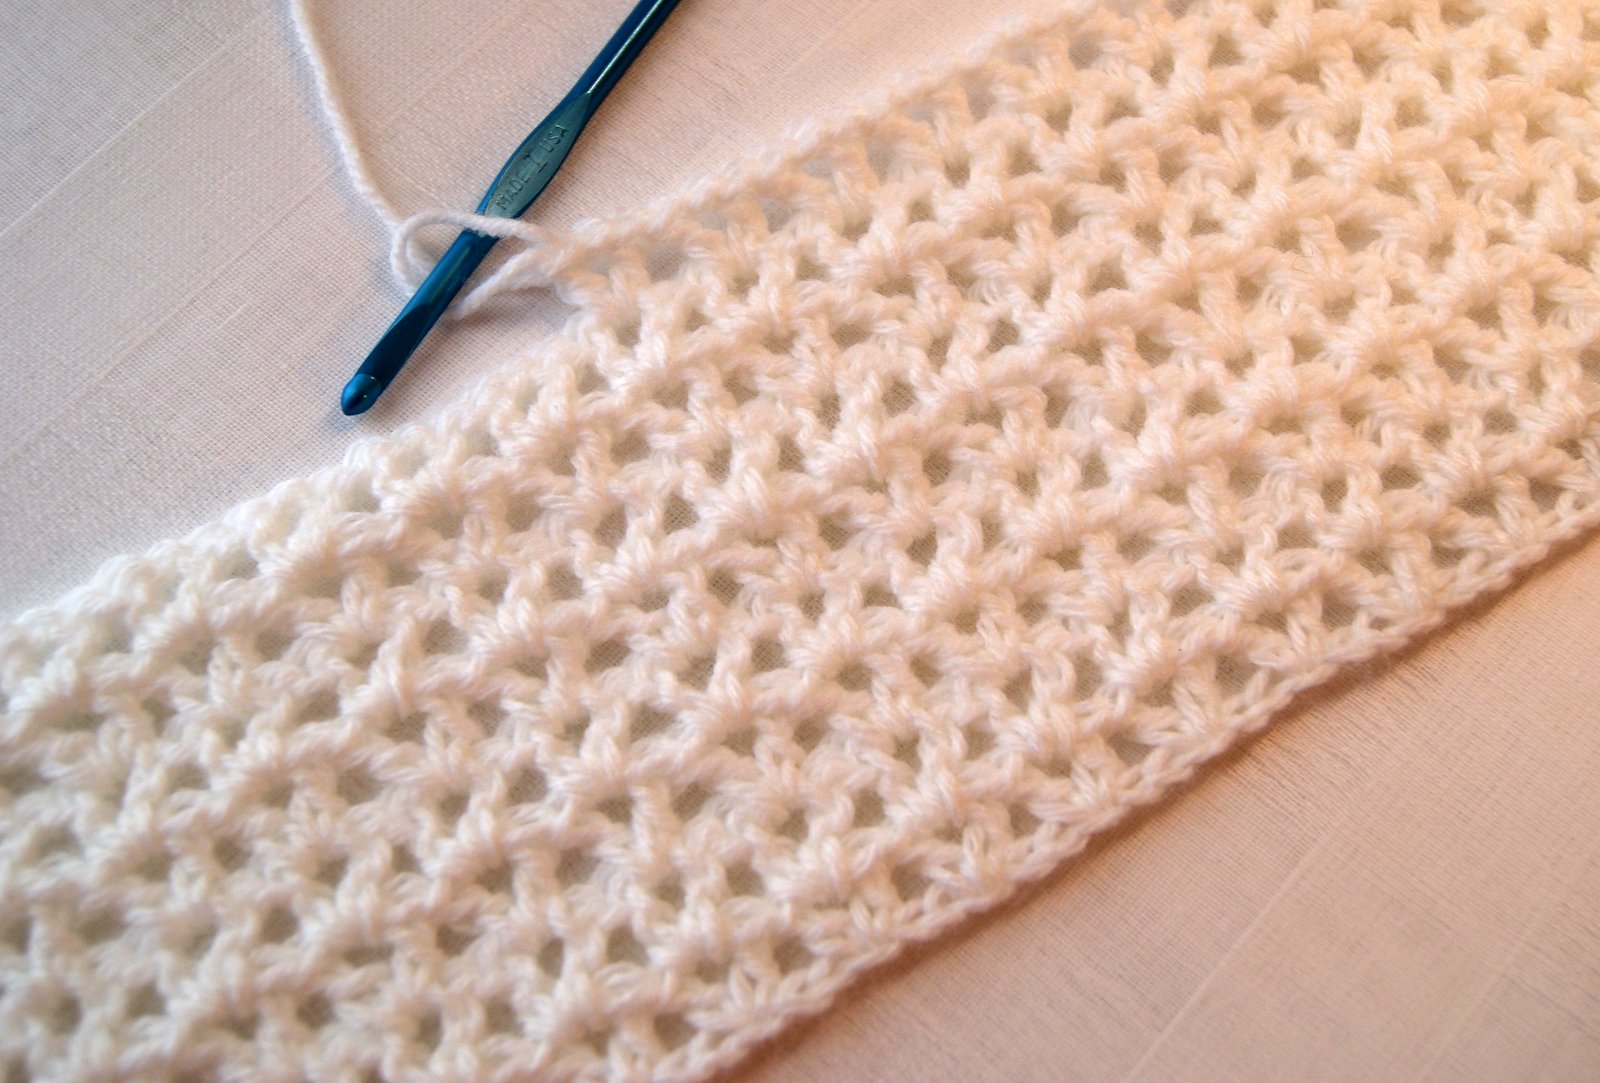
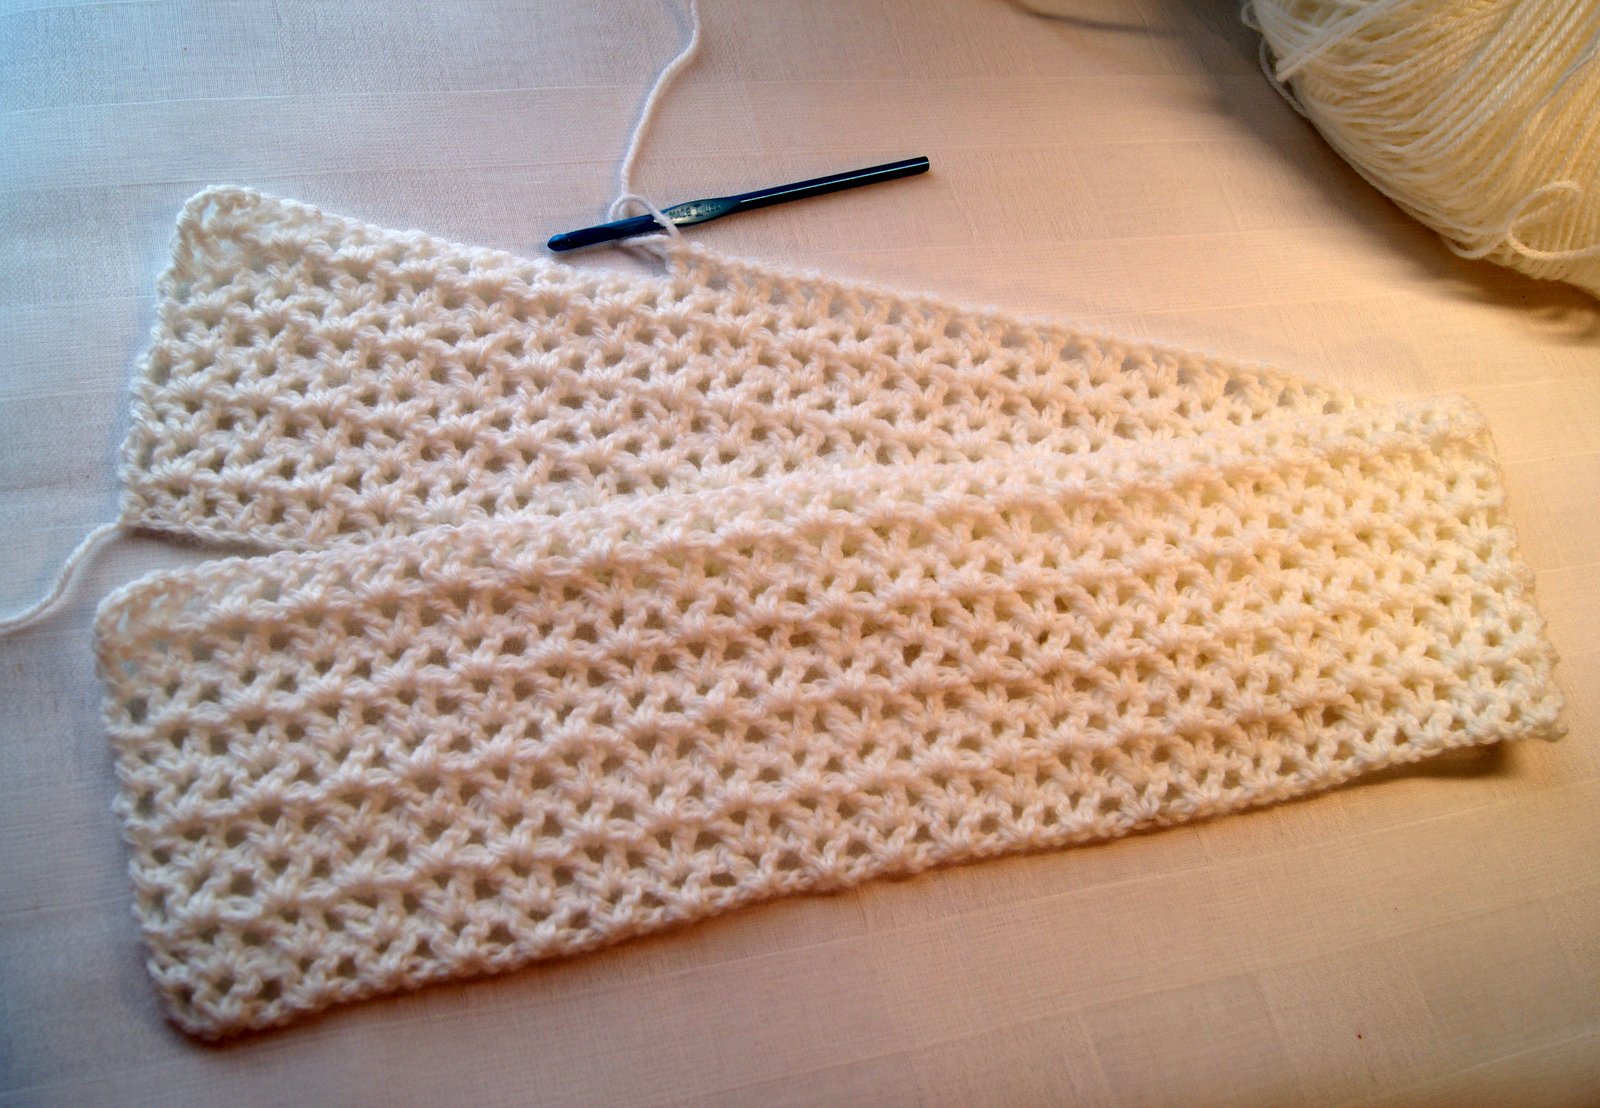
So this is what I am planning to do.  When I have finished making the blanket, I am going to do one row of single crochet completely around the edge.  Will join with a slip stitch, chain 2 and then complete a row of double crochet (maybe treble crochet???) into the back loop of the single crochet row.  Join and then fasten off.  Then just fold this edge over the fleece edge and machine stitch the crocheted blanket to the fleece.  I will probably sew with a small zigzag stitch.   The edge you just crocheted will be only be visible on the back/fleece side of the blanket. I will probably have to do some small hand tacking placed randomly so the fleece won’t pull away from the crocheted blanket.  Want everything to be able to handle machine washing. 
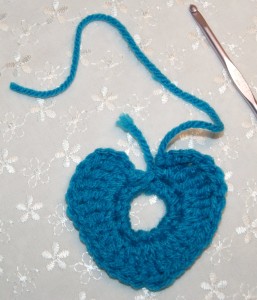
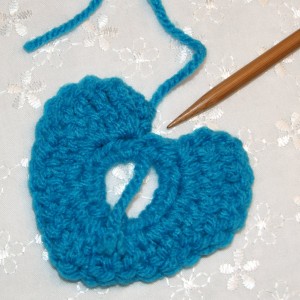
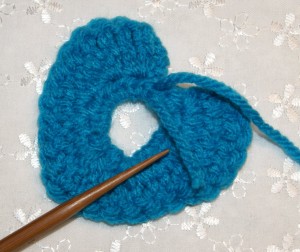
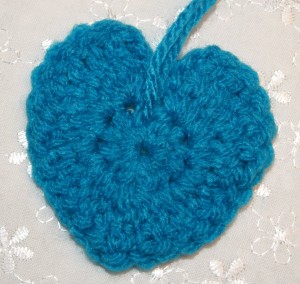
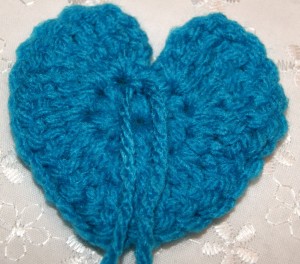
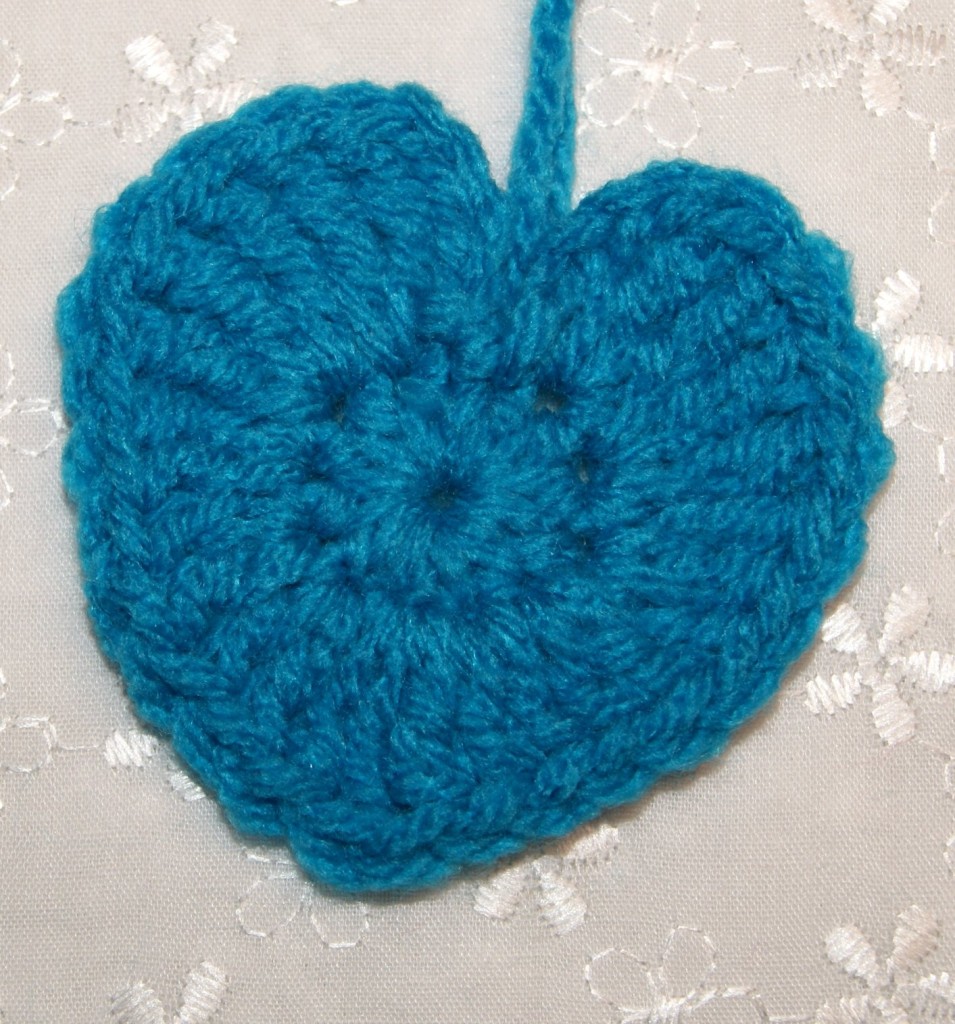
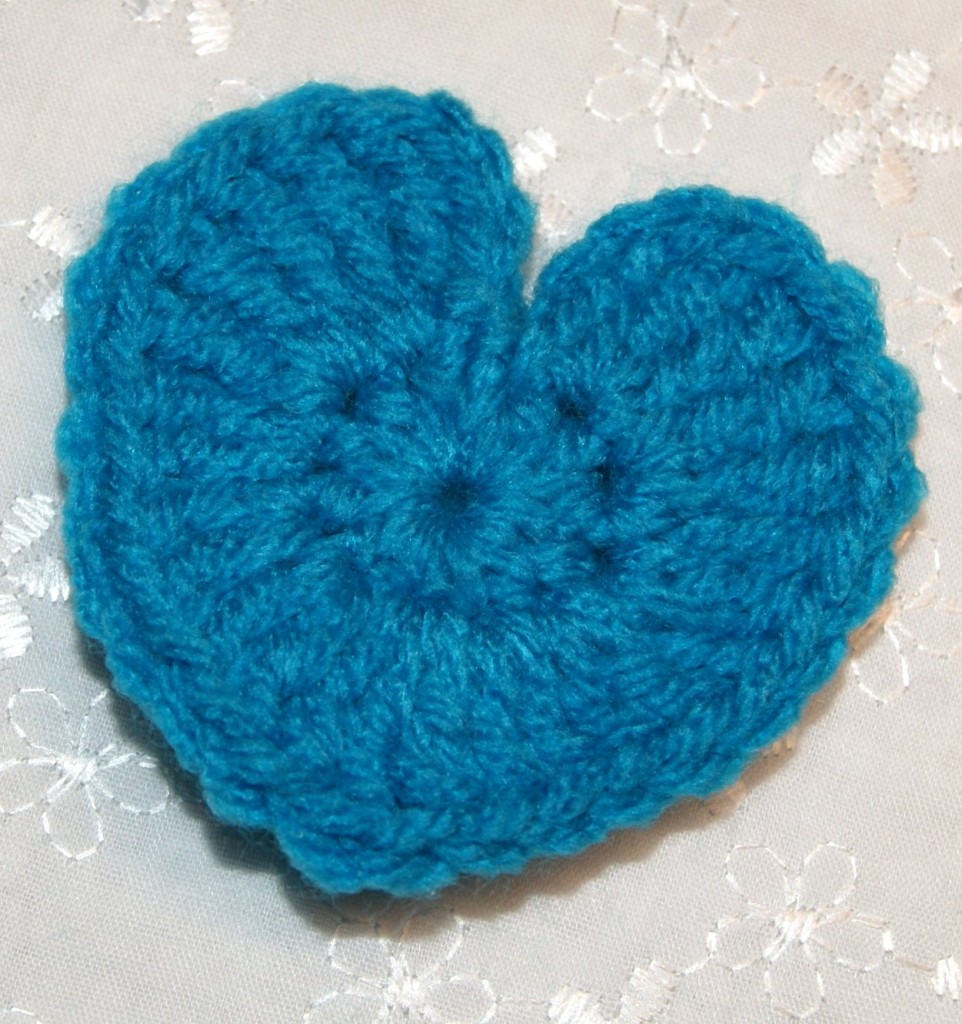
Maybe some cute appliques would be a nice touch and I could sew them onto the blanket and through the fleece to secure everything. Heading out to the store tomorrow and will look for some fleece to use.  Will keep you posted on my progress and let you know how this turns out.  I don’t know why I always try to do something I’ve never done before as a gift!!

HAPPY CREATING!!

p.s.  Just click here to find my crochet ideas on Pinterest 🙂

Disclaimer:  This post contains affiliate links – “Commissions Earned”  

Super Quick “Mini” Basket Pattern

I’m hosting an impromptu Easter dinner this year and wanted to add a little something to the table setting.   But time is limited, so I came up with this very cute, simple and QUICK little Easter basket that will be perfect as a place card, dessert item or a take home favor/treat gift. SONY DSC Here’s what I did:  I used a Size H hook and two strands of Lily Sugar ‘n Cream yarns (one solid and one variegated).  Both colors were left over little balls from previous projects. SONY DSC Round 1:  Complete a “magic loop” technique making 12 DC inside your loop.   Join with a SL stitch. SONY DSC       Round 2:  Chain 3 (counts as 1st DC) complete one more DC in that same stitch.  Continue with this increase round crocheting 2 DC in each stitch for a total of 24 DC.  Join with a SL stitch into top of chain 3.  Bottom of basket completed~~no more increases. SONY DSC Round 3:  Chain 2 (counts as 1st HDC).  In next stitch, make 1 HDC and continue making 1 HDC in each stitch around for a total of 24 HDC.  Join with SL stitch in top of chain 2. Round 4:  Chain 1 (counts as 1st SC).  Complete another 23 SC stitches around for a total of 24 SC.  Join with SL stitch into chain 1. Round 5: Chain 2 (counts as 1st HDC).  Make another 23 HDC stitches around for your total of 24 HDC.  Join with SL stitch in top of chain 2.SONY DSC Round 6~~Finished edge:  Chain 1 and now complete 24 Reverse Single Crochet (Rev SC) stitches along the upper edge.  I just talked about how to do the Rev SC on a sweet toddler hat but I was using a category 2 yarn and could make the stitch with a little twist to give a fun bump to the finished edge.  Because you are working with such a thick combo of two yarns, I eliminated the twisting portion when making my edge stitch.  Here is a great link:  www.planetjune.com/rsc to see how to do another version of the reverse single crochet without the twist effect.  Second picture shows where I placed my last Reverse Single Crochet stitch. SONY DSCSONY DSC Finishing:  I pulled my double stranded loop through my stitches to the inside of the basket and then inserted by cut yarn through the loop and pulled tight to end my stitching.  I did make a square knot (right over left ~~ left over right) to ensure that my work would not come apart.  I pulled the “magic loop” threads tight in bottom center and made another square knot to again make sure all stitches will stay in place.  I don’t mind knotting my yarn ends this way for something like this.  You will never see the knots.  Then you can weave your thread ends. SONY DSCSONY DSC Add a little Easter grass to your basket and fill it with jelly beans, robin egg candies,  marshmallow peeps (my favorite) or put your guests’ name on an egg and place the egg in the basket for a one-of-a-kind name card.   SONY DSCSONY DSCSONY DSC You could always add buttons and bows to the basket too.  Hope you enjoy making these little baskets as much as I have. SONY DSC

HAPPY CREATING!!

Disclaimer:  This post contains affiliate links – “Commissions Earned”      

Crab Stitch or Reverse Single Crochet (rsc)

I am welcoming Spring with some new little hat designs that I found on an awesome site called http://mylittlecitygirl.com.  If you haven’t visited this website before, please check it out as I’m sure you will definitely find something super cute!! In the process of crocheting one of her patterns, she finishes the edge  by using the Crab Stitch (aka: Reverse Single Crochet/Backward Single Crochet).  For me, I find the crab stitch a great way to complete a finished edge of a garment, blanket, hat, etc.  giving the completed edge of your project wonderful stability plus a subtle decorative look that has a slight bump within the design.  You could also add this edge design to a knitted garment too. So here goes a tutorial for you to help show you how to crochet this stitch: As the name implies (reverse single crochet) you will actually be crocheting in the OPPOSITE direction from how you normally work your stitch rows.  IMPORTANT:  You DO NOT TURN your work.  Complete one (1) chain stitch and then begin your crab stitch in the first single crochet to your RIGHT.  I like to slightly loosen the loop that is currently on my hook to make it easier to slide my hook into both loops of the single crochet. Once I have both of these single crochet loops on my hook, I will gently tighten that bottom loop to make it even with the two single crochet loops.  Now your working yarn tail is on the left side of your hook and you want to wrap it around your hook (going from right to left).   Pull that yarn over through both loops that make up the single crochet but not through the loop that was currently on your hook leaving two loops on your hook. This pulled loop will be sitting on top of the other loop and your hook will be facing north.  Now here is the tricky part ~~ to create the slight bump effect, you want to twist these two loops and have your hook face west.  So you will make a slight CLOCKWISE TURN and now the top loop will be on the left side and the head of your crochet hook will be facing west.  This motion actually makes a twist in the bottom loop creating the bump effect.   I hold my work close to the crochet hook with my left hand as I twist my hook around with my right hand making the clockwise turn in front of my work. SONY DSCSONY DSCSONY DSC SONY DSCSONY DSCSONY DSC SONY DSCSONY DSCSONY DSC Yarn over and pull through both of these loops.  You have just created the crab stitch or reverse single crochet. SONY DSCSONY DSCSONY DSC Now repeat around your project edge, join with a slip stitch when completed and fasten off. Like anything new, it will take a little practice to get the feel for this stitch and might feel like you are crocheting in slow motion.   But once you have created a few, you will develop your own rhythm and speed will pick up 🙂 Give it a try and I’m sure you will really like how your finished edge looks and how secure it is. If there is a down fall to this stitch, it would be the fact that once made, you won’t be able to crochet nicely through this stitch~~it is truly a finished edge.

HAPPY CREATING!!

Disclaimer:  This post contains affiliate links – “Commissions Earned”