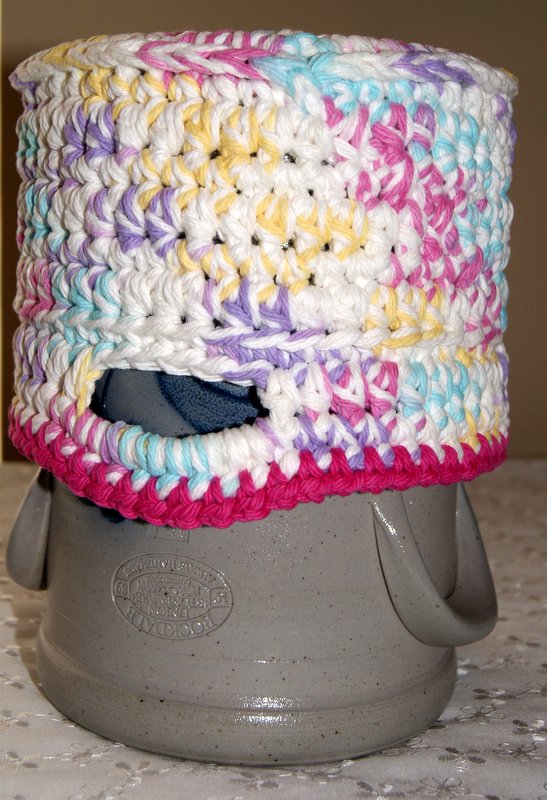
I enjoy making crocheted bowls. I use them for many different purposes – in my guest bathroom for soaps, potpourri, hand towels; as a yarn holder for my
crocheting projects, in my work space for paper clips, housewarming gift filled with cookies, etc. you get the picture.
My yarn of choice is to crochet with two strands of 100% cotton for these fun bowls but sometimes they can be difficult to stay in their shape. I have done research and looked up different ways to help a crochet item retain its desired shape. Tried a few but not all. Not really into cooking a mixture to put on my crochet project; like the sugar (afraid of attracting ants too) or cornstarch recipes.
I have used water and Elmer’s glue which works good. I use a mixture of about half water and half glue thinning to a paint consistency. Works for me because I actually use a paint brush to apply the glue mixture. Most of the time I don’t feel like my project needs to be dipped entirely into the glue mixture. I will just paint the mixture on the inside bottom of the bowl to ensure that it stays flat. I also will use a spray bottle with plain water in it and dampen the bottom first with water, then apply the glue mixture. Air dry on waxed paper. Just putting the glue stiffener on the inside of the bowl, keeps the entire outside of the bowl the same soft consistency of the yarn.
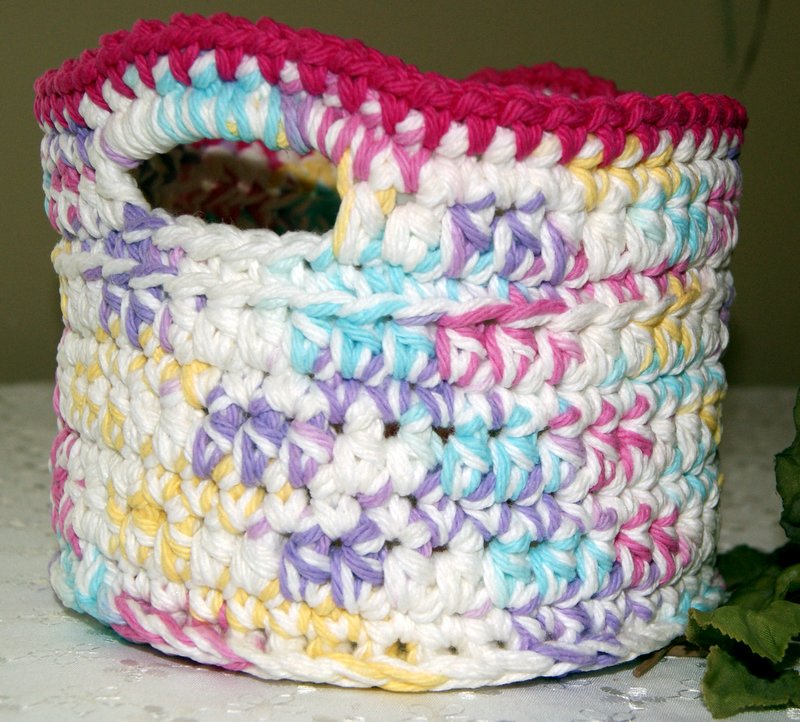
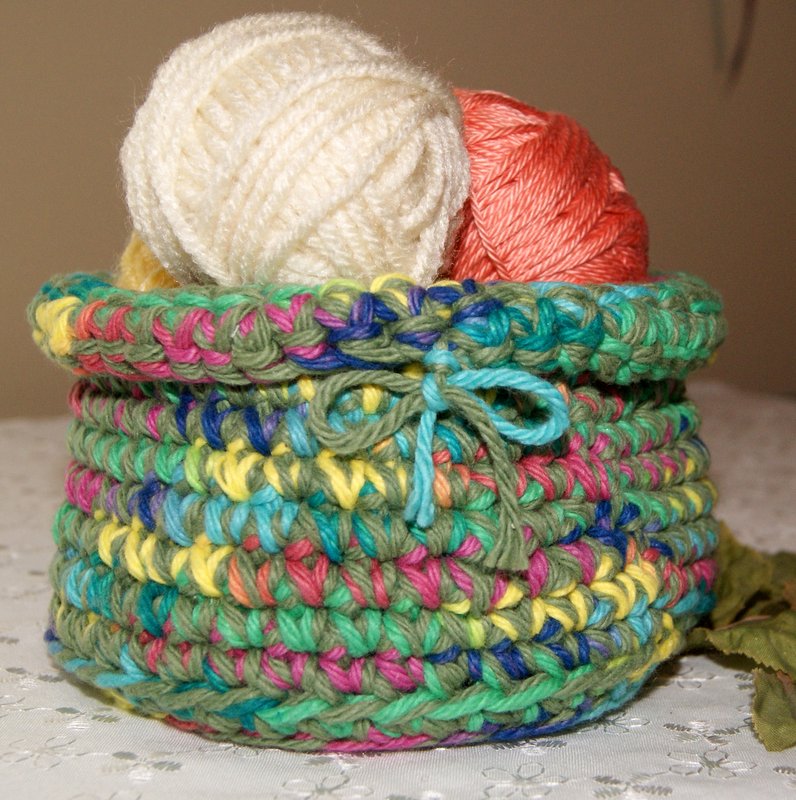
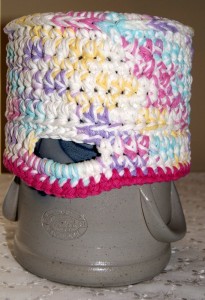
Just made a clever medium-sized handled crochet basket. This time I sprayed the entire basket with water then used regular
spray starch (coated thoroughly) on the outside first, let dry and then repeated process for the inside of the basket. If you want a stiffer basket, I would suggest using heavy-duty spray starch.

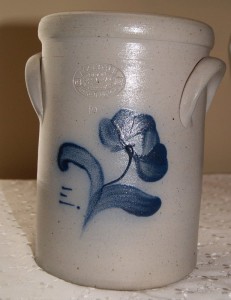
One of the hardest parts is finding that right shaping container for the drying procedure. I used a ceramic utensil keeper, covered it in plastic wrap and placed my basket on it to shape and dry. You just have to be creative when looking through your cabinets for: bowls, Tupperware containers, measuring cups, plastic yogurt or cottage cheese containers, all potential drying shapers depending upon your specific project.
The cotton basket that I just crochet was found on
Ravelry as a free pattern, which took me to the designers blog,
crochetincolor.com. Really enjoyed her blog and liked the way she used the HDC (half double crochet) stitch to create a good flat bottom design. Take a moment and click on the link to check it out!!
I have also thought about taking a small piece of cardboard, covering it in coordinating fabric to match the yarn and placing it in the bottom of a bowl or basket for even more stability.
Anyways, have fun creating your own bowls and baskets and using them around your home or giving them as gifts filled with little goodies. Let me know your ideas for stiffening crochet projects too!!
HAPPY CREATING!!
Disclaimer: This post contains affiliate links – “Commissions Earned”
 Since it is small, I just blocked it on my ironing board using a folded thick beach towel on the bottom, layered with 2 cotton napkins and a hand towel between the napkins. Thickness for my pins and to help with the drying process.
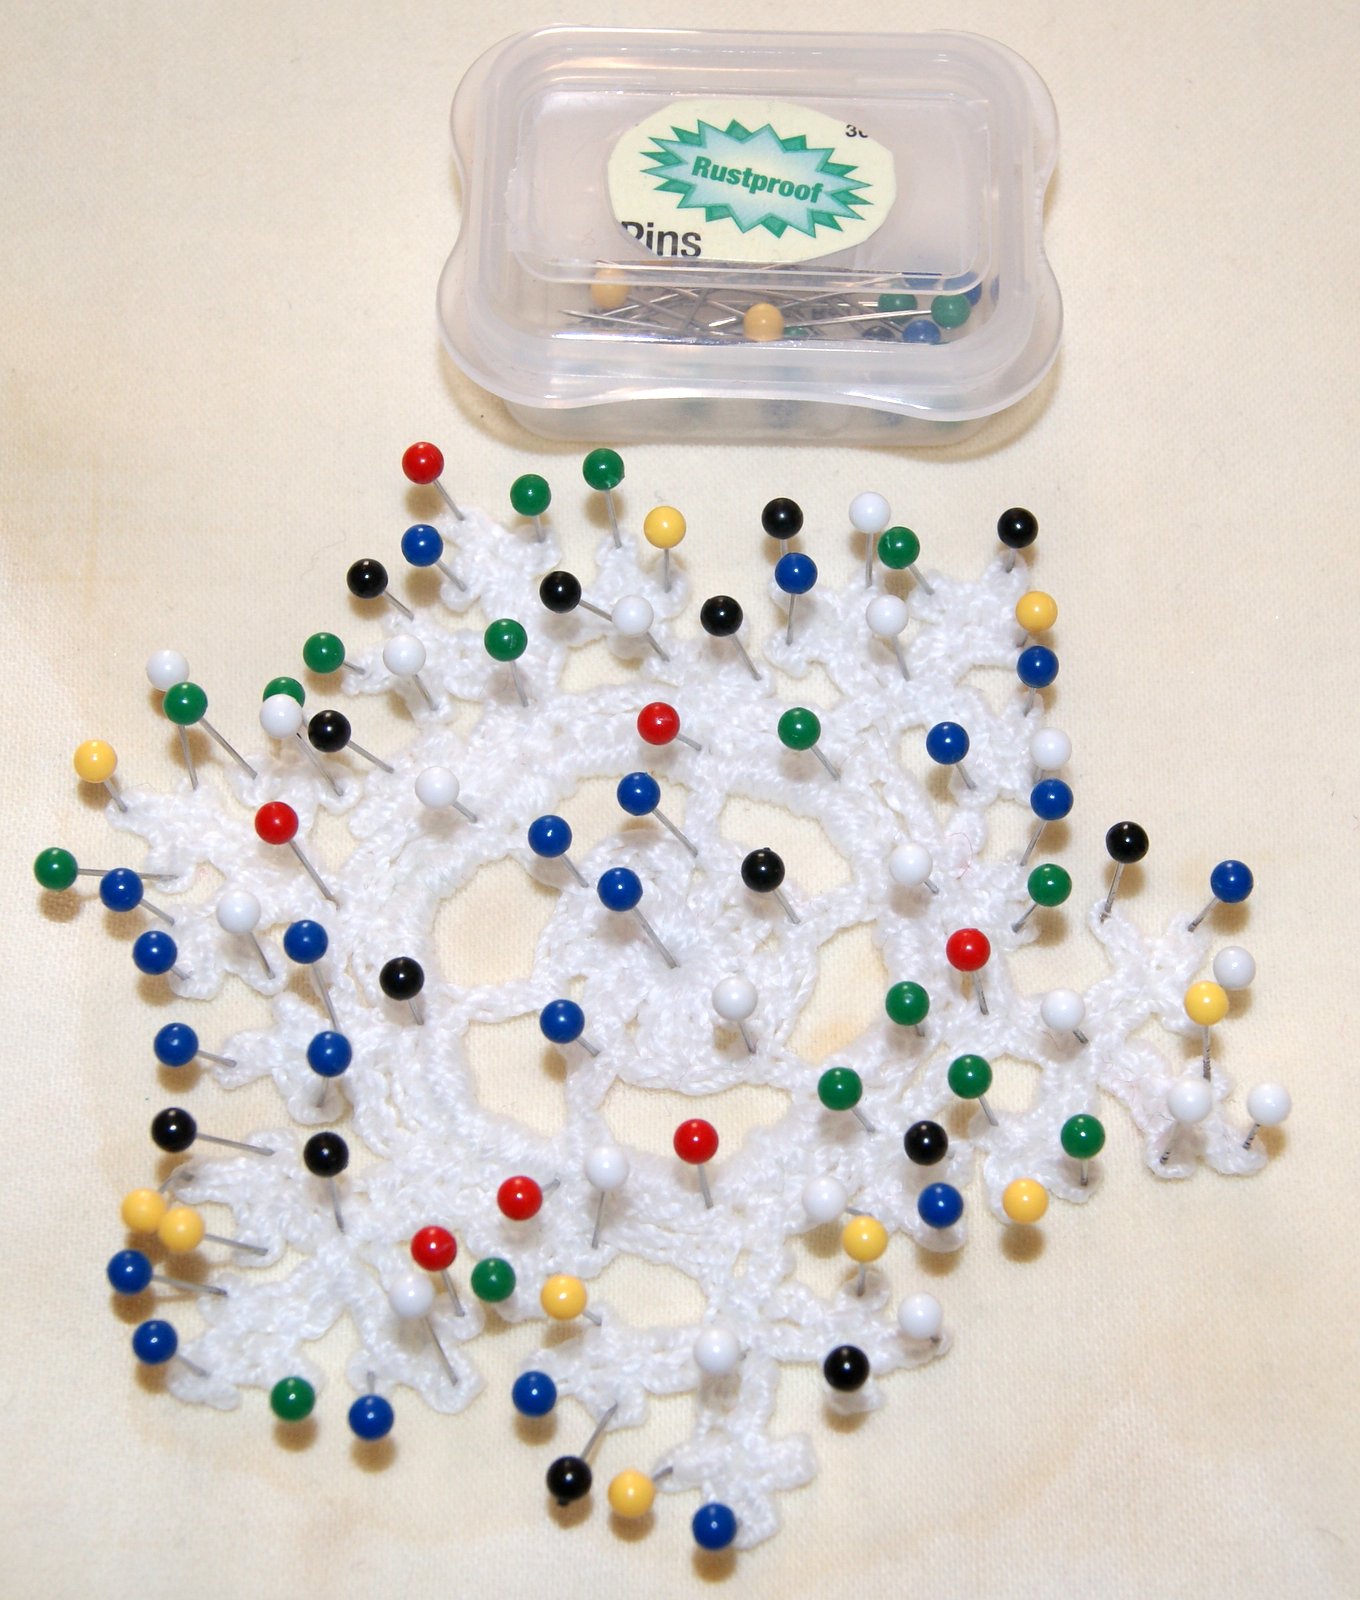
 I use RUST PROOF stainless steel pins and very thoroughly soak my item with my spray bottle of water. I do not wring or twist or pat dry. I just laid the snowflake on top of my fabric pallet and started shaping the picots with my pin points and began pinning in place. I just about put a pin each picot and picot cluster so that the snowflake will really have definition once dried. I don’t think I will have to use any type of stiffening agent either. Will know better once totally dried.
The drying process should only take about one day ~~ possibly only 4 or 5 hours. Will share a picture with you once dried so you can see the finished product. 🙂
I think this snowflake will be perfect as a gift tag, ornament for your tree or I vision several hanging at different lengths from my bird watching window. I might even try size 10 and size 20 thread with a 6 or 8 hook to create different sized snowflakes too. And the best part is that I can enjoy them all winter and they won’t melt!!
I use RUST PROOF stainless steel pins and very thoroughly soak my item with my spray bottle of water. I do not wring or twist or pat dry. I just laid the snowflake on top of my fabric pallet and started shaping the picots with my pin points and began pinning in place. I just about put a pin each picot and picot cluster so that the snowflake will really have definition once dried. I don’t think I will have to use any type of stiffening agent either. Will know better once totally dried.
The drying process should only take about one day ~~ possibly only 4 or 5 hours. Will share a picture with you once dried so you can see the finished product. 🙂
I think this snowflake will be perfect as a gift tag, ornament for your tree or I vision several hanging at different lengths from my bird watching window. I might even try size 10 and size 20 thread with a 6 or 8 hook to create different sized snowflakes too. And the best part is that I can enjoy them all winter and they won’t melt!!