Crochet Hearts

Just sharing some more ideas from my free pattern the “Fun, Little Crochet Heart Applique”.  SONY DSCSONY DSCSONY DSC 
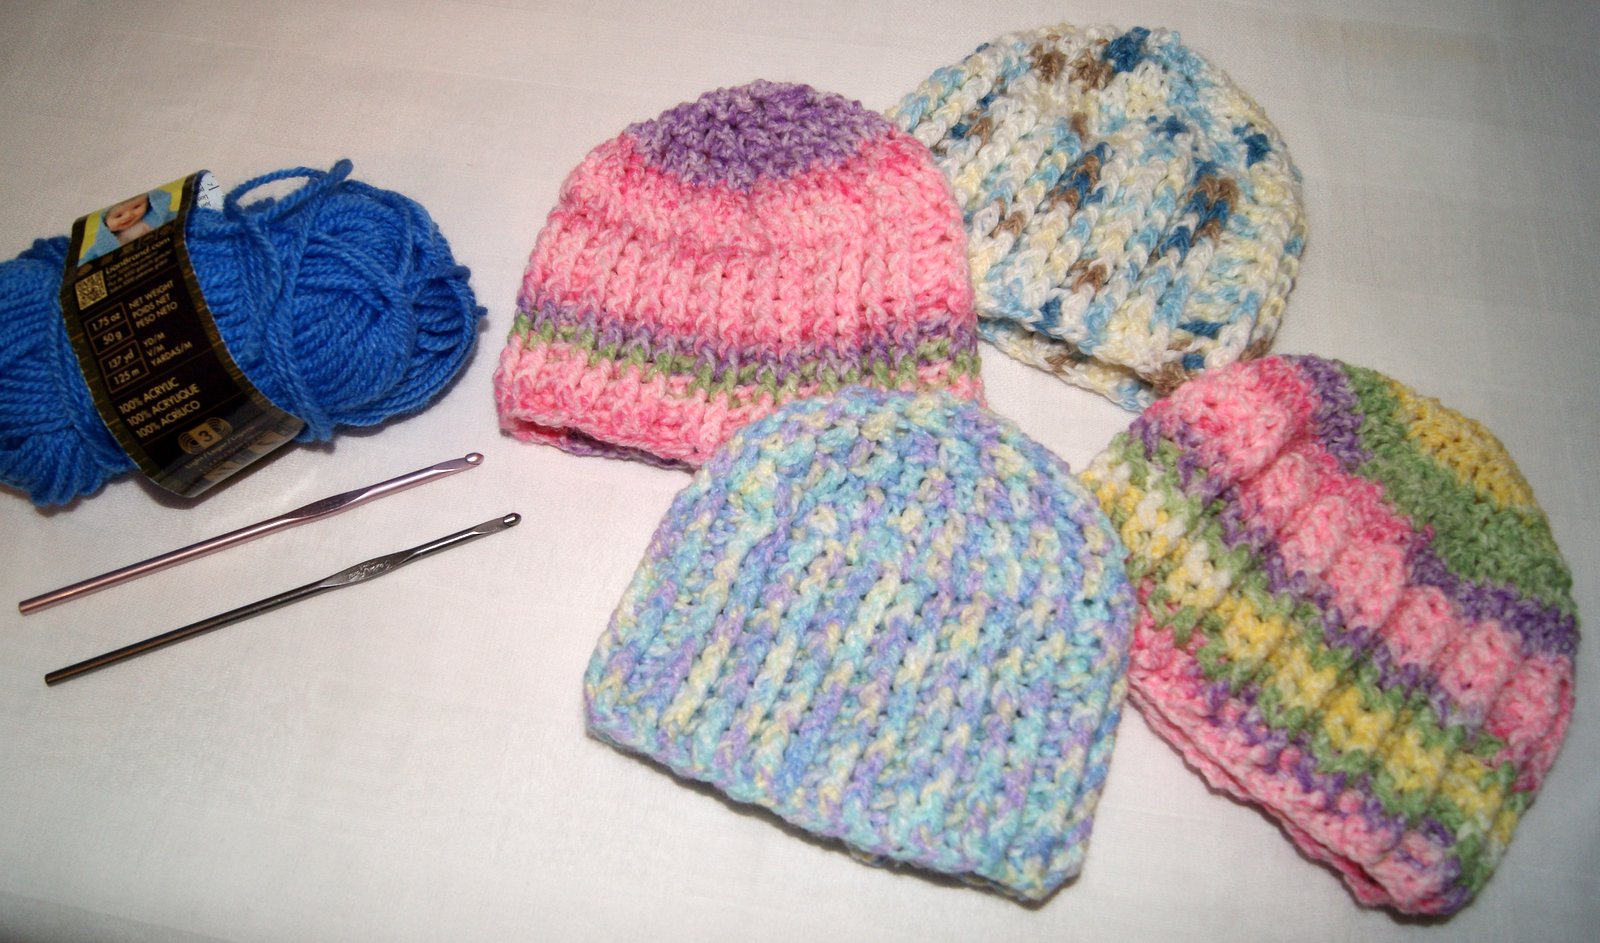
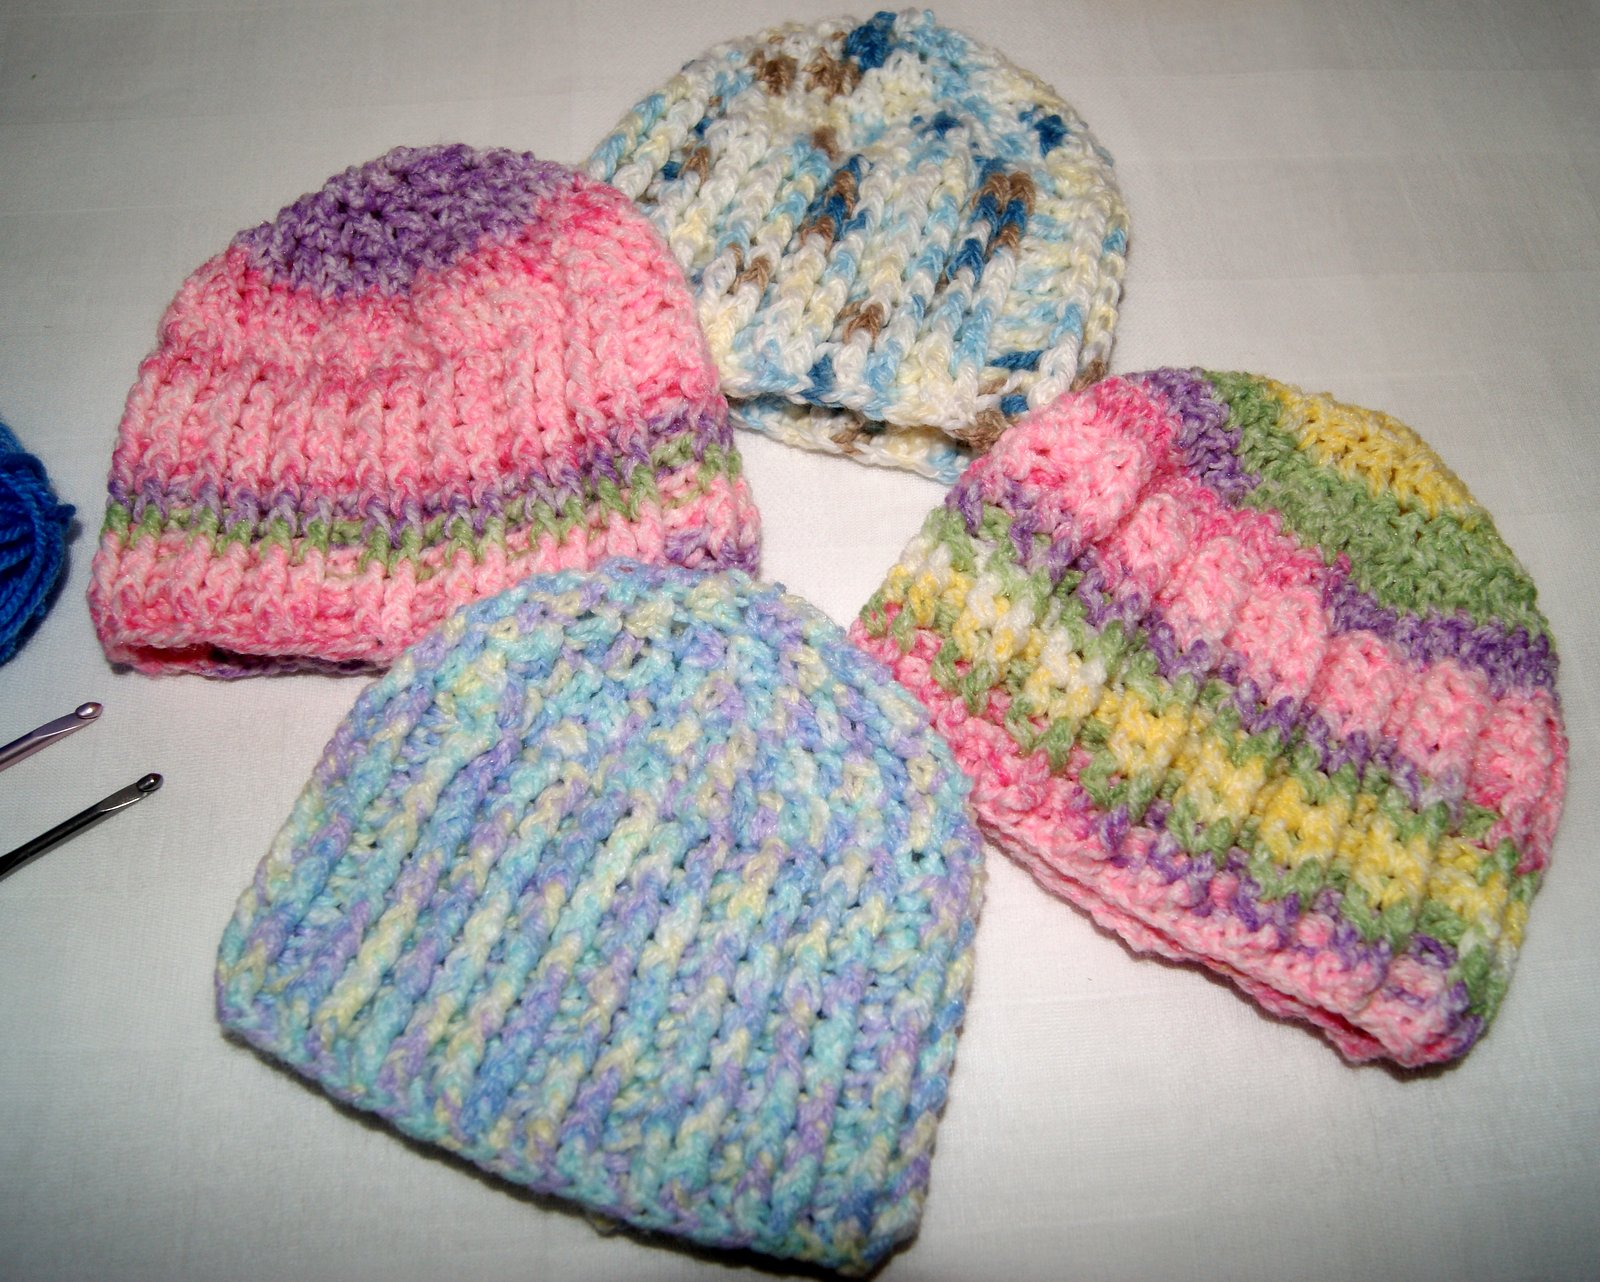
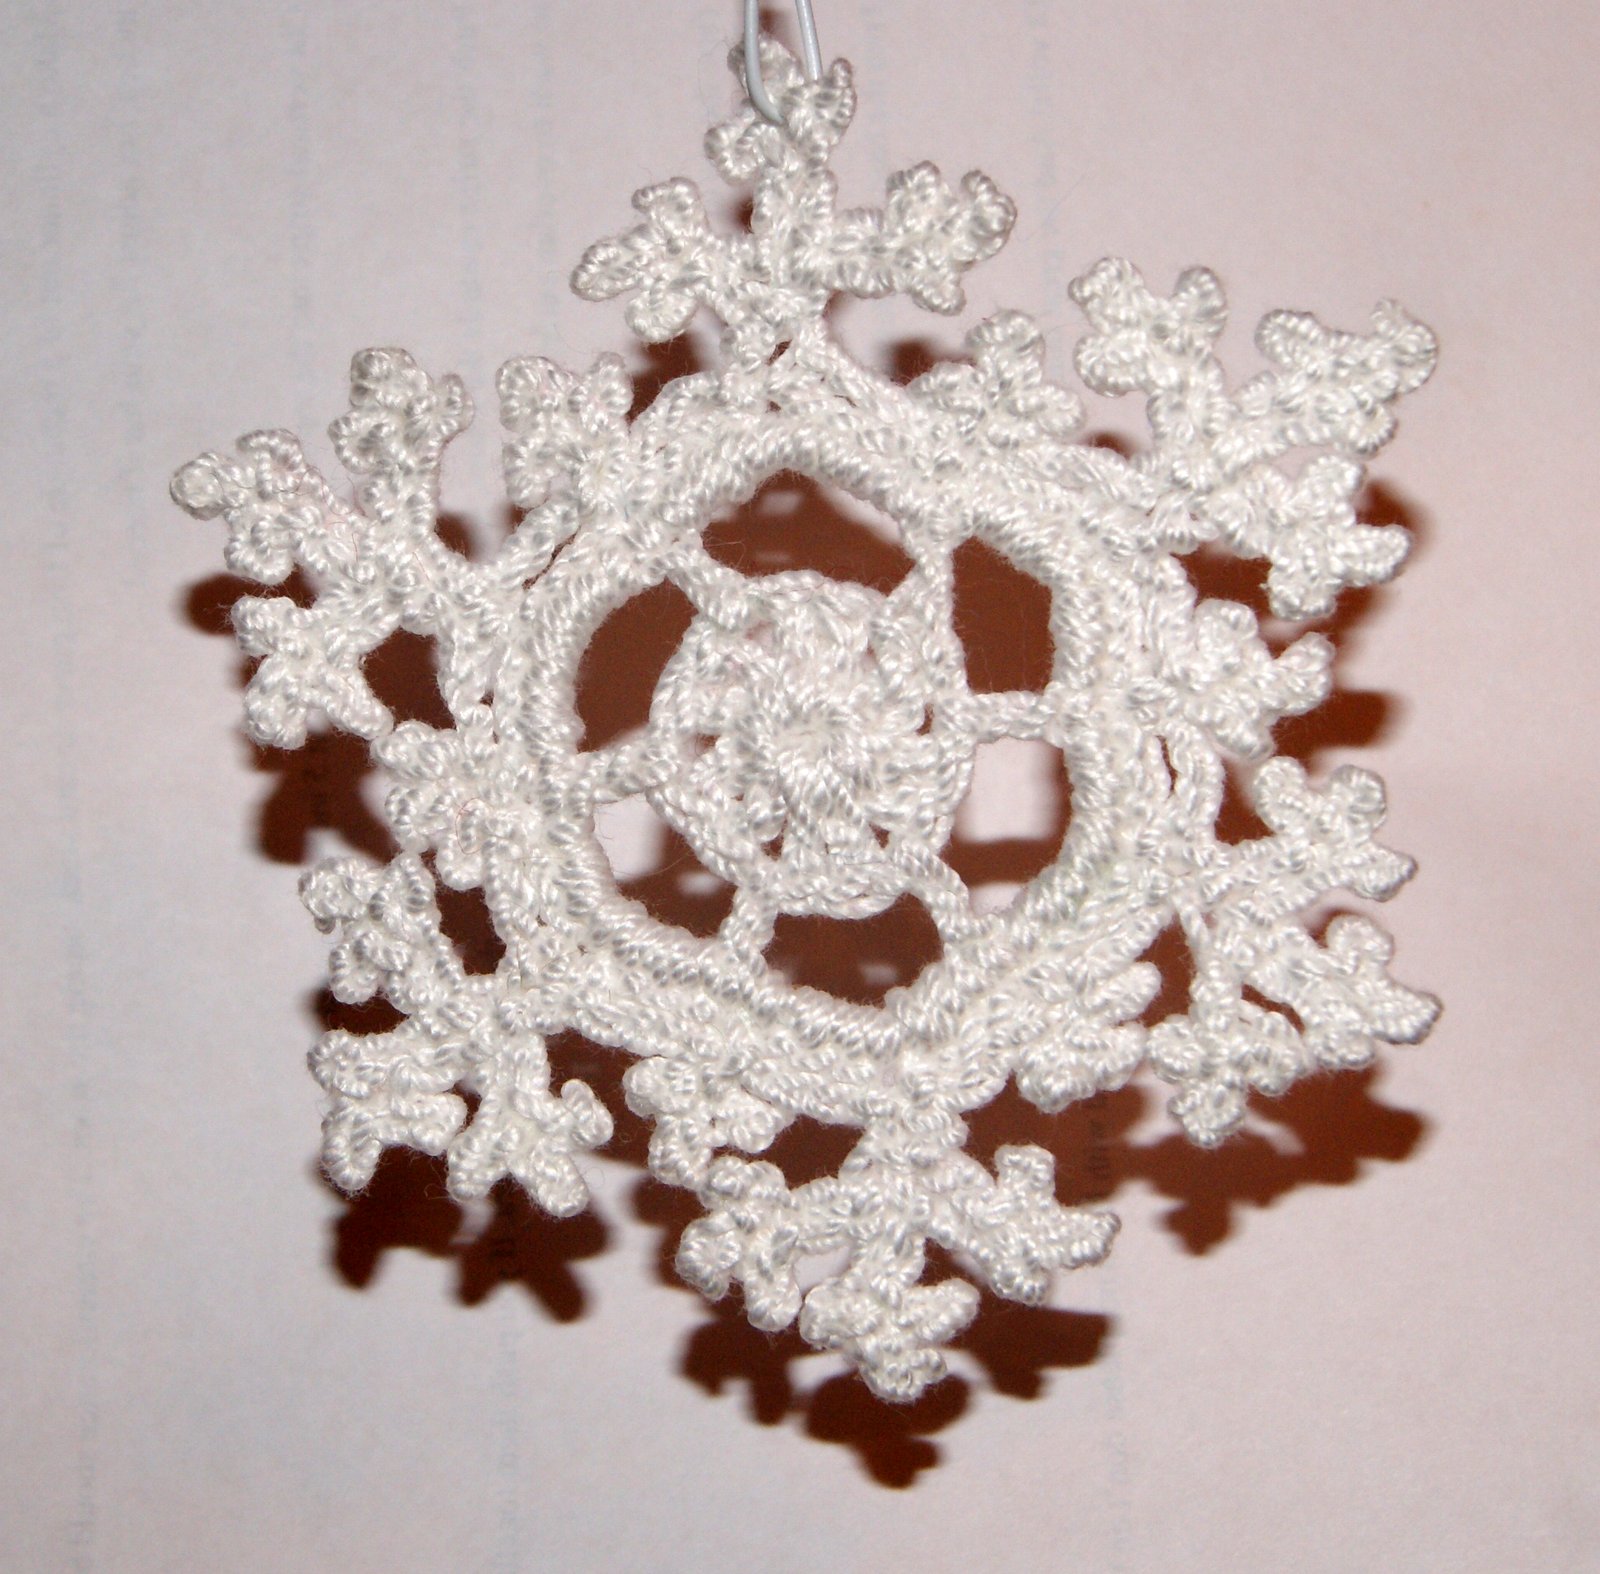
Showing that changing the yarn type and weight and using a different sized crochet hook gives a whole different look to this pattern.  Actually, changing up your yarn and hook size is a creative way to experiment with patterns to see what happens. SONY DSCSONY DSCSONY DSC 
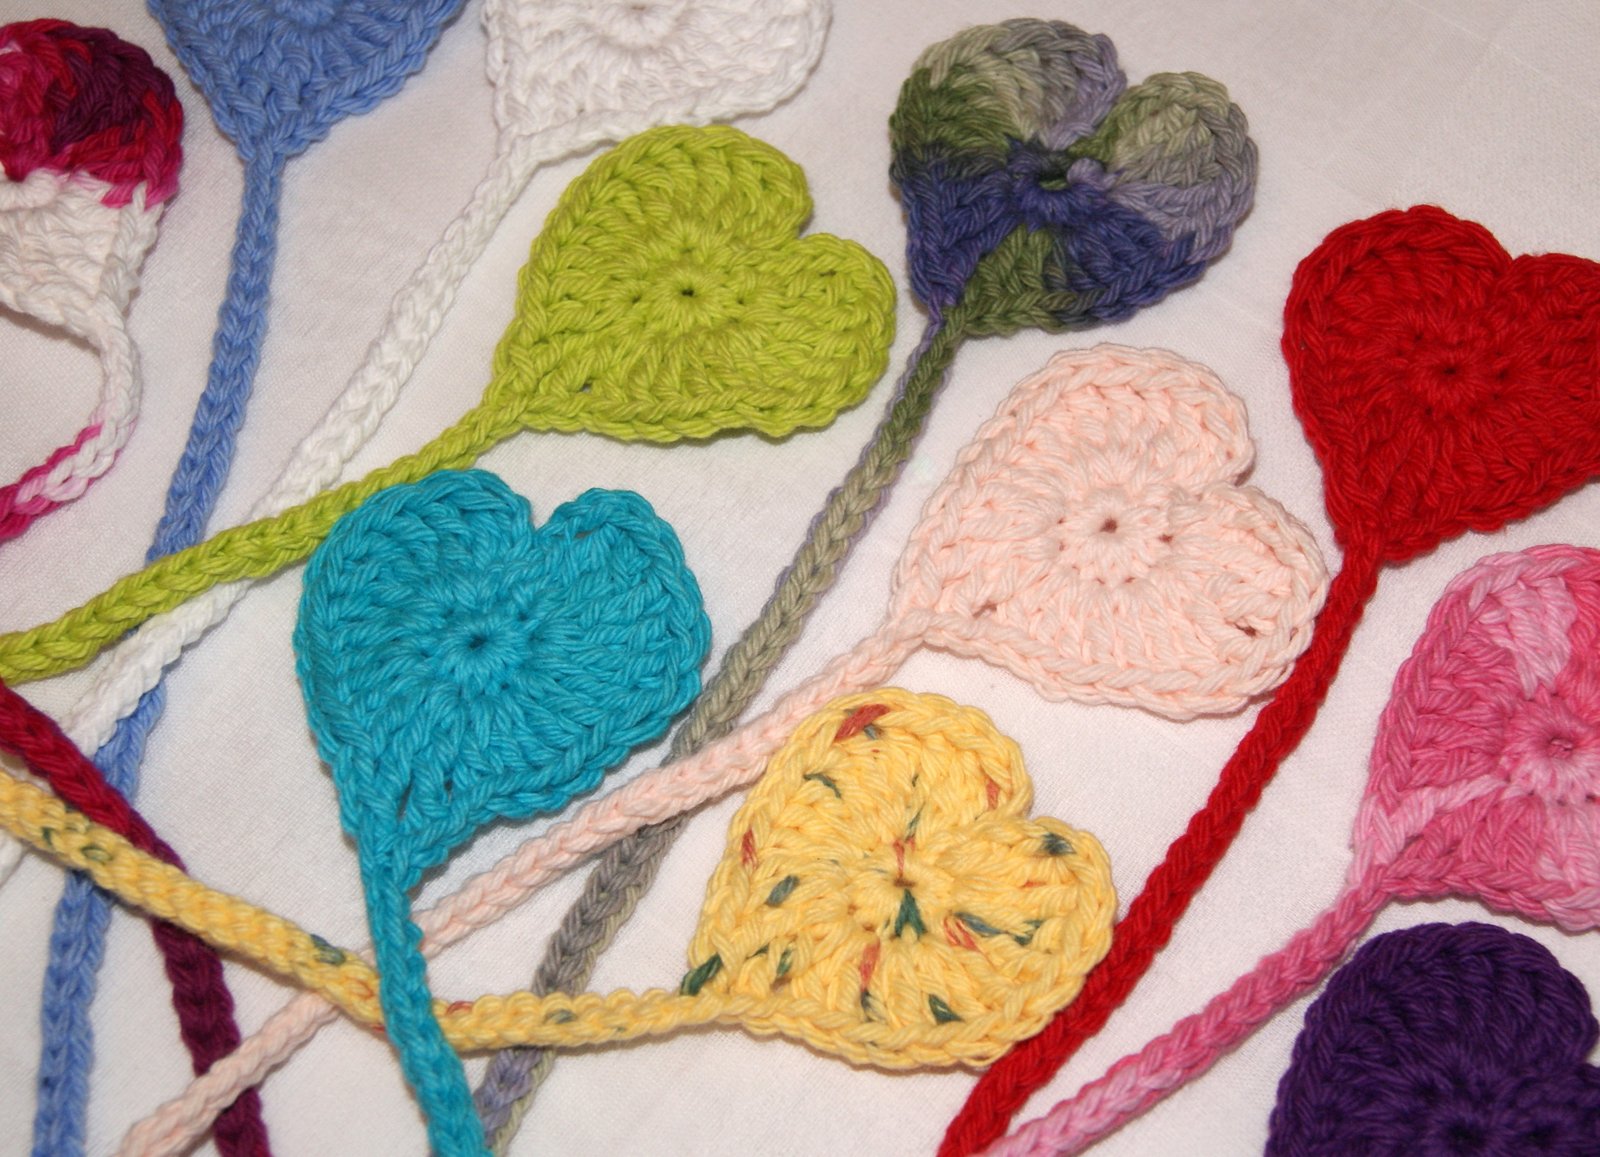
For the heart pattern, I added a chain loop and slide on a swivel hook to create a fun key charm.   For the bookmark, I added a chain tail to the heart.  These items were made using a size G hook and cotton yarn but try them out using what you have on hand.  I think a chunky yarn with a size I hook would be another fun look for this heart ~~ add it to a beanie!! Would love to see what you all create using this pattern and how this heart looks using different yarn/thread and hook sizes  🙂

HAPPY CREATING!!

Disclaimer:  This post contains affiliate links – “Commissions Earned”

Newborn beanies for donation

Just thought I would take a minute and share some pictures of the newborn and preemie beanies that I have just recently made.  Will be donating these to one of our local hospitals. SONY DSCSONY DSCSONY DSC This is my own crochet pattern working from the bottom up.  Starting with a chainless foundation, then ribbing design and making crown from double crochets.  Nice deep ribbing provides great stretch for all the different head sizes and helps to stay snuggly in place. I have the directions in my head and I will definitely get them to pen and paper or is that keyboard to screen!!  Anyways, these work up very, very fast using a Size F hook for preemie and Size G hook for newborn.  My yarn was a category 3 weight. Enjoy and will share this pattern soon 🙂 SONY DSC

HAPPY CREATING!!

Disclaimer:  This post contains affiliate links – “Commissions Earned”

Spool Knitting Finished Project

Well, I finally finished my “cattail” and bound it off from my 4 pronged spool.  My cord is 195″ long or almost 5  1/2 yards.  I am planning to roll my cord into a circle and use it as a trivet for my kitchen. SONY DSC When rolled, the trivet will measure 9″ across which will be a perfect size for plates or bowls to keep the heat directly off my table.  It will also look great as a decorated piece under my kitchen centerpiece. SONY DSC SONY DSC       Because I used up all the thread that I had to make the cord, I am going to whip stitch it together using all 6 strands of a coordinating DMC floss.  Beginning in the center and rolling as I go, I will whip stitch it together using a cross stitch type needle which has a little bit of a blunt tip so that I don’t snag any of my threads. SONY DSC This is a wonderful activity for a child to do and a super way to use up all those “little balls” of yarn leftover from other knit or crochet projects.  As you collect your bits and pieces of leftover yarn, just tie them together with a secure square knot (right over left and left over right) and keep adding to make a big multi-colored skein.  I would try to keep your category of yarn about the same; that is, I wouldn’t tie a chunky (category 5) to a sock weight (category 2).  How fun to see all the different colors come together!! SONY DSC Enjoy making your own “cattail” ~~ you can find more information on using knitting Nancy’s here.  FYI: I did purchase a super little tool from my local big box store (knittingboard.com) which worked great to lift my lower loops easily over the upper loops on my spool.  🙂

HAPPY CREATING!!

Disclaimer:  This post contains affiliate links – “Commissions Earned”  

Welcome 2015

Here we are ushering in another New Year!!  I hope everyone had a joyous holiday season, not too stressful, and looking forward to new ideas to keep those “little grey cells” active 🙂 Just updated my blog on sewing knit cuffs with more detailed pictures and instructions.  Check it out!! New goals and resolutions always seem to get me started in a new year.  First on my list is to reorganize my sewing/craft room.  Did a ton of projects and, of course, pulled out all my stash fabric and yarn and now have to put it all away until the next idea pops in my head!! I do organize my fabrics and yarns by type (cotton, acrylic, thread,) rather than color.  I use clear, plastic bins so I can quickly look inside even though I put labels on the outside of each bin too. I have several thread holders mounted on my wall beside my sewing machines so I can quickly see what color I need and just purchased another ribbon organizer for my growing  spools of grosgrain ribbon. Working on putting my patterns into notebooks, still like to use paper and don’t keep everything on the computer/iPad in case something goes awry in the computer world.  I’m not very good about keeping things backed up 🙁 As you begin your new year, I would love to hear how you keep your sewing/craft room organized.  Always looking to share new tips and ideas and ways to recycle things I have at home to help me stay organized too.

HAPPY CREATING!!

Disclaimer:  This post contains affiliate links – “Commissions Earned”      

Snowflake After Blocking

SONY DSC SONY DSC SONY DSC Here are a few different pictures of the same snowflake that I blogged about yesterday after completing the blocking process.  The first two pictures are showing it hanging from my shelf with just an ordinary paper clip.  But this nice thread and blocking procedure keeps it from needing any type of stiffening agent. As you can see all the little snowflake arms keep their shape perfectly.  The picture on the black fabric is laying flat.  This size would make a cool coaster or mug rug for that warm cup of tea during the winter months!! Now you can be creative and add some pretty, tiny pearl beads as accents.  Use a transparent/nylon beading thread and hang several from your windows or add to your Christmas tree as an ornament or an awesome gift tag.   Would make a lovely applique for a pillow or on the front of a little girl’s jumper.  The possibilities are endless. I am going to make several more ~~ maybe a winter garland to decorate my mantel.  Have fun with your snowflakes and would love to see a “snow and  tell”!!      🙂

HAPPY CREATING!!

Disclaimer:  This post contains affiliate links – “Commissions Earned”