Fabric yo-yos are one of the easiest embellishments to make for your special project. They are also a great way to use up some of those scraps that you have stashed away. Also, they are a fun thing to do with your child to create a new look.
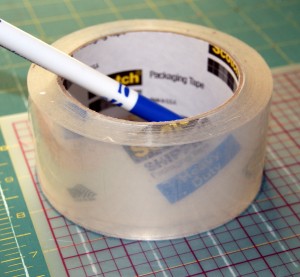
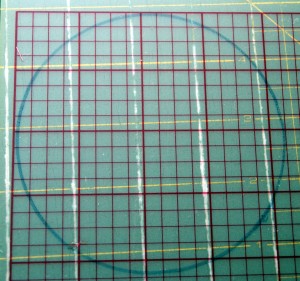
The yo-yo pattern is a basic circle. Your circle pattern needs to be twice as wide as you want your finished yo-yo plus a 1/4″ seam allowance. Once you have determined the size of your yo-yo pattern, draw and cut it out on a piece of heavy stock card paper or use plastic template material found in quilting supplies. Use a compass to make your circle or trace around something you might have on hand, (a drinking glass, a CD, a tin can) or purchase a yo-yo maker or a quilter’s template for circles. Here I used a roll of packing tape!!
Next trace your pattern onto the wrong side of your fabric. Some fabric choices that work best for making yo-yos are cotton, light weight denim, flannel, wool, light weight corduroy, and felt. Remember, you will be gathering up your fabric circle to form the yo-yo, so it is best to use lighter weight materials. Cut out your yo-yo with scissors or a rotary cutter. Remember, if working with a child you might have to do the cutting.
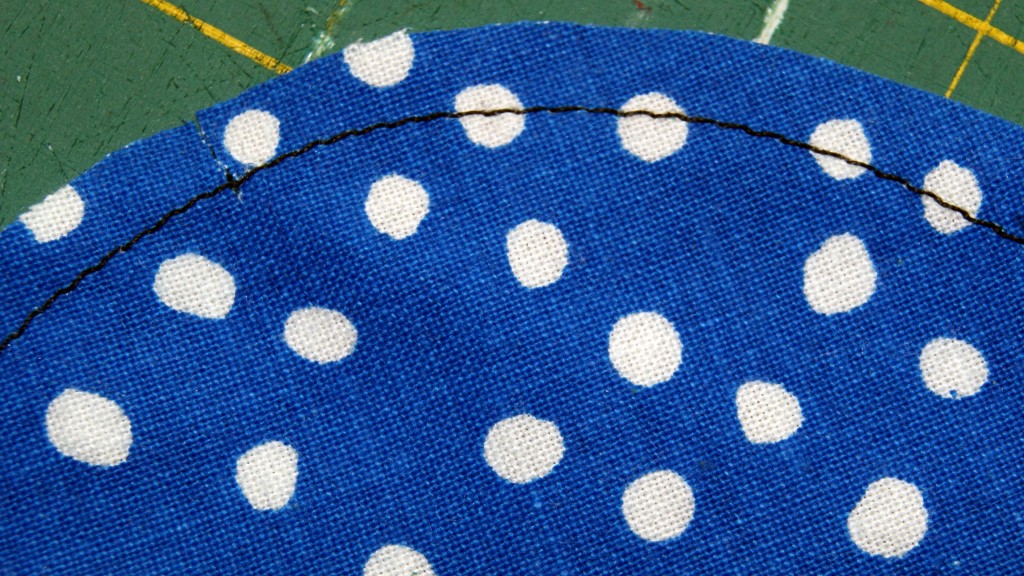
Now you will be folding in your 1/4″ seam allowance onto the wrong side of your fabric with gathering stitches. You can usually just eyeball your 1/4″ seam allowance, however, if you want to insure your seam allowance is consistent, you can sew a line of stitching 1/4″ from edge of circle and then fold in on that stitch line. I like to knot one end of my gathering stitch at the beginning and I strongly recommend using a heavy/strong thread for this step. I have had great success with Dual Duty by Coats and Clark. Also, keep in mind that short gathering stitches will create a larger, more open center on your yo-yo and longer gathering stitches will make tighter center. Something to keep in mind when determining what look you want for your finished yoyo.

To begin the gathering, pull the knotted end of thread out about 3-4″ and continue gathering from the other end until you have it as tight as you want. Once gathered, tie a tight square knot (right over left and then left over right) with your thread for a secure closure. Flatten and smooth out your finished yo-yo. Sew on buttons in the center for flowers, make a smaller yo-yo and sew on top of the larger yo-yo for a dimensional effect, make streamers with yarn or threads to hang from the yo-yo itself, let your imagine run wild.
Yo-yos make wonderful appliques (add fabric stems and leaves for flowers), decorate a headband, use them for pins or pocket accents, or add them to your jeans for a fun look too, the idea list is endless.
HAPPY CREATING!!
Disclaimer: This post contains affiliate links – “small commission earned”


