
Blocking on mats


Before blocking
After blocking
Before blocking

After blocking
HAPPY CREATING!!
Disclaimer: This post contains affiliate links – “Commissions Earned”Blocking on mats
Before blocking
After blocking
Before blocking
After blocking
HAPPY CREATING!!
Disclaimer: This post contains affiliate links – “Commissions Earned”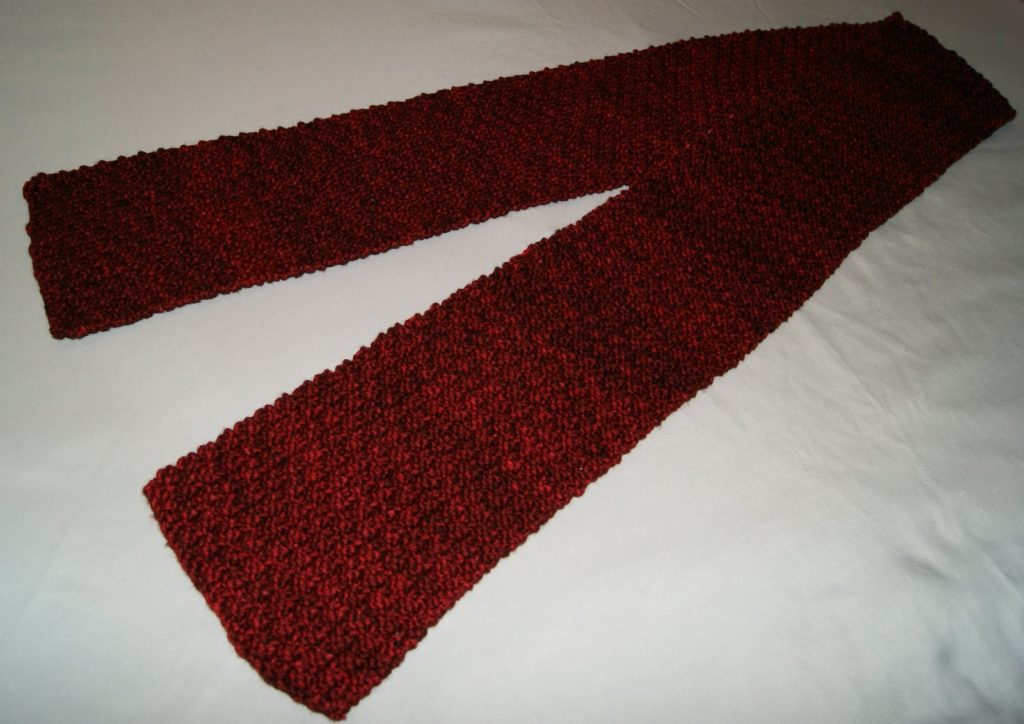
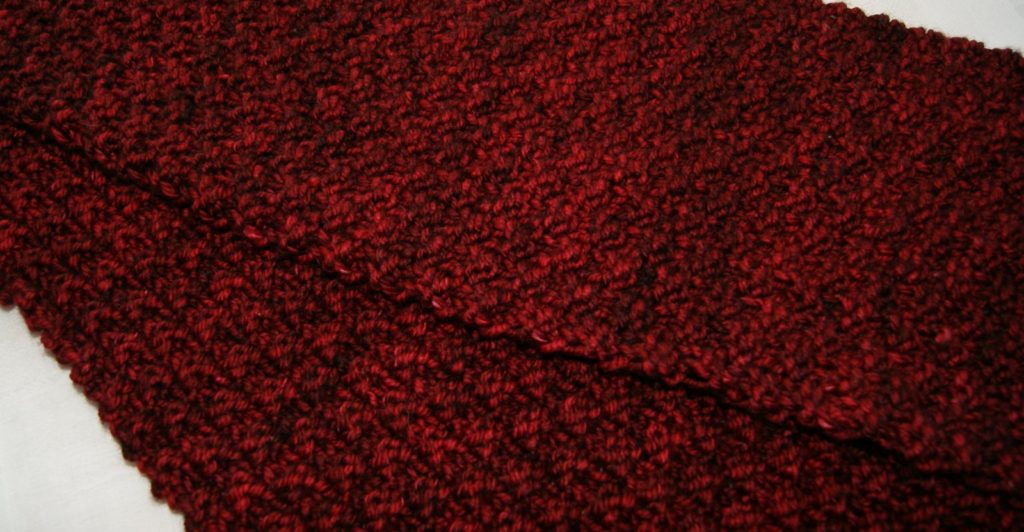
Seed/Moss Stitch
 Anyways, take a look and hopefully you will get inspired with a “wrap” of your own 🙂

Dixie Charm
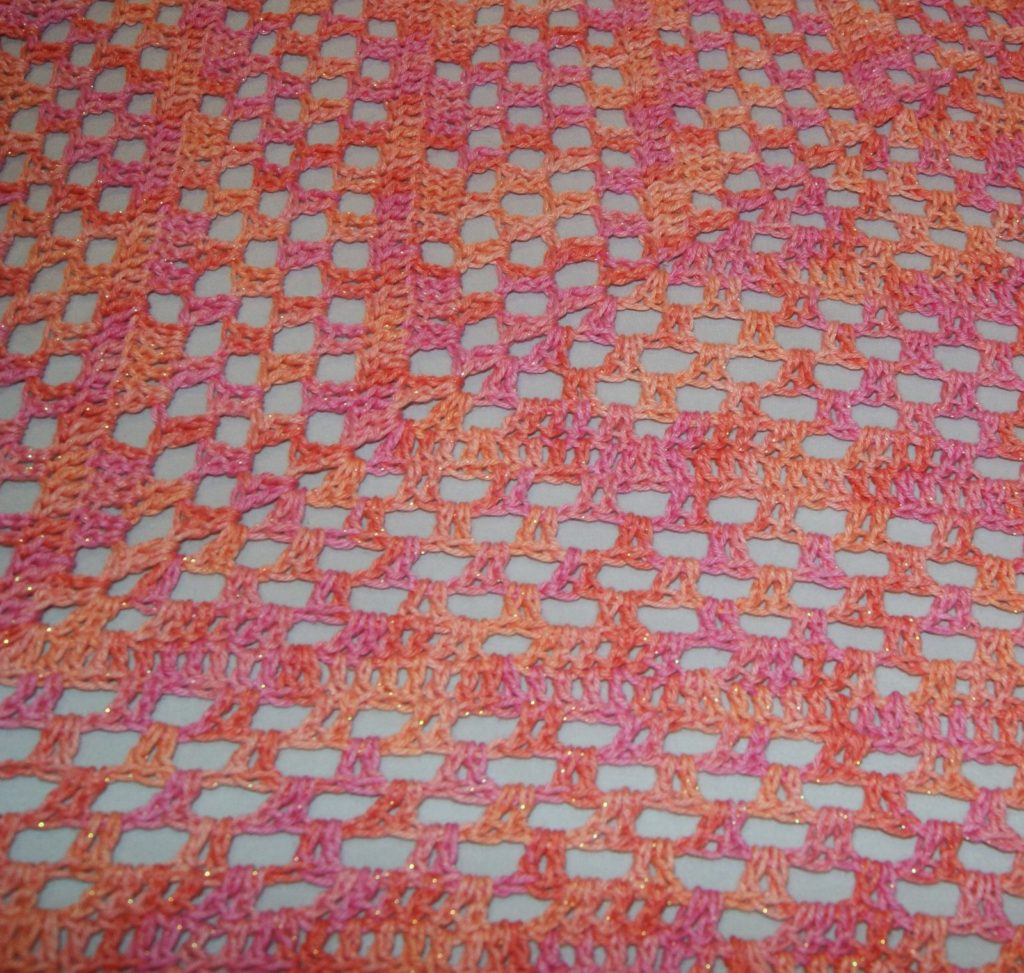
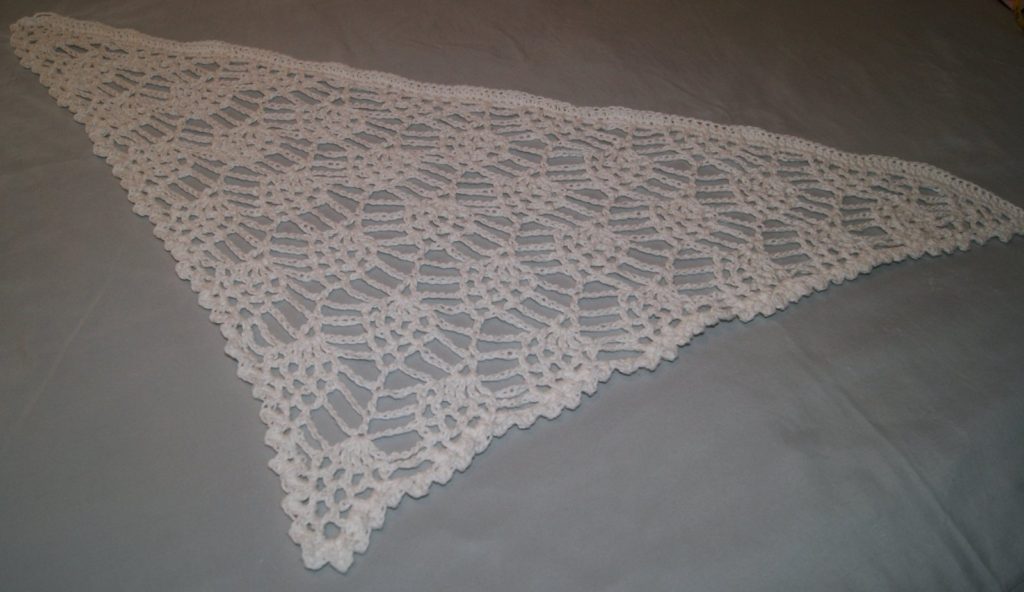
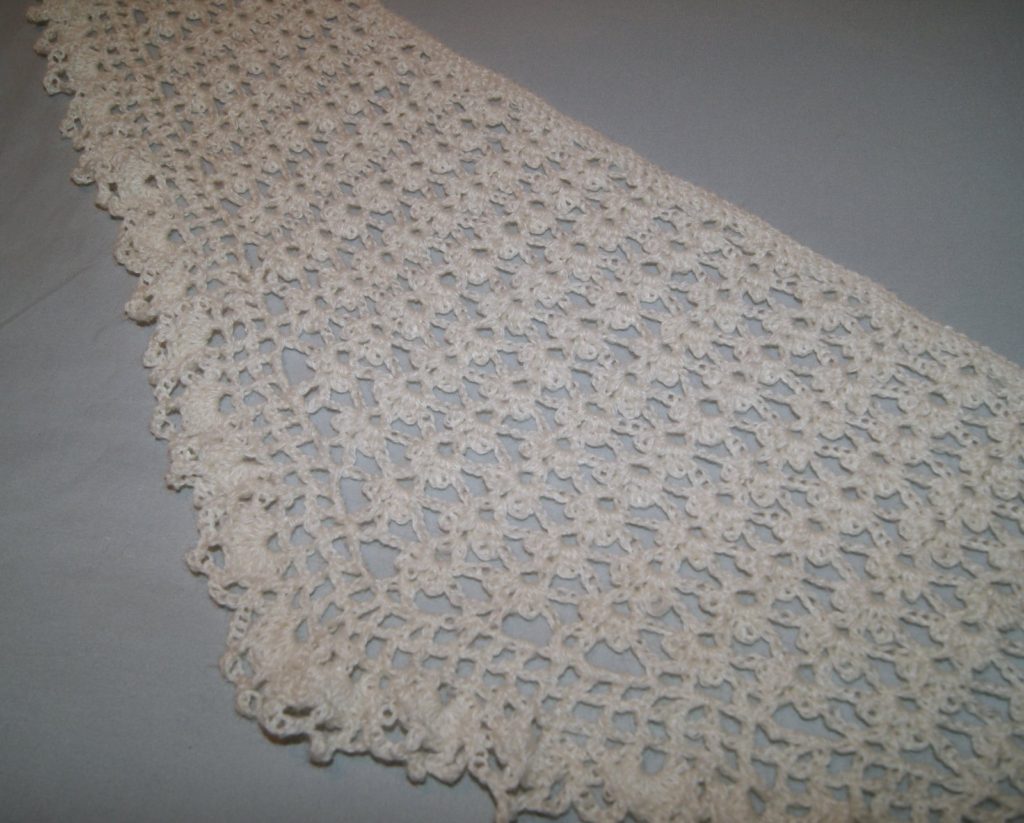
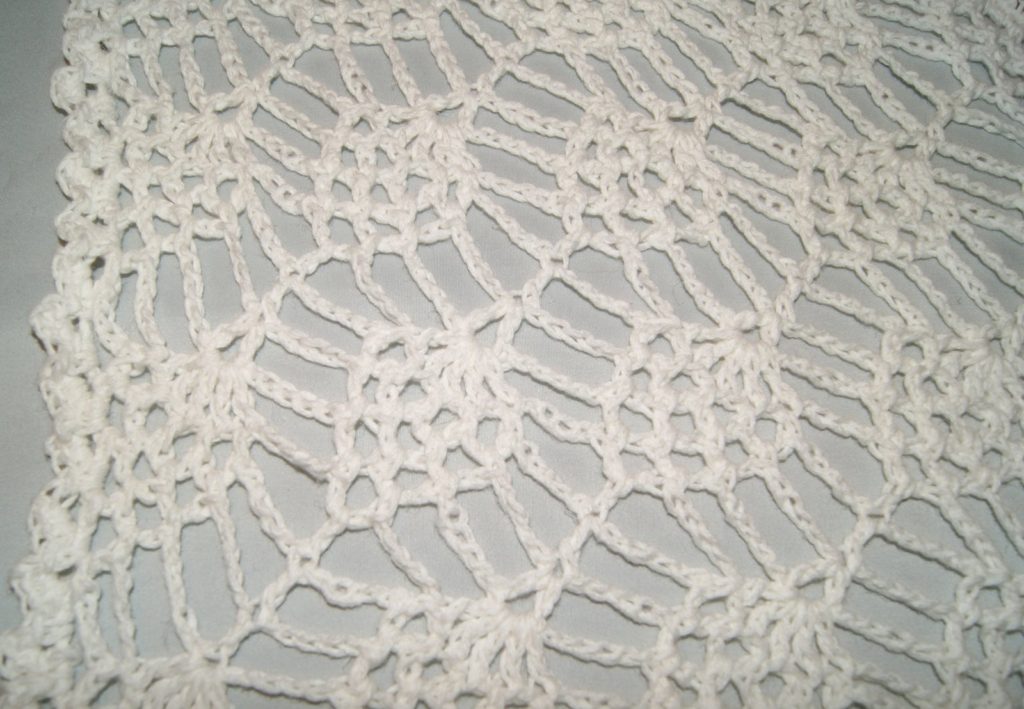 Back to Ravelry again, I found a pretty lacy scarf called Summer Sprigs Lace Scarf by Esther Chandler. The yarn I decided to go with was Folio by Berroco (blend of Superfine Alpaca and Rayon) but was considered a Light (3) category and her pattern used a Fine Lace yarn. I only had 2 skeins of this yarn, so I chose a Size E hook (3.5) using the Folio yarn and only chained 232 + 1. I used 1 full skein and a little more than half of the other skein for my scarf. It still wraps around your neck nicely and drapes on the sides. I know too once blocked, it will enlarge the size of the finished scarf.

Summer Sprigs Lace Scarf
 I enjoyed making the Summer Sprigs pattern so off to my stash bin again and found 4 skeins of Folio in an awesome charcoal gray color. So I have started pattern using this yarn, changed hook to a Size C (2.75) and began with the pattern recommendation of 386 +1 chains. Not very far, but I think the outcome will still be a lovely, light weight scarf.
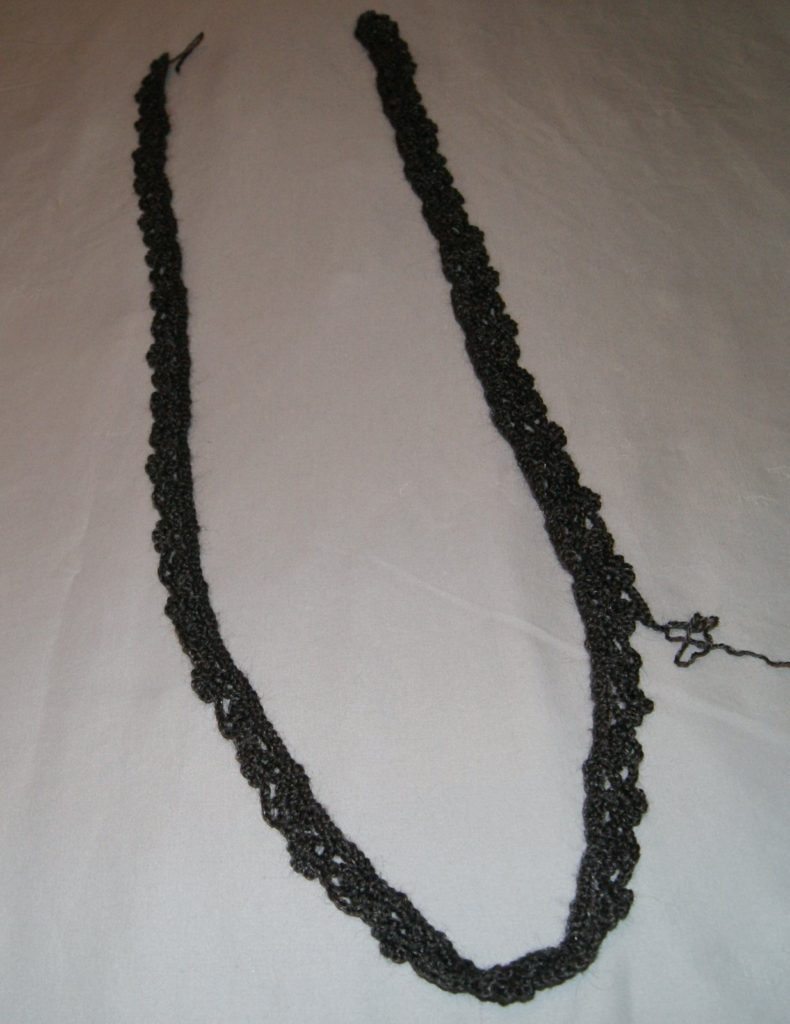
Work in Progress
 Of course, I just purchased an awesome pattern by Christina Hadderingh called Hotel of Bees shawl from Ravelry and looking forward to participating in the #HOBCAL (Hotel of Bees Crochet Along) through Cherry Heart’s Cozy Corner group.
And, That’s A “Wrap”!!
Of course, I just purchased an awesome pattern by Christina Hadderingh called Hotel of Bees shawl from Ravelry and looking forward to participating in the #HOBCAL (Hotel of Bees Crochet Along) through Cherry Heart’s Cozy Corner group.
And, That’s A “Wrap”!!
HAPPY CREATING!!
Disclaimer: This post contains affiliate links – “Commissions Earned” When rolled, the trivet will measure 9″ across which will be a perfect size for plates or bowls to keep the heat directly off my table. It will also look great as a decorated piece under my kitchen centerpiece.
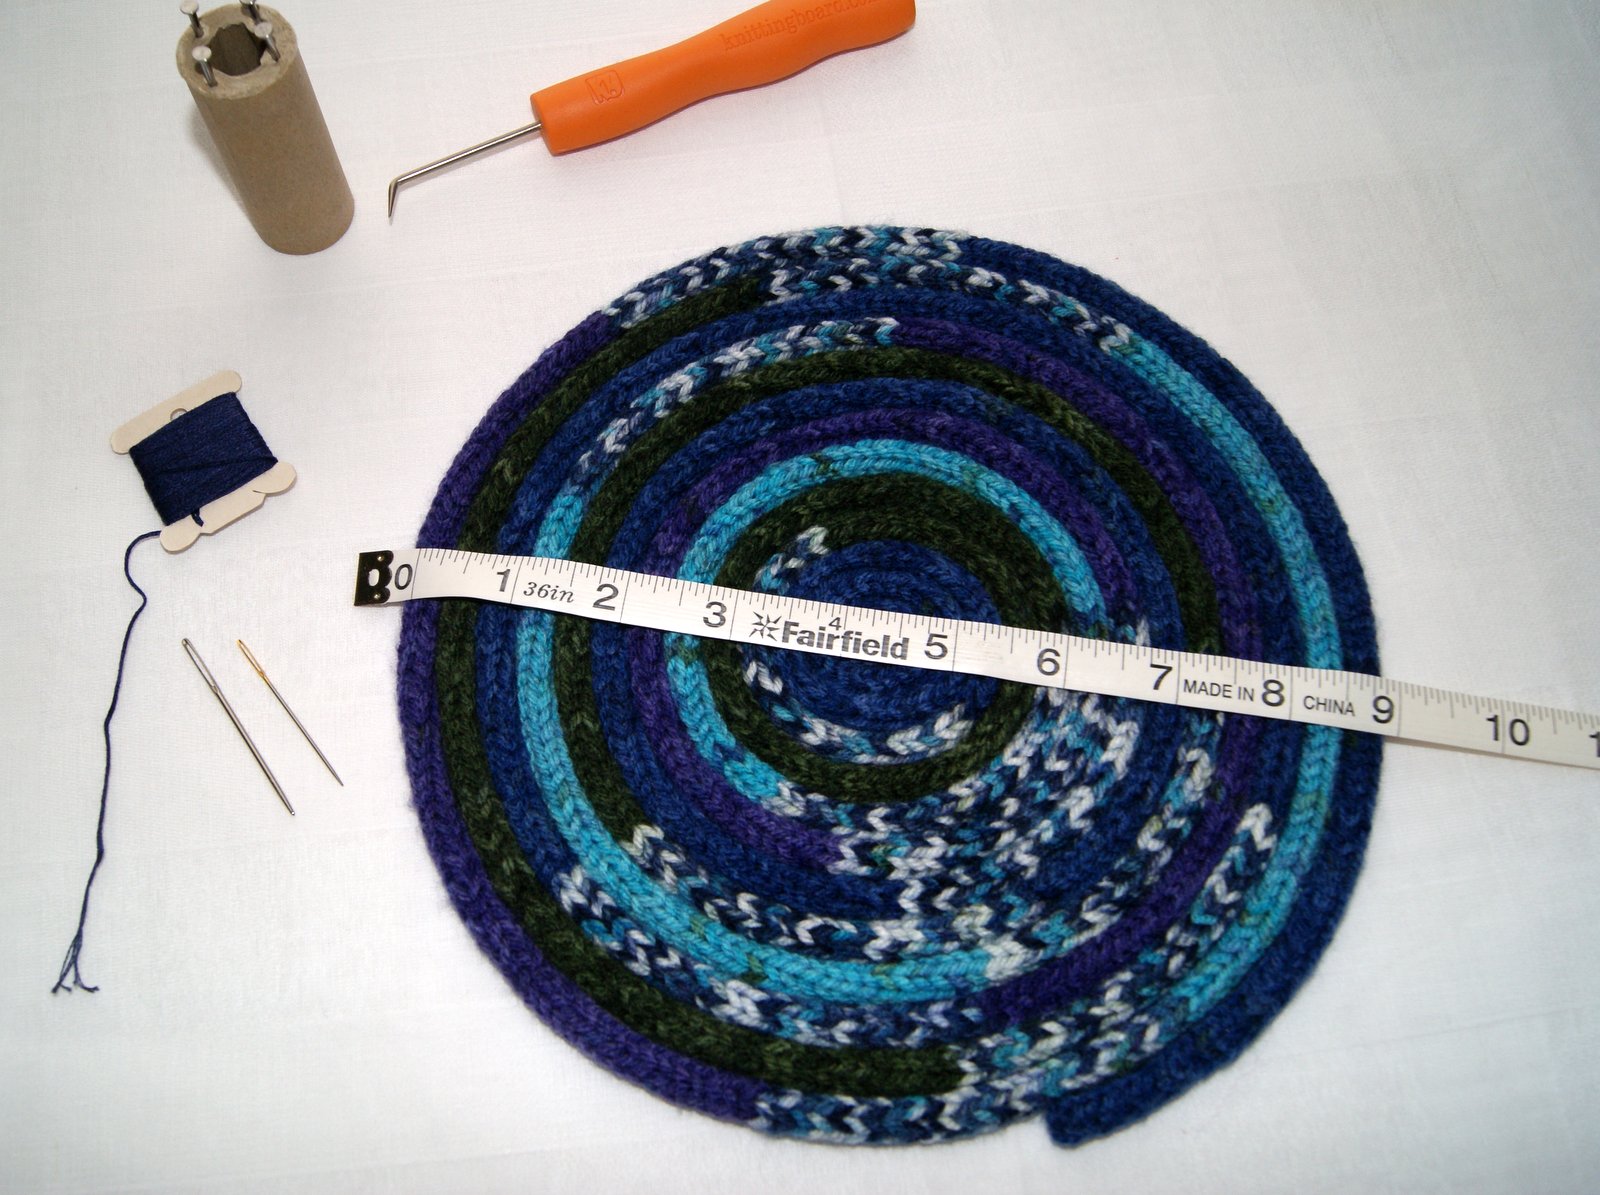
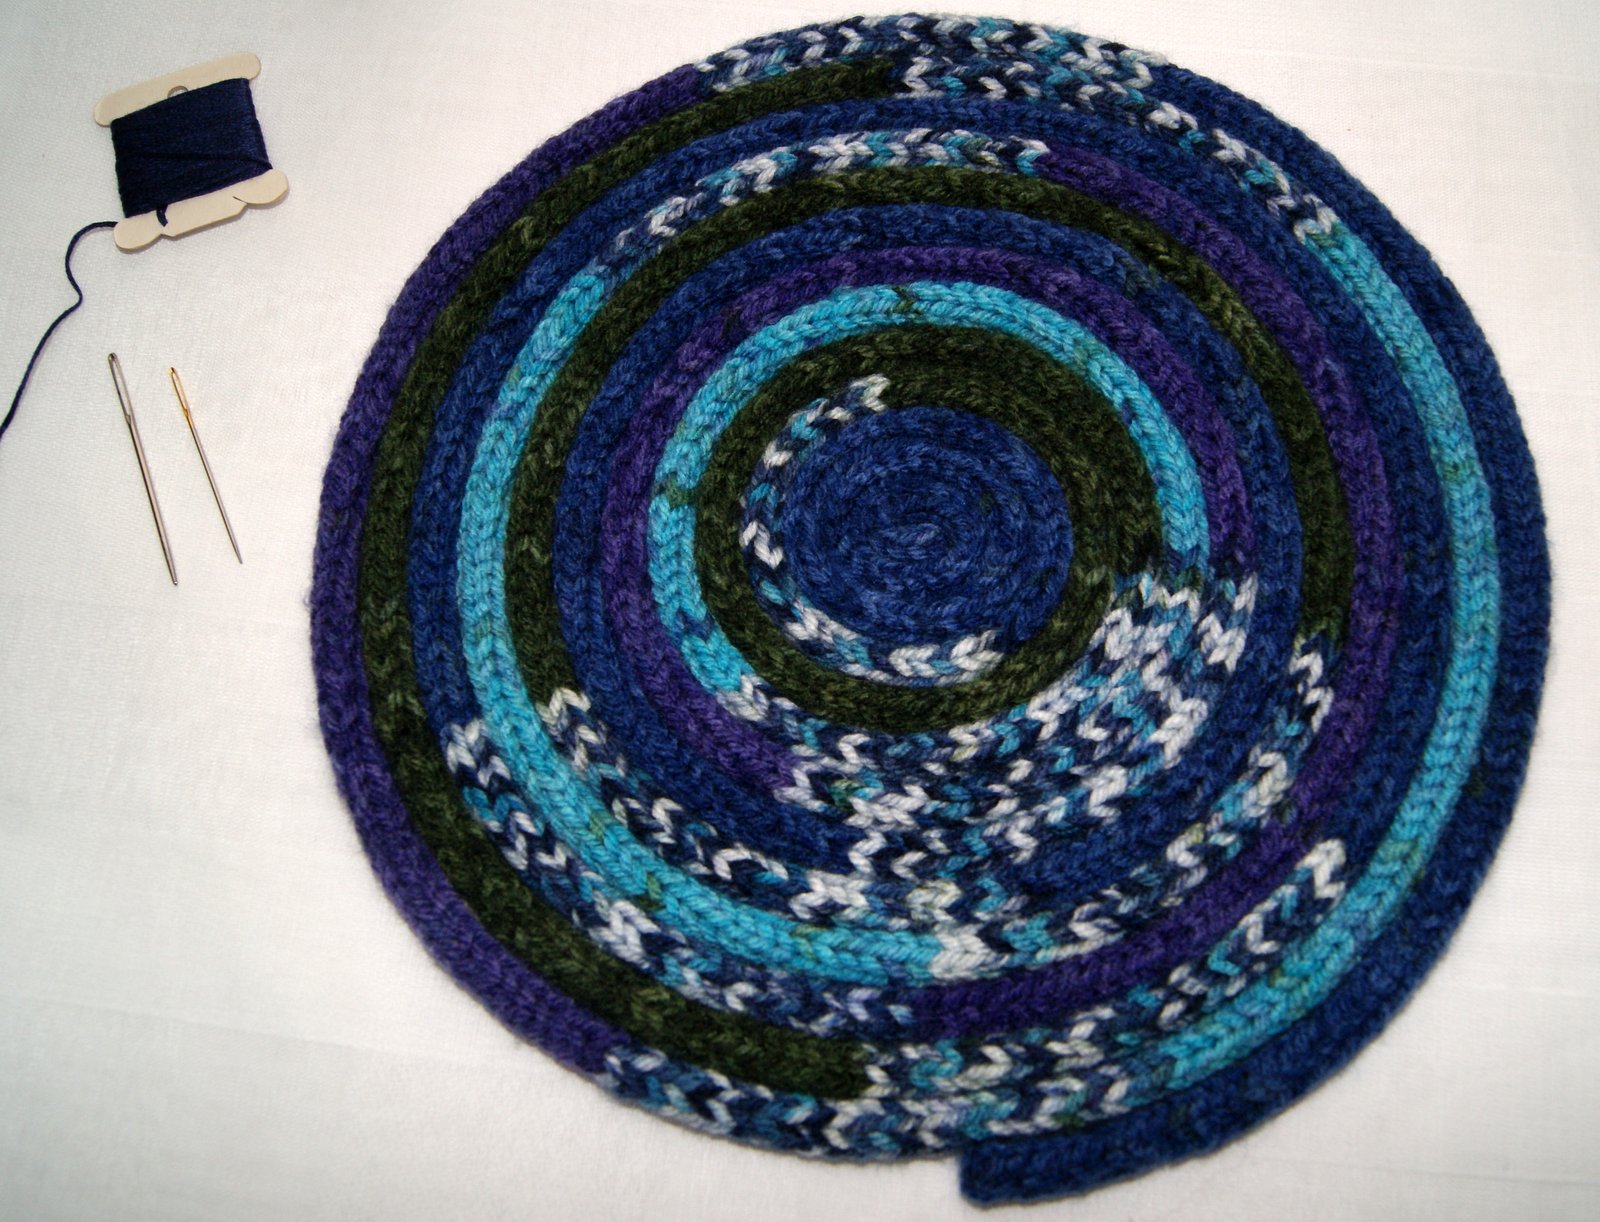 Because I used up all the thread that I had to make the cord, I am going to whip stitch it together using all 6 strands of a coordinating DMC floss. Beginning in the center and rolling as I go, I will whip stitch it together using a cross stitch type needle which has a little bit of a blunt tip so that I don’t snag any of my threads.
 This is a wonderful activity for a child to do and a super way to use up all those “little balls” of yarn leftover from other knit or crochet projects. As you collect your bits and pieces of leftover yarn, just tie them together with a secure square knot (right over left and left over right) and keep adding to make a big multi-colored skein. I would try to keep your category of yarn about the same; that is, I wouldn’t tie a chunky (category 5) to a sock weight (category 2). How fun to see all the different colors come together!!
 Enjoy making your own “cattail” ~~ you can find more information on using knitting Nancy’s here. FYI: I did purchase a super little tool from my local big box store (knittingboard.com) which worked great to lift my lower loops easily over the upper loops on my spool. 🙂
HAPPY CREATING!!
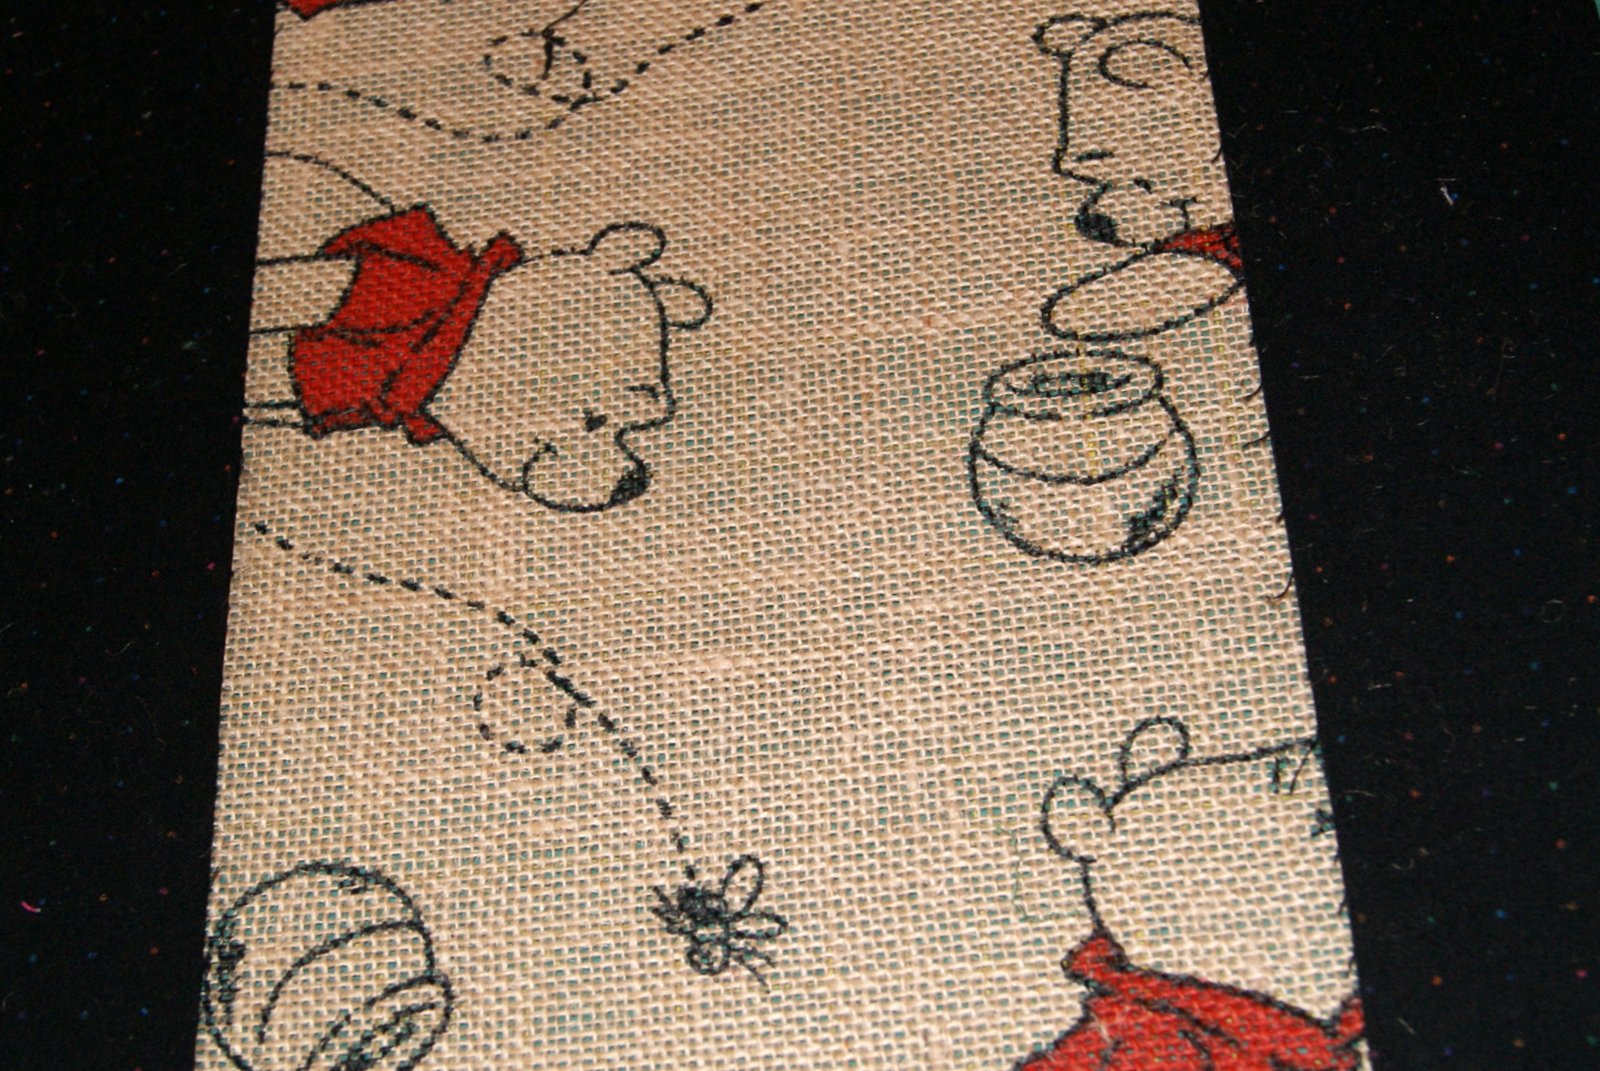
Disclaimer: This post contains affiliate links – “Commissions Earned” Now that the Christmas holidays have past, I again looked at that remnant and imagined a very nice large toy tote bag, PERFECT! So here are my directions for sewing the tote bag.
PART ONE:
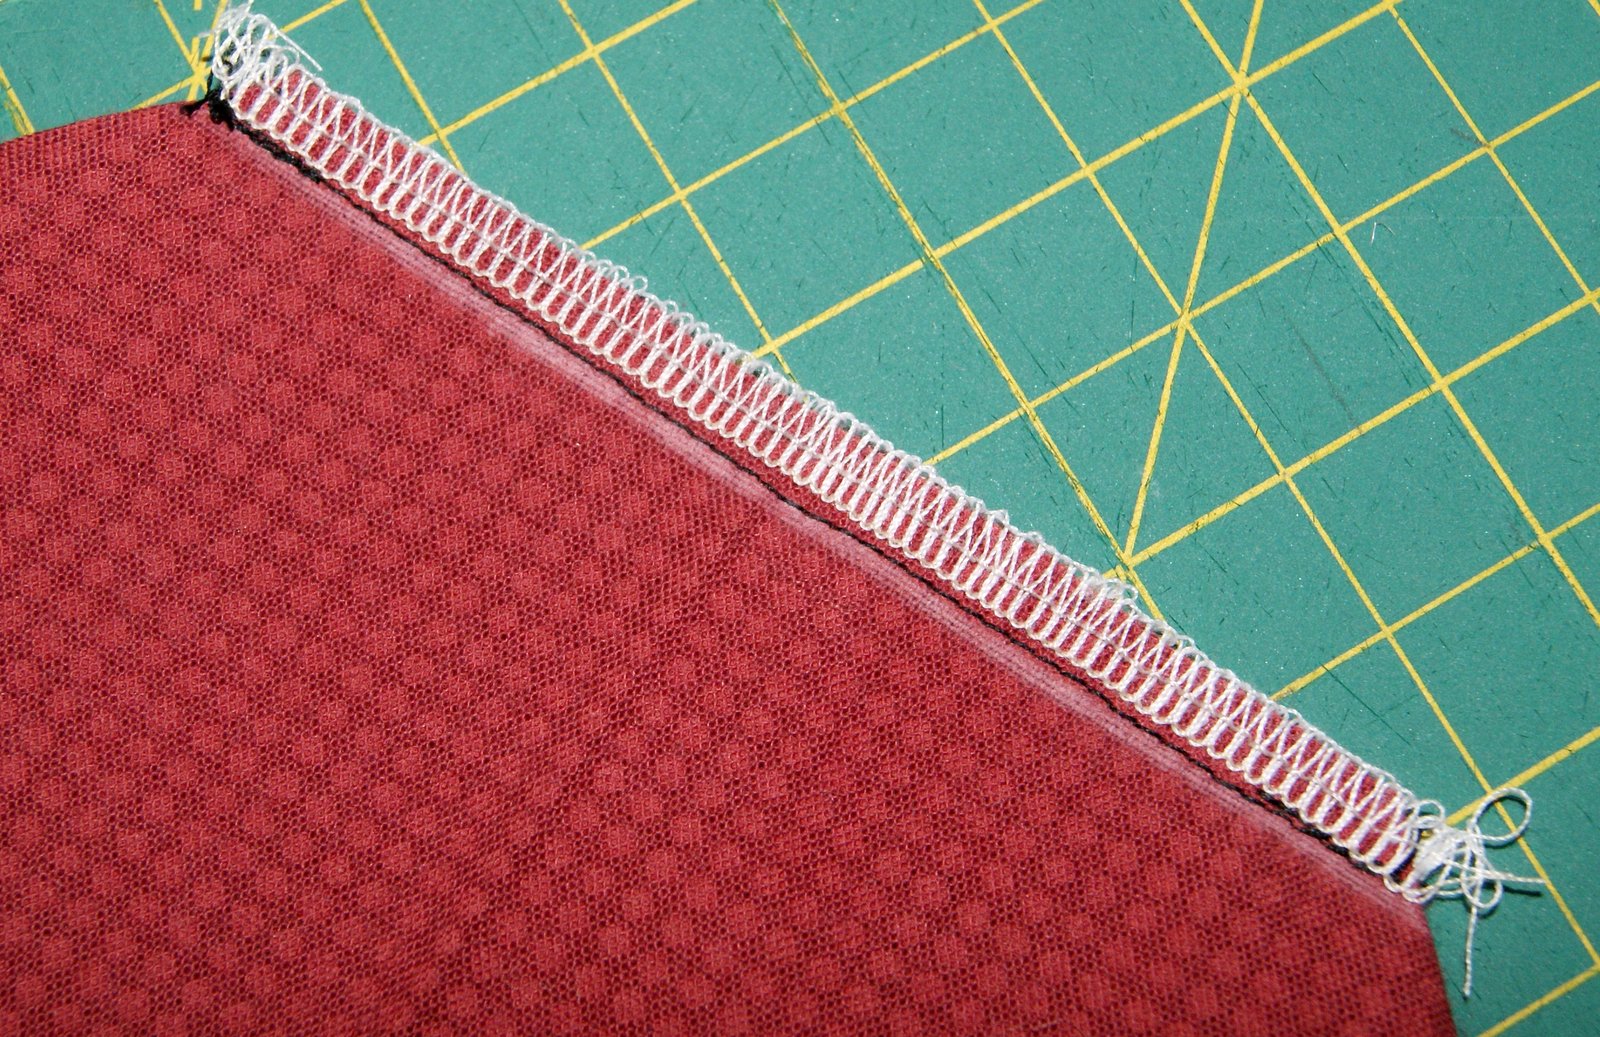
What I needed to do first was make the burlap fabric wide enough so I added a 3 inch wide strip of black cotton fabric from my stash to each side of the burlap. I only sewed a 1/4 inch seam allowance because I wanted a maximum width of about 17 or 18 inches. After stitching on both strips, I then serged them and pressed the seam towards the black fabric. Next I sewed a decorative fagoting stitch as a top stitch to keep that seam permanently in place. Now my finished piece of fabric is approximately 19″ wide by 45″ long. Sorry, lots of shedding from the burlap!!
Now that the Christmas holidays have past, I again looked at that remnant and imagined a very nice large toy tote bag, PERFECT! So here are my directions for sewing the tote bag.
PART ONE:
What I needed to do first was make the burlap fabric wide enough so I added a 3 inch wide strip of black cotton fabric from my stash to each side of the burlap. I only sewed a 1/4 inch seam allowance because I wanted a maximum width of about 17 or 18 inches. After stitching on both strips, I then serged them and pressed the seam towards the black fabric. Next I sewed a decorative fagoting stitch as a top stitch to keep that seam permanently in place. Now my finished piece of fabric is approximately 19″ wide by 45″ long. Sorry, lots of shedding from the burlap!!


 Now I took that piece of fabric and laid it on top of another cotton fabric (right sides together) that I used as my guide to cut out a lining for the tote – so now I have 2 pieces of fabric 19″ wide x 45″ long.
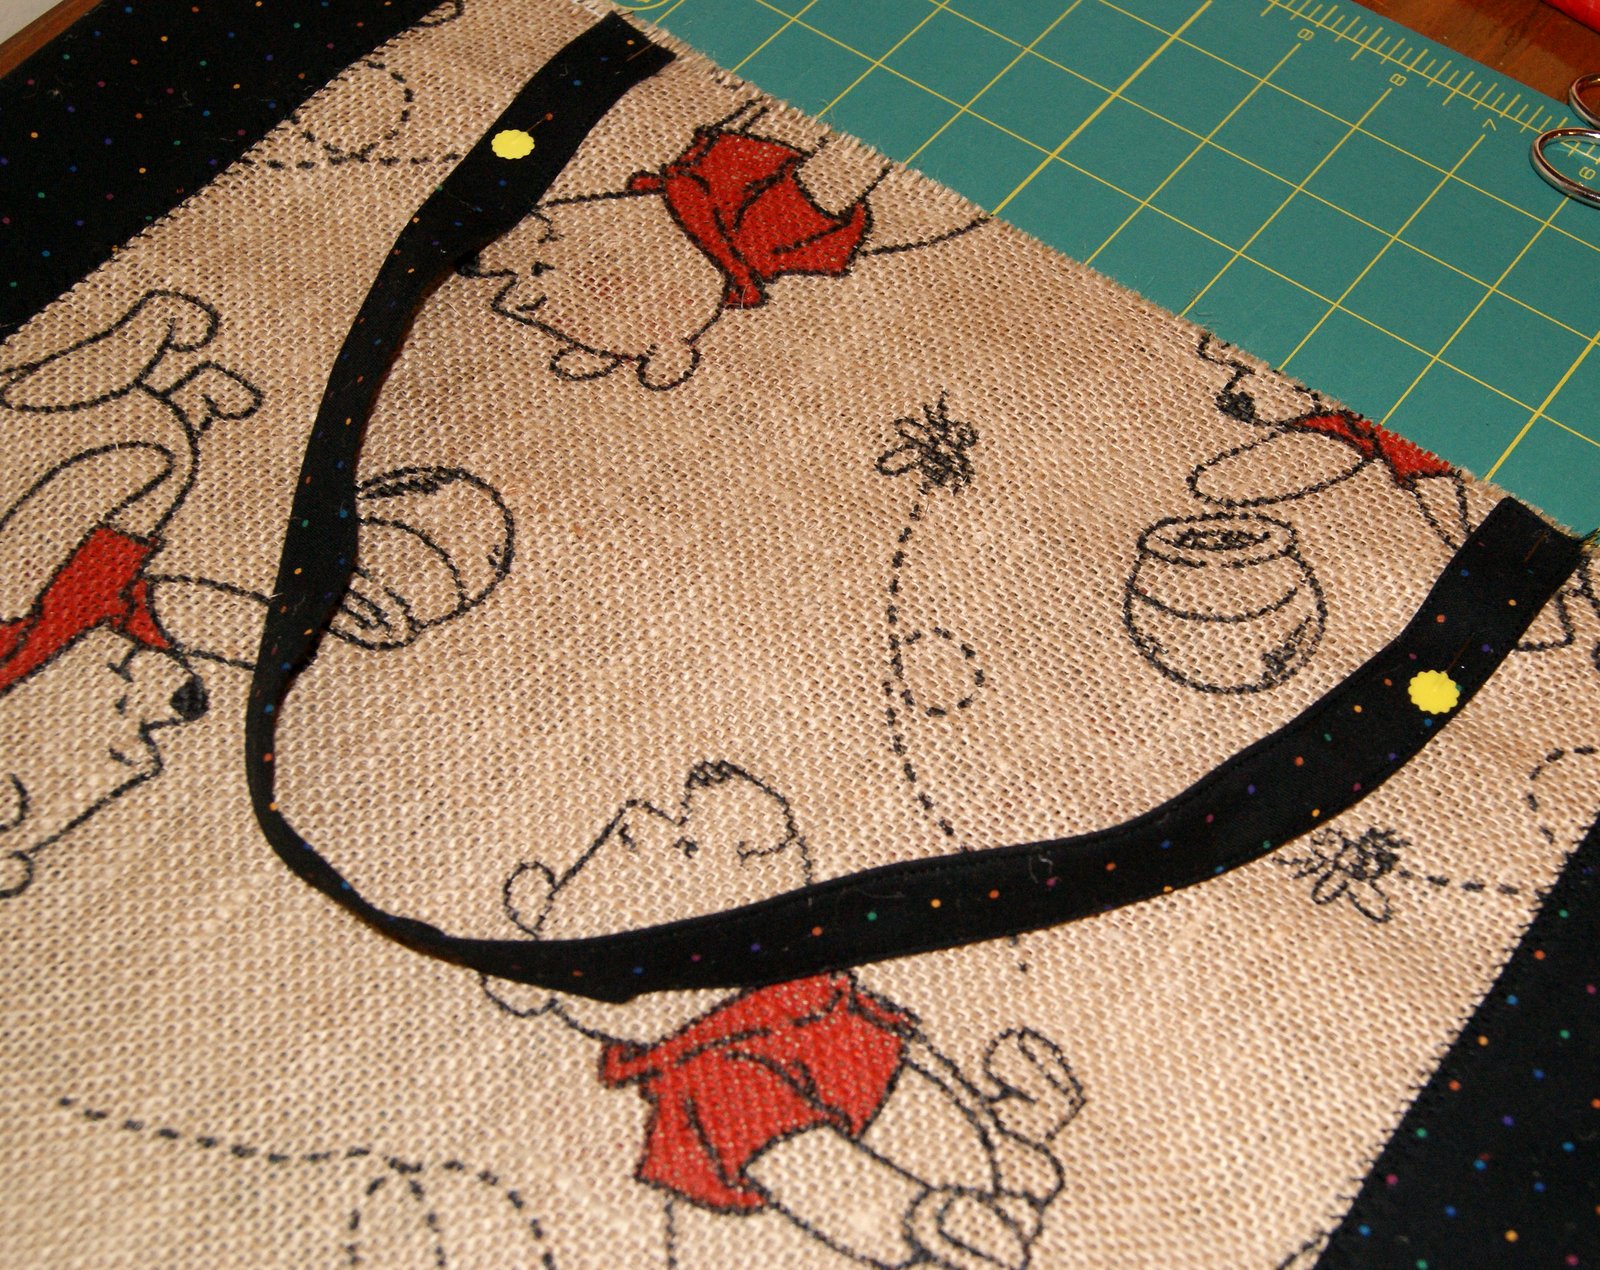
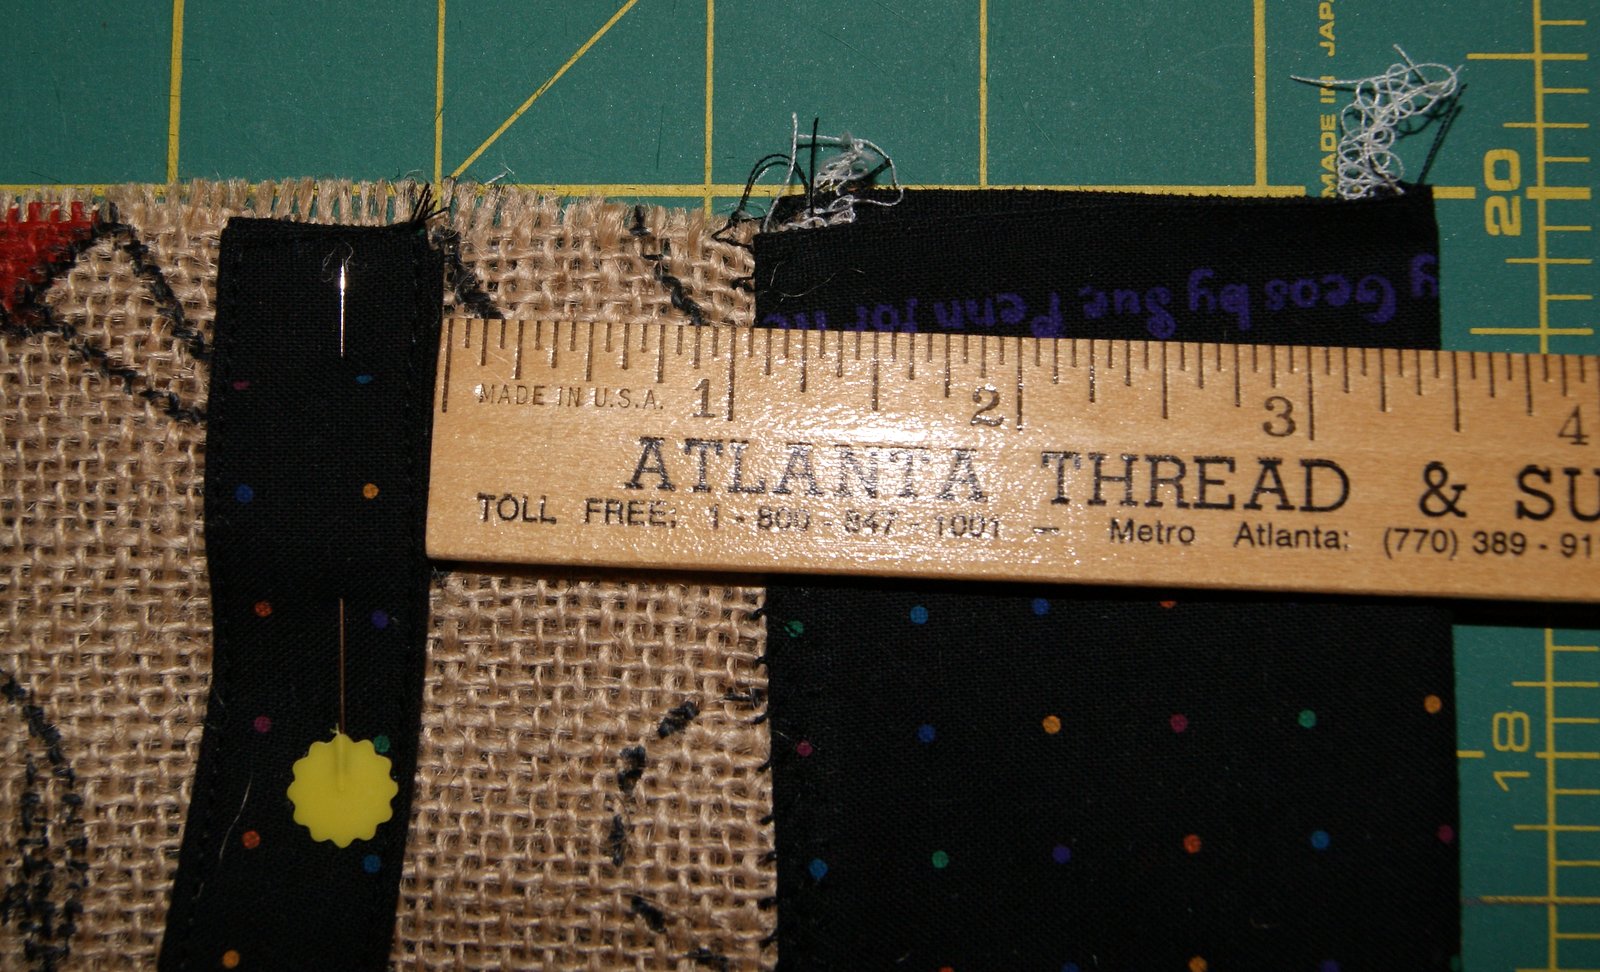
 Next I made the straps, using the same black cotton fabric for them. I cut my straps 3 inches wide by 21 inches long. I folded the straps in half (wrong sides together) and pressed with the iron. This is for a registration/reference line. Open up your strap and with wrong sides facing you, fold each side in to the pressed line. Iron in place, then fold so that your two non-raw side edges meet and press again. Sew close to the edge, turn and stitch along the narrow edge, turn and stitch close to the opposite edge to create a nice top stitching effect for your strap.

 Now your straps are ready to be sewn onto your main fabric tote. Strap placement is a personal option but you want to make sure they will provide good balance and support for whatever you put inside your tote. For this toy tote, I placed my straps 3 1/2 inches in from the side seam on the right side of the main fabric. Do a baste stitch to hold the straps in place. Make 2 straps and attach at each end of your long fabric piece.
 Continue by going to Sewing a Tote Bag PART TWO blog. I know this is a long post but wanted to describe thoroughly.
HAPPY CREATING!!
Disclaimer: This post contains affiliate links – “Commissions Earned”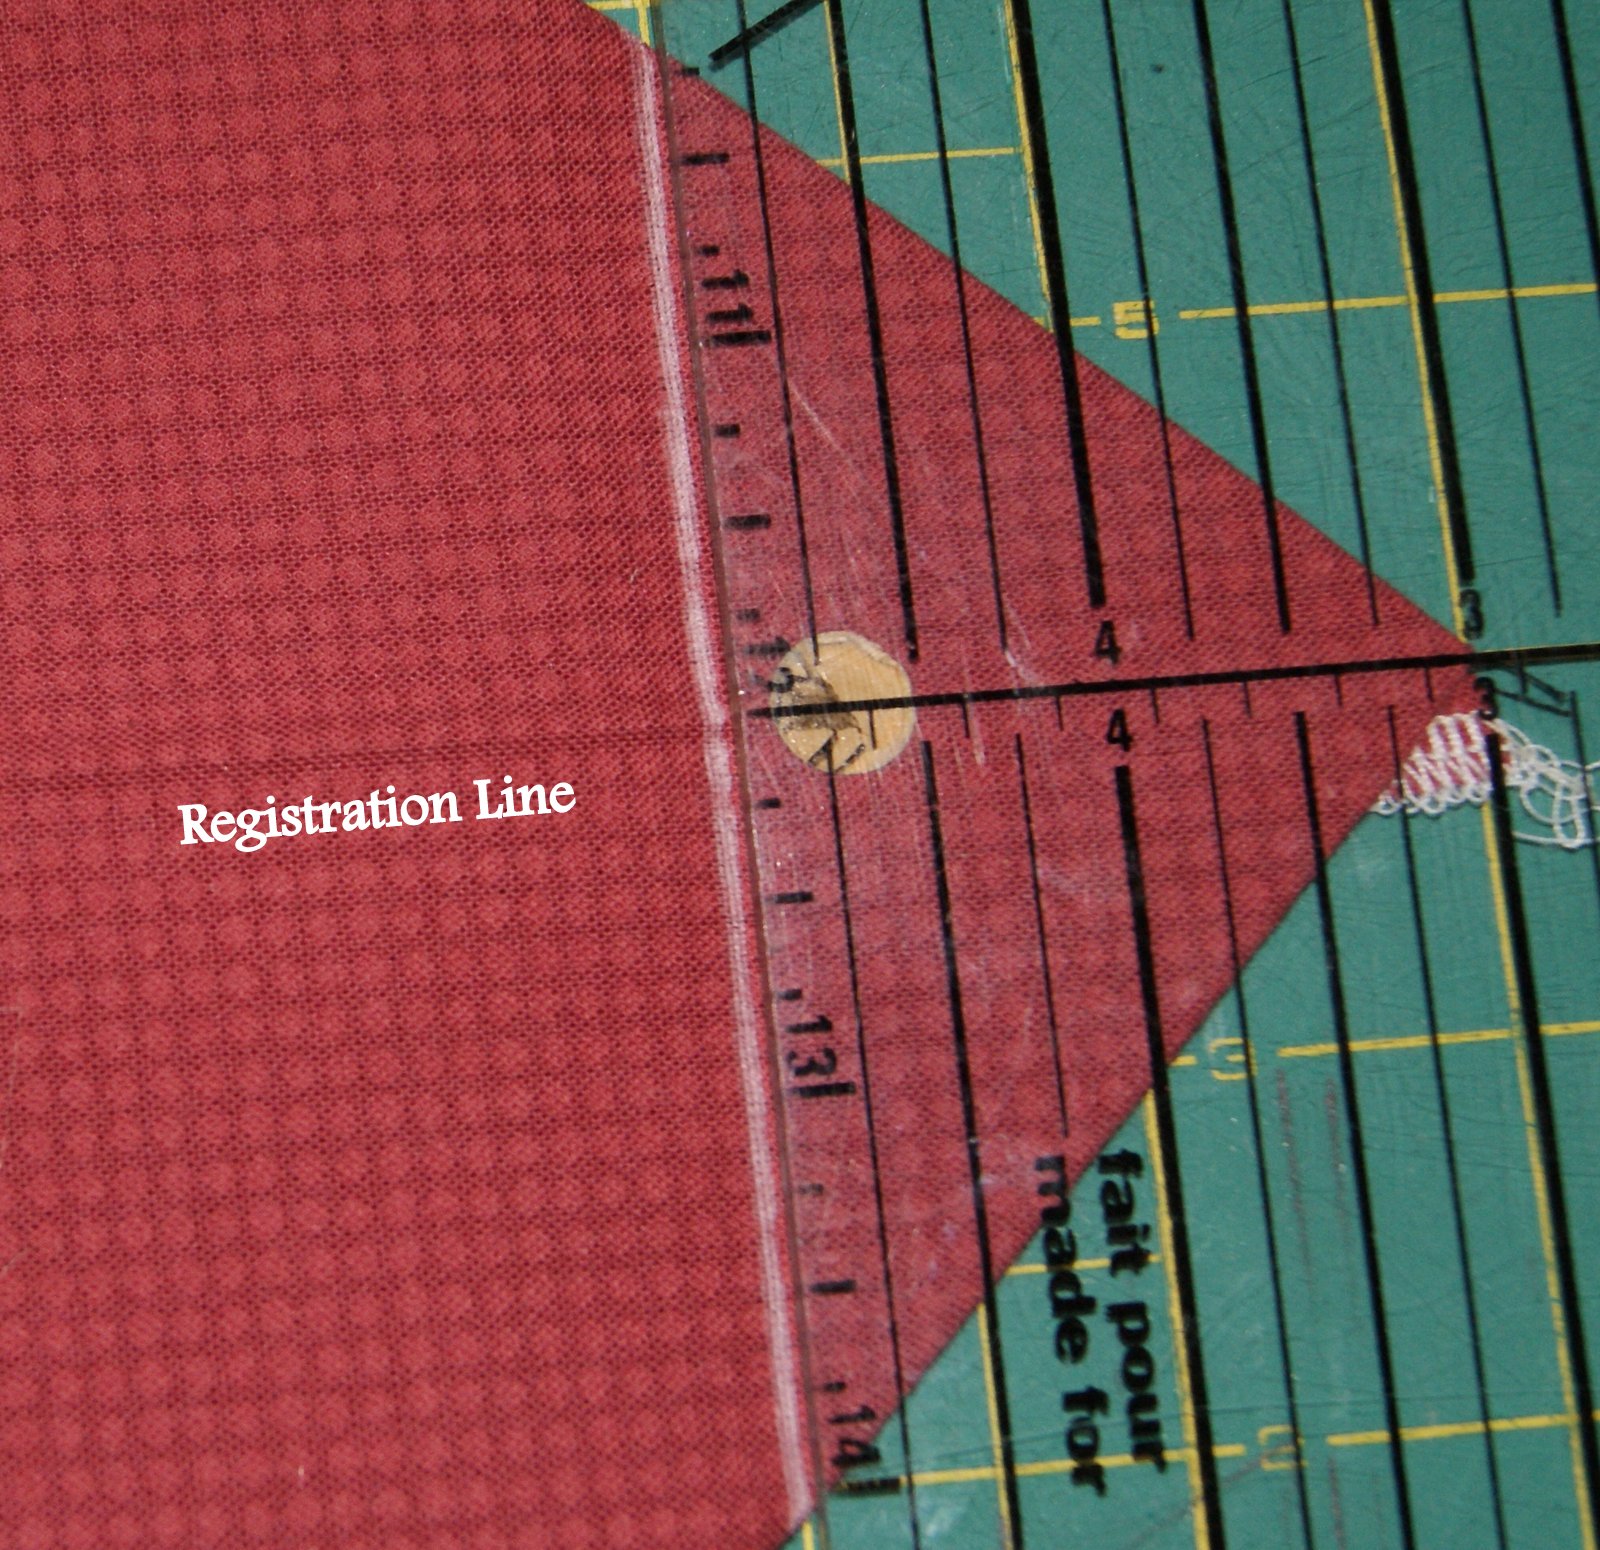
 Now you can turn your MAIN fabric to the right side, DON’T turn out the lining yet.
At this point, you are ready to attach your main fabric to the lining fabric with right sides together. Slide your main fabric which should be on the right side, inserting it into the lining which should have the wrong side facing out (check that you have right sides together). Make sure your straps are hanging towards the bottom of the bag on the inside (sandwiched between your fabric and lining). Now pin your top edges leaving an opening of about 6 inches between the straps for turning purposes. Stitch around in a 1″ seam. Sometimes it is helpful to use the same color pin head for your beginning stitching and ending stitching which is different from your other pins. Just a visual reminder to leave an opening for turning.
Now you can turn your MAIN fabric to the right side, DON’T turn out the lining yet.
At this point, you are ready to attach your main fabric to the lining fabric with right sides together. Slide your main fabric which should be on the right side, inserting it into the lining which should have the wrong side facing out (check that you have right sides together). Make sure your straps are hanging towards the bottom of the bag on the inside (sandwiched between your fabric and lining). Now pin your top edges leaving an opening of about 6 inches between the straps for turning purposes. Stitch around in a 1″ seam. Sometimes it is helpful to use the same color pin head for your beginning stitching and ending stitching which is different from your other pins. Just a visual reminder to leave an opening for turning.

 Turn your tote to the right side, pulling your straps through the opening too. Push your lining down into your tote. Press down the opening so that it is even with your top edges. Sew a top stitch row around the entire bag, stitching shut your opening and making sure it is close to the edge.

Folded down opening edges – ready for top stitching
 Now make another row of stitching around the entire top of the bag. Finish it off with a good pressing and get ready to fill it full of goodies. Mine will be used for Lego blocks!!!
 My toy tote finished size is 17 1/2 inches wide by 18″ long with a 4 inch wide bottom.
A half yard of fabric and a half of yard of lining will make a very nice size tote bag. You wouldn’t even need to do the contrasting sides. I needed this to get the width I want.
This style of tote making is a good one for a beginner sewer. Even a young child who is familiar with a sewing machine could make this pattern. Lots of flexibility too within the design, size and width of bag, size and width of straps, to pocket or not to pocket. Think about whether you want to use an interlining fabric for added strength or a denim/canvas fabric for the straps. Let those creative juices flow and design something that is unique and special for you!!
My toy tote finished size is 17 1/2 inches wide by 18″ long with a 4 inch wide bottom.
A half yard of fabric and a half of yard of lining will make a very nice size tote bag. You wouldn’t even need to do the contrasting sides. I needed this to get the width I want.
This style of tote making is a good one for a beginner sewer. Even a young child who is familiar with a sewing machine could make this pattern. Lots of flexibility too within the design, size and width of bag, size and width of straps, to pocket or not to pocket. Think about whether you want to use an interlining fabric for added strength or a denim/canvas fabric for the straps. Let those creative juices flow and design something that is unique and special for you!!
HAPPY CREATING!!
Disclaimer: This post contains affiliate links – “Commissions Earned”