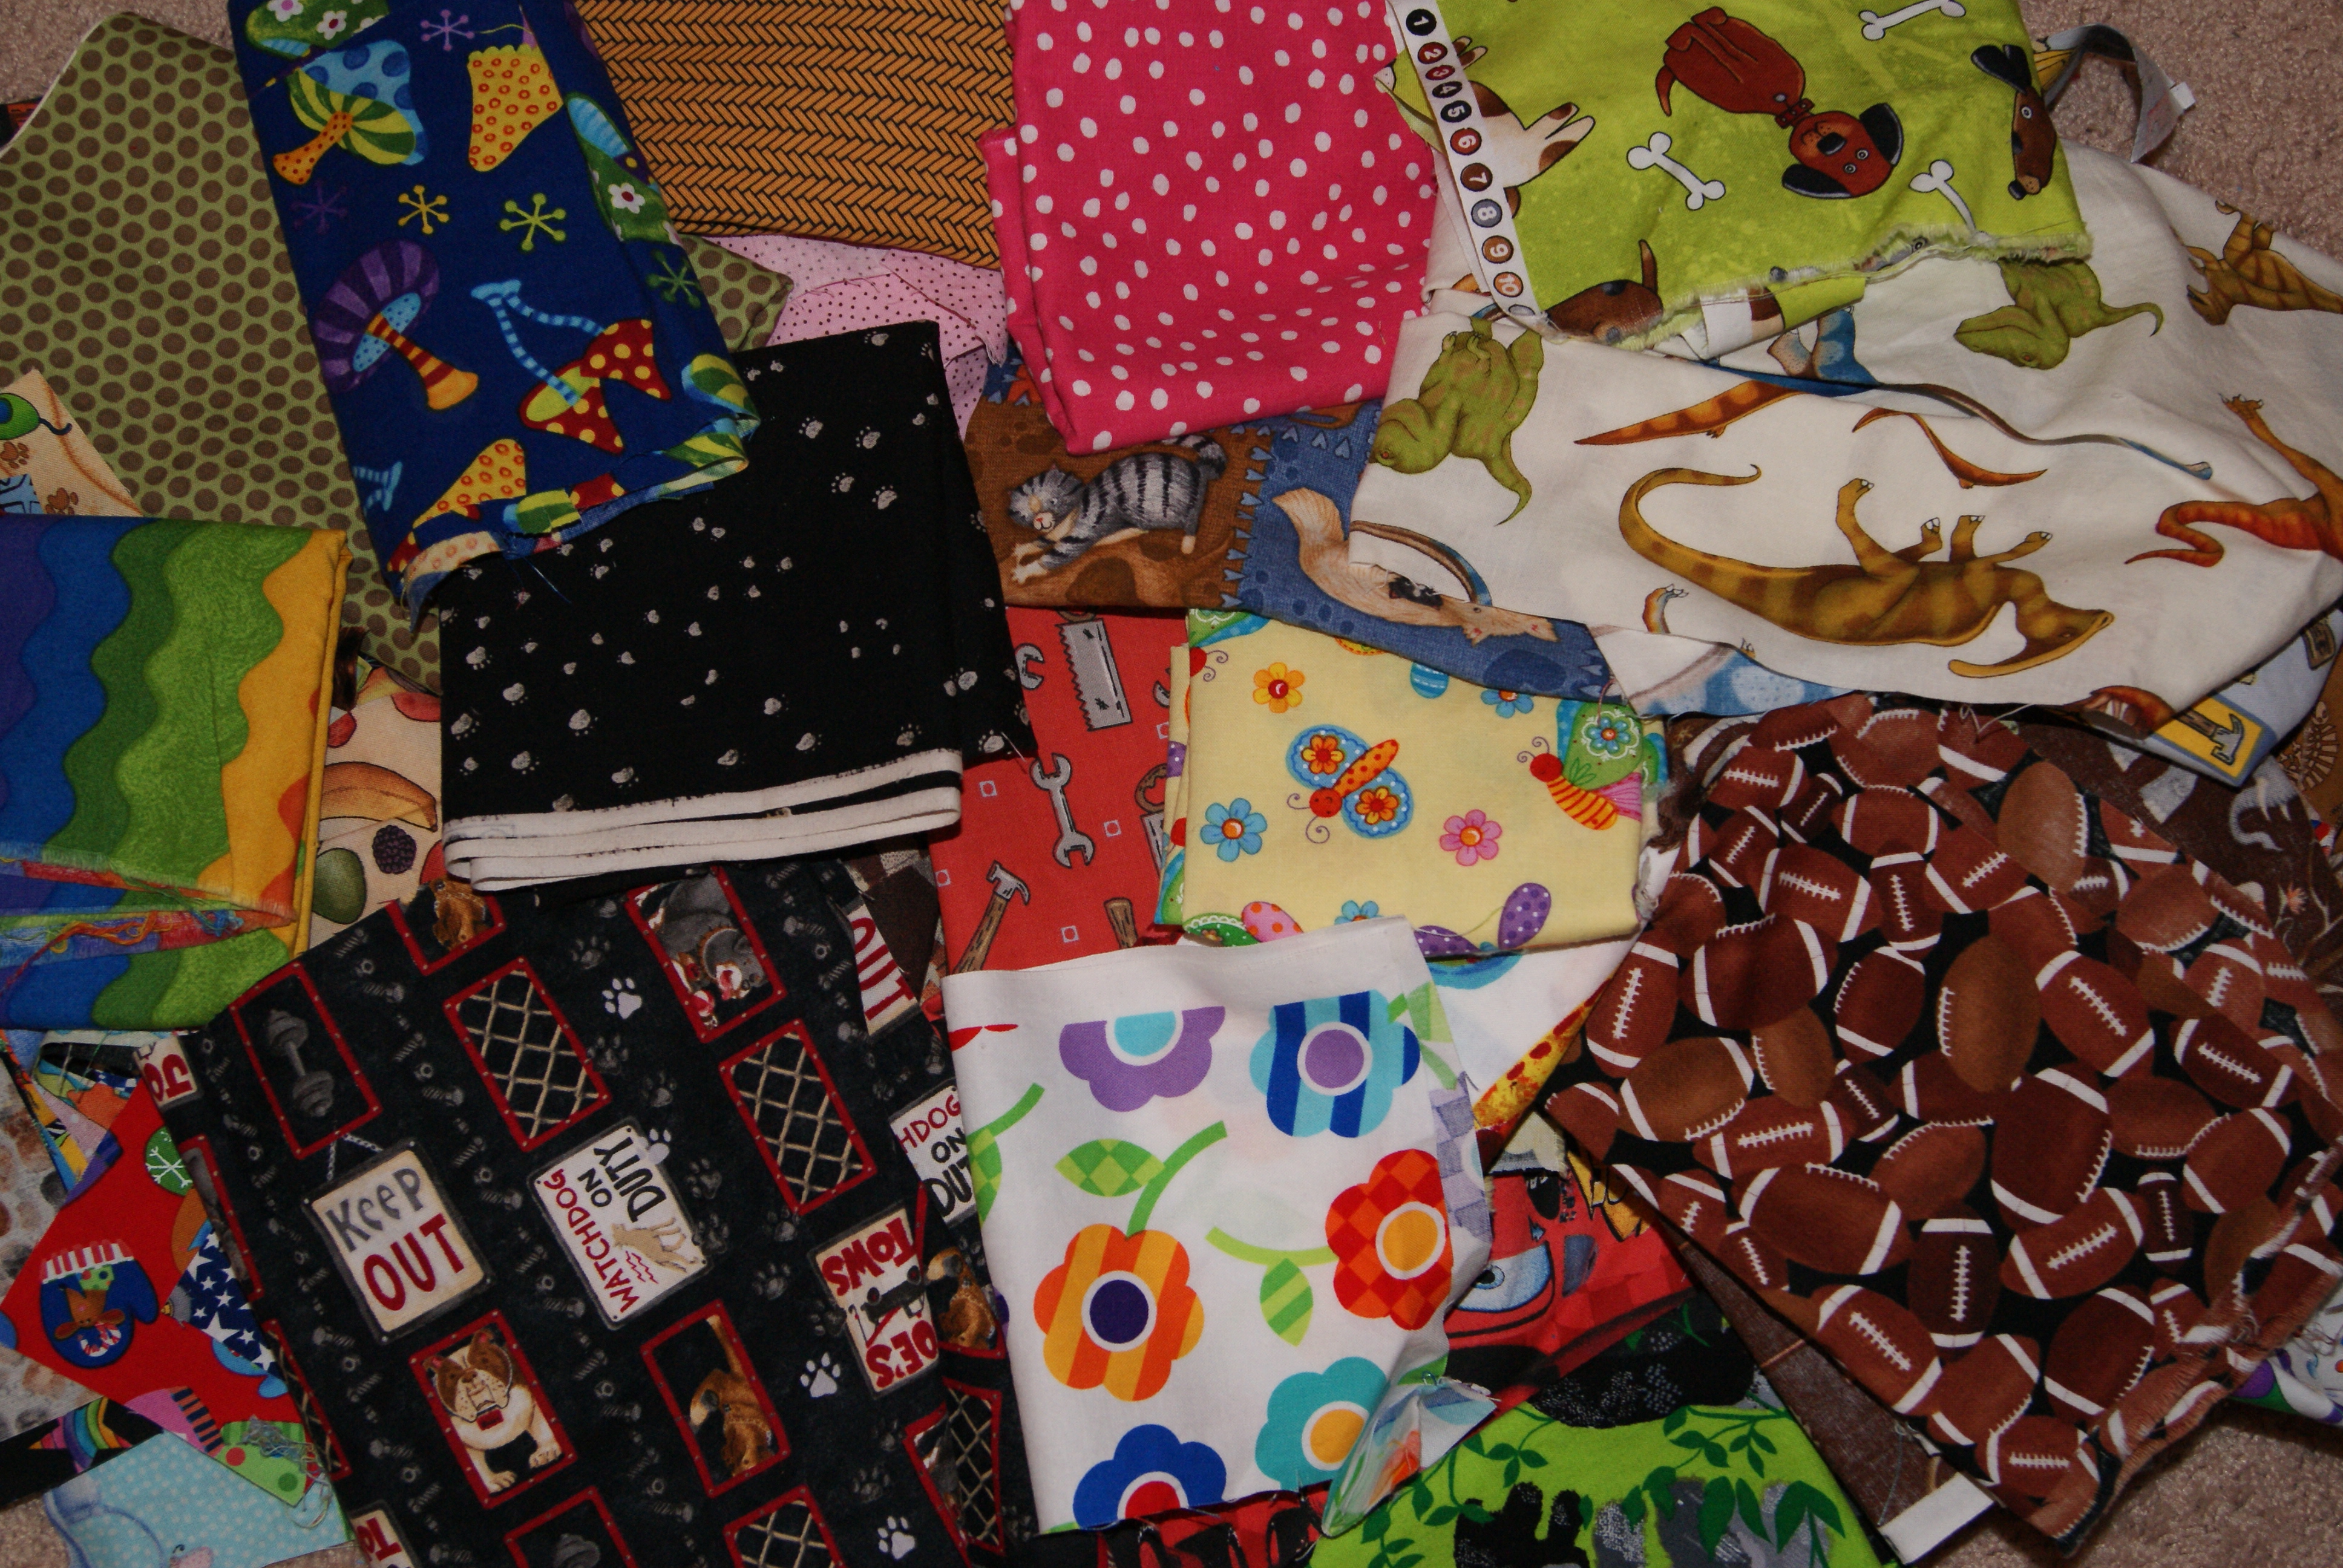
If you are a sewer or quilter and have fabric scraphobia (can’t bear to throw away any leftover fabric) then maybe you should start a “scrappy” bin for that young child to use for their creative moments!!
I definitely have
SCRAPHOBIA!!
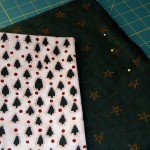
Nothing more exciting than rummaging through a big pile of fabric to pick out those special colors or textures to create with. Using scraps is a great way to introduce the sewing machine to a youngster with adult supervision close by.
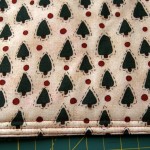
Let them select about a dozen different fabrics and sort them out into two piles – light colors and darker colors. Then cut out a wide selection of squares and/or rectangles. Designing a template for them to trace their shapes onto the wrong side of the fabric helps with the cutting process.
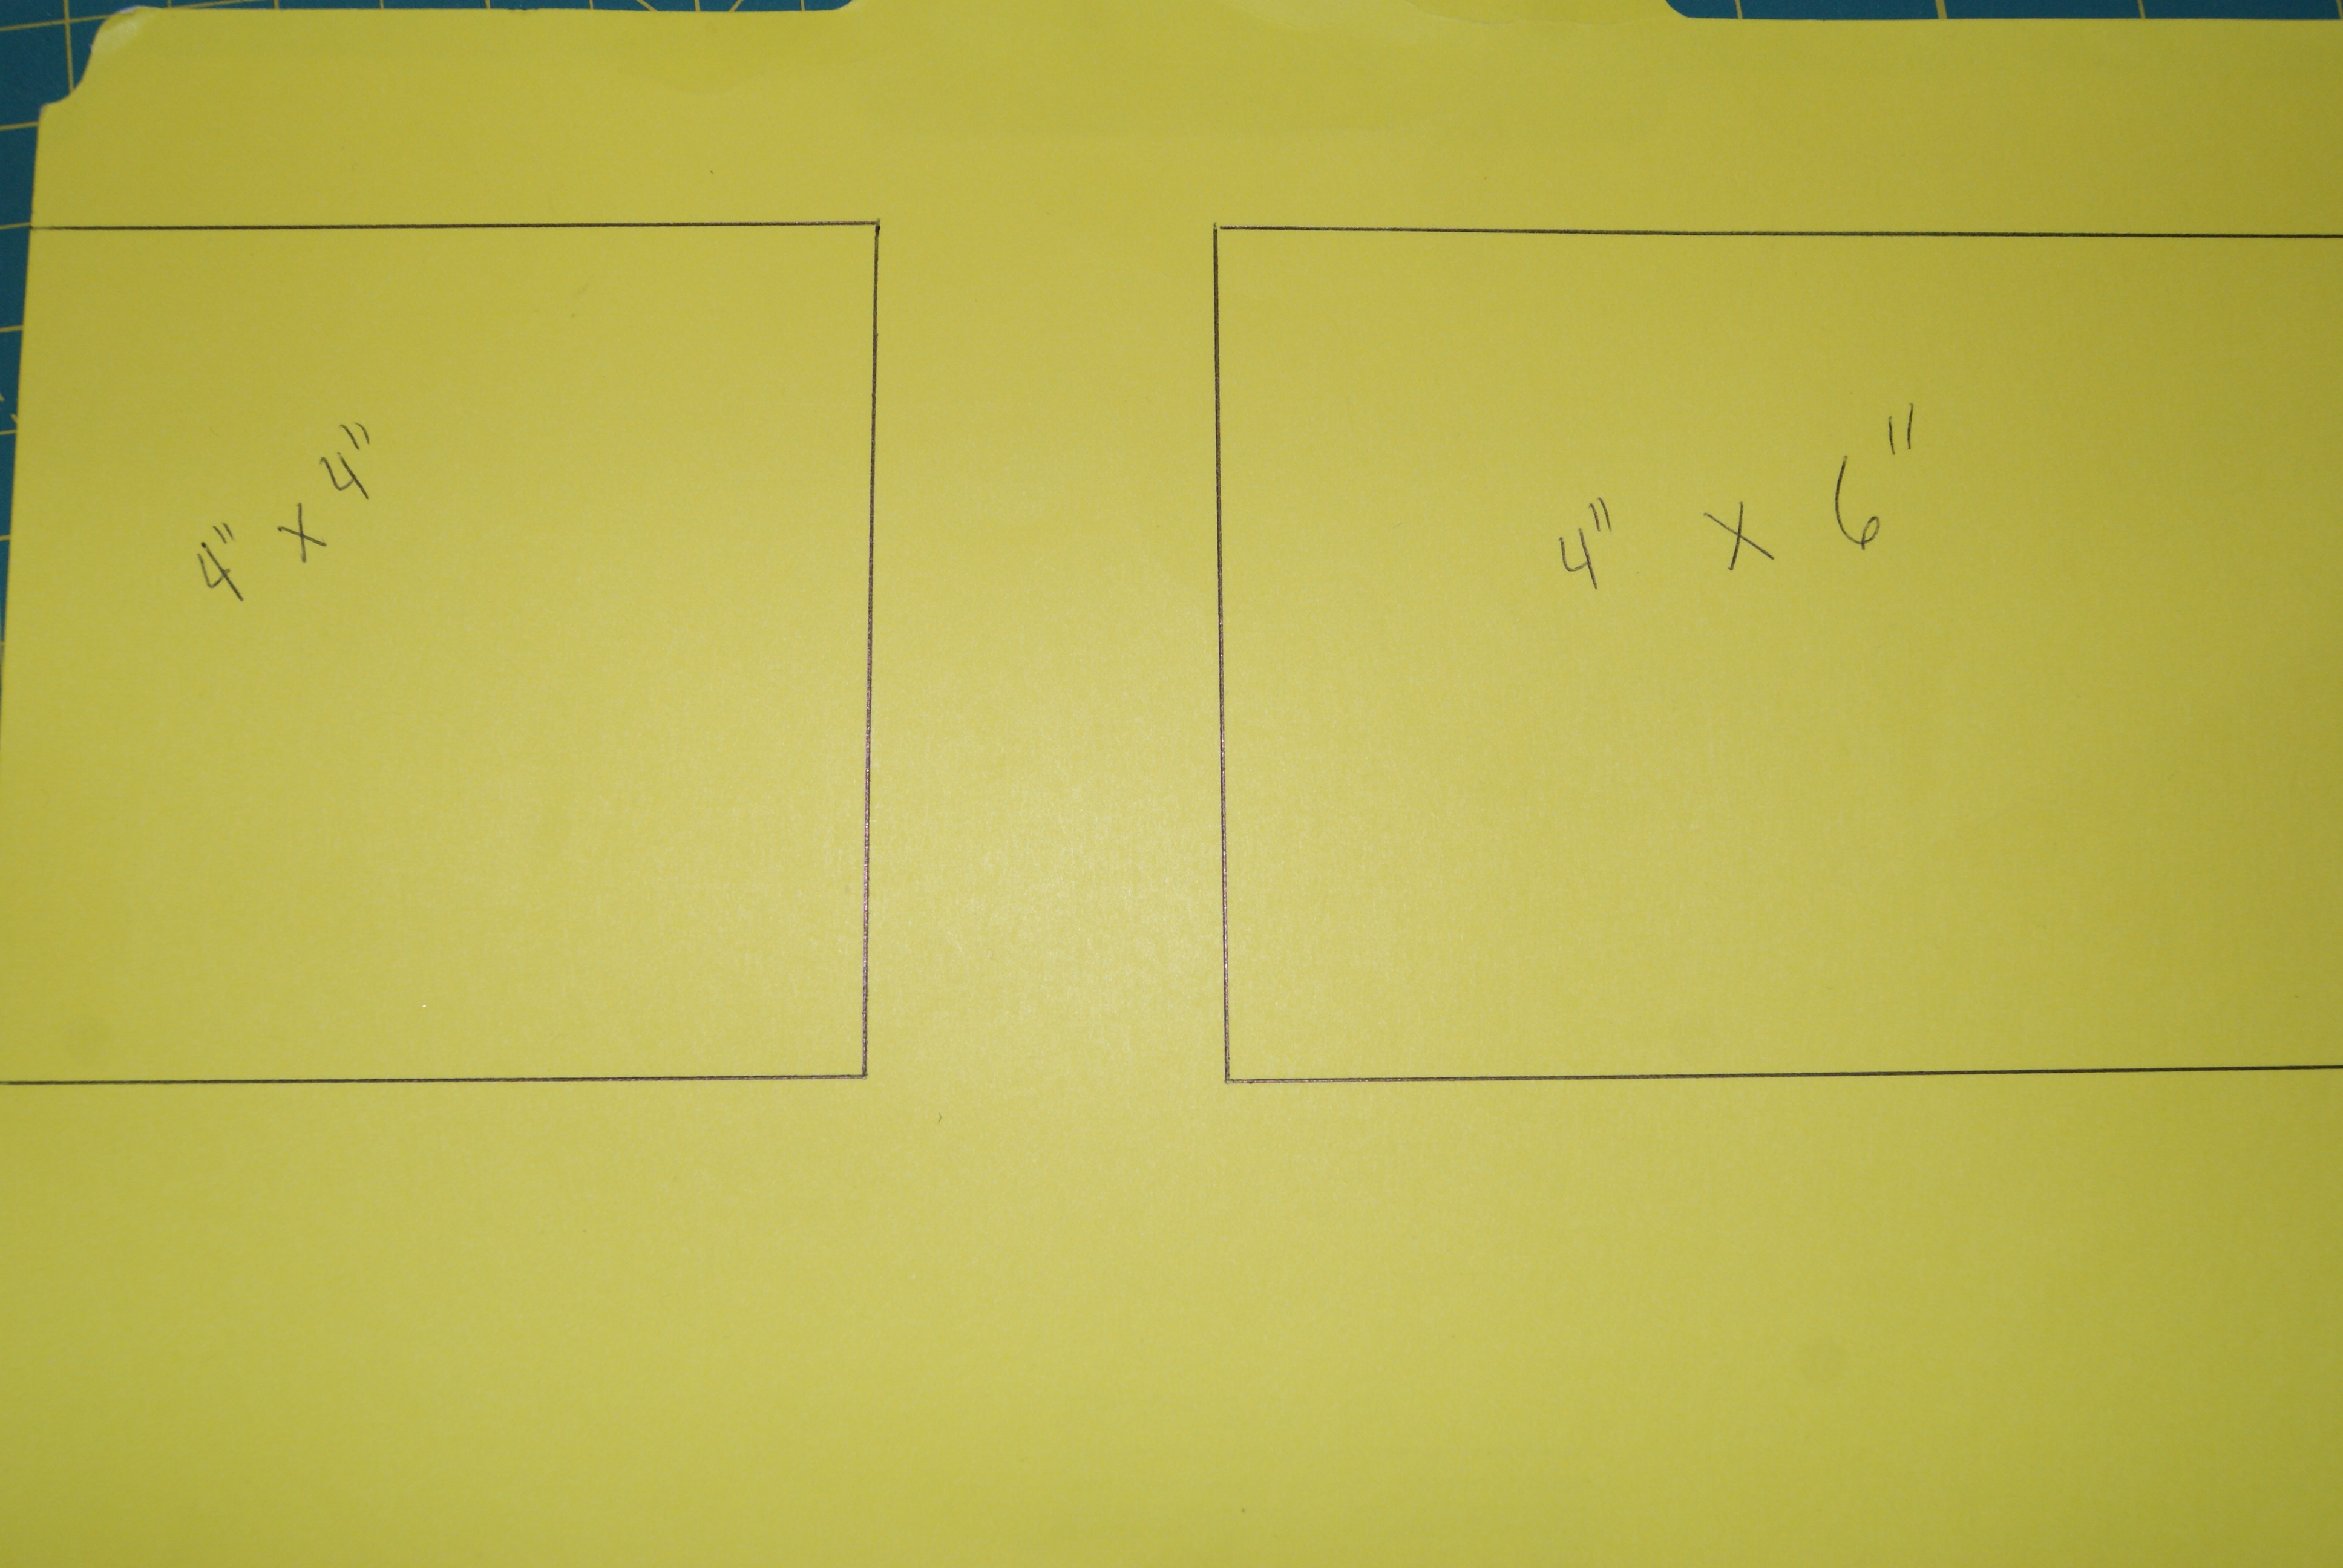
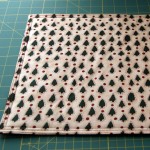
Used an old file folder to make my template guide.
Remember to include a 1/2″ seam allowance on all sides of your template. Try to keep the fabric squares or rectangles a good workable size; something like 4″ x 4″ and 4″ x 6″. Easier for their little fingers.
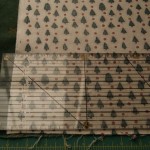
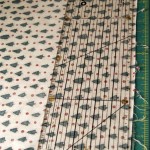
Now begin sewing the fabric shapes together in whatever design that appeals to the child. Let them think “outside the box” and use their imagination for their finished scrap fabric project. They might want to create a blanket for a baby doll or stuffed animal or maybe their design will be a cool “shawl” for those dress up games!!
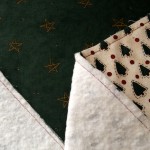
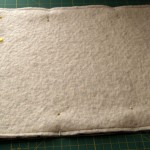
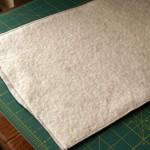
You could finish all the edges of the scrap fabric design with just a simple zigzag stitch. Or if your children is more experienced, cut out a light weight batting and backing; then stitch together on three sides (right sides together) with the batting in the middle. Turn to the right side and machine stitch closed to make a scrappy little quilt that they could tie together.
Have loads of fun! Exposing your child to new craft techniques makes for wonderful memories too!!
HAPPY CREATING!!
Disclaimer: This post contains affiliate links – “small commission earned”