I think this is one of the coolest stitches you need to have in your crochet dictionary. It is a perfect stitch to do especially if you have a tendency to crochet your beginning chain a little too tight, which I seem to do!! It is a little tricky for just the first stitch or two and I hope I can show you clearly enough so you can learn how to do this fabulous technique. It is sometimes called Foundation Single Crochet (FSC) or referred to as Base CH/SC.
Let’s begin the single crochet (sc) chainless foundation stitch. My examples will be using a J hook and medium (category 4) worsted weight yarn. Trying to make pictures large enough so you can see exactly what I am doing.


 Beginning:
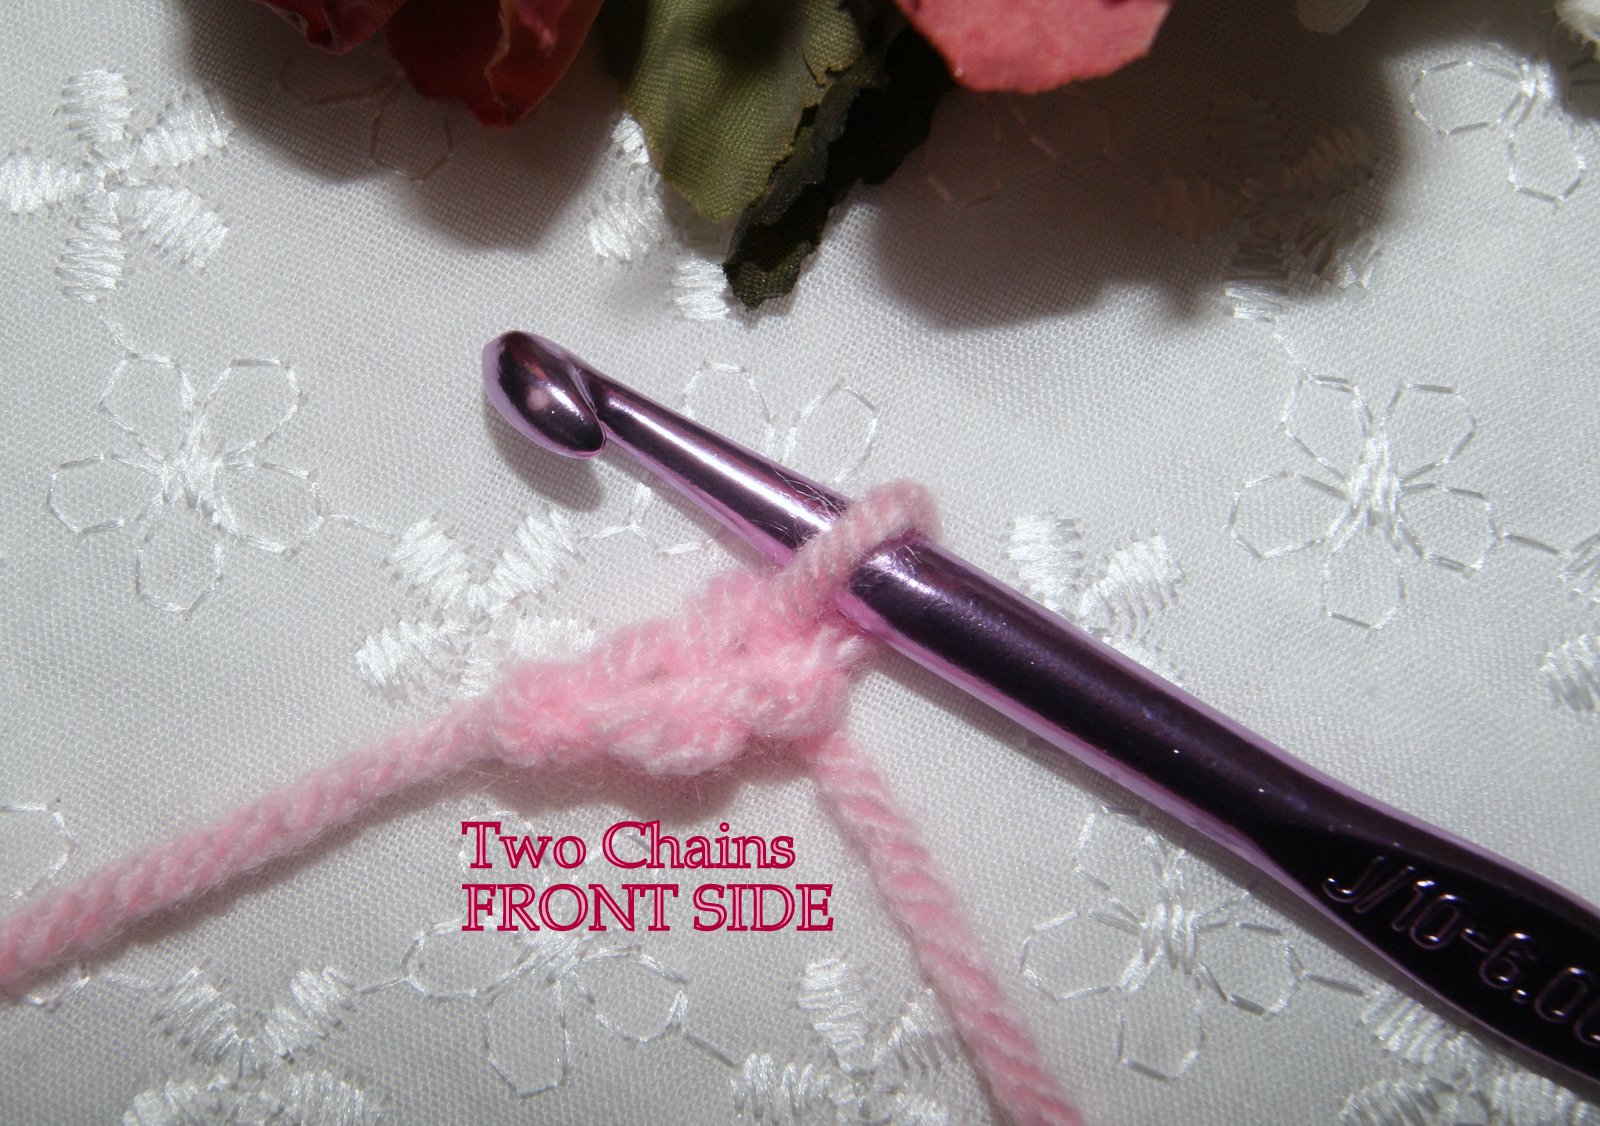
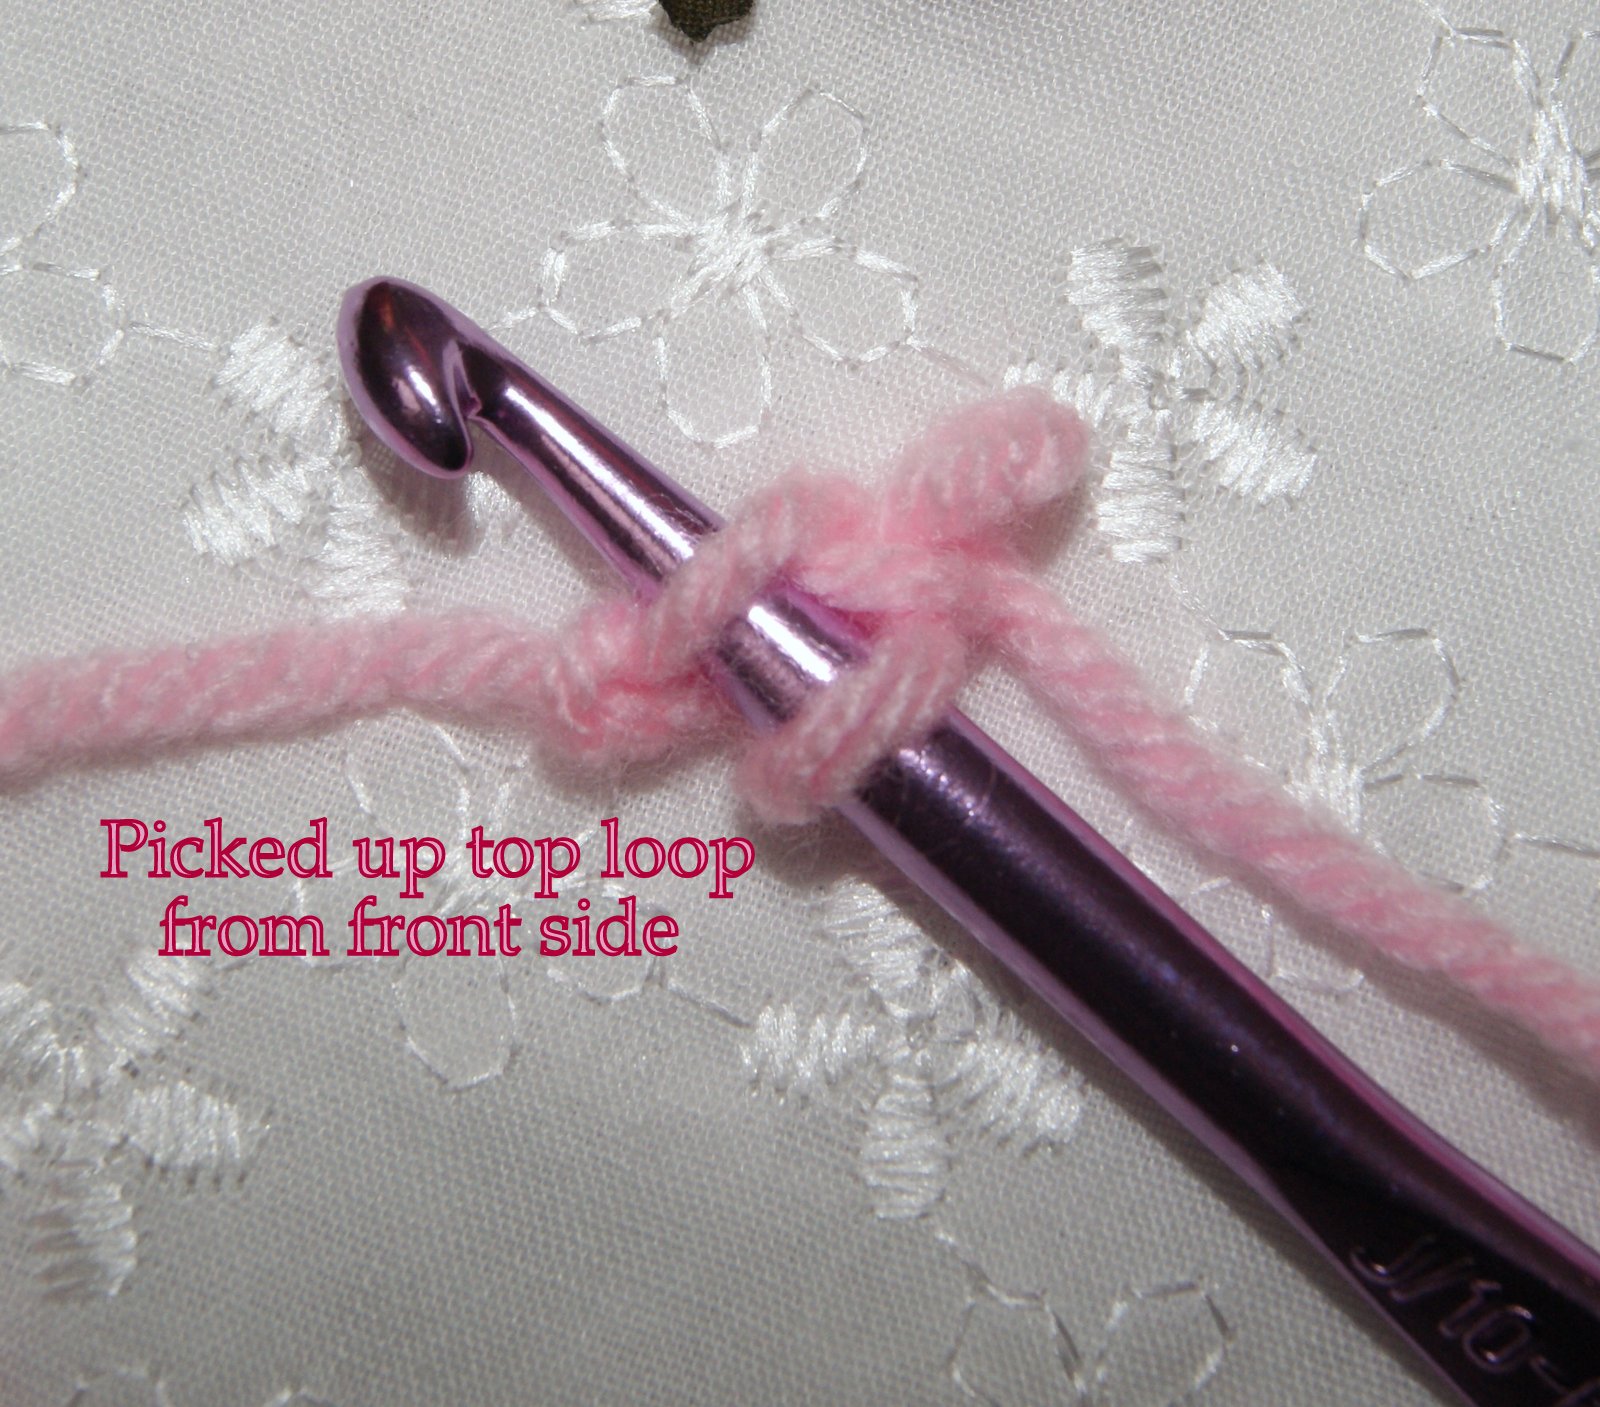
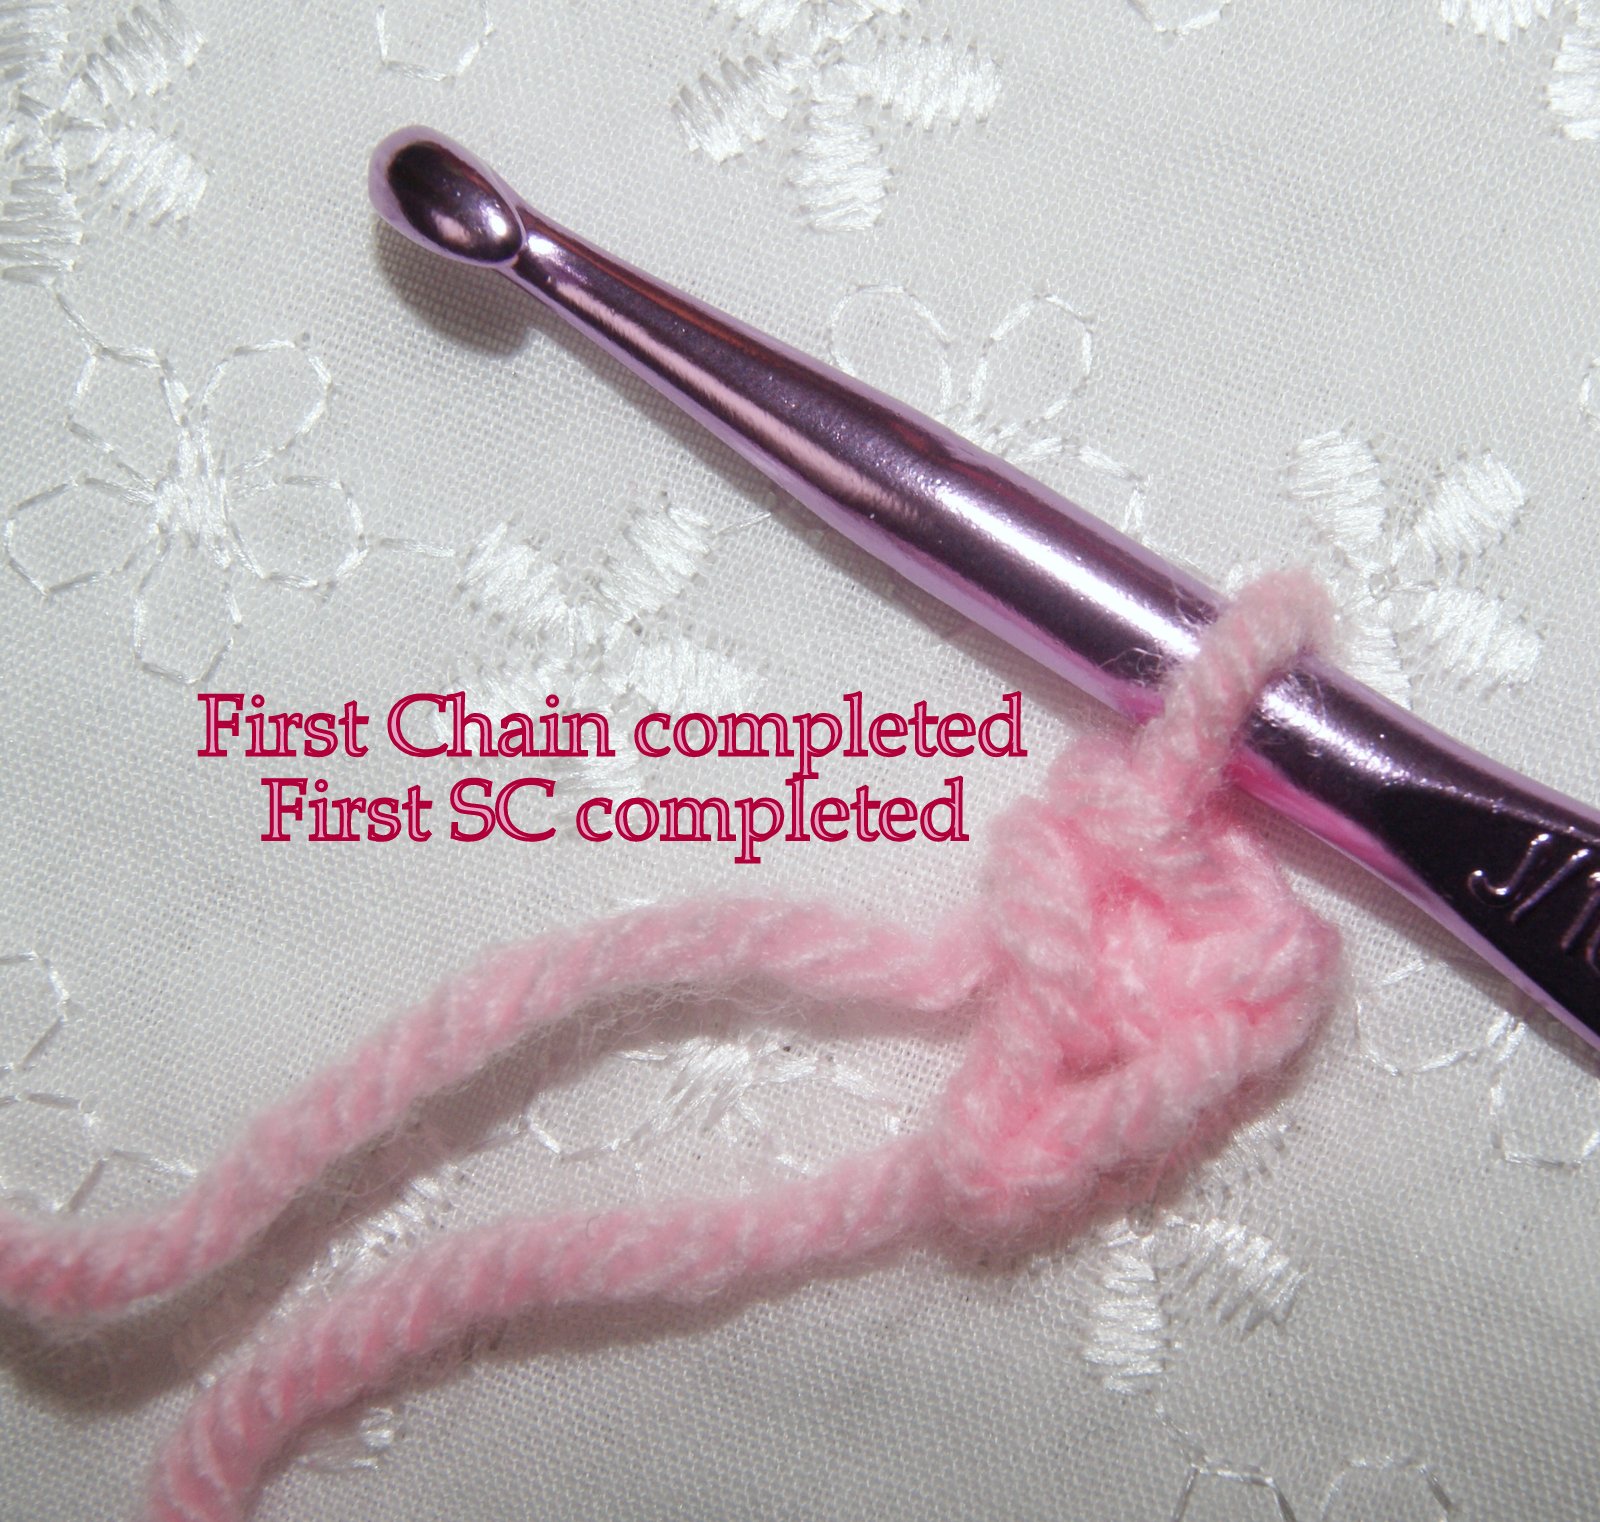
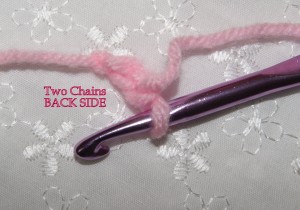
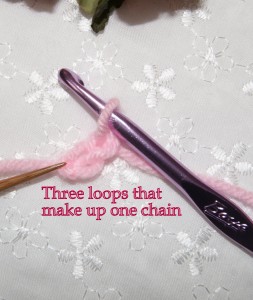
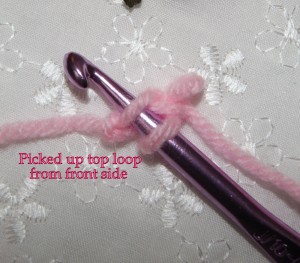
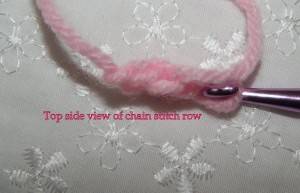
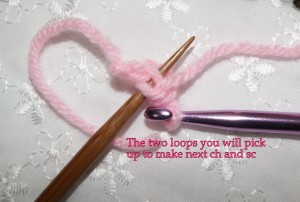
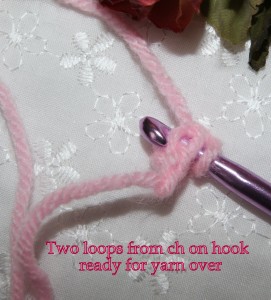
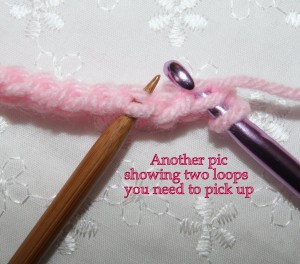
 Make a slip knot onto your hook and complete two (2) chains (ch). Take a moment and look at how the chain stitch looks from the front and how it looks on the back side. You will now want to pick up the top loop of the 1st chain made and slide it on your hook and pick up that middle loop which is on the back side of the 1st chain made and slide them on your hook . So now you have three (3) loops on your hook.

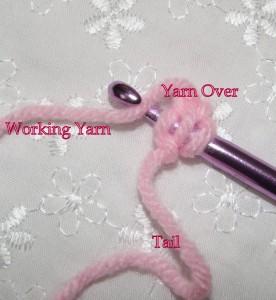
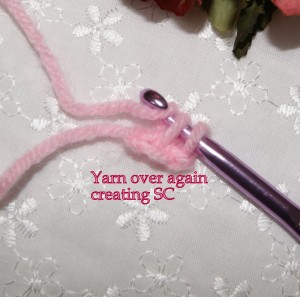
You will yarn over and slip through the top two (2) loops on your hook, yarn over and go through first loop on hook (chain stitch just made), yarn over and go through both stitches on hook (single crochet stitch just made).
For me, reminding myself of these two steps helped me until I got my rhythm and the feel of this stitch because you are actually creating two stitch rows (a chain row and your beginning sc row) at the same time. Cool, huh!!

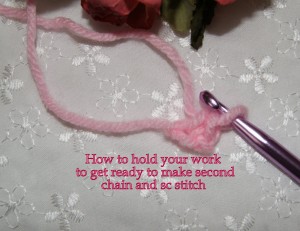
 Second Stitch:
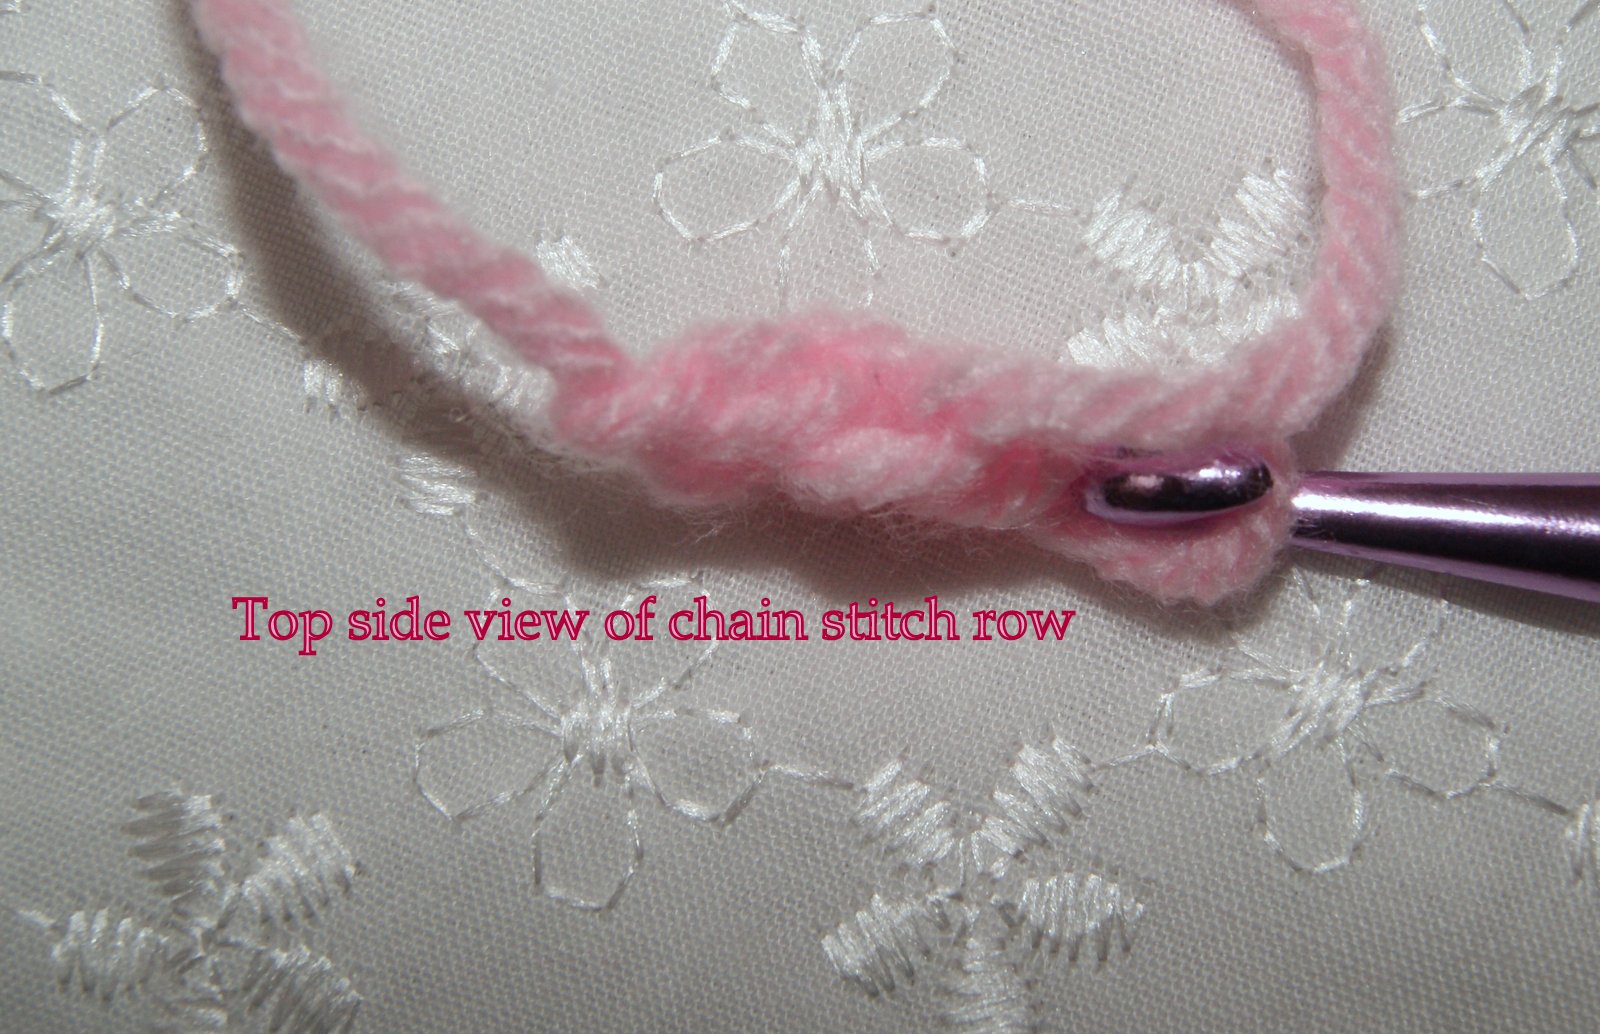
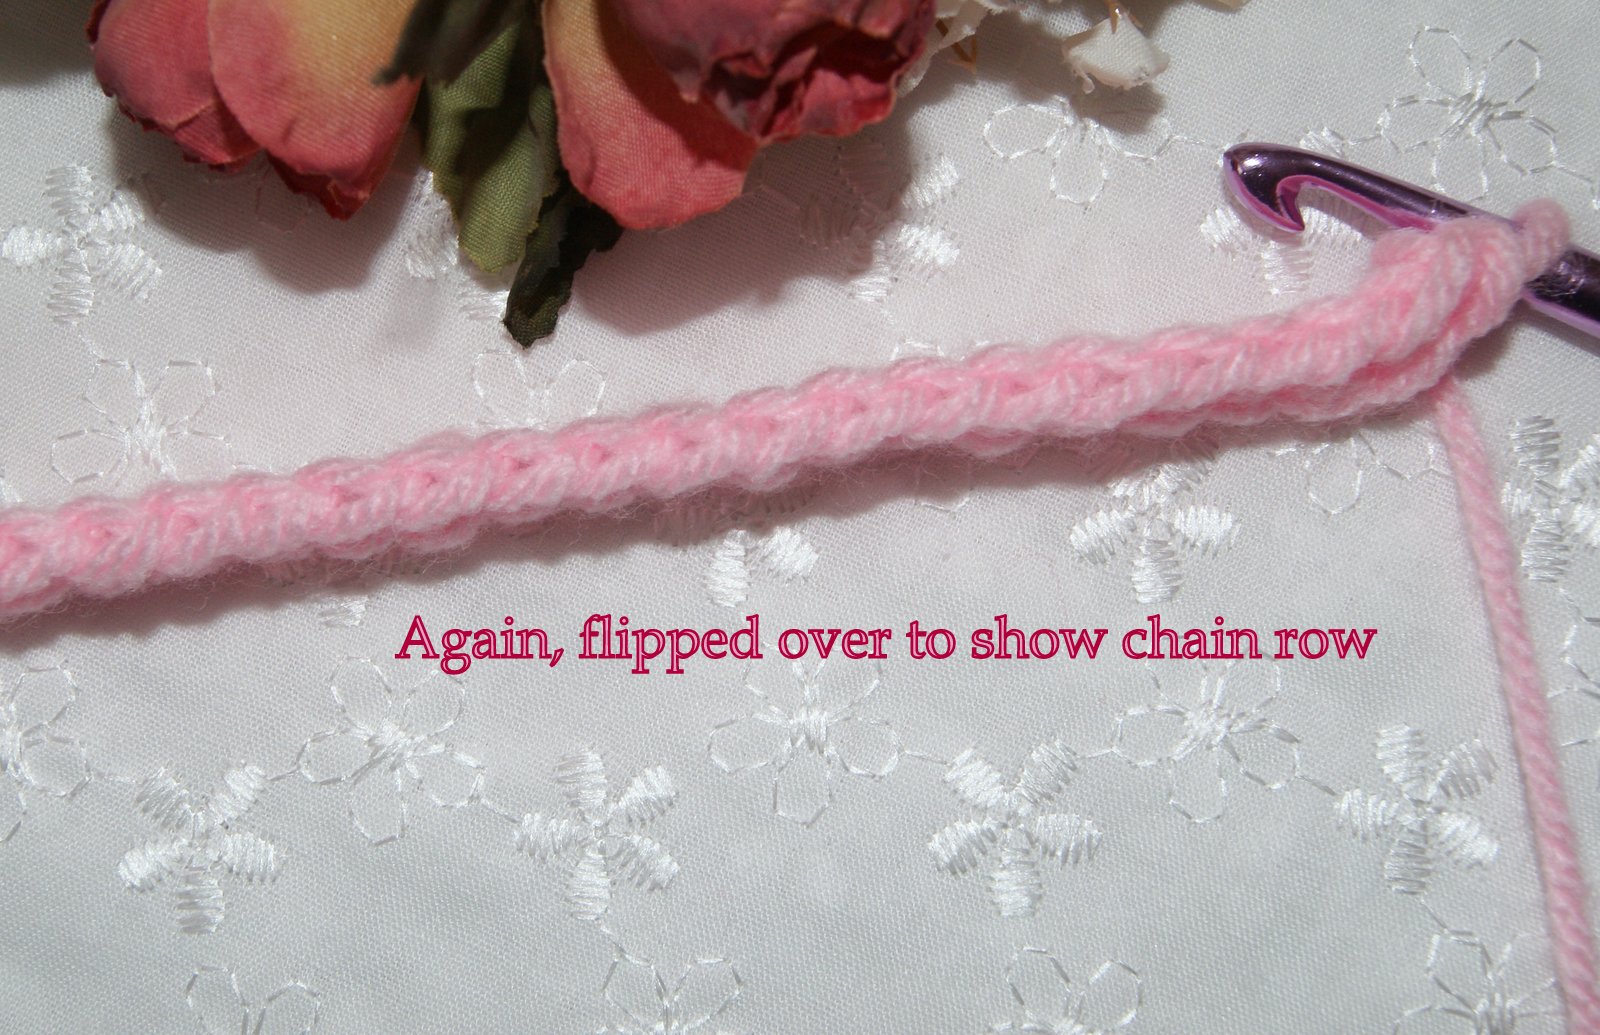
 Your work will want to hang downwards (vertically), but you want to hold it sideways because that top edge becomes your chain row and what is below is your single crochet row. You will pick up both the front and back loops of the next chain stitch, yarn over and pull both loops, yarn over again and pull through first (one) loop (chain stitch completed), yarn over and slip through both loops (sc completed).

 Third Stitch:
 Continue exactly the same as you did for the second stitch and you will continue to crochet your chainless foundation just like this until you have the required numbers of chains needed for your pattern.
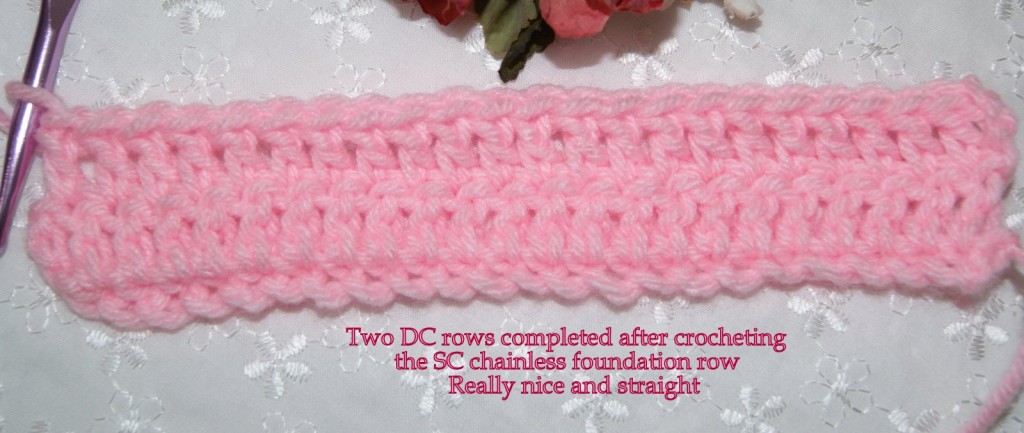
When you have reached the end of your foundation row, chain the required number of stitches you need to make your third row, no turning necessary. But you will need to flip your work over so that you are continuing along the single crochet edge and not the foundation edge. If continuing in a sc pattern, you would only need to chain one and make more sc stitches. If needing to crochet a double crochet row (dc), you would crochet three (3) chains and then proceed making dc stitches.
Also, follow directions given in your pattern if you need to go through both loops, or front loop only, back loop only, etc.
At the end of your third row, you would turn to come back making the necessary stitches for your pattern and continue with the pattern directions.
Hope these examples help you to get started crocheting with a chainless foundation. My next blog will show you how to create a HDC and DC chainless foundation. 🙂
HAPPY CREATING!!
Disclaimer: This post contains affiliate links – “Commissions Earned”
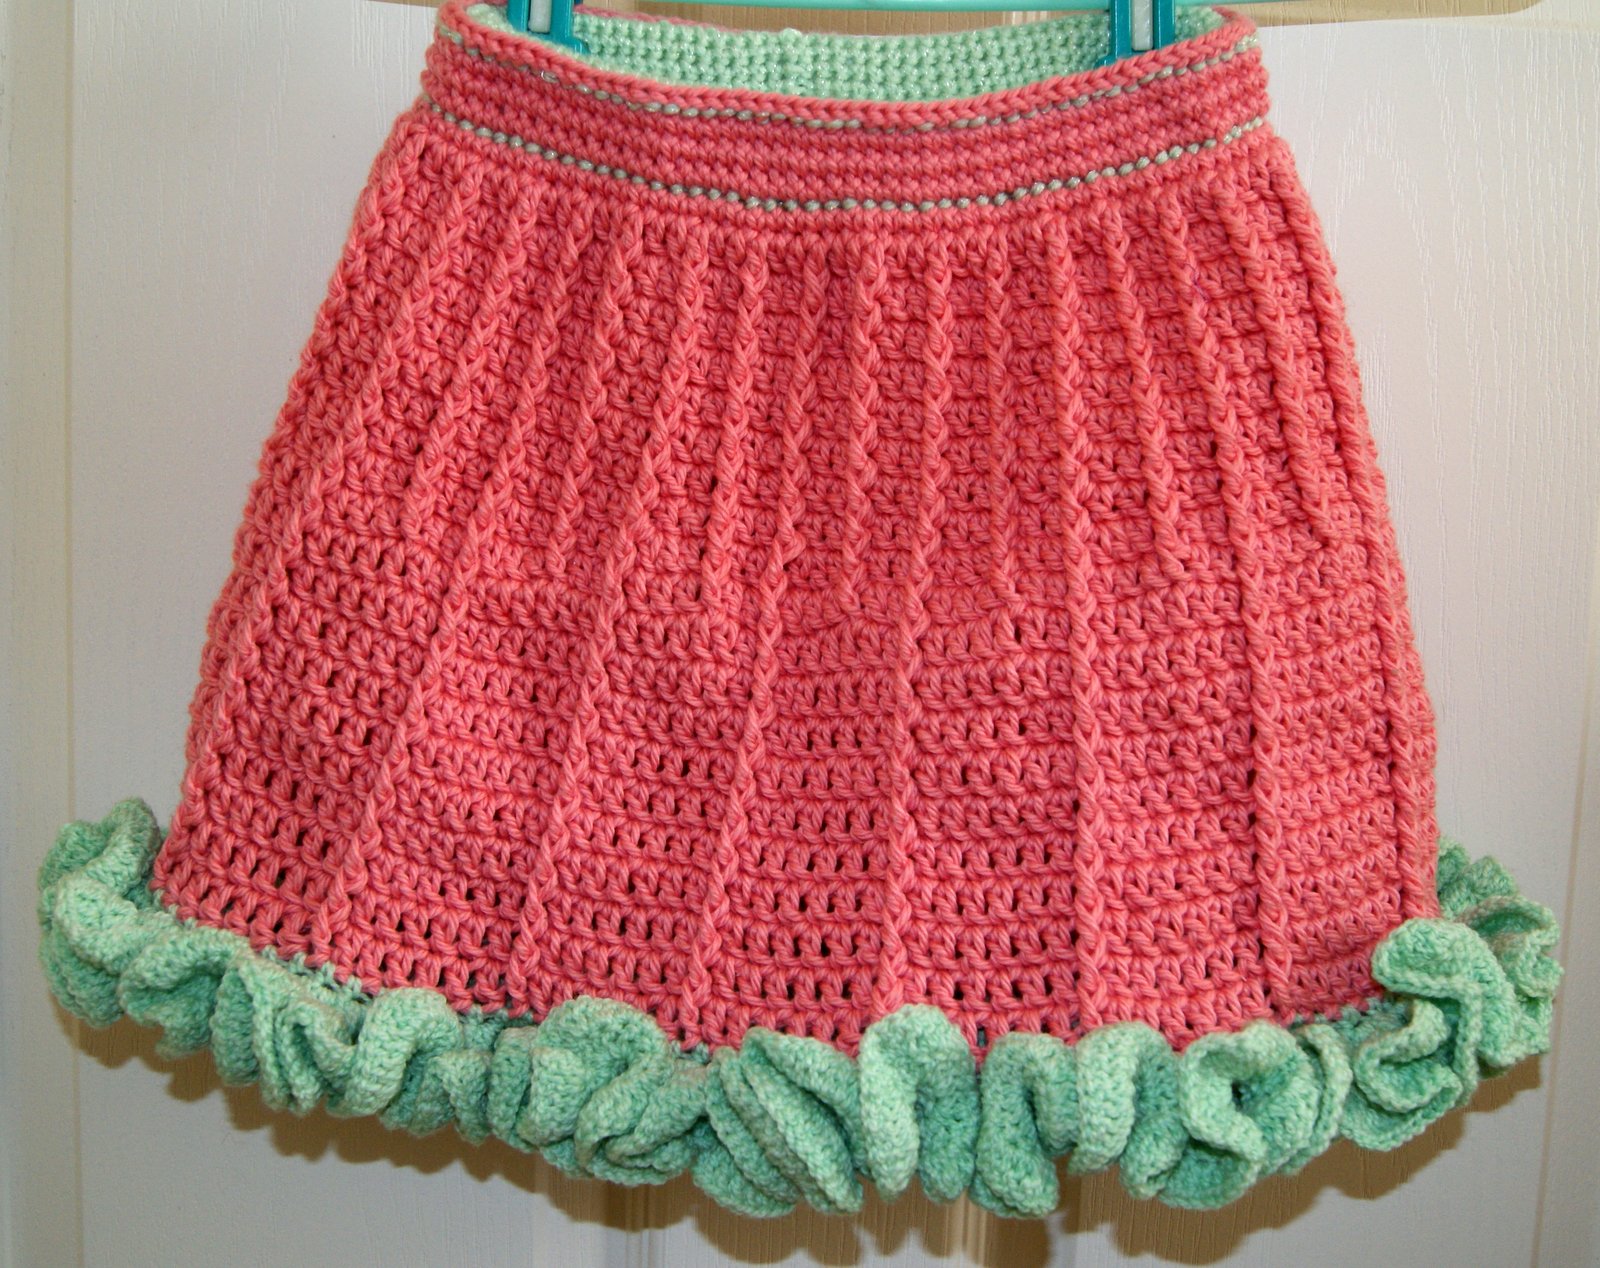
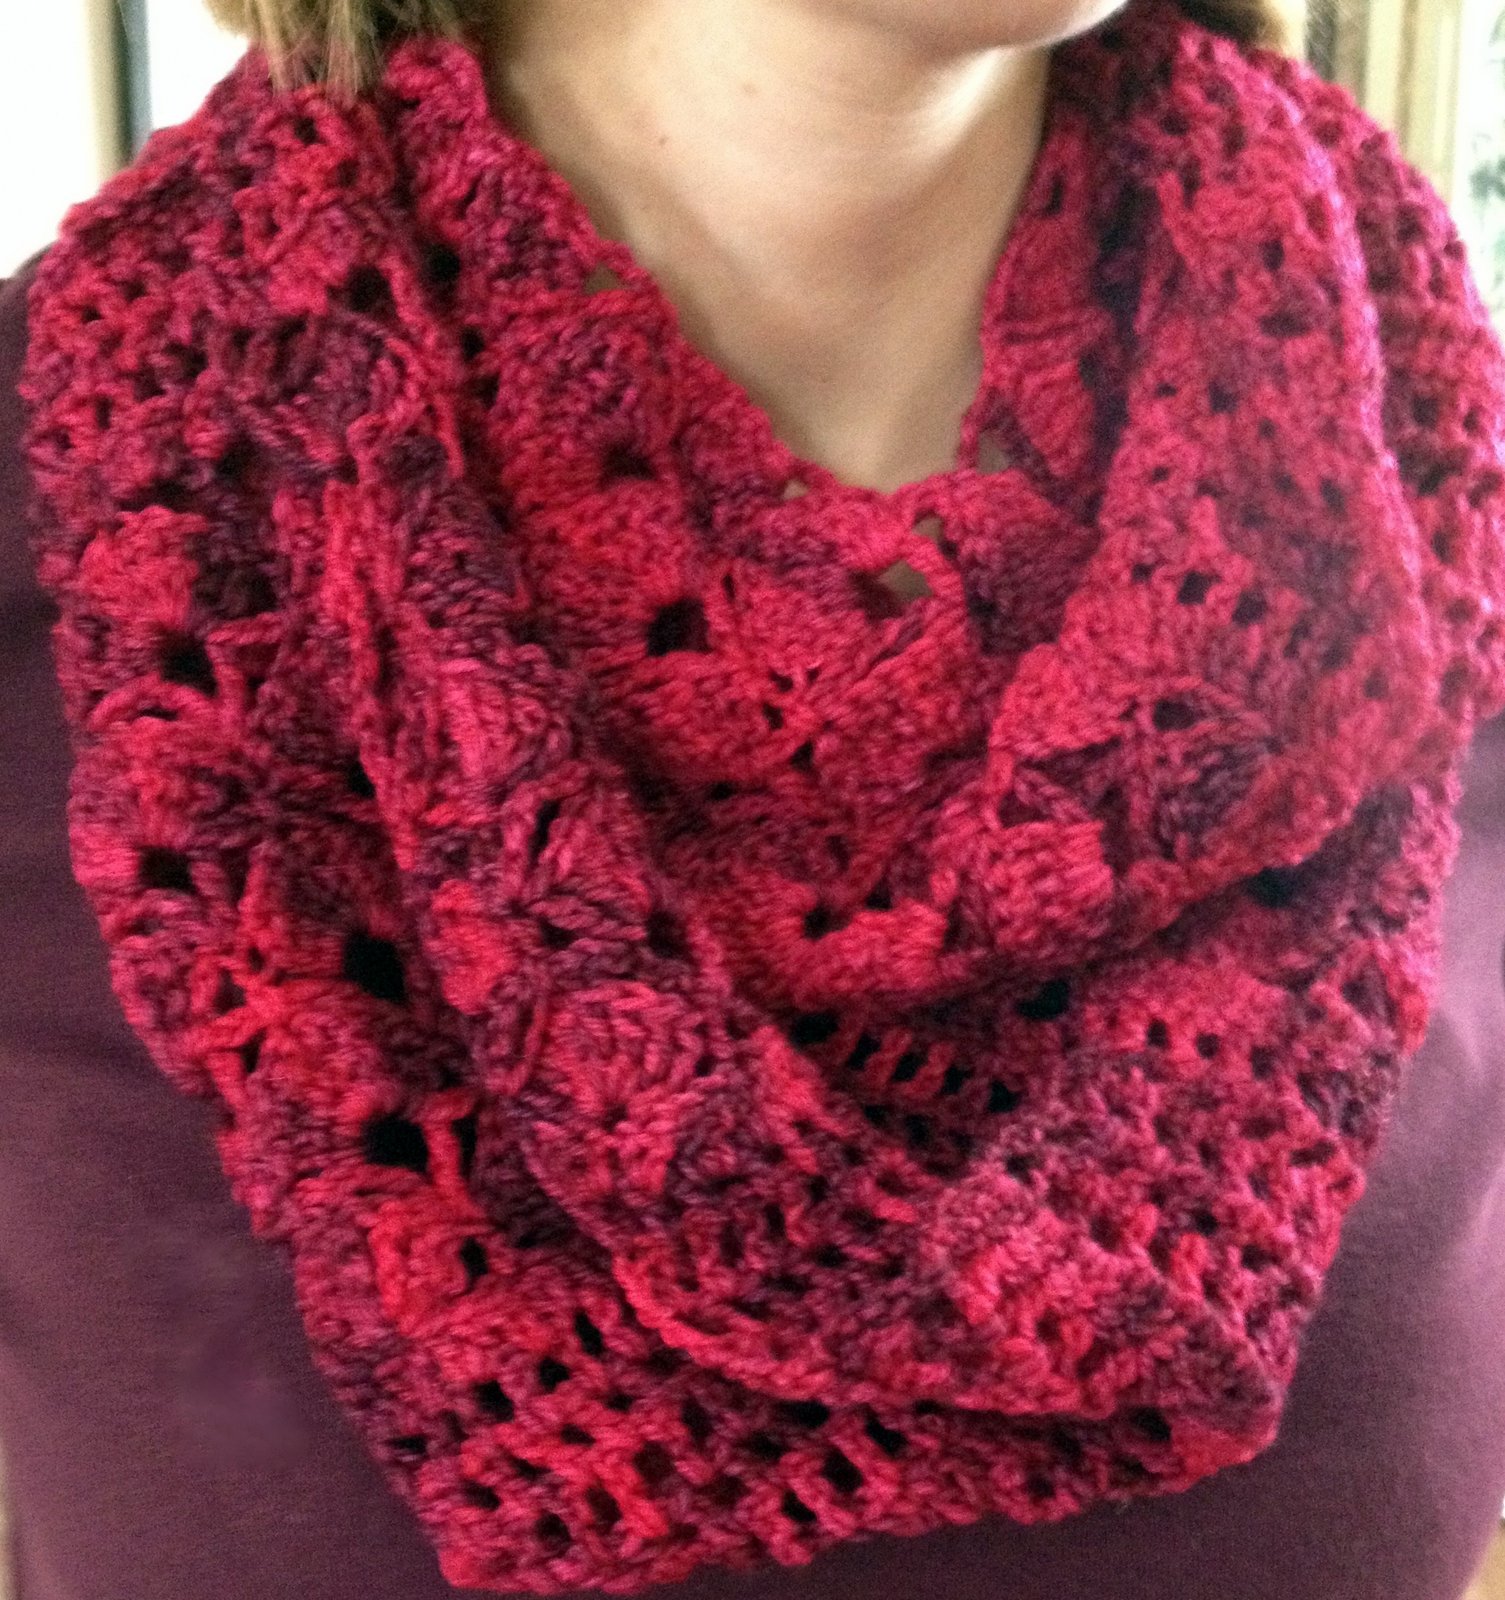 I found an interesting free pattern at www.redheart.com for an Infinity Scarf, LW2516, designed by Ann Regis. I knew I would not have enough yarn to make the ruffled edge but I really loved the soft and feminine look of this pattern. Thought it was perfect for the smooshy yarn so I just went with it.


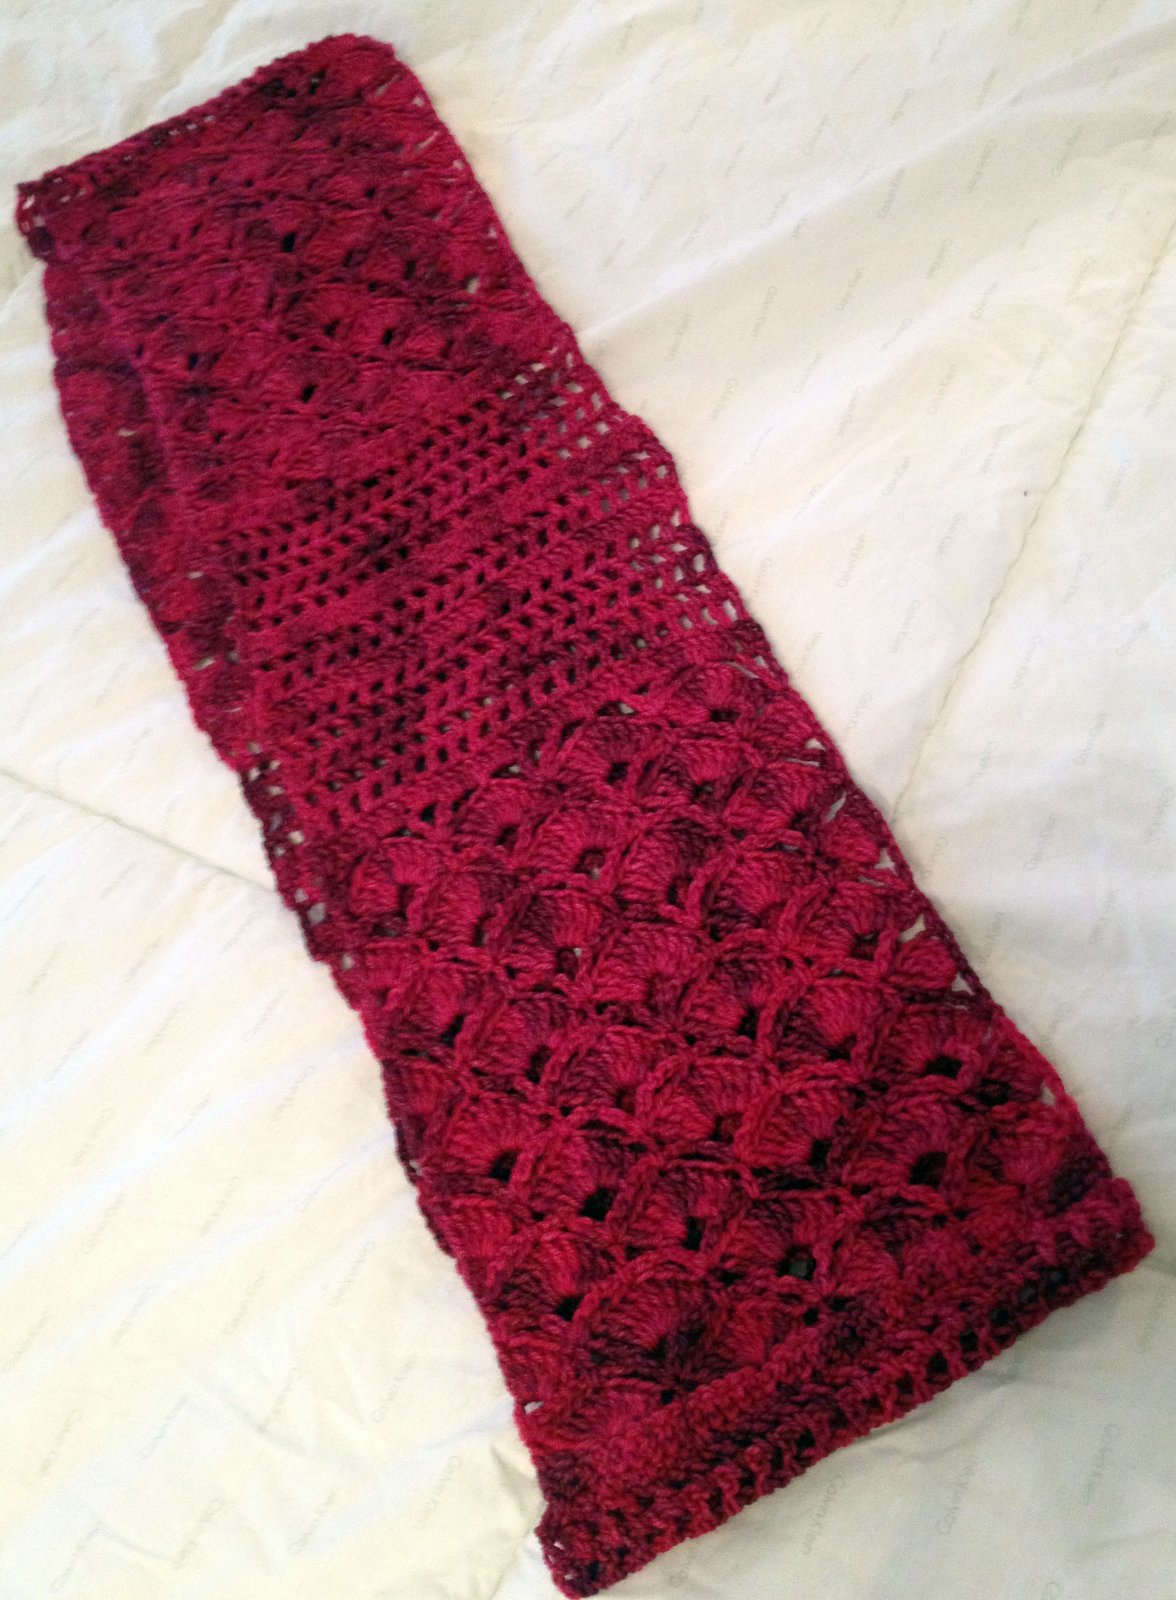 I began the pattern using the chainless foundation Double Crochet stitch to complete the 40 stitches. Also, used a size E hook and my finished size was 7″ wide by 52″ around. Completed scarf was still a very nice size and wonderful for those cooler Spring days or early Fall mornings. You will definitely need a row counter or keep row marks on a separate piece of paper. Otherwise, the pattern was easy to follow but crochet experience would be helpful.