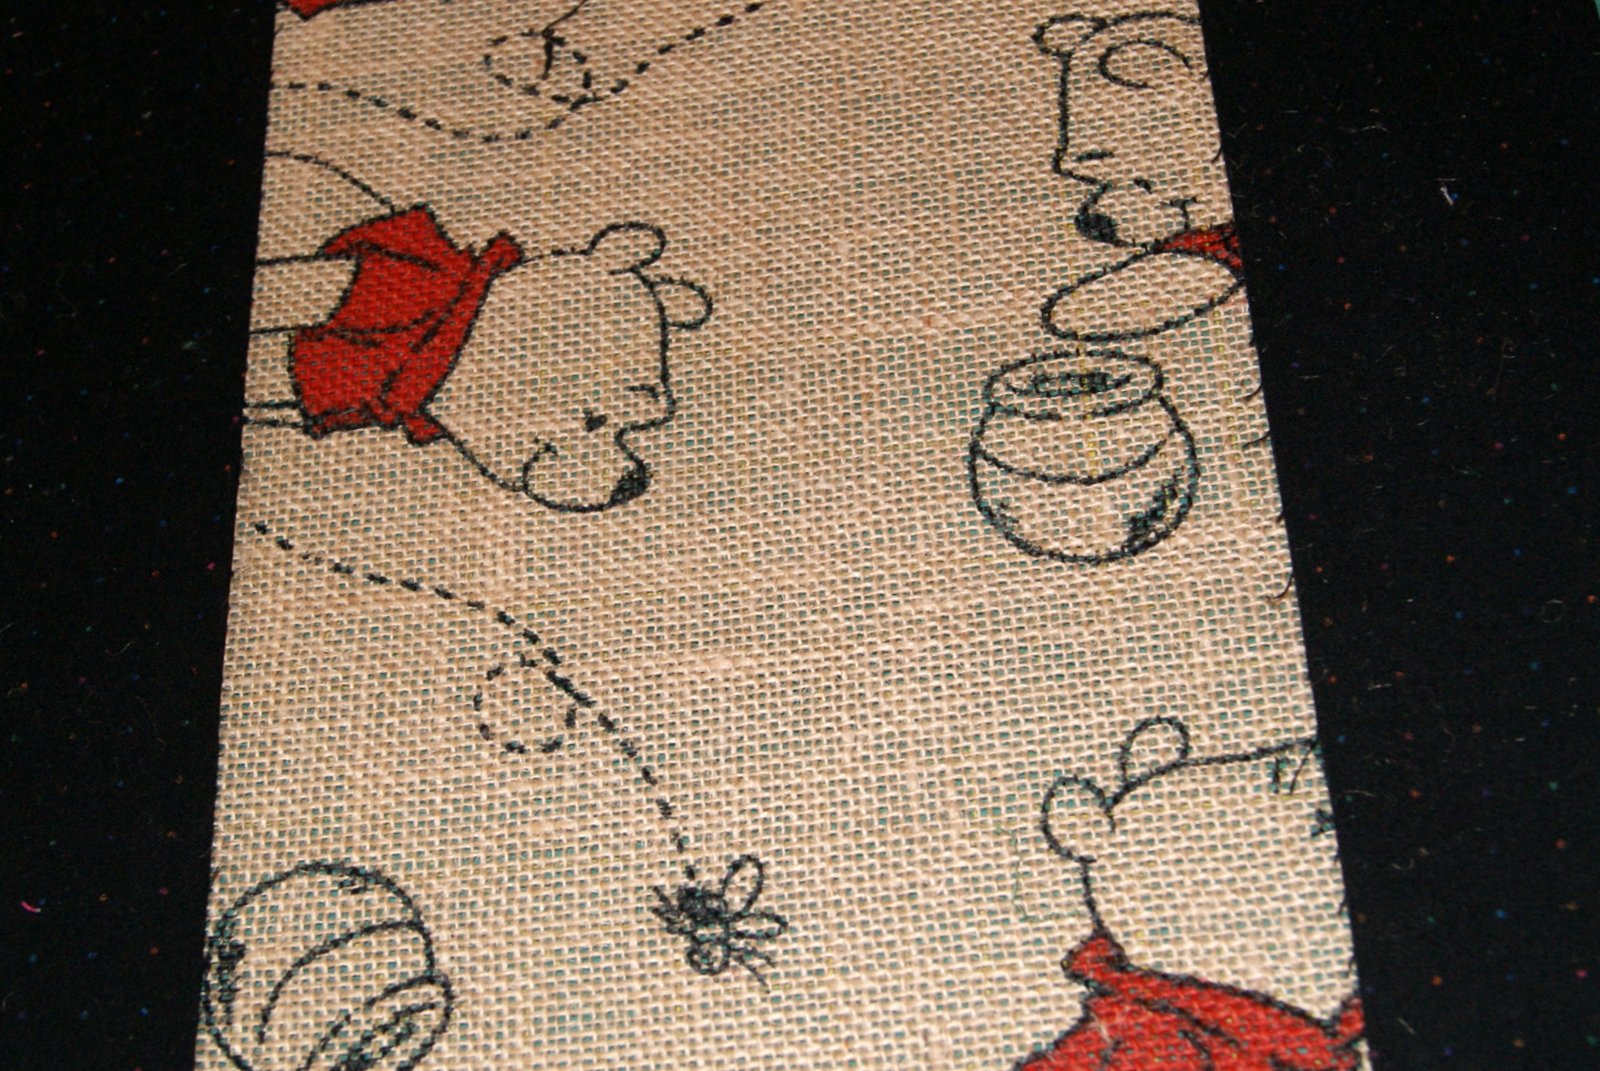
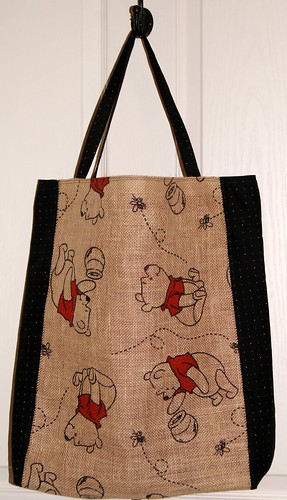
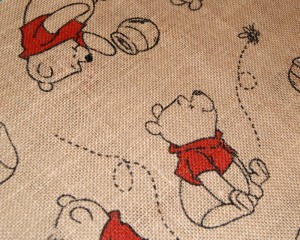
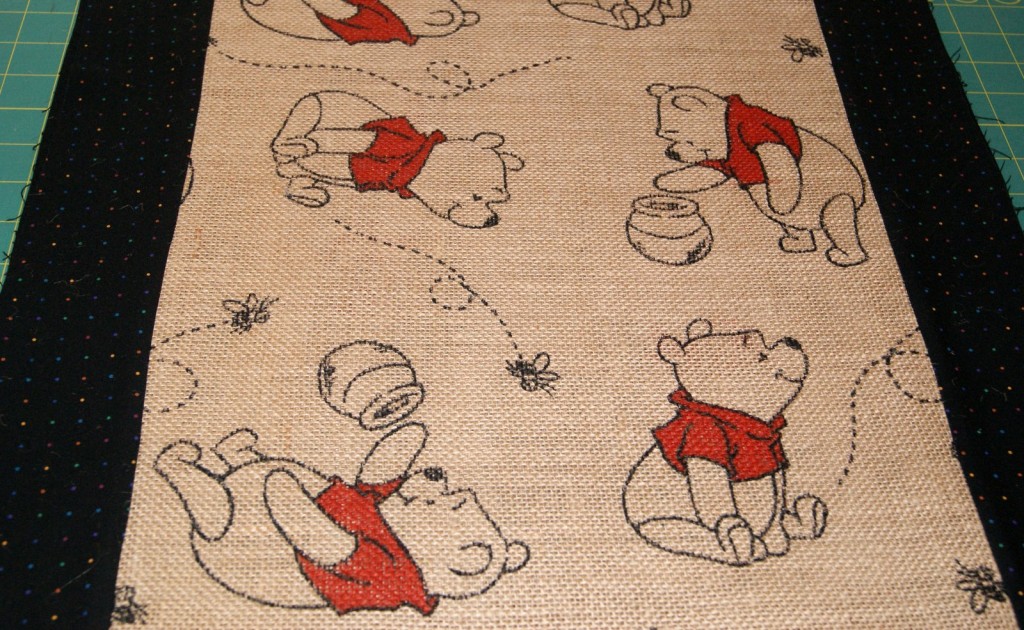
I found a remnant of burlap fabric with inked pictures of Winnie the Pooh on it and thought “Oh how cute!” bought it and got it home and then thought “What was I going to do with it?” It was only about 13 1/2 inches wide but a nice long length of about 50 inches.
Now that the Christmas holidays have past, I again looked at that remnant and imagined a very nice large toy tote bag, PERFECT! So here are my directions for sewing the tote bag.
PART ONE:
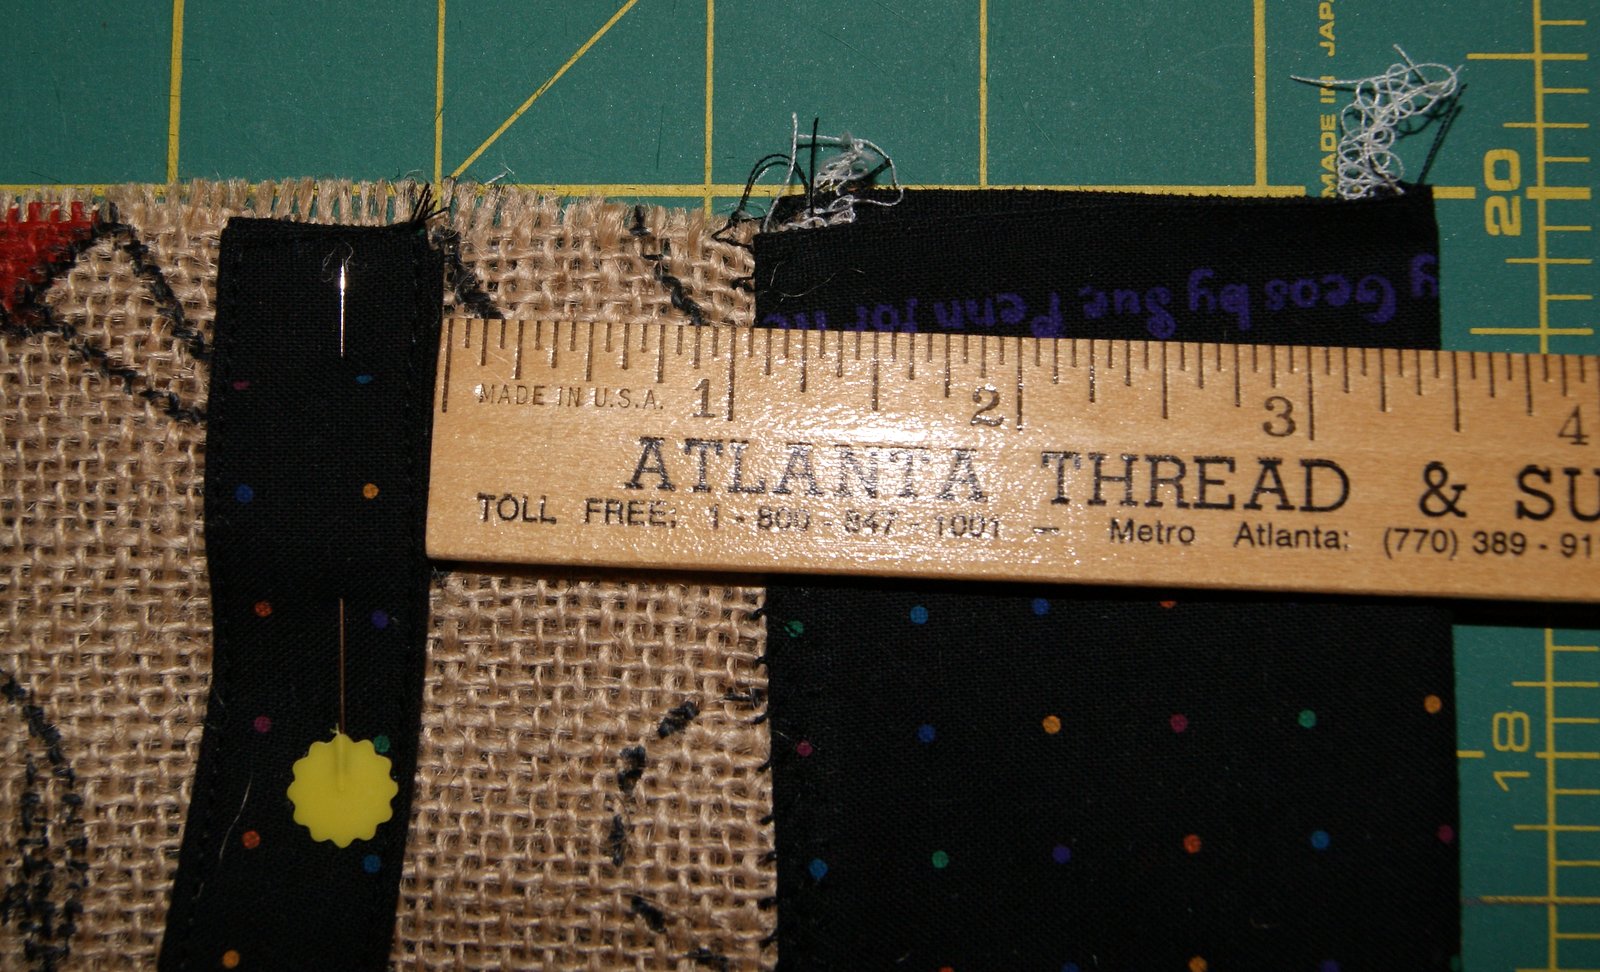
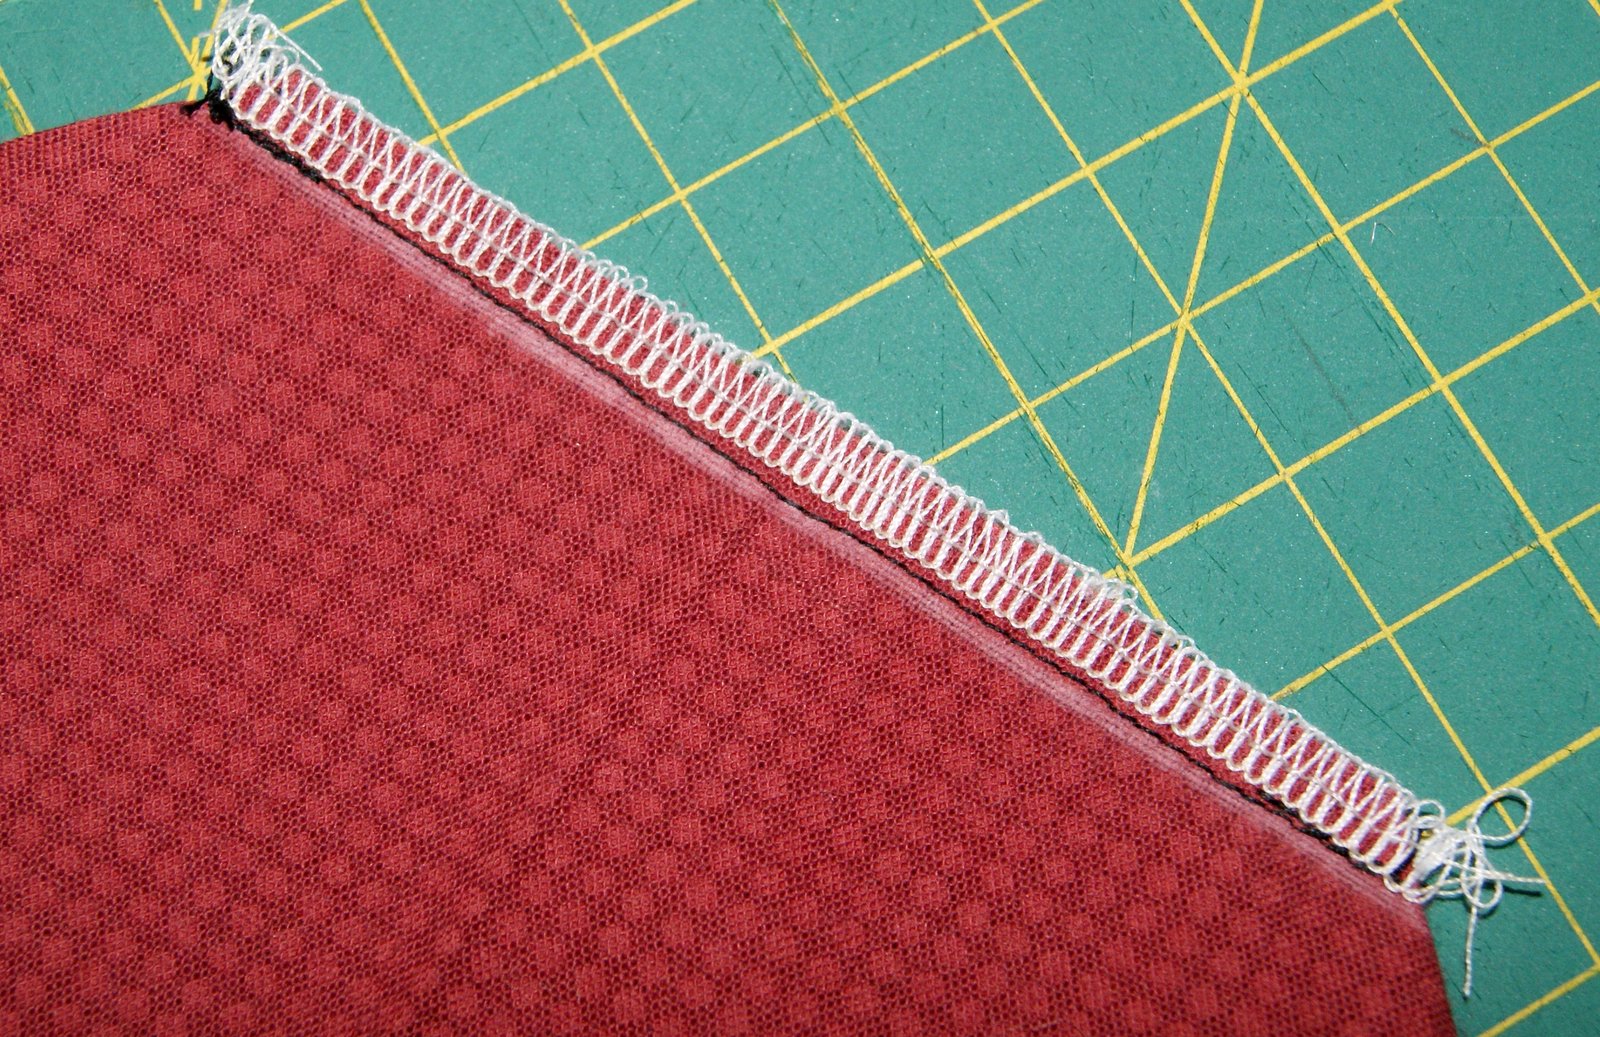
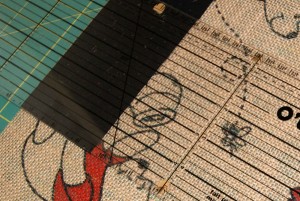
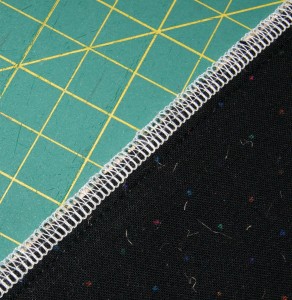
What I needed to do first was make the burlap fabric wide enough so I added a 3 inch wide strip of black cotton fabric from my stash to each side of the burlap. I only sewed a 1/4 inch seam allowance because I wanted a maximum width of about 17 or 18 inches. After stitching on both strips, I then serged them and pressed the seam towards the black fabric. Next I sewed a decorative fagoting stitch as a top stitch to keep that seam permanently in place. Now my finished piece of fabric is approximately 19″ wide by 45″ long. Sorry, lots of shedding from the burlap!!

Now I took that piece of fabric and laid it on top of another cotton fabric (right sides together) that I used as my guide to cut out a lining for the tote – so now I have 2 pieces of fabric 19″ wide x 45″ long.
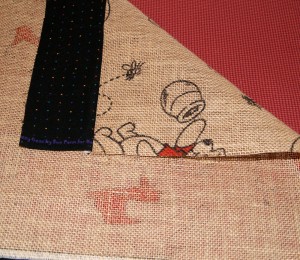
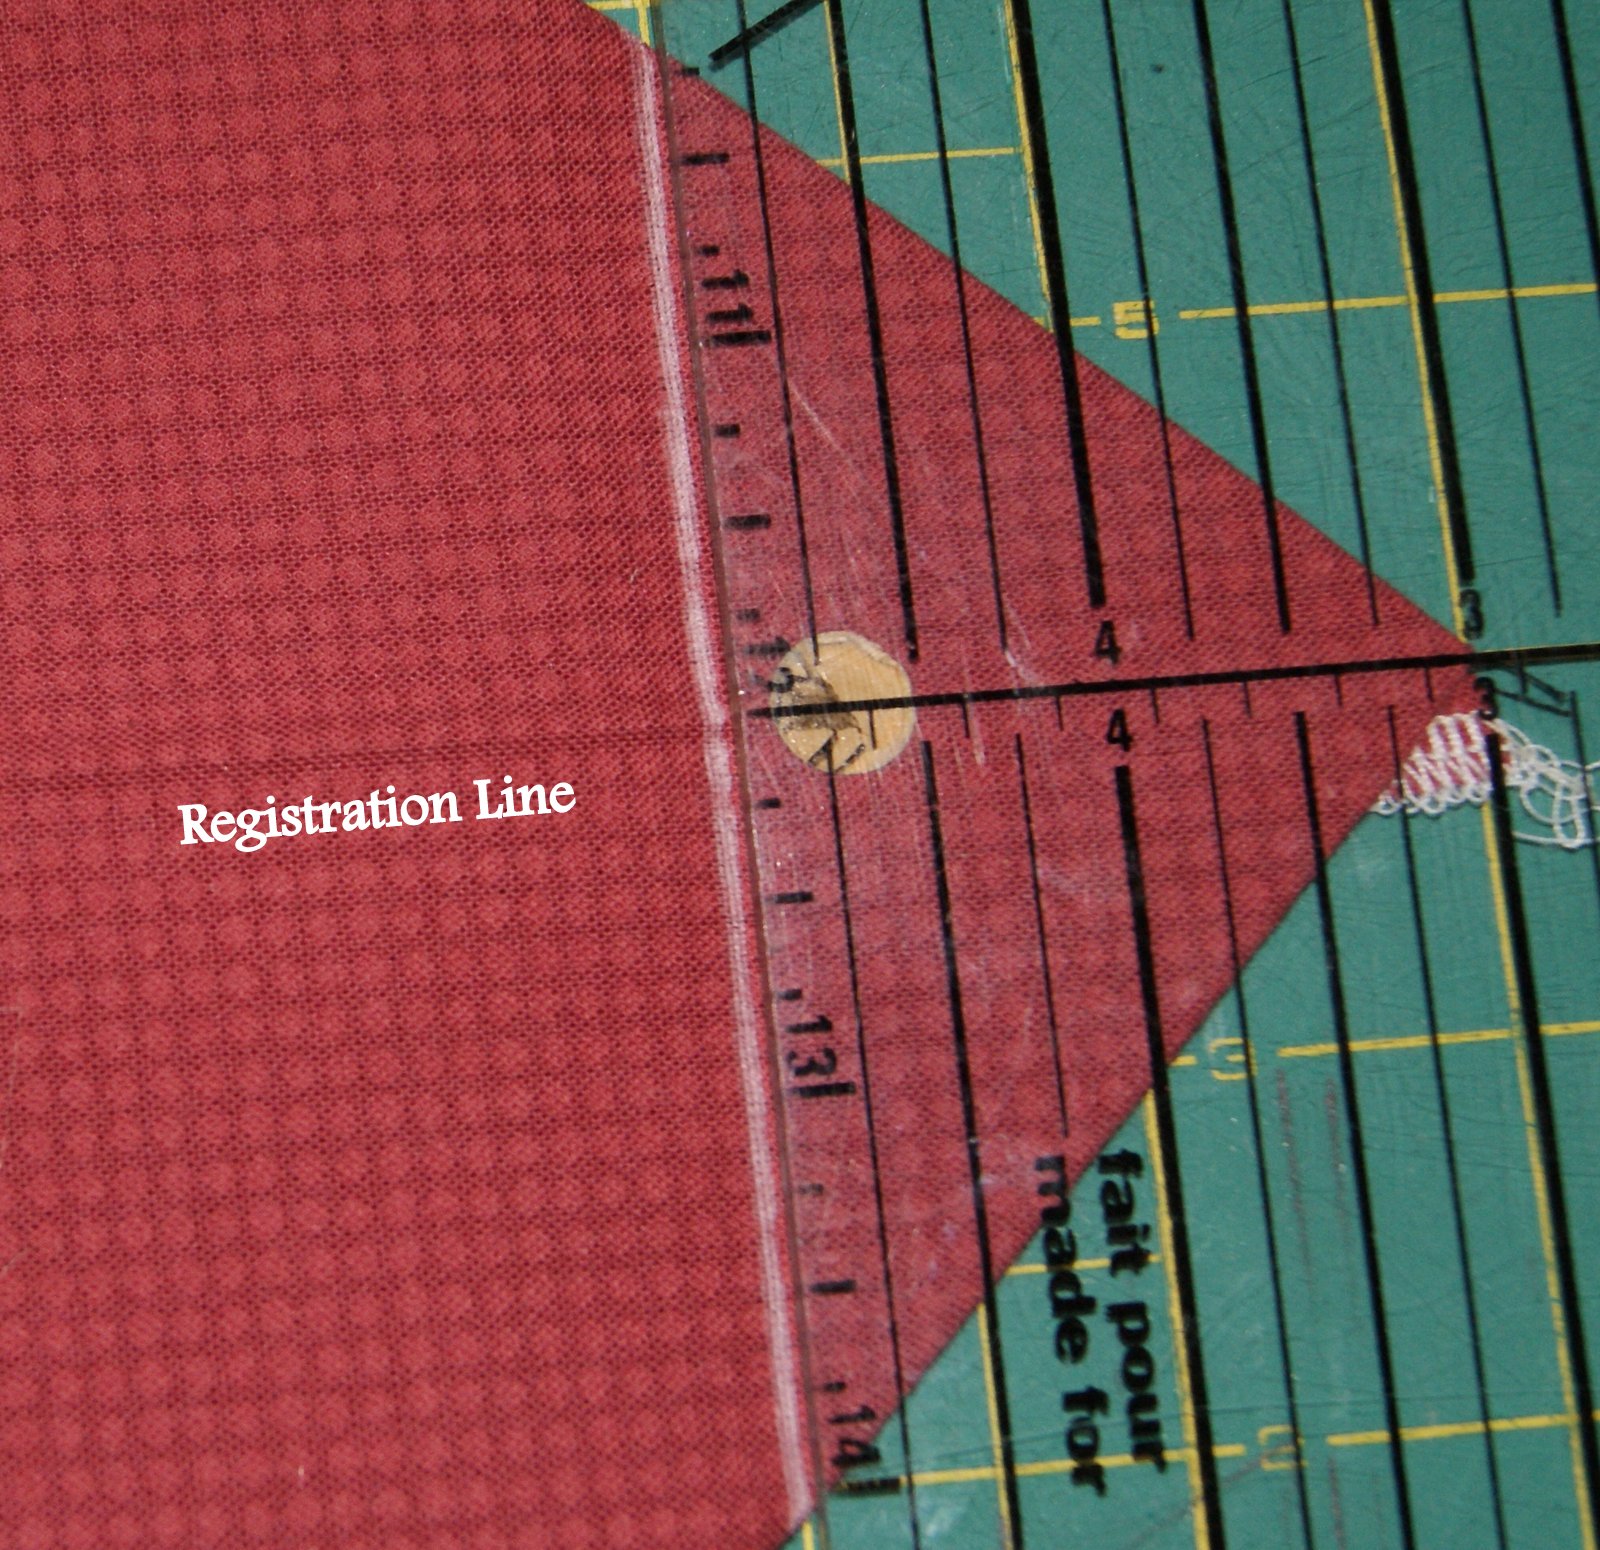
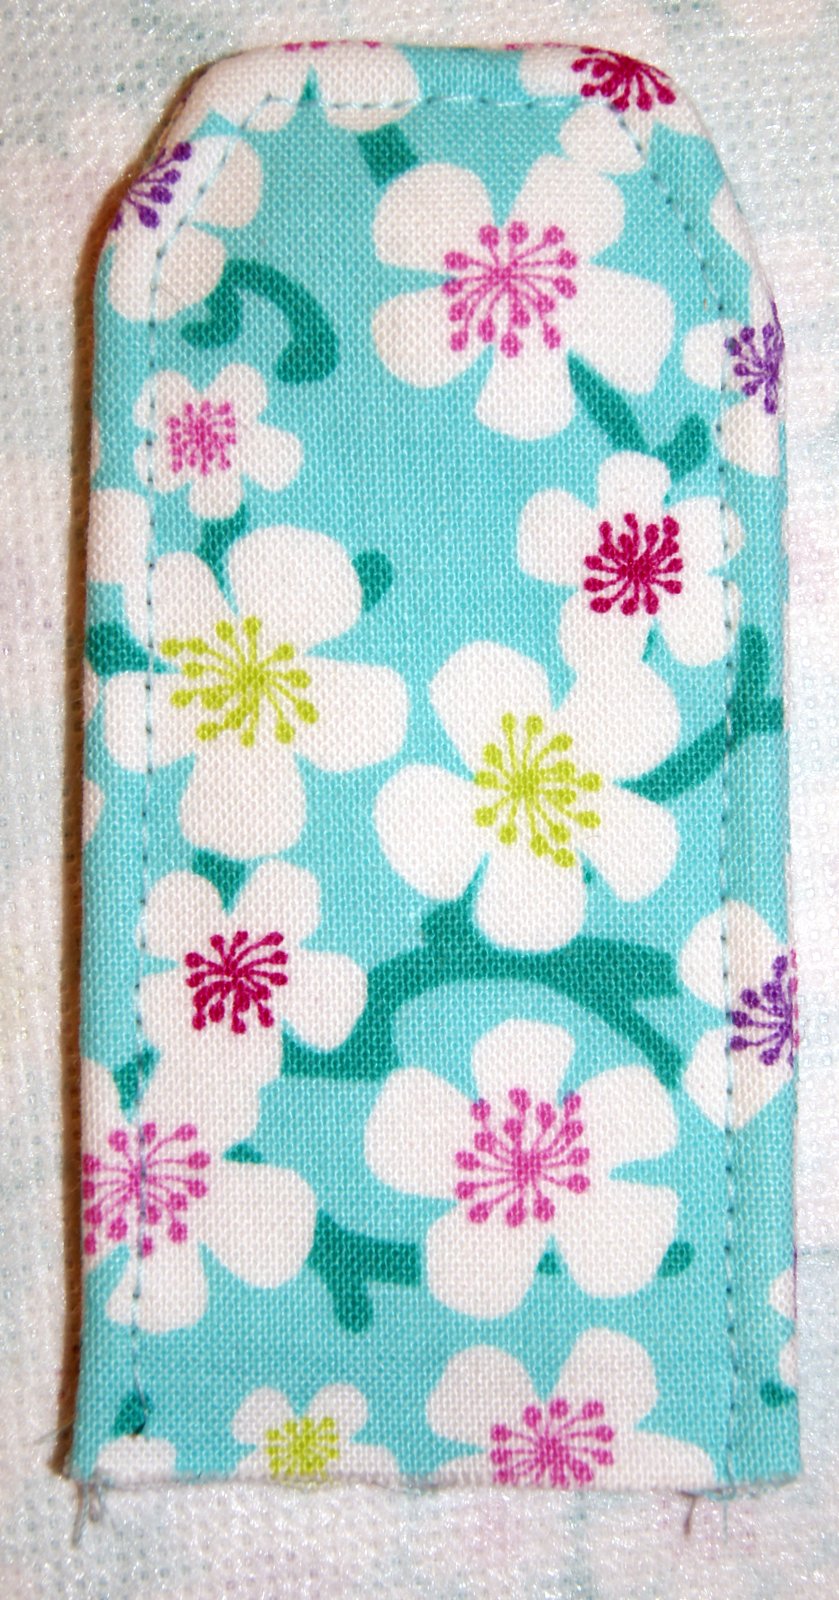
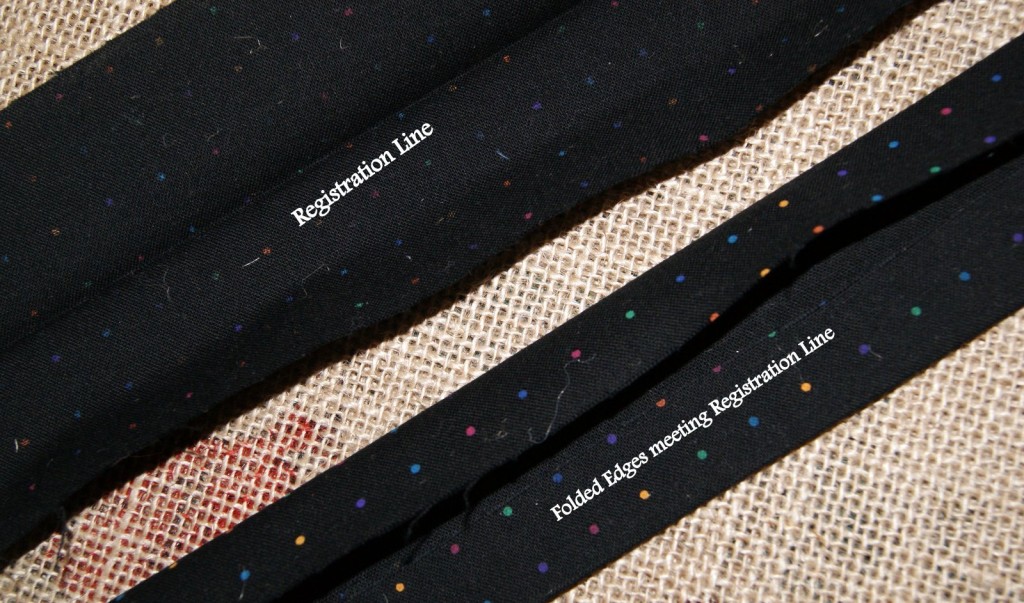
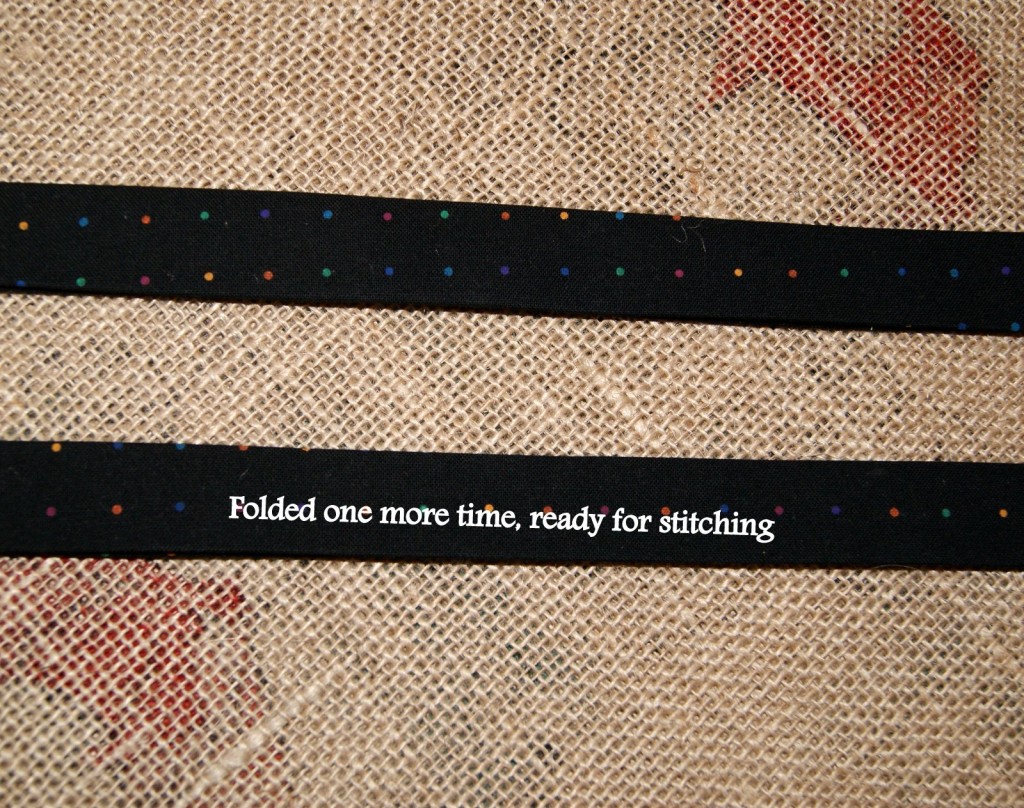
Next I made the straps, using the same black cotton fabric for them. I cut my straps 3 inches wide by 21 inches long. I folded the straps in half (wrong sides together) and pressed with the iron. This is for a registration/reference line. Open up your strap and with wrong sides facing you, fold each side in to the pressed line. Iron in place, then fold so that your two non-raw side edges meet and press again. Sew close to the edge, turn and stitch along the narrow edge, turn and stitch close to the opposite edge to create a nice top stitching effect for your strap.
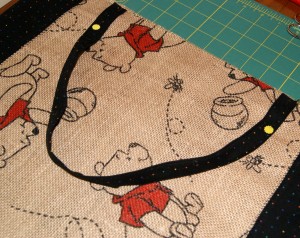
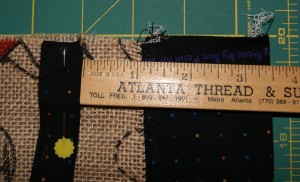
Now your straps are ready to be sewn onto your main fabric tote. Strap placement is a personal option but you want to make sure they will provide good balance and support for whatever you put inside your tote. For this toy tote, I placed my straps 3 1/2 inches in from the side seam on the right side of the main fabric. Do a baste stitch to hold the straps in place. Make 2 straps and attach at each end of your long fabric piece.
Continue by going to
Sewing a Tote Bag PART TWO blog. I know this is a long post but wanted to describe thoroughly.
HAPPY CREATING!!
Disclaimer: This post contains affiliate links – “Commissions Earned”
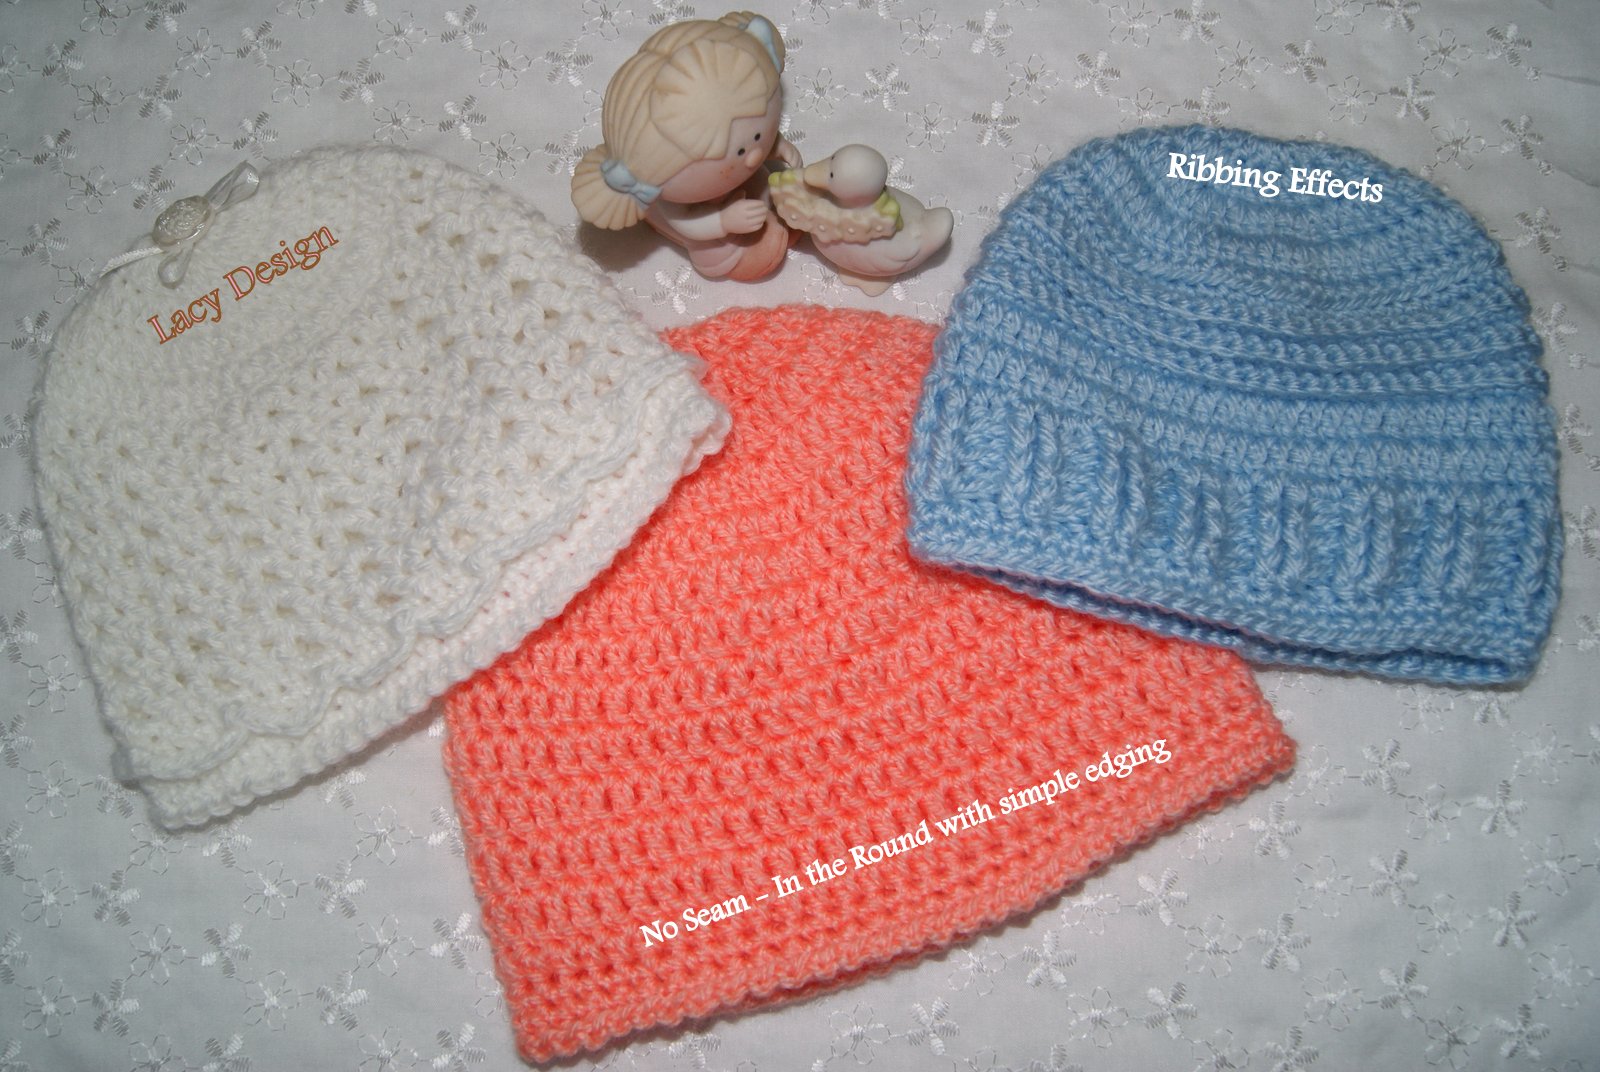 Will be donating all of these to our local hospital for their new maternity ward. I can just picture some sweet little ones going home with these and it puts a great big smile on my face. Take your crochet style to another level too by trying new techniques to this very basic pattern. The super simple and subtle edging was just crocheting on the last row in each stitch — a SL (slip stitch), CH one (chain stitch), SL, CH one, SL, CH one around the entire beanie.