Tag Archive | Crochet

Variation on Crochet Seed Stitch

Whether knitting or crocheting, the seed stitch creates a neat bumpy look to accent your project.

The crochet technique for making a seed stitch is usually based on alternating a single crochet with a double crochet, which creates a strong, dense looking pattern.  My variation is created by alternating a half double crochet stitch and a treble crochet stitch.  This gives a more open look to your crochet design pattern.  Of course, type of yarn used and size of crochet hook will make different looks too.


1st row of alternating HDC and TR

1st row of alternating HDC and TR

For my sample, I used a Size H crochet hook and 100% cotton yarn.  You want to begin by chain stitching an odd number of chains, (I chained 21 stitches in sample).  Now make a HDC (half double crochet) in the 2nd chain from hook.  In the next chain, make a TR (treble crochet), in next chain make a HDC,  next chain a TR and so forth until to get to the end of your chain stitches.  If you started your first row with a HDC, you will end with a TR crochet and have 20 stitches in your row.


Turn, make a SL stitch in first stitch, CH 1 (counts as your first HDC), then continue in pattern – TR, HDC, TR, HDC, TR, making last TR stitch in top of CH 1 stitch from previous row.

Go thru both loops of previous row to make your HDC and TR stitches

Go thru both loops of previous row to make your HDC and TR stitches

So your pattern is alternating HDC and TR within each row as well as alternating HDC and TR vertically.   As you begin your next row, your first SL stitch and chain is your HDC made directly above the TR stitch made in the previous row.  Continue crocheting in this manner,  thus creating your seed stitch pattern.
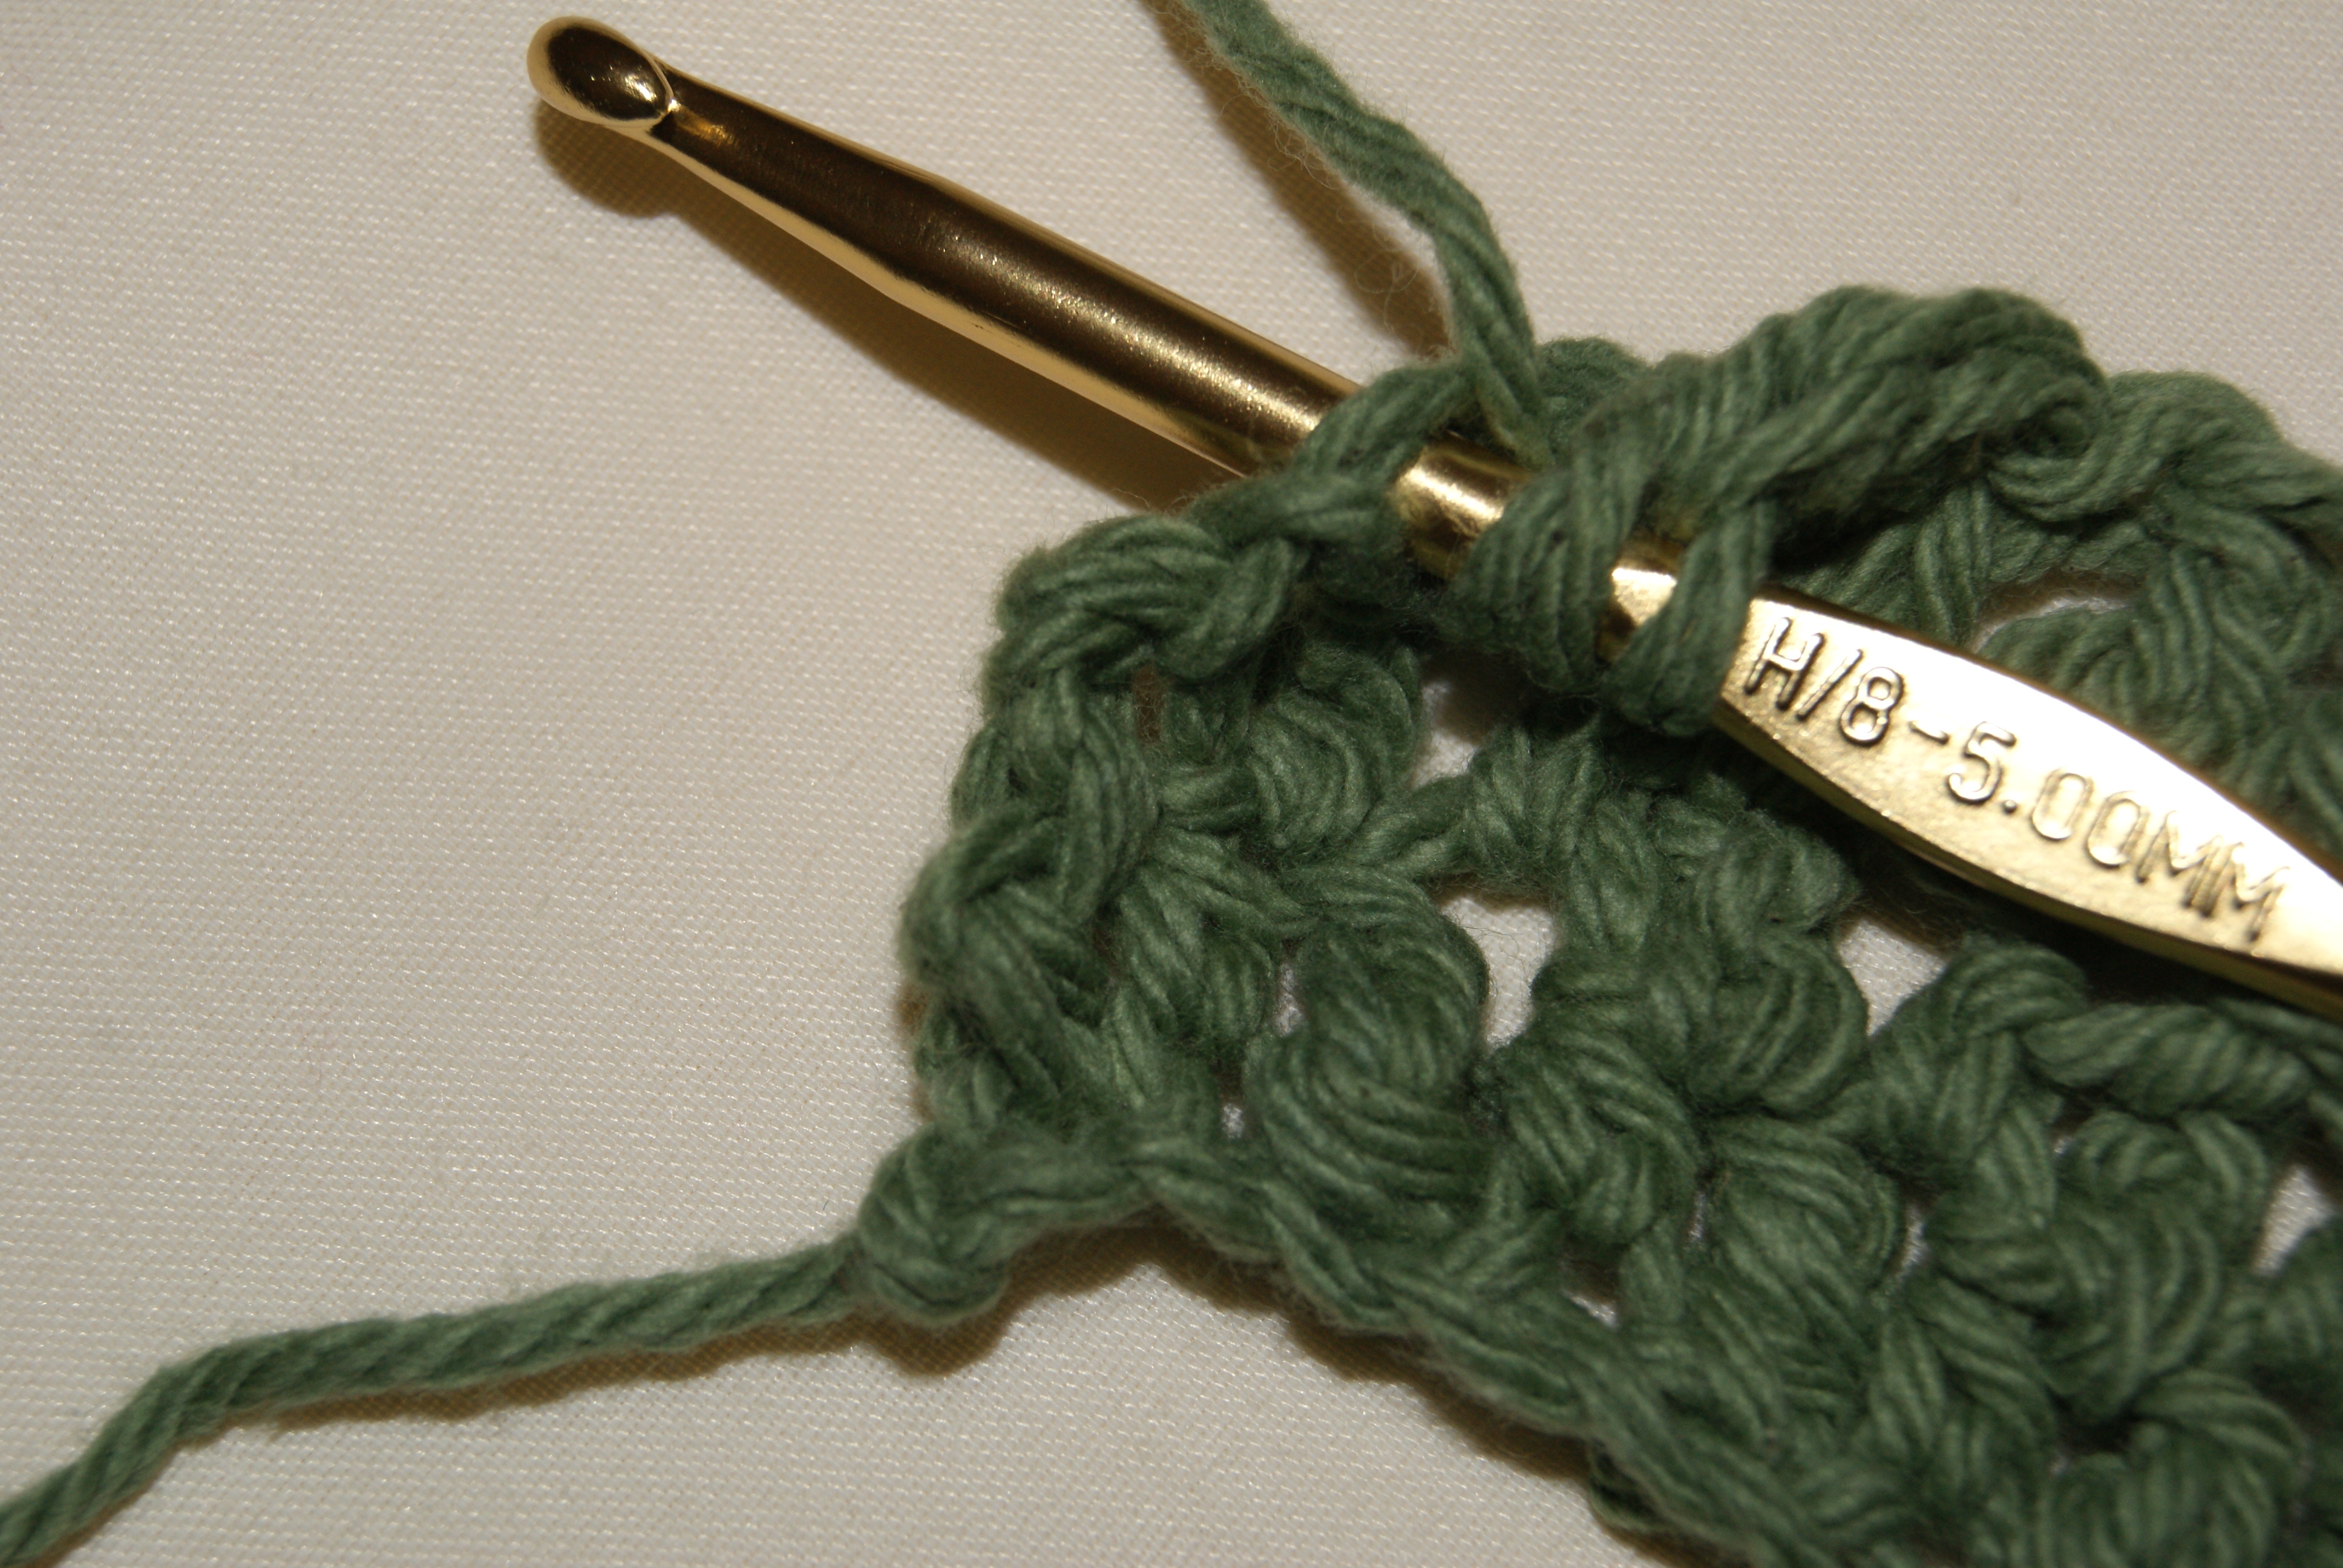
Picking up CH stitch to create last TR stitch in row
Picking up CH stitch to create last TR stitch in row

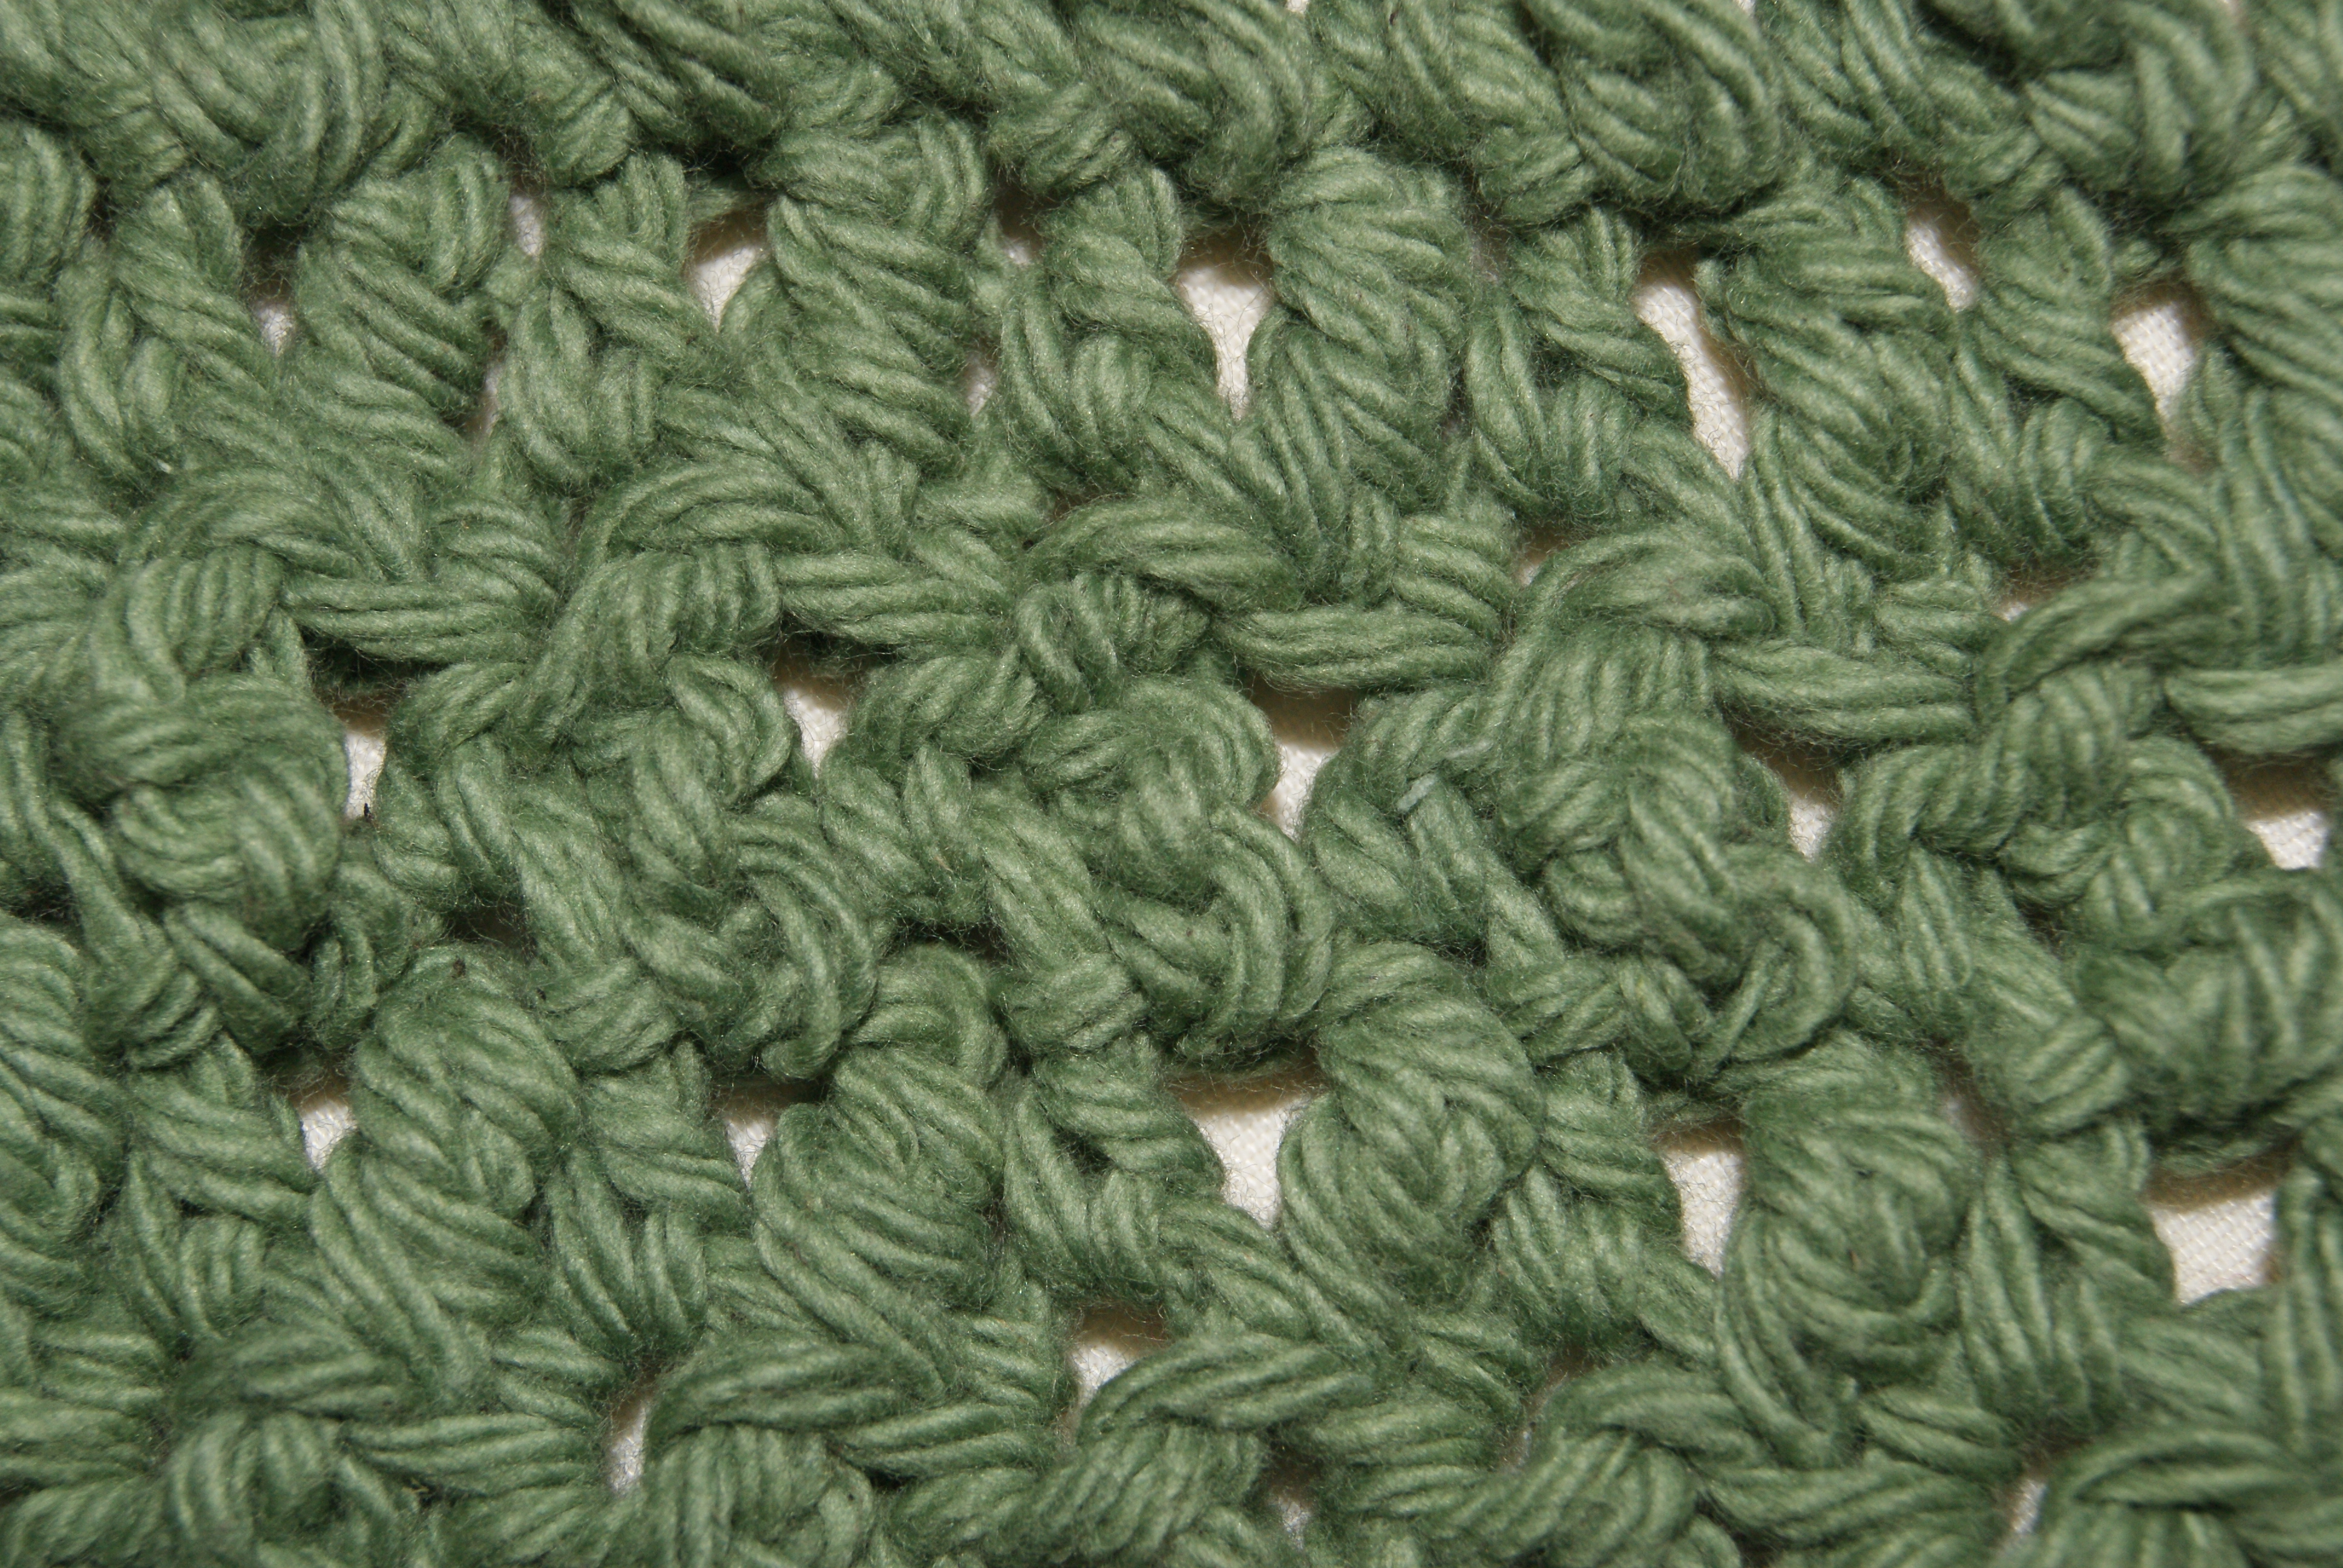
Seed stitch pattern, close up

Seed stitch pattern, close up

Another pic of several rows of seed stitch variation pattern

Another pic of several rows of seed stitch variation pattern


Disclaimer:  This post contains affiliate links – “small commission earned”

HAPPY CREATING!!

Disclaimer:  This post contains affiliate links – “small commission earned”
Taming Your Yarn!

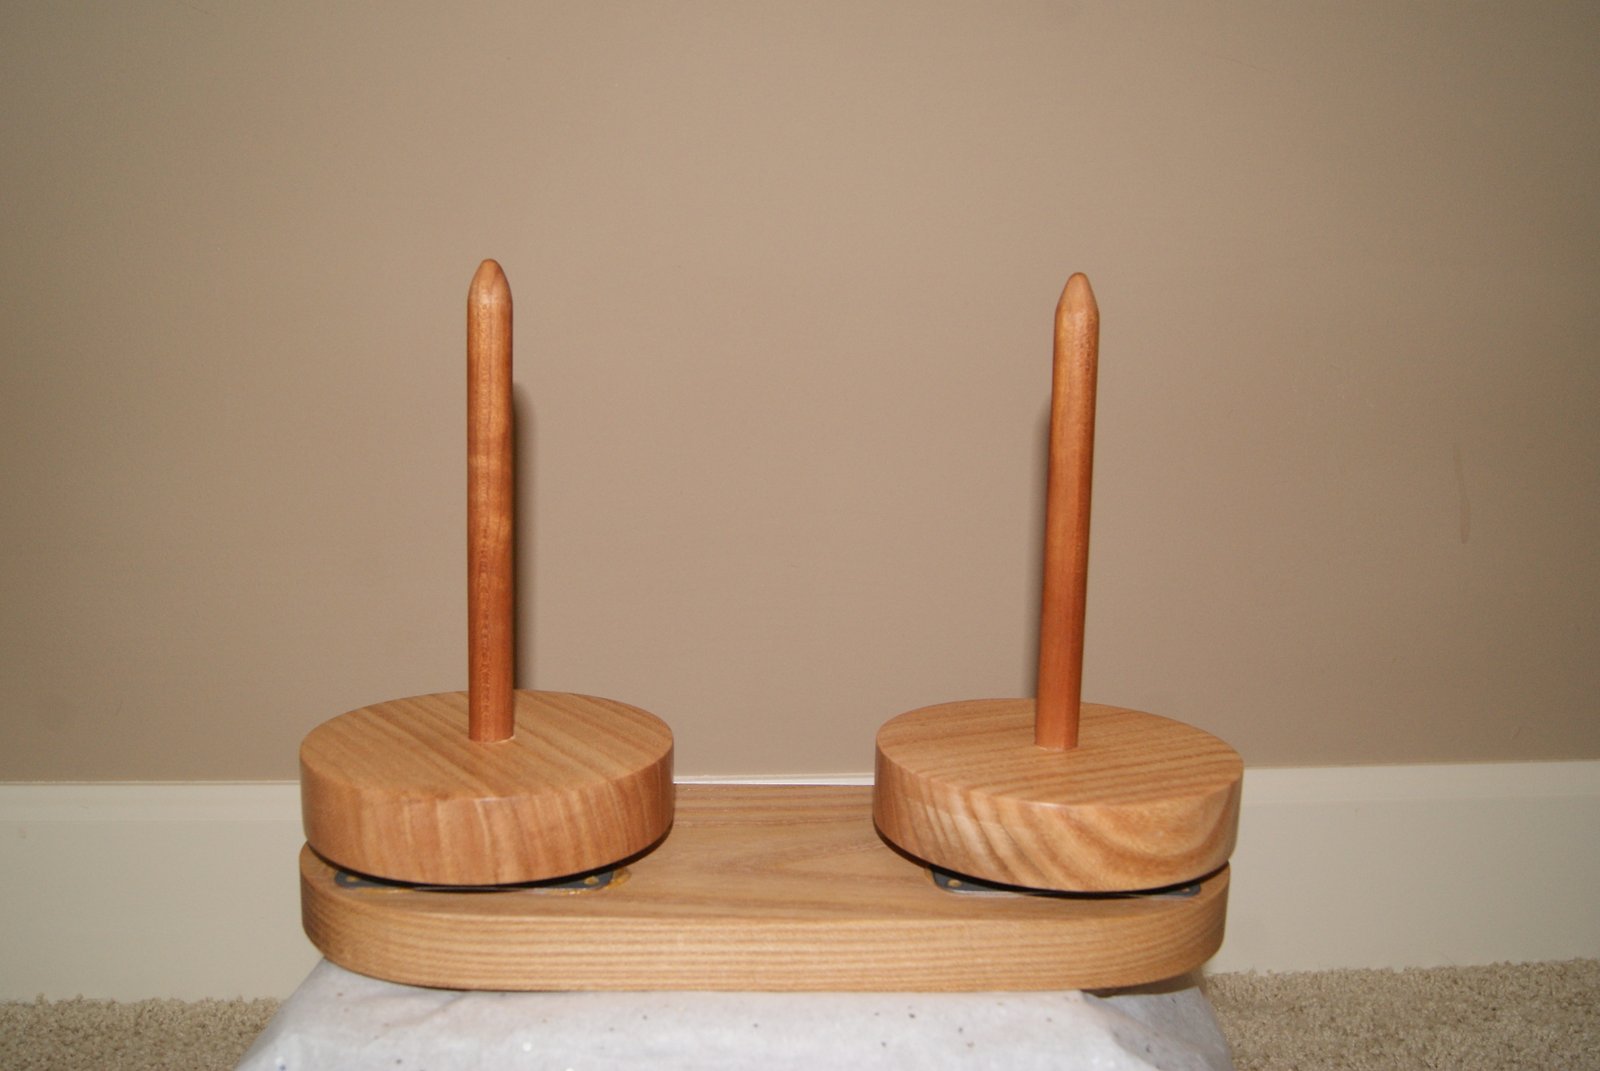
Whether you are crocheting or knitting or doing any type of craft using a skein of yarn, keeping that yarn easily accessible can be a job.   Sometimes you feel like you need to “whip it” into shape so you are spending more time crocheting/knitting and less time untangling or retrieving your yarn!! This year I received a Yarn Buddy by Sun Valley Fibers as a Christmas present and boy does it work great!!  Basically, as described by SVF, it is a wooden spool lazy susan for your skein of yarn.  You don’t need to fuss with locating the center-pull yarn strand anymore.  Just slide your skein onto the spool and work using the outer yarn strand.  Because the spool is on a turning gear, your yarn spools off either in a clockwise or counter-clockwise direction depending upon how your skein of yarn was wound.

SONY DSC

They are made for a single skein of yarn or two skeins of yarn.   I was fortunate enough to receive the double spool for two skeins of yarn, which will be perfect for doing a project using two skeins or I can actually have two projects going at the same time.  The quality is outstanding, very smooth gear operation and the wood is sanded incredibly smooth!!  No varnishes are used either.

SONY DSC

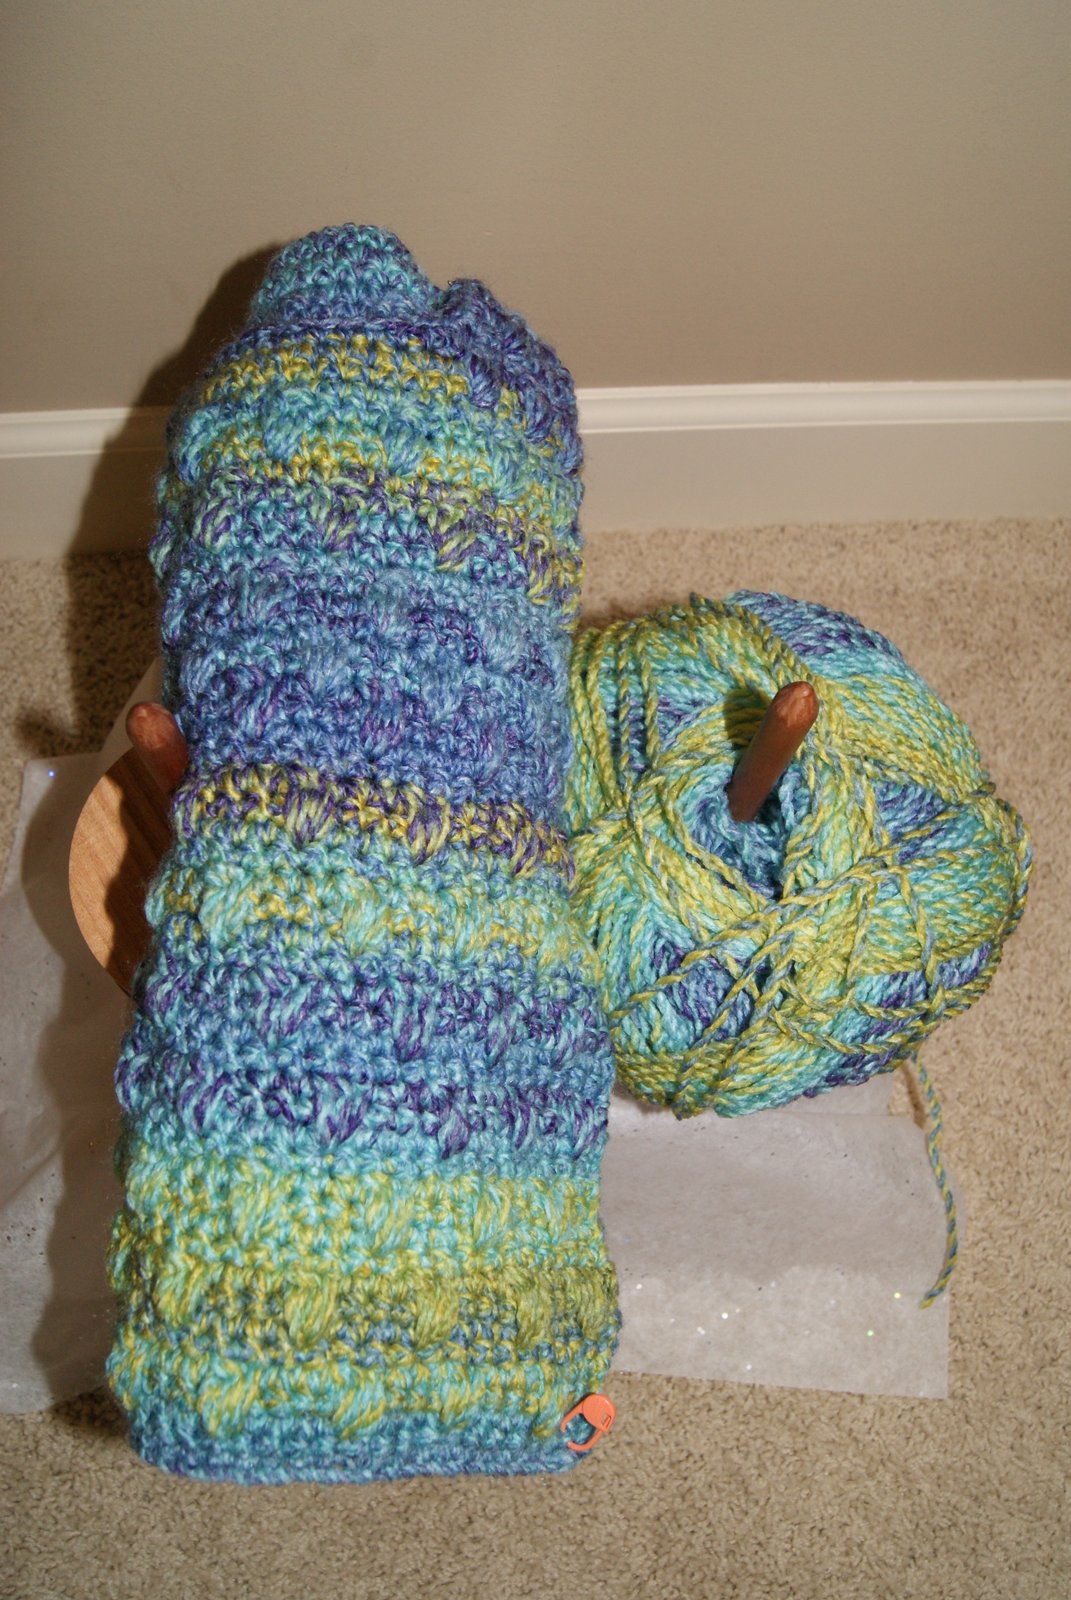
The Yarn Buddy is not too large or too heavy and should be easy to take to a class or “knit nite”!!  I am actually thinking about taking one of my cloth tote bags, putting a couple of grommets in the center of the bag, placing the Yarn Buddy with yarn down in the bag and then threading my yarn through the grommets.  That way my project is ready to travel or to be stored by my easy chair ready at a moments notice. Of course, I have already started a project using the Yarn Buddy and have found that I can even place my completed crochet pattern pieces between the spools so I have them all in one place until I can sew them together.  I know this will become one of my favorite items to use for crocheting and knitting projects!!

SONY DSC

SONY DSC


I did do a little exploring on-line for information on Yarn Buddies.  Here is another site I found that looks kind of interesting too, landwoodworks.com, which shows their Yarn Buddy design. This is a super gift item for that special “hooker” in your life or add it to your wish list so that maybe you can receive one as a present too!!

HAPPY CREATING!!

Disclaimer:  This post contains affiliate links – “small commission earned”

Chain Stitch Tip

Can’t believe we are beginning another year and I hope you all experience your most creative year ever!!  For me, I have just completed my first year of blogging on stitch4ever and I am looking forward to another year of exciting and creative techniques, ideas, patterns and whatever else pops into my head!?!?!?  If you have any questions, tips or suggestions that you would like to share, please just leave me a comment and we will go from there!!

I thought I would begin this year with a chain stitching tip that seems to work nicely for me and I hope will do the same for you.

With crocheting, most patterns will begin by having you crochet the required number of chain stitches.  It is a very easy looping technique and gives you the foundation for your project.  The problem I always seem to encounter is that I tend to make tighter chain stitches then my actual crochet stitches and this can create a slight curve to the bottom edge of my pattern.   I have tried to crochet loose chain stitches but still without much success.

Then one evening the light bulb went off in my cluttered mind and I thought, hey, why don’t I just complete my chain stitches using the next size larger crochet hook.   Viola, no more tight chains to deal with.   So if my pattern calls for using a Size G hook, I complete my chain stitches using a Size H hook and then I continue the pattern by crocheting with the required Size G hook.  Anyways, I have had success with my crocheting using this simple technique and I hope it helps you too, if you haven’t already thought about it!

HAPPY CREATING!!

Disclaimer:  This post contains affiliate links – “small commission earned”

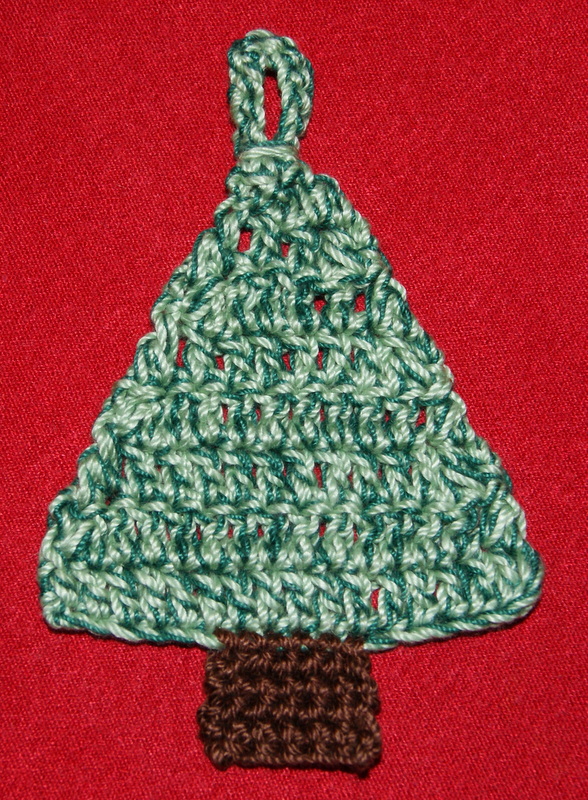
Crochet Pine Tree Pattern

A  little pine tree is always a great addition to your pattern collection.   I have designed a quick, little crochet pine tree that you can embellish and turn it into a Christmas tree that could be used as an ornament, maybe a unique tag for a special gift or make it to use as an applique!!     


Here’s the scoop:   I used two thread types – Aunt Lydia’s Fashion 3 thread (Sage Green color) and Aunt Lydia’s Classic 10 thread (Christmas Green color) for the tree and Aunt Lydia’s Fashion 3 (true Brown color) for the trunk.  My hook sizes were a C/2-2.75mm for tree and size 5/1.90mm (steel hook) for trunk.

Using the sage green and Christmas green together, make 18 chain (Ch) stitches.

In 3rd chain from hook, complete a Dc (double crochet), make 15 more Dc stitches to end of row, Ch 2, turn.

Rnd 2:  1 Dc Dec (double crochet decrease),  12 Dc,  1 Dc Dec,  Ch 2,  turn.

Rnd 3:  1 Dc Dec,  10 Dc,  1 Dc Dec,  Ch 2,  turn.

Rnd 4:  1 Dc Dec,  8 Dc,  1 Dc Dec,  Ch 2,  turn.

Rnd 5:  1 Dc Dec,  6 Dc,  1 Dc Dec,  Ch 2,  turn.

Rnd 6:  1 Dc Dec,  4 Dc,  1 Dc Dec,  Ch 2, turn.

Rnd 7:  2 Dc Dec  –  Don’t Fasten Off

Rnd 8:  Forming loop –  working directly from last stitch, Ch 12, work Sc (single crochet) in top of last Dc Dec.

Rnd 9:  Ch 1, then complete a slip stitch in each of the chains just completed.  Fasten Off, leaving about a 6″ – 8″ tail.

Wrap tail around the bottom of the loop, pull tail through your wrap and then weave securely through the stitches on the back side.

Making trunk:  Using the size 3 brown thread and the #5 steel hook, skip the first 6 stitches on bottom edge and complete 6 Sc,  Ch l,  turn.   Repeat this pattern for a total of 6 rows and fasten off.

Now your little tree is ready as is or take time to embellish it with tiny buttons or sequins and beads or maybe use pre-made ribbon bows or roses.  You can hand sew your buttons to the tree or use a Fabri-Tac glue to secure your decorations.  Maybe a “little one” could help you pick out what buttons or beads to use for your decorating.  Then have them hang it on your tree, would make awesome gift tags, garland or use it for whatever creative idea will work for you.

HAPPY CREATING!!

Disclaimer:  This post contains affiliate links – “small commission earned”
 

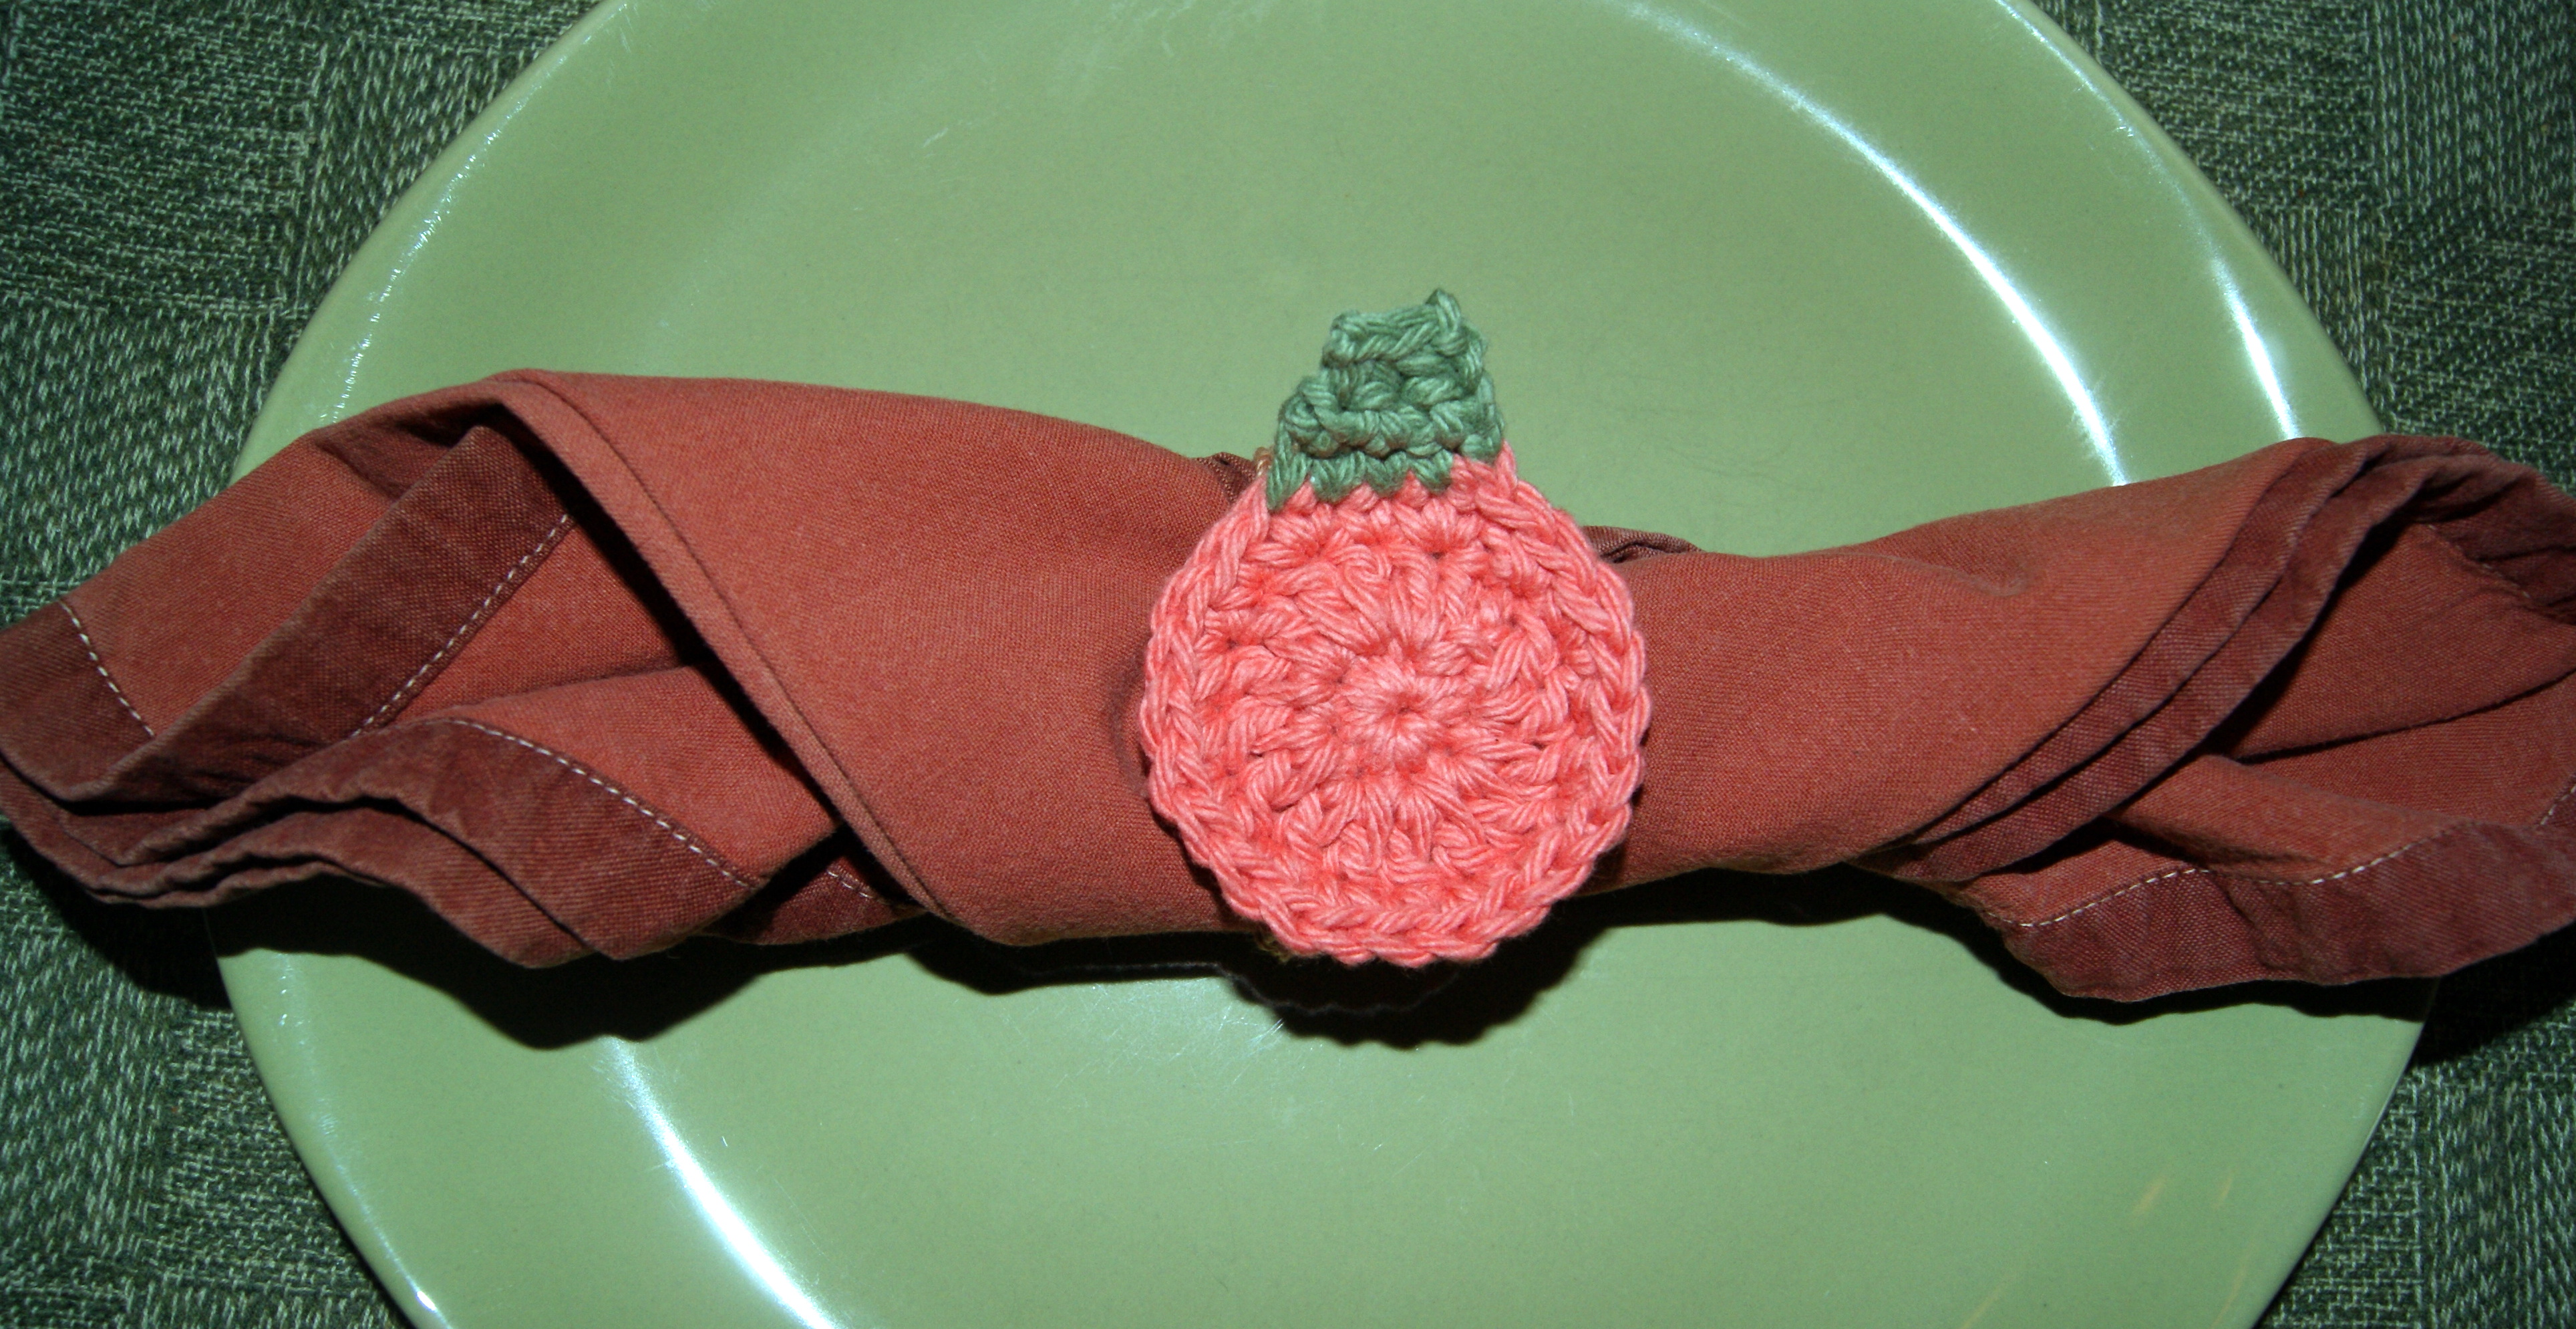
Super Simple Crochet Thanksgiving Napkin Ring

For this Thanksgiving napkin ring, I used a size 3 crochet thread with an F hook for the actual ring portion and used Sugar ‘n Cream size 4 cotton yarn with a G hook  for the actual pumpkin design and stem.  By doing this, it made the pumpkin the focal point.  It also gave me a rustic looking design.


For the ring portion directions, refer to the HDC napkin ring design that I posted earlier making sure you leave yourself about a 10″ yarn tail to use to attach your pumpkin design.  Here are the directions for the pumpkin and stem:

CH, SC and DC stitches are used.  Begin by doing the “magic loop” with 8 SC within the circle, join with a SL stitch to beginning SC.

Round 2:  CH 2, then complete 2 DC within each SC,  join with SL in top of 2nd CH.  You now have 16 DC stitches.

Round 3:  CH 1, complete 1 SC in first DC stitch, complete 2 SC in next DC stitch, complete 1 SC in next DC stitch, complete 2 SC in next DC stitch, continue this pattern around and SL into top of beginning CH 1 stitch.  You should have 24 stitches.  Change colors.

Round 4:  CH 1, complete 4 SC in next 4 stitches, CH 1 turn.

Round 5:  Complete 1 SC, do 1 SC decrease, complete 1 SC, CH 1 turn.

Round 6:  Complete 1 SC decrease, complete 1 SC.  Fasten off.

Weave in your ends and prepare to attach your pumpkin to your napkin ring.  Thread the tail that you left on the napkin ring and using your darning needle, sew the pumpkin design onto the napkin ring.

IMPORTANT:  Keep in mind your placement direction of the pumpkin, do you want it to face horizontally with the napkin as in my picture or do you want the napkin ring to lay vertically.

These little pumpkins make up quickly and really add a personal touch to your dinner table.  Enjoy!!

HAPPY CREATING!!

TIP:  Feel free to use a finished design for your own personal use or make them to sell.  However, I asked that you not sell my patterns but would greatly appreciate it if you sell a completed design to give recognition by referencing this blog site.  Thank you!!

Disclaimer:  This post contains affiliate links – “small commission earned”