Wow, where did the Summer go!! I’m sure you have been extra busy too between vacations, play dates, trips to the zoo, museums, waterparks, playgrounds, gardening, or just playing in the backyard – the days have flown by.
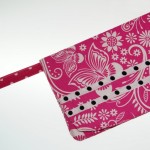
I have been very busy sewing and crocheting too. Designed a new fun Five Pocket Wristlet that I have added to my etsy shop,
www.etsy.com/shop/ToteworthyDesigns that is perfect for those quick outings (playground, day trips, etc.) where something smaller is handy. Keeps your cell phone protected, room for keys, band aids, credit cards/business cards, individual wipes, whatever works for you!! Check it out.

Working on ideas for updating my blog to include guest bloggers/guest ravelers and maybe setting up some type of give away program. Still working on these ideas but feel confident that new things are heading this way.
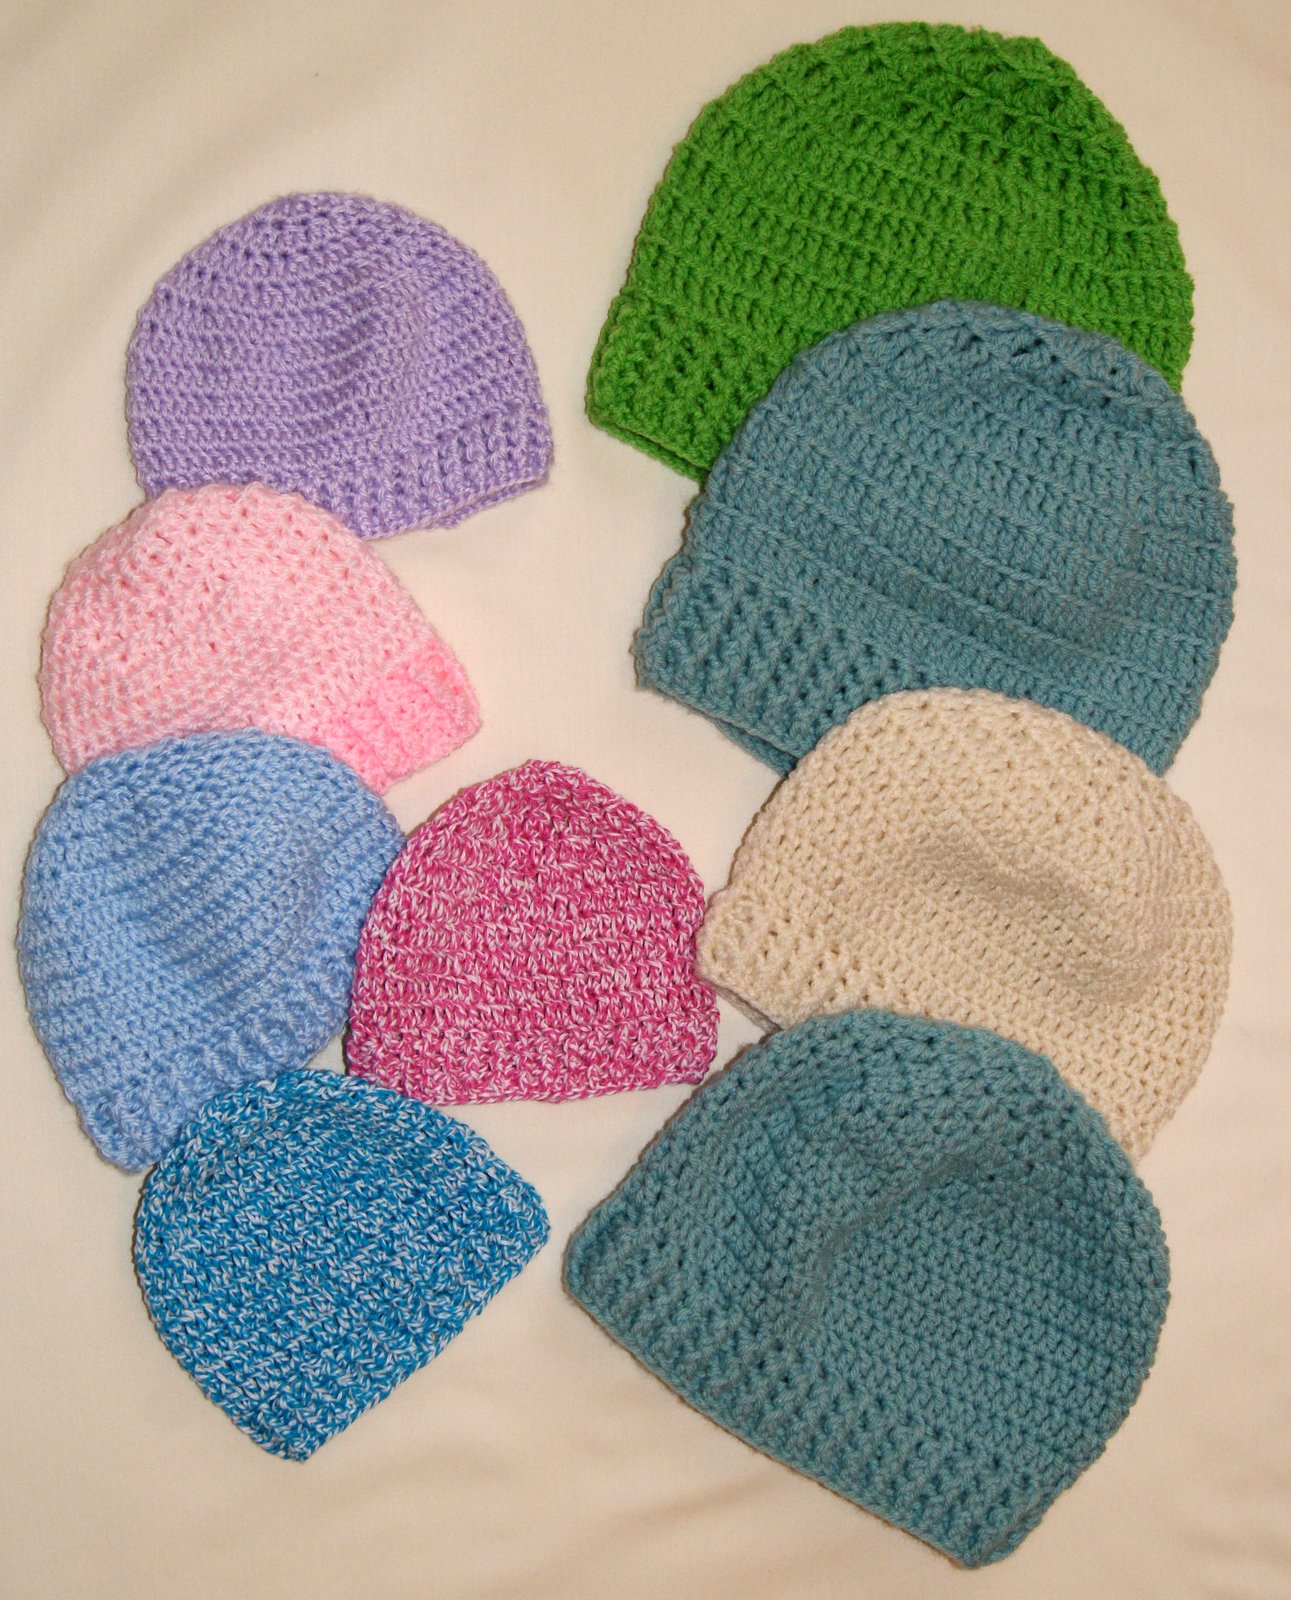
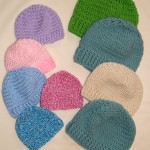
As always, crocheted more donation beanies for the
Headhugger organizer and our local hospital’s maternity ward. Actually, designed a beanie which I really love to crochet beginning at the bottom edge and working your way to the crown. Planning to share that as a free pattern soon. Also created a pretty cool looking loopy embellishment for beanies that will be available soon as a purchased item from my
mysticmeems profile on Ravelry.
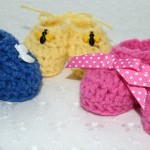
Found a super fun crochet bootie (free pattern) from
crochethooksyou.com that makes a lovely little gift item. I tweaked the pattern a little but works up fast and is also perfect for baby dolls and/or stuffed animals too. Little ones always love to put booties on their favorite animals!! Take a moment and visit Paula Daniele’s blog (click on above link) to see her other items too. Here’s a few pairs that I have done and now trying to decide how I want to embellish them.

Enjoy the remaining “dog days” of summer — grilling yummy brats, hamburgers, corn on the cob, munching watermelon (I miss seed spitting contests, since seedless watermelons arrived on the scene), and preparing fresh tomatoes and green beans from the garden. Don’t forget about those prolific zucchinis too that I’m always trying to find different ways of using them!!
Take time to enjoy the warmth and friendship of family and neighbors. Squeeze a ball of yarn or run your fingers down a new bolt of fabric (something to add to your holiday “wish list”) and let your creative juices flow.
HAPPY CREATING!!!
Disclaimer: This post contains affiliate links – “Commissions Earned”