Tag Archive | yarn

Knitting Nancy Project

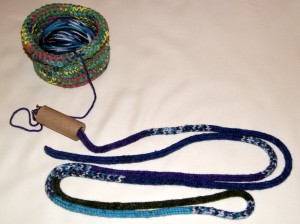
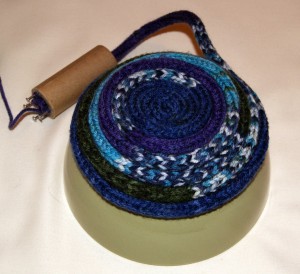
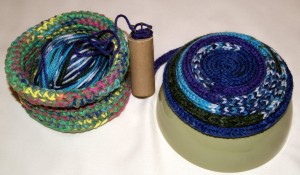
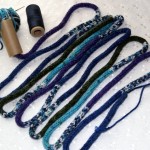
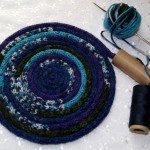
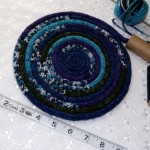
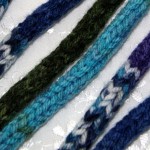
I have still been knitting on my “cattail” using my handmade knitting nancy spool.   It is a very easy, relaxing type of yarn craft that I will pick up for those times when I don’t want to have to concentrate to hard on a project or count stitches as I crochet. SONY DSC   You can check out my Knitting Nancy blog to see exactly how to make a spool and how to start your yarn to begin forming your tail!  As you can see by the picture, my “tail” is quite long, presently measuring 131 inches or a little over 3 1/2 yards long.  My goal is to roll my tail into a circle to make a nice trivet or mat for a hot bowl to protect the dining table top. SONY DSC   At present, it measures almost 8 inches in diameter and I think I will make it just a little wider but probably not more than 10 inches.  Of course, this will leave me with just enough yarn to make a small pom pom!!  Yarn scraps?? hmm – working on some ways to use them up because I just cannot bear to trash them or maybe I will find a local 4H group and donate all my tiny yarn balls to them.  Like that idea!! SONY DSC   Anyways I digress, my trivet will be sewn together with a nice quilting weight cotton thread.  Connecting Threads has some great collections of these threads in a wide variety of colors too, which are wonderful for machine or hand sewing projects. I think I started a new skein of yarn for this project, a category 4 yarn, worsted weight.  I just used a size 5 hook to lift my lower loop over the top loop to create the knit looking tail. SONY DSC When I am ready to bind off, I will do another blog with close up pictures so you can see the actual binding off process. Some fun ideas to use your “tail” for would be a set of coasters, cool bookmarks, glue some googlie eyes and make a snake for a little one, make three tails and sew together at one end and braid them for a bracelet or headband, placemats even a small rug. I’m looking forward to completing this one and having it ready for my kitchen table!!
HAPPY CREATING!!

Disclaimer:  This post contains affiliate links – “Commissions Earned”    
Welcome 2014

It is always an exciting moment when I hang up the new calendar welcoming in the New Year!!  For me, it is like a clean slate just begging to have something new written on it.

SONY DSC

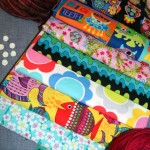
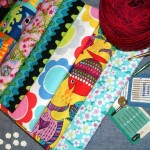
Already have some new fabrics and yarns just waiting to be designed into wonderful new projects!!  Purchased a new raspberry blaze color of hand dyed, sock weight yarn by Dream, dreamincoloryarn.com, called “smooshy”.  Now who just wouldn’t want a smooshy in their yarn stash.  It is a merino wool, cashmere and nylon blend and very, very squishy soft.  Haven’t decided what I am going to make with it just yet but I know whatever it is will be scrumptious.

Also, picked up a Malabrigo yarn that will be perfect for a warm winter cowl.  And, of course, several new cotton fabrics that will be made into totes and whatever else I might decide to sew.

SONY DSC

I hope your New Year starts off with some smooshy yarns and wonderful textiles just waiting to be designed into your something special item.  I want to “Thank” everyone who has visited my blog and I look forward to this coming year with new ideas, discussions and designs.  If you have something in particular that you want me to talk about, please let me know your questions, thoughts, and/or ideas.  Always another way to stir up those creative juices and, hopefully, give insight to new and old techniques.

HAPPY NEW YEAR and HAPPY CREATING!!

Disclaimer:  This post contains affiliate links – “small commission earned”


Ideas for Knitting Nancy “Tail”

I haven’t actually researched the correct terminology for the knitted cord that is created from completing your loops on a Knitting Nancy which really look similar to an I-cord; however, I still like to refer to it as my “cat’s tail”!! 🙂

SONY DSC Presently, my cat’s tail measures 76 inches or 193.04 cm and it is stirring all kinds of ideas as to what I want to create.  I can definitely curl itself around and make a super trivet to protect my table from a hot dish.  If I make the trivet, I could combine it with my hot pads and dish clothes for a cool, handmade hostess gift.  SONY DSC

Also, have given some thought to designing a unique wrapped necklace.  Leaving long loops and covering the joined area with a really one-of-a-kind tubular bead.  Hmm, maybe I will just have to keep the necklace for myself if I end up making that idea!!

I’ve been into yarn bowls too and I think I could take a ceramic bowl and wrap the tail around the outside of it for a size pattern, stitch together, and then maybe create a unique loop edge as a finishing touch.

SONY DSCSONY DSC

I know whatever I design, my “cat’s tail” still needs to be longer, I am planning to have a finished length of 160 inches or 406.4 cm.  So when I really need some down time that doesn’t require any counting of stitches or decreases/increases or watching my gauge, I just sit with my favorite cup of tea and go round and round with my spool knitting.  Only having to untwist my tail periodically to keep it smooth.  It makes for a very relaxing time for me. 🙂

HAPPY CREATING!!

  • Tip:  I will use a coordinating DMC floss (2-3 strands) as my sewing thread when I begin to stitch my cord together.  Will probably have to do some pinning also to hold my coils in place.
  • Disclaimer:  This post contains affiliate links – “small commission earned”


Taming Your Yarn!

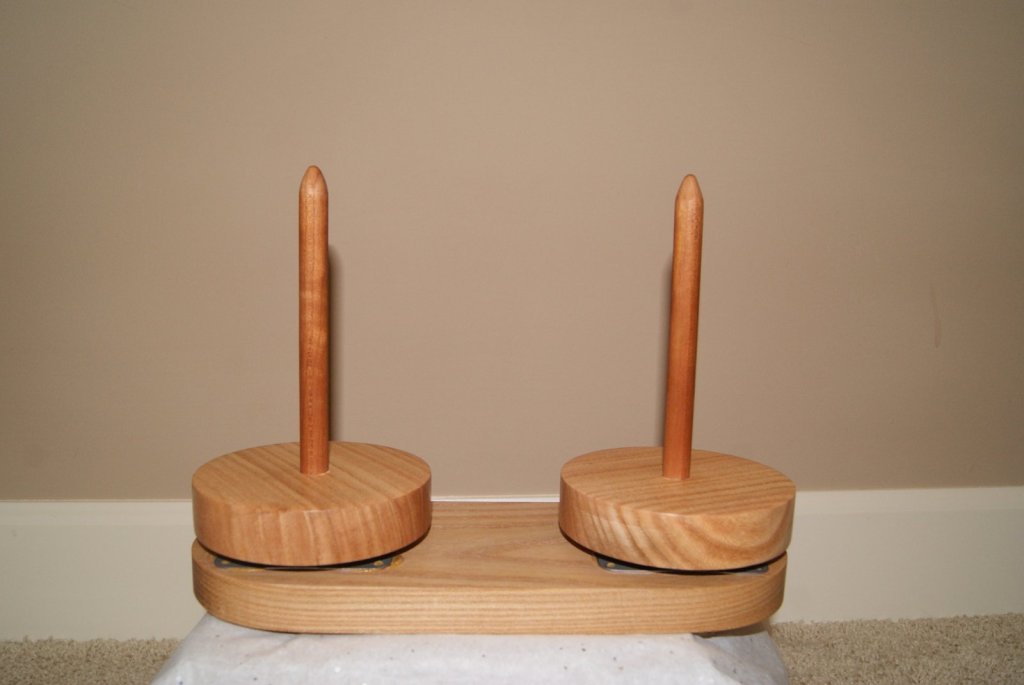
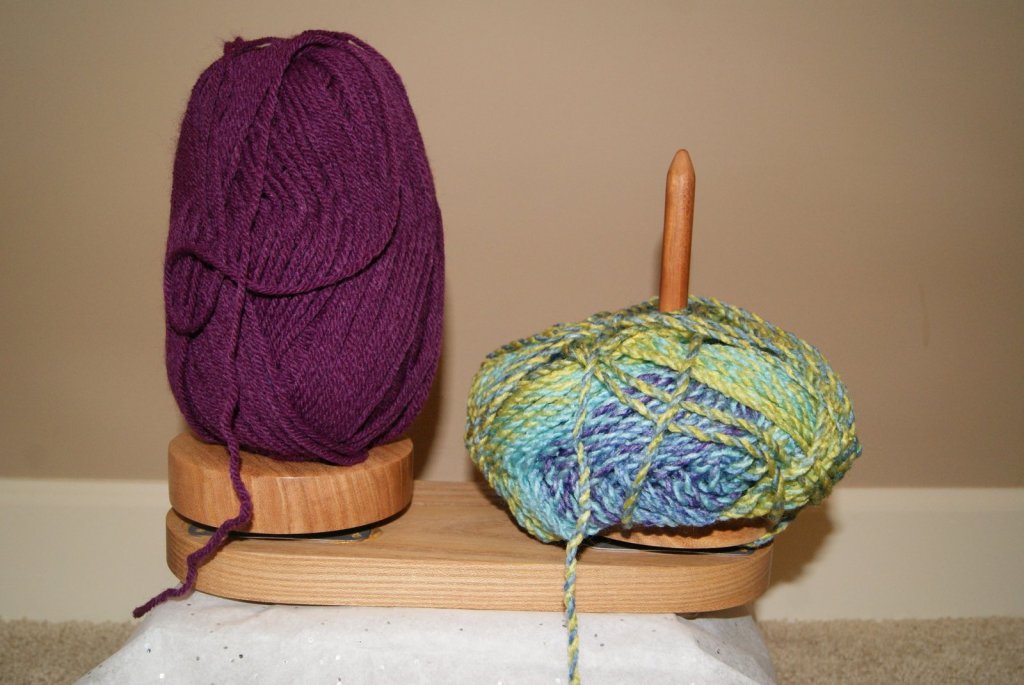
Whether you are crocheting or knitting or doing any type of craft using a skein of yarn, keeping that yarn easily accessible can be a job.   Sometimes you feel like you need to “whip it” into shape so you are spending more time crocheting/knitting and less time untangling or retrieving your yarn!! This year I received a Yarn Buddy by Sun Valley Fibers as a Christmas present and boy does it work great!!  Basically, as described by SVF, it is a wooden spool lazy susan for your skein of yarn.  You don’t need to fuss with locating the center-pull yarn strand anymore.  Just slide your skein onto the spool and work using the outer yarn strand.  Because the spool is on a turning gear, your yarn spools off either in a clockwise or counter-clockwise direction depending upon how your skein of yarn was wound.

SONY DSC

They are made for a single skein of yarn or two skeins of yarn.   I was fortunate enough to receive the double spool for two skeins of yarn, which will be perfect for doing a project using two skeins or I can actually have two projects going at the same time.  The quality is outstanding, very smooth gear operation and the wood is sanded incredibly smooth!!  No varnishes are used either.

SONY DSC

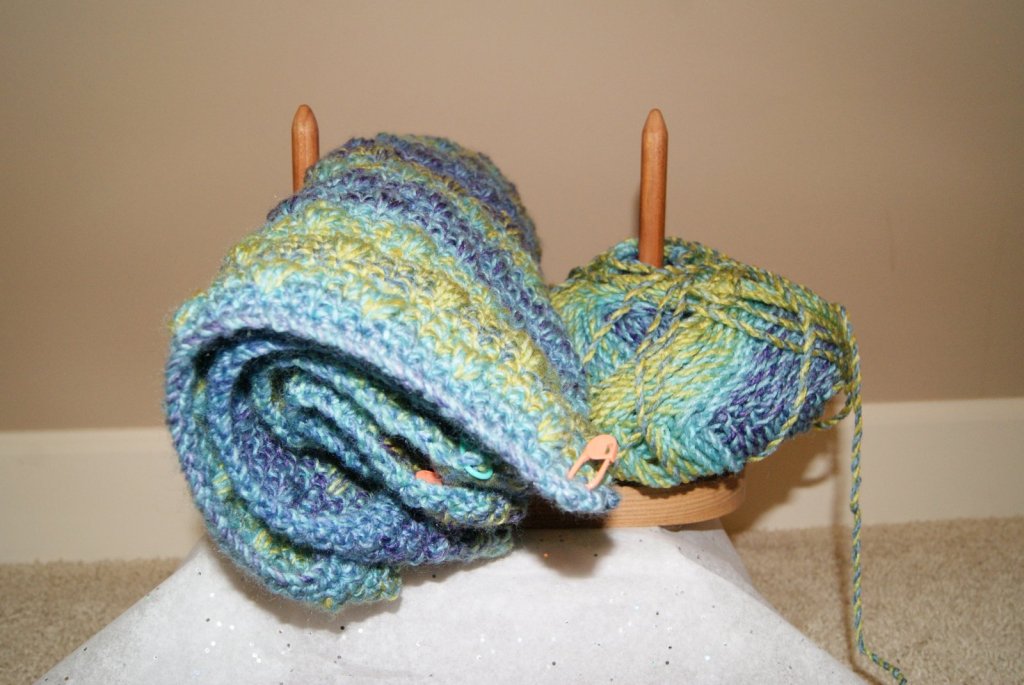
The Yarn Buddy is not too large or too heavy and should be easy to take to a class or “knit nite”!!  I am actually thinking about taking one of my cloth tote bags, putting a couple of grommets in the center of the bag, placing the Yarn Buddy with yarn down in the bag and then threading my yarn through the grommets.  That way my project is ready to travel or to be stored by my easy chair ready at a moments notice. Of course, I have already started a project using the Yarn Buddy and have found that I can even place my completed crochet pattern pieces between the spools so I have them all in one place until I can sew them together.  I know this will become one of my favorite items to use for crocheting and knitting projects!!

SONY DSC

SONY DSC


I did do a little exploring on-line for information on Yarn Buddies.  Here is another site I found that looks kind of interesting too, landwoodworks.com, which shows their Yarn Buddy design. This is a super gift item for that special “hooker” in your life or add it to your wish list so that maybe you can receive one as a present too!!

HAPPY CREATING!!

Disclaimer:  This post contains affiliate links – “small commission earned”

Changing Yarn Colors within your project

Anyways, it really, really doesn’t have to be such an ordeal no matter what process you use when it comes to changing your yarn colors.  For me, this is the best way to change yarn colors and takes all those stressful thoughts and throws them away.

All I simply do is when I come to the end of the row of where the new color is to be added, I fasten off.  For me, it gives me the satisfaction of knowing that my crochet stitches will not come unraveled.  Now turn your work to get ready for the next row and the new color.  Make a slip knot onto your crochet hook using your new color, insert your hook  into the first stitch of the next row and make a single crochet (sc) stitch and continue with your pattern.

IMPORTANT NOTE:   If you are working half double crochets (hdc),  double crochets (dc) or treble crochets (tr), you must begin your new row adding the new color with one of these stitches to give you the correct height needed to continue your pattern.  Therefore, you will make your slip knot onto your hook, yarn over once for (hdc) and (dc) and yarn over twice if continuing with a (tr) —  now insert your hook into the first stitch of new row with the correct number of yarn overs and proceed to make your appropriate stitch according to your pattern.

If making a stitch that requires you to add a yarn over loop to your hook when changing colors, keep your right index finger placed securely onto the yarn over loops to hold them close to the hook, now insert your hook into the first stitch, yarn over and when you begin to pull that loop through the stitch use your thumb and index fingers of your left hand to help securely hold the loops on your hook as you begin to pull your stitches through the required number of loops to make the designated stitch.

Now you have a completed stitch and you can finish working your crochet piece according to your directions and resume holding your work as always.

Fastened off with first color

Turned crochet work, inserting hook into first stitch with new color


Completed couple of rows with new color

  •  TIP:  I like to take my yarn ends when possible and crochet them into my rows.  I just lay the yarn ends along the top edge of the row I am currently working along and hold in place while I crochet the necessary stitches for my pattern.  Trim away any yarn pieces that don’t get woven into the stitches.  Time saving technique and you never see them in the finished work.

HAPPY CREATING!!

Disclaimer:  This post contains affiliate links – “small commission earned”