Archives

Mother’s Day Sachet

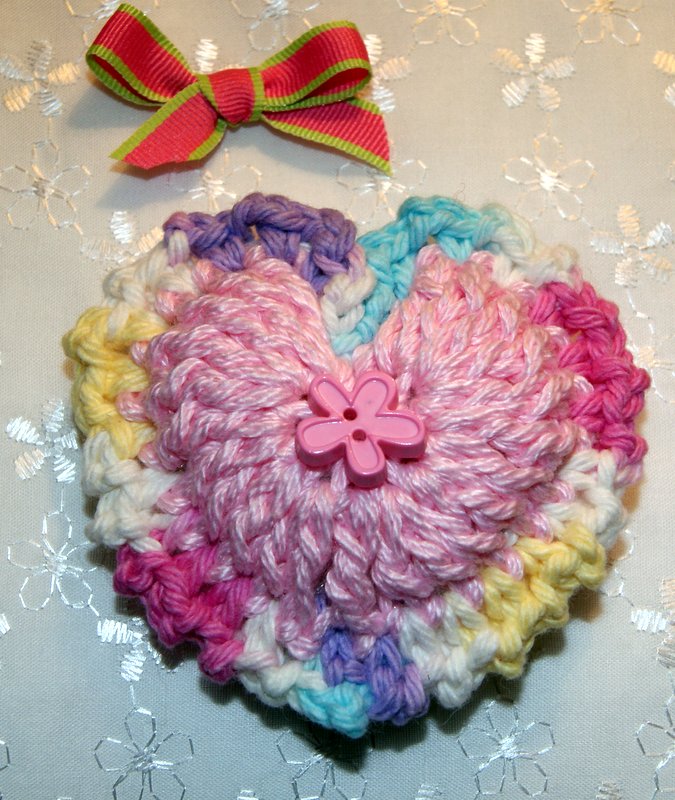
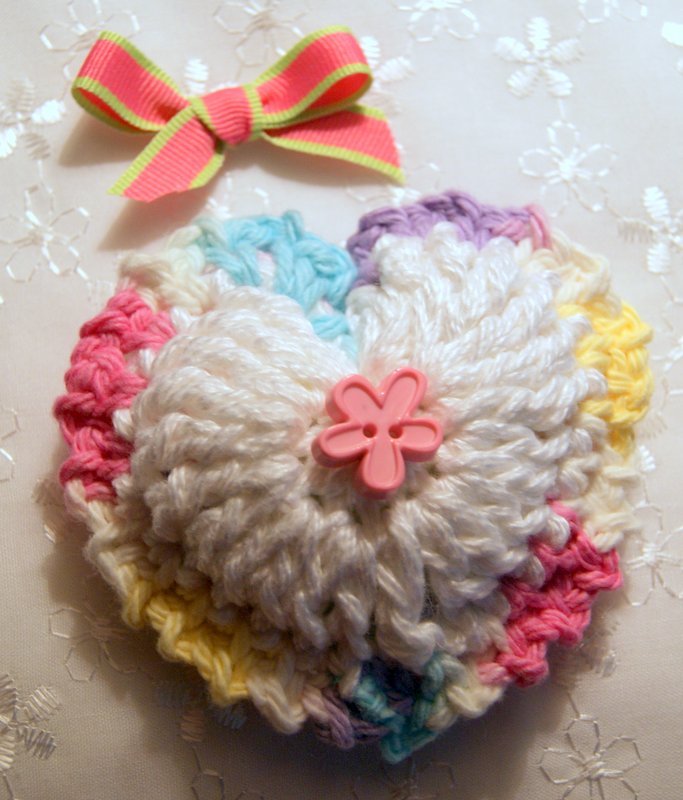
Looking for a quick little gift or need a favor for a wedding shower or maybe you just want to add an accent to highlight a pretty wrapped package then this sachet should work for you. SONY DSC I have just taken two of the Fun, Little Crochet Heart Applique pattern and crochet them together leaving an opening for stuffing.   I placed two hearts, wrong sides together and began at the bottom point with a Slip (sl) stitch.  Then I just made a single crochet (sc) in next stitch, chain (ch) 1, and continued in this pattern all around the two hearts {1 sc-1ch, 1sc-1ch}.  I did a Slip (sl) stitch in the deep curve area of the heart and then continued with the single crochet and chain pattern until I was back at my starting point.  Fasten off and weave in  your ends. **Remember to stop and leave a small opening and stuff your heart with a little batting or cotton balls that have been sprayed with a favorite perfume then continue crocheting until you reach your starting point. My sample was created using Lily Sugar n Cream 100% cotton yarn with a Size G hook.  I wanted a reversible look so I did a pink heart for one side, a white heart for the other side and joined creating my small ruffled edge with a variegated yarn. SONY DSC SONY DSCThis design lends itself to all kinds of possibilities depending upon the type of yarn you use and your hook size to create a larger sachet or pin cushion or smaller more dainty styles.  Also, adding some unique or vintage buttons or ribbons will really give your project that one-of-a-kind personal touch. 🙂
HAPPY CREATING!!

Disclaimer:  This post contains affiliate links – “Commissions Earned”  
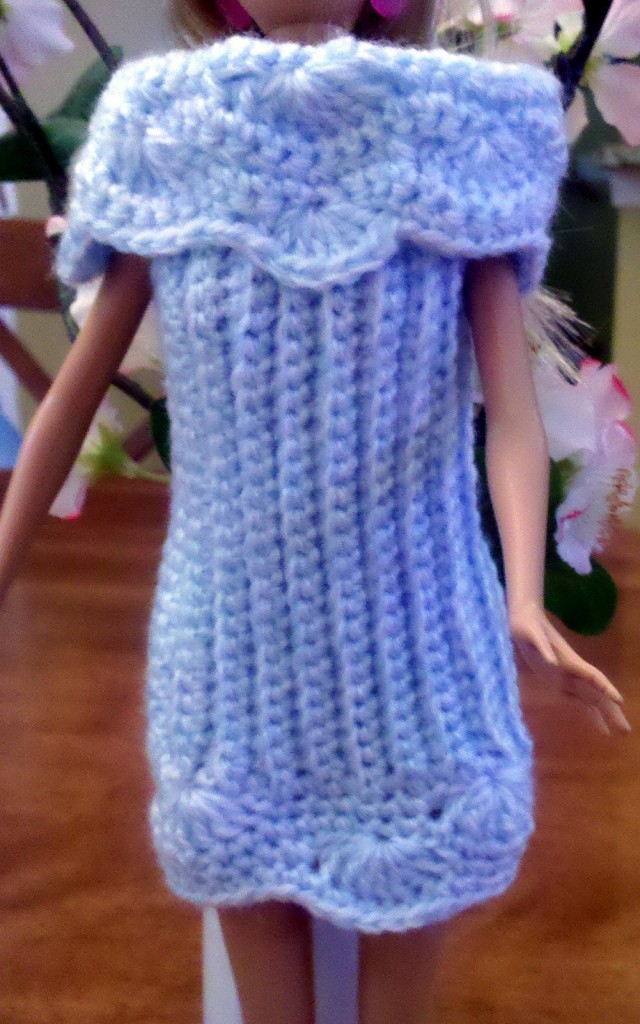
Crochet Barbie Doll Sweater Dress

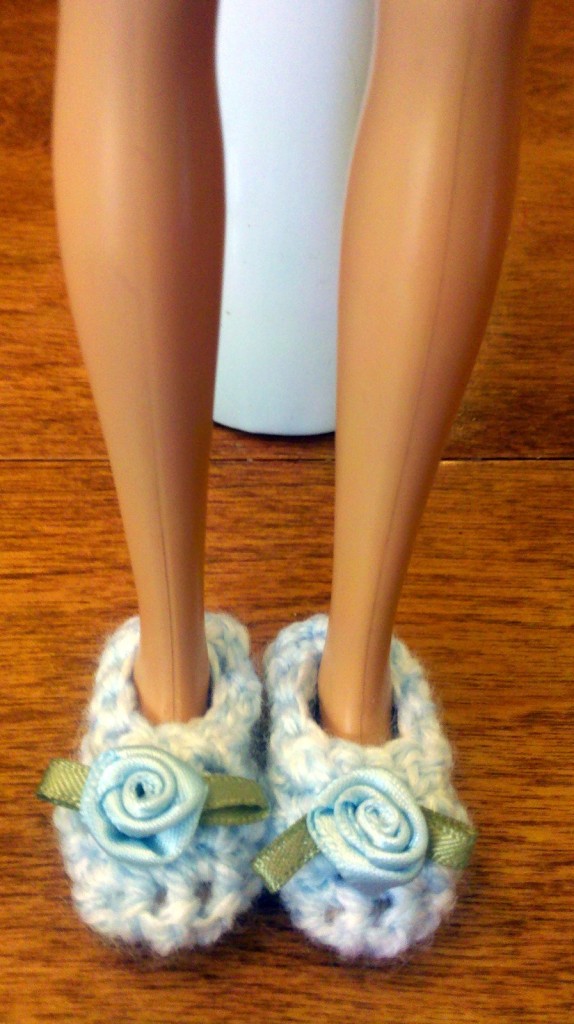
Needed to whip up a quick gift for someone who loves Barbies!!  I found this cute, easy to put on,  sweater dress pattern from crochet for Barbie and decided to give it a whirl. I just grabbed a small leftover ball of yarn from my basket and started crocheting away.  My yarn was a little heavier than the recommended yarn choice but, hey, living in the north where winter has been very cold this year, I thought Barbie needed to be dressed a little warmer!!   My biggest concern was that I wanted it to be easy to put on and take off for the little girl who was receiving this present. IMG_20130319_144959 IMG_20130319_145009IMG_20130319_150350 This little dress did meet that requirement so I continued making it.  I actually worked up a simple little ballet slipper as an accessory for the doll too and attached a pretty silk rose to the toe. IMG_20130319_150403IMG_20130319_150409 The gift was a hit so I’m sure I will now be expanding my crochet to include Barbie and her friends 🙂

HAPPY CREATING!!

Disclaimer:  This post contains affiliate links – “Commissions Earned”    

Tunisian Crochet

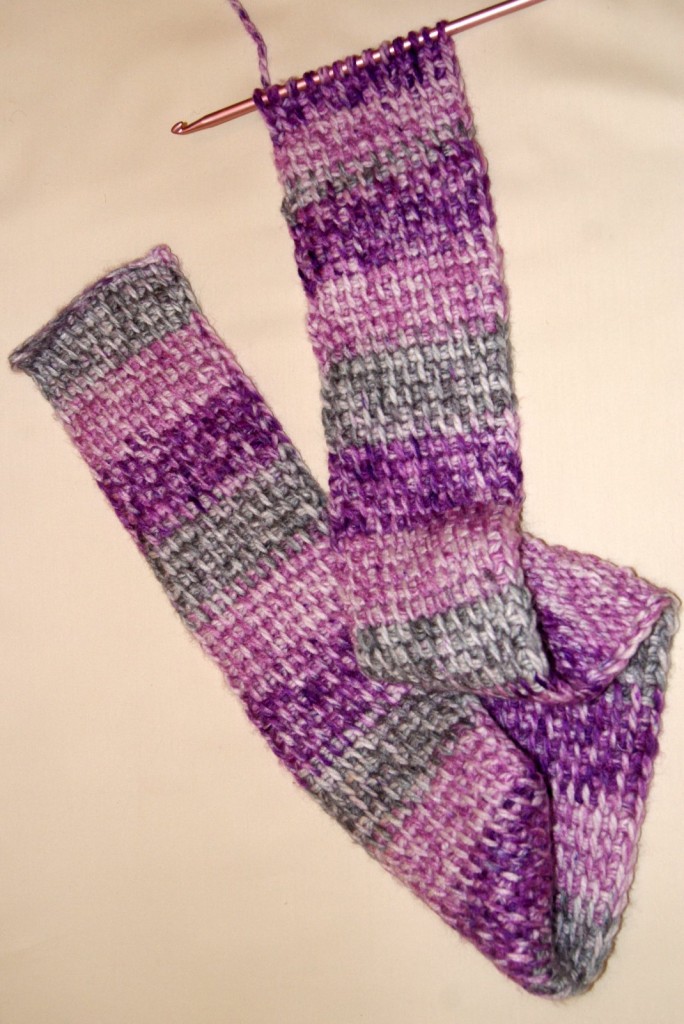
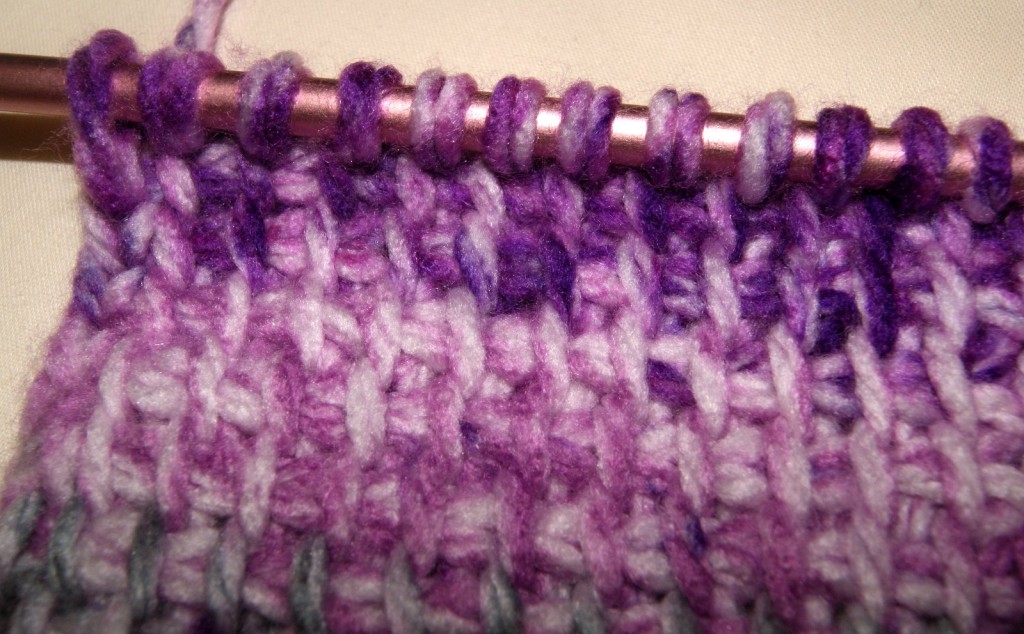
I have just rediscovered this crochet technique and am making some very nice warm scarves using the Tunisian simple stitch or the Crochet Afghan stitch.  I had made a baby blanket many moons ago for a friend of mine when we were all in that stage of our lives.  I remember it turning out really, really cute but never found another pattern and the hook just went to the bottom of my crochet bag never to see the light of day until recently.

SONY DSC

I read a blog about how to do the Tunisian simple stitch on one of my favorite sites, Miss Abigail’s Hope Chest, and remembered the blanket and thought it might be a good stitch to create some warm scarves to give as Christmas gifts.   The one thing that I really like about the stitch is that it is like a waffle/woven design and you kind of get a double thickness with your finished project.

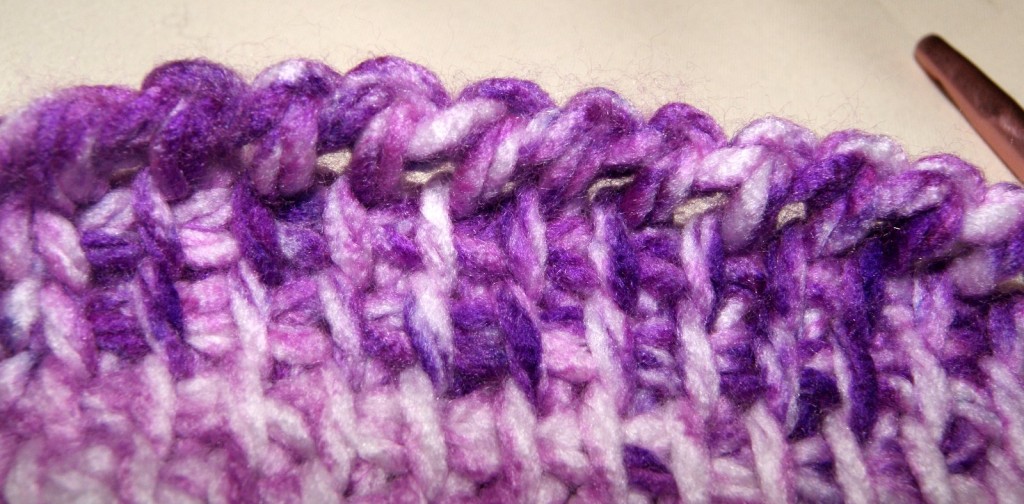
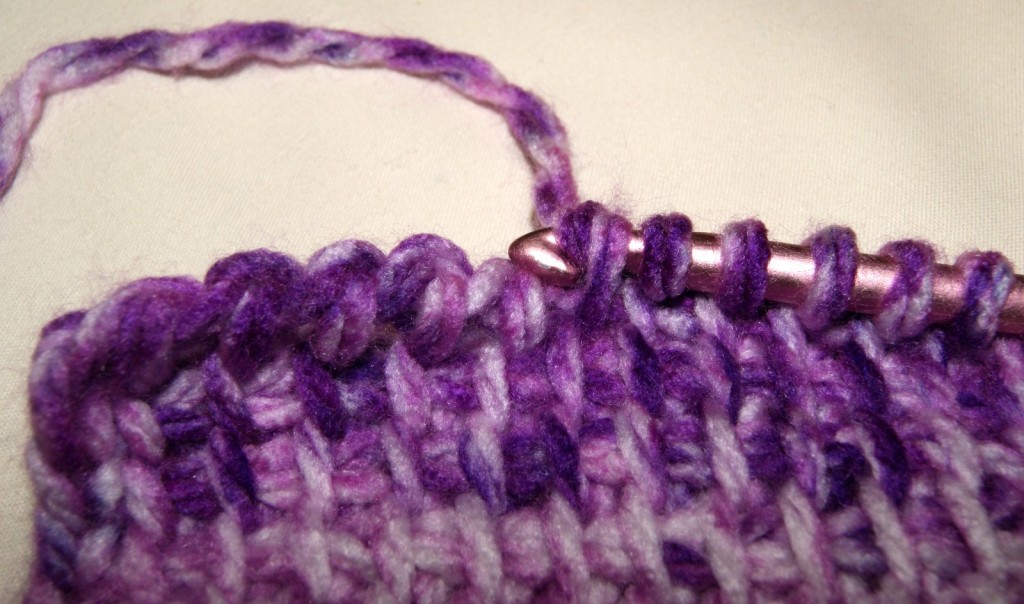
You just have to learn to hold your hook a little differently.  I did find my original size J hook after much rummaging around.  It is about 10″ long with a built-in stopper at one end and the crochet hook at the other end.  I use an overhand grip with my right hand, hold the work with my left, and when making my stitches I hold the hook sort of loosely so that I can rotate it within the palm of my hand.  It was a little awkward at first but within a couple of rows a rhythm of slightly spinning the hook as you make your stitches came naturally.

The pattern is basically yarning over through vertical stitches, keeping all your stitches on the needle, DO NOT TURN, and then coming back through those stitches by yarning over and going through 2 loops on the needle so at the end of that row you only have one loop on the hook.  Then repeat those two rows again and again.

SONY DSCSONY DSC


SONY DSC

I want to explore more about this technique and learn different stitches but for now I am really liking how my scarves are turning out crocheting the Tunisian simple stitch.  In my examples, I have used a chunky weight yarn, bulky 5, and I will probably use about 150 yards of yarn to get the length that I want.  I always like to be able to double my scarf to form a loop and pull the other end through.

If you haven’t tried this stitch, give it a whirl and share your projects!!  Love to see what everyone is doing out there in that great big Crochet world  🙂

HAPPY CREATING!!

Disclaimer:  This post contains affiliate links – “small commission earned”


Crochet Pumpkin Explosion!!

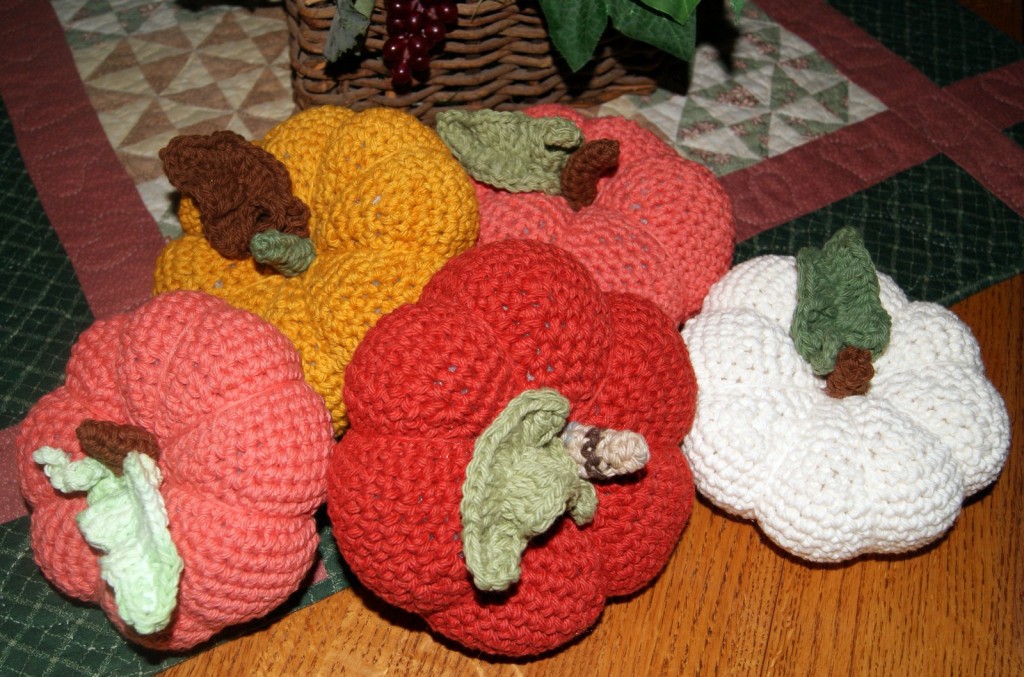
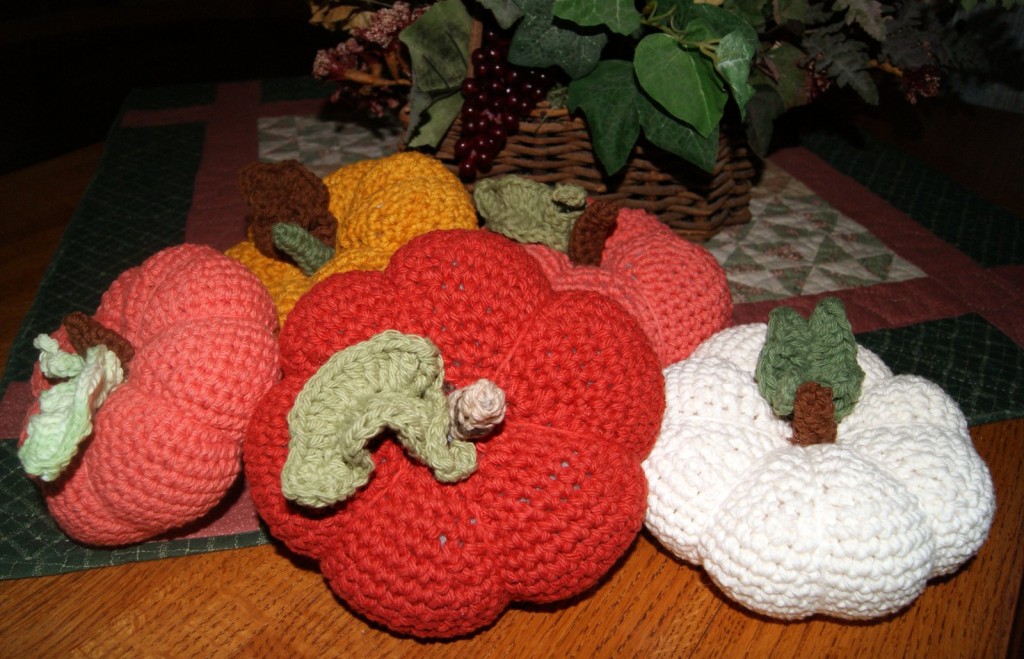
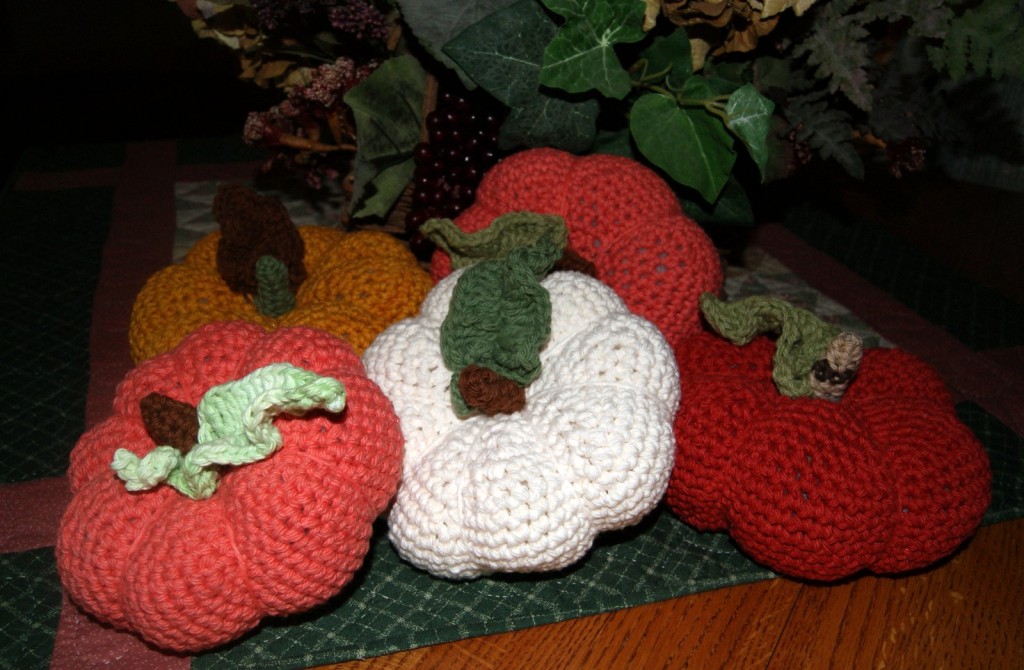
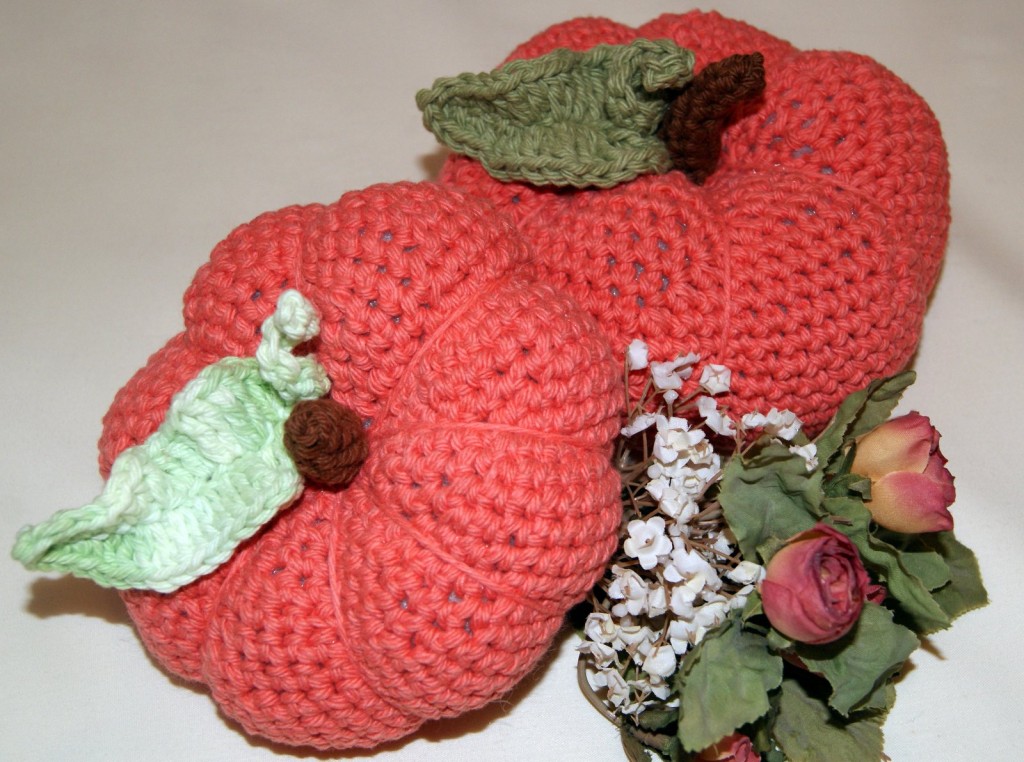
Been busy crocheting pumpkins for the upcoming Thanksgiving holiday and here is what I have created!!  Check out my cute leaf pattern and curly Q design 🙂

SONY DSC SONY DSC SONY DSC

Have thoroughly enjoyed making these little squashes and crocheting my own pumpkin patch.

HAPPY CREATING!!

Disclaimer:  This post contains affiliate links – “small commission earned”

Crochet Pumpkin with Leaf Tutorial

I found this fantastic free pattern on Knit Picks by Hannah Maier, I believe it can be found also on Ravelry.  It is actually two patterns – one for knitting and one for crocheting.

SONY DSC

I created the crochet version, which was called the Clove Pumpkin.  The yarn that I chose was Lily, The Original Sugar ‘n Cream cotton.  I crocheted one using a Size H hook and the other one I used a Size E.  I didn’t vary from the directions given but wanted to add a leaf to my pumpkin as well as that little curly Q feature you sometimes see on a real pumpkin.  So I spent an evening designing this little leaf that I really like.

SONY DSC

Here are the directions for the leaf:  I used the same yarn type as I did for the pumpkin and made my leaf with a Size H crochet hook.  In the smaller version, I used a Size E hook for my leaf.

Chain 22, skip first two chains then SL (slip stitch) in next 9 chains.  In next chain complete 1 HDC, 1 DC, 1 TRB, in next chain – 2 TRB, next chain – 2 TRB, next chain – 2 HTRB, next chain – 2 HTRB, next chain – 2 DC, next chain – 2 DC, next chain – 1 HDC, next chain – 1 HDC, next chain – 1 HDC, last chain – 3 SC.

Now you want to basically reverse that stitch pattern on the back side of the chain stitches.  1 HDC, 1 HDC,  1 HDC, 2 DC, 2 DC, 2 HTRB, 2 HTRB, 2 TRB, 2 TRB, last chain 1TRB, 1DC, and 1 HDC.  Viola, you end up with this really cute leaf.  I just stitched it to the center of the pumpkin along with the stem.  SONY DSC

Also, in my smaller version, I created 8 pumpkin ridges just for some variations.  I have been placing them around my house and will use some for a table centerpiece for Thanksgiving!!

Thank you Hannah Maier so much for sharing such a cute pumpkin pattern.  Love it 🙂

HAPPY CREATING!!

Disclaimer:  This post contains affiliate links – “small commission earned”