Tag Archive | Sewing

Sewing a Tote Bag: PART TWO

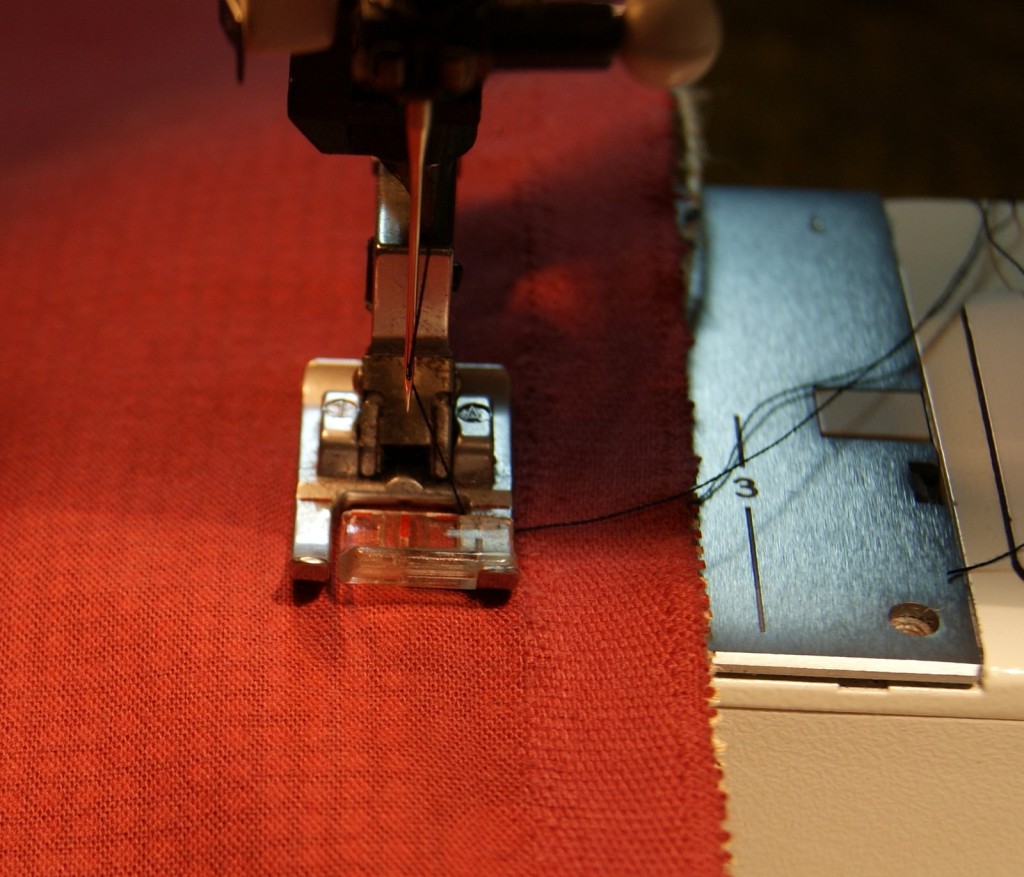
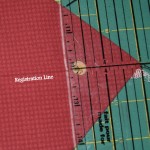
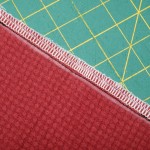
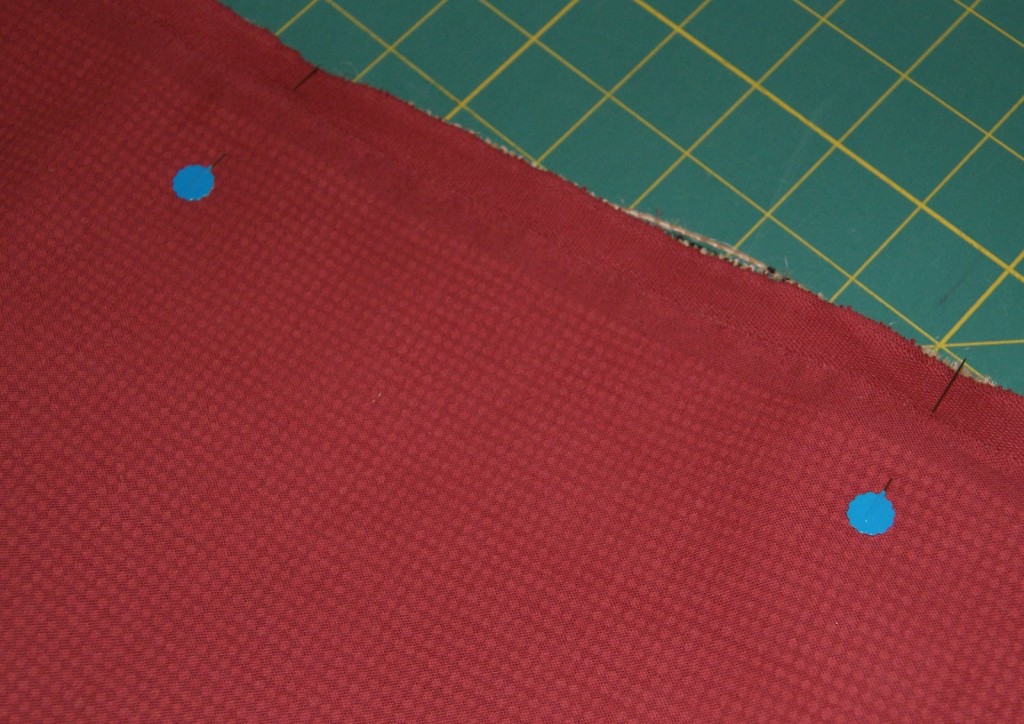
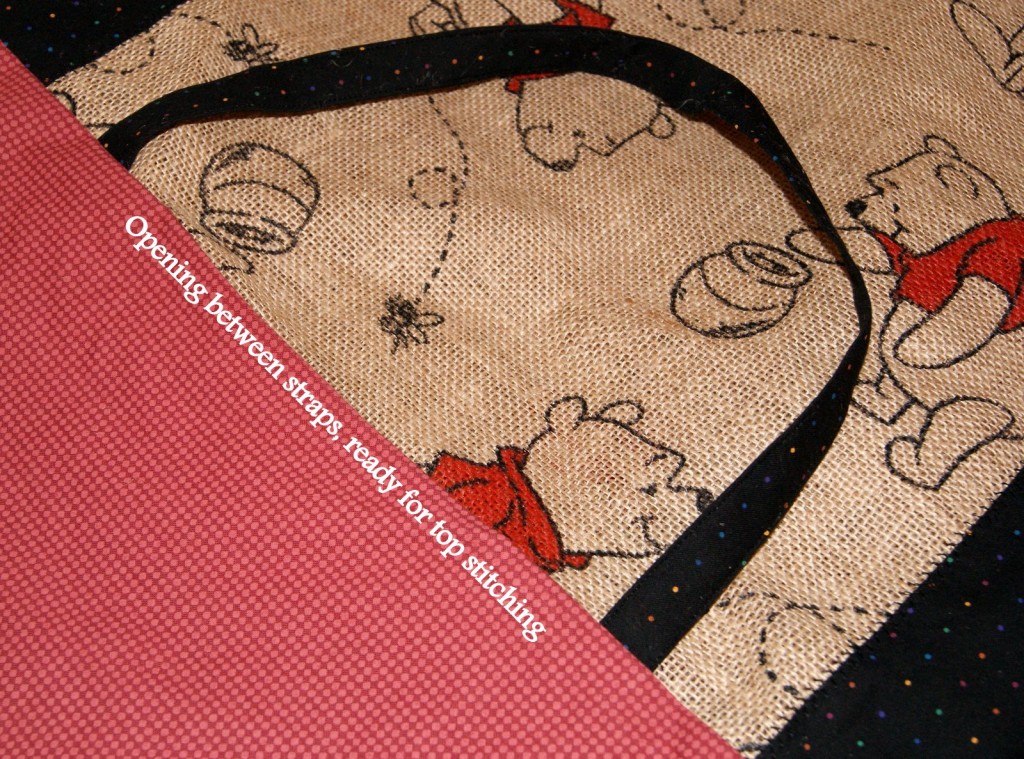
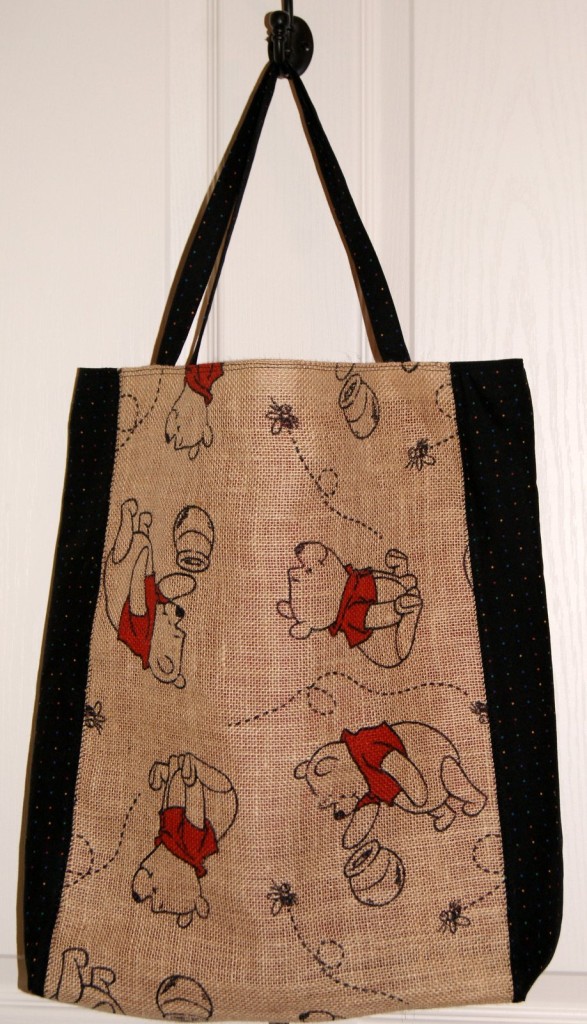
PART TWO: With right sides together, fold your main fabric in half (lengthwise) by bringing the bottom of the fabric to meet the top of the fabric to sew the side seams, I used a 1/2 inch seam allowance.  You will then do that same step with the lining fabric.  I also serged the edges of both sections.  Do not turn right side out yet.  Press the bottom edge of each section to create a registration/reference line to use to form a square boxed bottom for your tote.  With right sides together, open out the main fabric at bag bottom and place your pressed registration line perfectly on top of the side seam.  Then draw a chalk line 2 inches from the point/tip of your fabric.  Do the same thing to your lining fabric as well.  Now sew along the edge of your chalk line, serge the edge or just cut it off with your scissors to remove the point.  You will do this 4 times for each side seam (2 for main fabric/2 for lining fabric).  This will create for you a nice 4 inch wide square bottom for your tote and the lining too. SONY DSCSONY DSC Now you can turn your MAIN fabric to the right side, DON’T turn out the lining yet. At this point, you are ready to attach your main fabric to the lining fabric with right sides together.  Slide your main fabric which should be on the right side, inserting it into the lining which should have the wrong side facing out (check that you have right sides together).  Make sure your straps are hanging towards the bottom of the bag on the inside (sandwiched between your fabric and lining).   Now pin your top edges leaving an opening of about 6 inches between the straps for turning purposes.  Stitch around in a 1″ seam.  Sometimes it is helpful to use the same color pin head for your beginning stitching and ending stitching which is different from your other pins.  Just a visual reminder to leave an opening for turning. SONY DSC SONY DSC     Turn your tote to the right side, pulling your straps through the opening too. Push your lining down into your tote.   Press down the opening so that it is even with your top edges.  Sew a top stitch row around the entire bag, stitching shut your opening and making sure it is close to the edge.
SONY DSC

Folded down opening edges – ready for top stitching

SONY DSC     Now make another row of stitching around the entire top of the bag.  Finish it off with a good pressing and get ready to fill it full of goodies.  Mine will be used for Lego blocks!!! SONY DSCMy toy tote finished size is 17 1/2 inches wide by 18″ long with a 4 inch wide bottom. A half yard of fabric and a half of yard of lining will make a very nice size tote bag.  You wouldn’t even need to do the contrasting sides.  I needed this to get the width I want. This style of tote making is a good one for a beginner sewer.  Even a young child who is familiar with a sewing machine could make this pattern.  Lots of flexibility too within the design, size and width of bag, size and width of straps, to pocket or not to pocket. Think about whether you want to use an interlining fabric for added strength or a denim/canvas fabric for the straps.   Let those creative juices flow and design something that is unique and special for you!!
HAPPY CREATING!!

Disclaimer:  This post contains affiliate links – “Commissions Earned”
Magnetic Clasp Sewing Tips

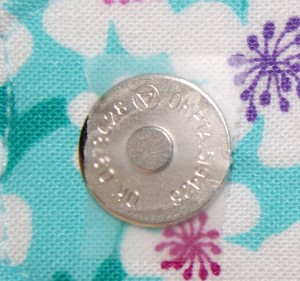
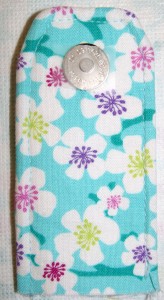
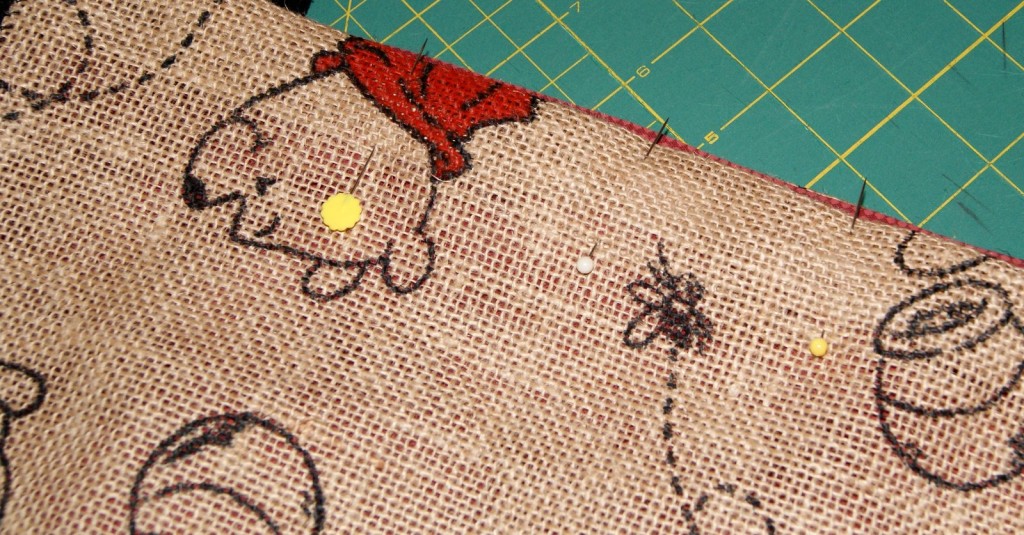
As I have mentioned in my previous post, I like using the magnetic clasps for many projects.  Recently was sewing a very small tab closure and used the tab for one part of the magnetic clasp.  Because I was doing top stitching for a nice finished edge, the metal clasp was on the bottom and would catch on the feed dogs and would slip a little.

SONY DSCSo had to get the creative juices flowing and figure out what I could do to prevent that clasp catching on the feed dogs.  After rummaging through my sewing drawers to see what I had on hand,  I decided to use repositionable scotch tape to place over the magnetic clasp.  Made for a very smooth underside of my tab closure and the clasp slid along the feed dogs without catching!!  Because I used repositionable or removable scotch tape, it left no residue on the clasp or my fabric.

SONY DSCSONY DSC
SONY DSC


Another little tip I find helpful, is to use some iron-on pellon fleece on the wrong side of the fabric that doesn’t hold the magnetic clasp.  It gives a little cushion so that your clasp outline doesn’t show on the right side of your finished work.

Also, because of the small size of the tab, using my zipper foot kept the pressure foot from resting on the tab too so that my top stitching came out perfect every time!!

SONY DSC

Hope these additional little tips or suggestions will help you too when you are using magnetic clasps for your projects.  🙂

HAPPY CREATING!! 

Disclaimer:  This post contains affiliate links – “small commission earned”
 

Welcome 2014

It is always an exciting moment when I hang up the new calendar welcoming in the New Year!!  For me, it is like a clean slate just begging to have something new written on it.

SONY DSC

Already have some new fabrics and yarns just waiting to be designed into wonderful new projects!!  Purchased a new raspberry blaze color of hand dyed, sock weight yarn by Dream, dreamincoloryarn.com, called “smooshy”.  Now who just wouldn’t want a smooshy in their yarn stash.  It is a merino wool, cashmere and nylon blend and very, very squishy soft.  Haven’t decided what I am going to make with it just yet but I know whatever it is will be scrumptious.

Also, picked up a Malabrigo yarn that will be perfect for a warm winter cowl.  And, of course, several new cotton fabrics that will be made into totes and whatever else I might decide to sew.

SONY DSC

I hope your New Year starts off with some smooshy yarns and wonderful textiles just waiting to be designed into your something special item.  I want to “Thank” everyone who has visited my blog and I look forward to this coming year with new ideas, discussions and designs.  If you have something in particular that you want me to talk about, please let me know your questions, thoughts, and/or ideas.  Always another way to stir up those creative juices and, hopefully, give insight to new and old techniques.

HAPPY NEW YEAR and HAPPY CREATING!!

Disclaimer:  This post contains affiliate links – “small commission earned”


Creating Bindings

I like to make bindings from my cotton scraps and have them ready in my stash pile for any current or future  sewing projects.  They are not hard to make and it is nice to have a one-of-a-kind trim available.SONY DSC  The type of binding that I am demonstrating is using the straight of grain or lengthwise grain on the fabric.  Good for almost any type of project except a small circle which you might have puckering but a bias type binding would work for those small tight curves.  Cut your strips on the bias (diagonal edge to diagonal edge) and follow these directions to create bias binding.

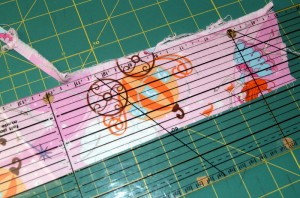
Using a  2  1/2″ wide cut fabric strip makes for a very nice binding finished width.  What I prefer to do is to rip the cotton fabric on the straight of grain to create my working   2  1/2″ width.  If your scrap piece is not wide enough to rip, then just utilize a good ruler and measure for a  2  1/2″ width using a rotary cutter.  Your cut length can be whatever size you have remaining from your scrap fabric.

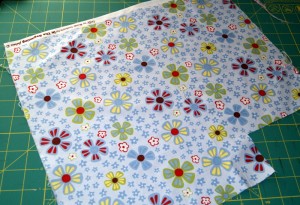
Scrap fabric that I will rip into strips.

Scrap fabric that I will rip into strips.

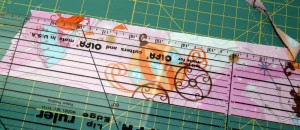
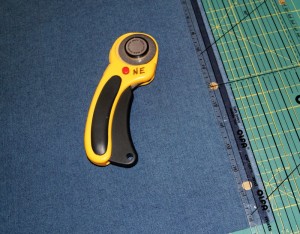
Rotary cutting strip with ruler.

Second side of rotary cutting strip

Second side with rotary cutter.

Rotary cutting strip with ruler


Make a small cut before you rip fabric.

Make a small cut before you rip fabric.

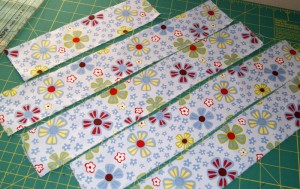
My ripped strips, ready for joining!!

My ripped strips, ready for joining!!


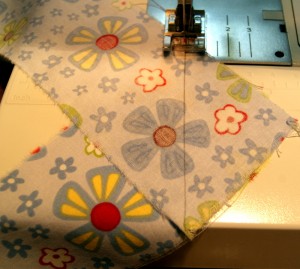
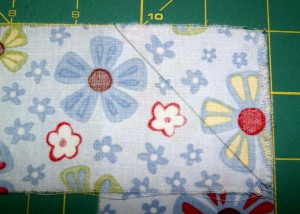
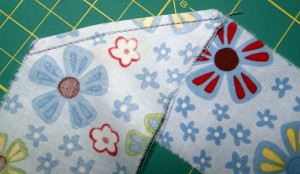
To sew your cut scraps together to form a professional looking seam, you will put right sides together making an upside down “L”.  Take a good ruler, using a pencil or soap, make a stitching line to sew along for a perfect join.  You will then sew from the top edge to the side edge on your binding strip.  Trim your seam close to the stitching line and press seam open.

Stitching from top edge to opposite side edge

Stitching from top edge to opposite side edge

Right sides together forming an upside down n backwards "L"

Right sides together forming an upside down and backwards “L”

Marked seam line

Marked seam line


Trim seam close to stitching and press seam open

Trim seam close to stitching and press seam open

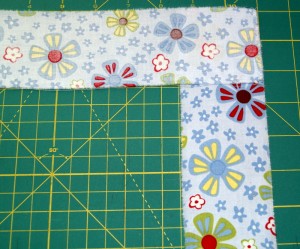
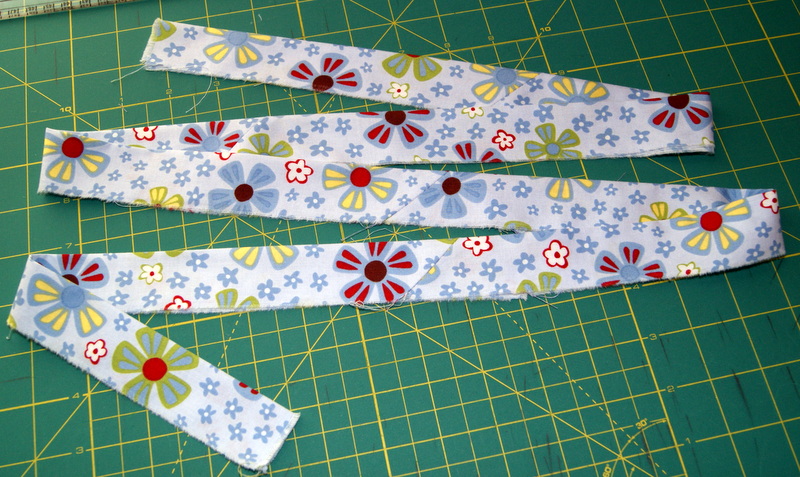
Once you have all your joins stitched together for your binding, fold the strip with wrong sides together and press.

Stitched and pressed with wrong sides together

Stitched and pressed with wrong sides together

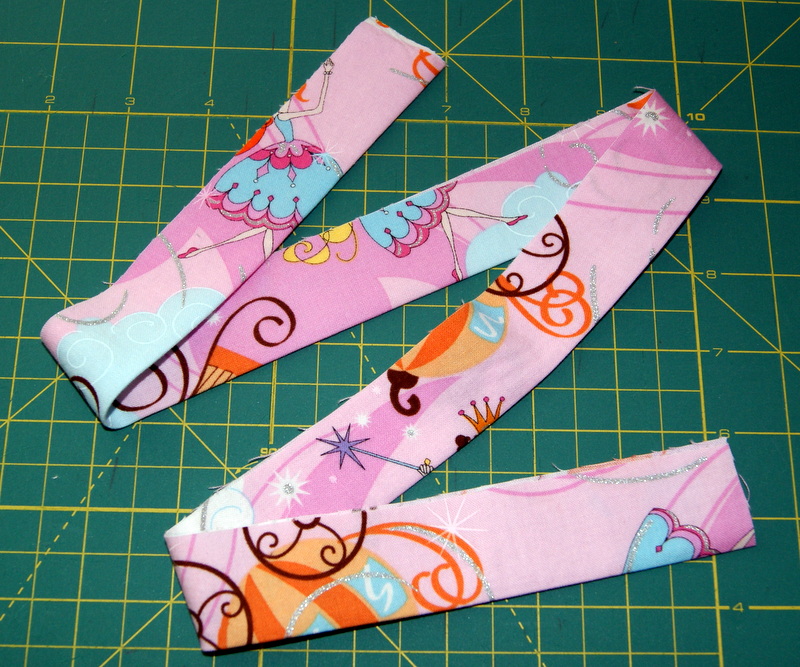
This scrap had no joins so just needed to press wrong sides together

This scrap had no joins so just needed to press wrong sides together

Now you have binding that is ready to be sewn to whatever project you are working on.  When sewing the binding to my project, I always use a 1/4″ seam allowance.

Making binding is an easy scrap project for a child who has experience with a sewing machine.  Ripping fabric is a fun thing for a youngster to do.  I wouldn’t suggest letting them use a rotary cutter, only an adult should handle that sewing tool!!

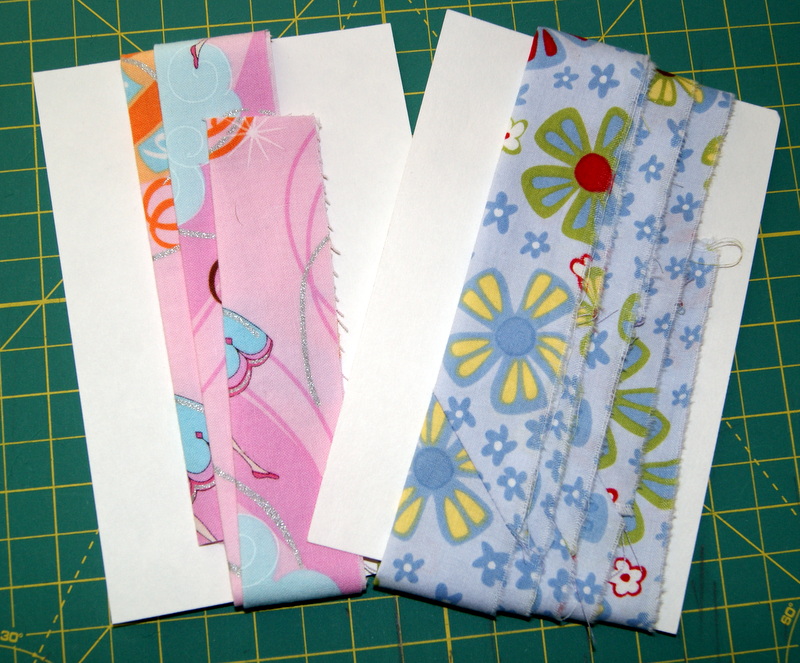
I like to wrap my bindings onto index cards so they can be stored flat in a see thru type storage bin.  You will find many different uses for bindings from quilts, bibs, hooded towels, placemats, clothing,  etc.!!

HAPPY CREATING!!

Disclaimer:  This post contains affiliate links – “small commission earned”


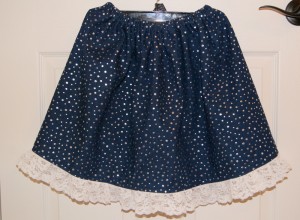
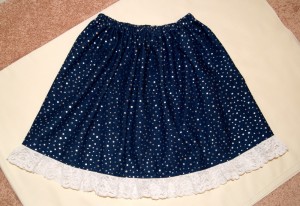
Sewing a Child’s Gathered Skirt with Lace Ruffle

This is an update to my free child’s gathered skirt pattern.  I have included lots of SONY DSC pictures and my sample shows how to attach a lace ruffle to the bottom edge of my denim skirt.  The lace I am working with has a finished edge on both sides, no hemming necessary.

On my pattern page, you will find directions on how to determine your cut width and cut length.   STEP 1:  Be sure to match up the selvage edges together and place that edge along a straight ruler line so that your top and bottom cuts will be even.

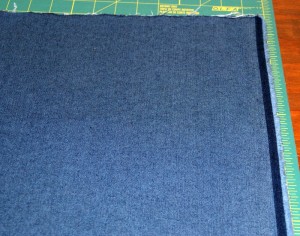
Lining selvages, right sides together, along right edge

Lining selvages, right sides together, along right edge

Line up center fold along straight ruler line for left side.

Line up center fold along straight ruler line for left side.

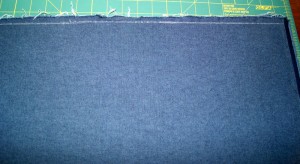
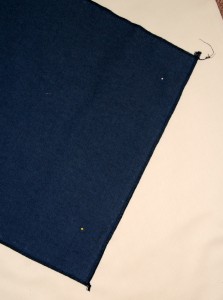
Marking top edge to get ready to cut evenly.

Marking top edge to get ready to cut evenly.

If using a 100% cotton fabric, you can make a small cut along the top and bottom edges and just rip your fabric to get that nice straight of grain edge to work with.

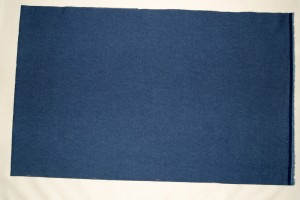
Fabric cut and ready to be sewn.

Fabric cut and ready to be sewn.

STEP 2:  Once you have your fabric cut, I like to serge all the fabric edges.  I cut off the selvages with my straight ruler before I do the serging.   If you don’t have a serger, you can always do a close zigzag stitch along the raw edges.

Serged edges

Serged edges

Cutting of the selvage edge to avoid puckering

Cutting of the selvage edge to avoid puckering

STEP 3:  With right sides together, sew a 1/2″ seam allowance.  Press your seam open. STEP 4:  Lay out your skirt and measure from side seam to side seam.  You will want to double that measurement so you have the total circumference of your skirt.  Take that measurement and multiple it by 1.5 up to 2 times to determine how long to cut your lace.

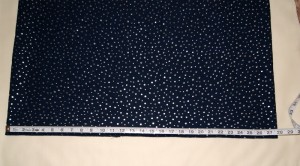
Determining skirt circumference

Determining skirt circumference

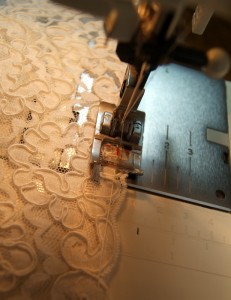
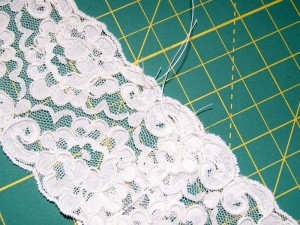
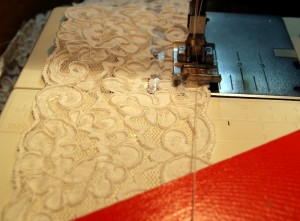
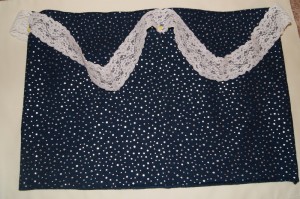
STEP 5:   Cut your lace to the pre-determined measurement and sew it together with right sides matching.   Make a gathering seam by sewing a loose zigzag stitch over top of a heavy-duty (dual duty) thread on the wrong side of the lace.   This makes for a very strong gathering thread that you can pull on very tightly and it will not break.

Sewing a zigzag stitch over heavy duty thread

Sewing a zigzag stitch over heavy duty thread

Lace ready to be gathered

Lace ready to be gathered

Showing how close to the edge of lace I sewed gathering thread

Showing how close to the edge of lace I sewed gathering thread

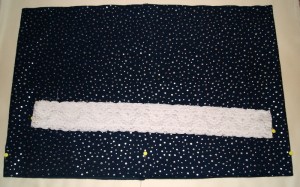
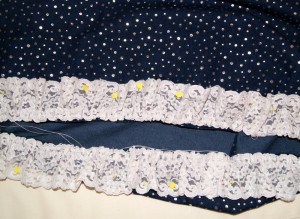
STEP 6:  Divide your skirt into fourths, placing a pin at the center back seam, center front seam and both sides.  You will also fold your lace into fourths and place pins at each fold.  Now with right sides together, pin your lace markings to the skirt markings.   Pull snuggly on one heavy duty gathering thread and pin your gathers from center back to center front on one side.  Now repeat that step for the other side, pulling snuggly using the other heavy duty gathering thread to gather up the lace and pin to the skirt.  Stitch in place.

Marking for lace placement

Marking for lace placement

Gathered lace ready to be sewn

Gathered lace ready to be sewn

Attaching lace to pin markings before gathering

Attaching lace to pin markings before gathering


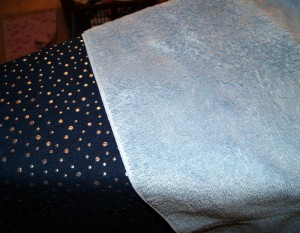
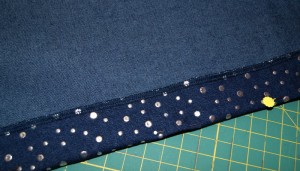
STEP 7:  You want to press that seam up towards the top of the skirt.  Because my denim had painted silver dots on it and the lace was somewhat delicate, I used a terry cloth towel as my pressing cloth so as not to have any damage (melted dots or lace)!!    STEP 8:  After the seam is pressed up, stitch that seam in place.  I made two (2) rows of stitching because I like that look.  One row of stitching is sufficient.

Using a pressing cloth

Using a pressing cloth

Double stitched row

Double stitched row


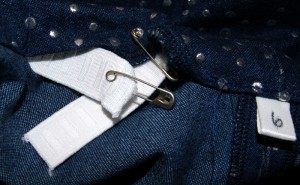
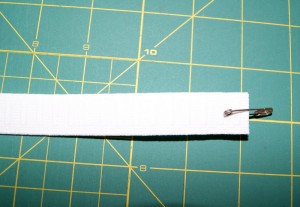
STEP 9:  Make the casing for the elastic by folding down the top edge of the skirt 1  1/2″.  Pin in place at the folded edge and turn under the serged edge as you stitch leaving about a 2″ opening to pull your elastic through.  Attach a safety-pin to one end of your 3/4″ non-roll elastic and begin pulling it through the casing.  So I wouldn’t pull the end of the elastic into my casing, I pinned it to the opening.  Once you have pulled the elastic through the entire casing, over lap it about 1/2″ on each side and stitch securely into place.  Make sure you haven’t twisted the elastic before sewing.  After stitched, pull on the waist band so the elastic is nicely tucked inside and stitch close your opening.

Folding down your casing

Folding down your casing

Beginning elastic meeting pulled through elastic

Beginning elastic meeting pulled through elastic

Attach safety pin as your gathering tool

Attach safety-pin as your gathering tool

STEP 10:  To help keep your gathers in place, make a stitching line at the center back, center front, and both sides.  Stitch from the top of the waist band to the stitching  line of the casing (sewing through all thicknesses).

SONY DSC

 HAPPY CREATING!!

Disclaimer:  This post contains affiliate links – “small commission earned”